Nodecraft
 Bohx Foundry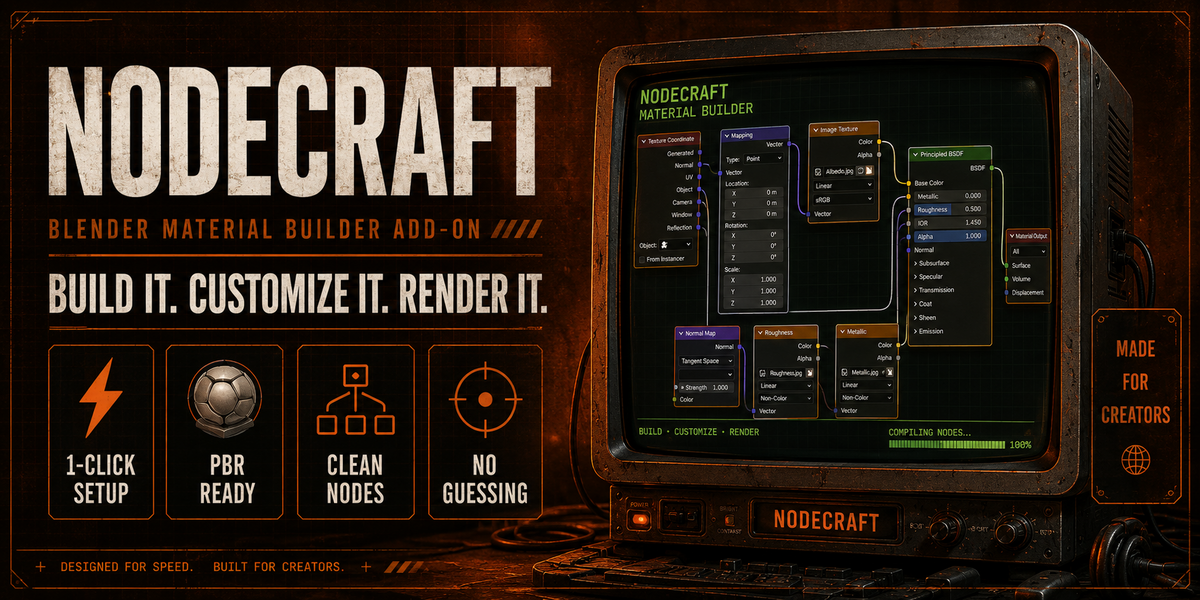


Node Craft Documentation
Overview
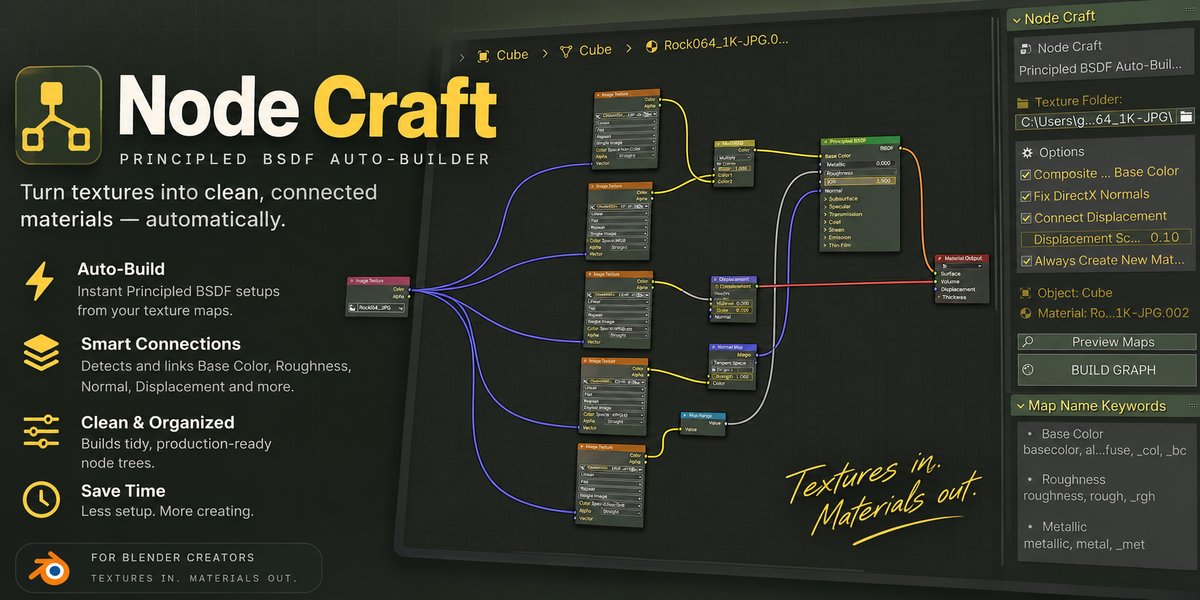
Node Craft is a Blender addon that automatically builds PBR (Physically Based Rendering) material node graphs from a folder of texture files. Point it at a folder, let it scan, and it wires up your Principled BSDF with the correct color spaces, normal map handling, AO compositing, and full UV support.
Key Features:
- Automatic texture detection by filename keywords
- Correct color space assignment (sRGB vs Non-Color)
- DirectX → OpenGL normal map conversion
- AO compositing into Base Color
- Packed ORM (Occlusion-Roughness-Metallic) support
- Height/Displacement node wiring
- Auto UV unwrap if object has no UVs
- Material opacity/alpha blend setup
Installation
-
Download
node_craft_addon.py - Open Blender → Edit → Preferences → Add-ons
-
Install from File → Select
node_craft_addon.py - Enable the addon (checkbox)
- Addon appears in Shader Editor > N Panel > Node Craft tab
Blender Compatibility: 3.6.0+
Quick Start
1. Prepare Texture Folder
Organize your textures in a single folder with clear naming:
my_material/
  ├── my_mat_basecolor.png
  ├── my_mat_roughness.png
  ├── my_mat_metallic.png
  ├── my_mat_normal.png
  └── my_mat_ao.png
See Map Detection Keywords section for full naming reference.
2. Select Object & Material
- Select the mesh object in the viewport
- Open Shader Editor
- Switch to Shader Editor (not Geometry Nodes)
3. Set Texture Folder
- Open Node Craft panel (N Panel on the right)
- Click Texture Folder field
- Navigate to and select your texture directory
4. Preview (Optional)
- Click Preview Maps to see what the addon detected
- Verify in the status bar (e.g., "ALBEDO: my_mat_basecolor.png | ROUGHNESS: my_mat_roughness.png")
5. Build
- Click BUILD GRAPH (large button at bottom)
- Node graph auto-generates in Shader Editor
- Material is applied to selected object
⚠️ CRITICAL: Node Tree Replacement
When you build, Node Craft replaces your entire node tree.
If your object has an existing material with custom nodes:
- Enable "Always Create New Material" toggle BEFORE building
- This creates a new material instead of overwriting the old one
- Both materials stay in your blend file
- Switch between them in Material Properties
Without this toggle enabled:
- Your current nodes → DELETED
- Your edits → LOST
- You cannot undo after saving
Pro tip: Always test with "Always Create New Material" ON if you're unsure.
⚠️ Important: Node Tree Replacement Warning
When you click BUILD GRAPH, Node Craft clears the existing node tree in your active material and replaces it entirely with the auto-generated graph. This means:
- ❌ Any custom nodes you've added will be deleted
- ❌ Any manual edits to the graph will be lost
- ✅ Solution: Enable "Always Create New Material" before building to preserve your current material
Composite AO into Base Color
- Default: ON
- What it does: Multiplies the AO map into the Base Color via a Mix (Multiply) node
- Turn off if: You want AO as a separate layer for compositing later
Fix DirectX Normals
- Default: ON
-
What it does: Detects DirectX normal maps by filename (
_dx,directx,-dx,dx_) and inverts the G channel to convert to OpenGL format - Turn off if: All your normal maps are already OpenGL format
Connect Displacement
- Default: OFF
- What it does: Wires height map to a Displacement node connected to Material Output
- Turn on if: You want real geometry displacement (requires Cycles render engine and Displacement method set)
- Displacement Scale: Control how intense the displacement effect is (0.0 – 10.0, default 0.1)
Always Create New Material ⭐
- Default: OFF
- What it does: Creates a completely fresh material instead of modifying the object's current one
-
Turn ON if:
- You want to preserve your current material's nodes
- You're testing multiple texture folder builds
- You want to compare two different auto-generated graphs side-by-side
-
Turn OFF if:
- You're building for the first time (simpler workflow)
- You want to overwrite the current material (one-step setup)
- You want to avoid material clutter
Example workflow with this toggle:
- Material A exists on your object with custom nodes
- Enable "Always Create New Material"
- Click BUILD GRAPH
- Material B is created and applied to the object
- Material A still exists in the blend file (unused)
- You can switch between them in Material Properties panel
Map Detection Keywords
Node Craft identifies maps by filename. Use any of these keywords in your texture filenames (case-insensitive, works with spaces/dashes/underscores):
| Map Type | Keywords |
|---|---|
| Base Color | basecolor, base_color, albedo, diffuse, _col, _bc, _diff |
| Roughness | roughness, rough, _rgh, _r. |
| Metallic | metallic, metalness, metal, _met, _m. |
| Normal | normal, _nrm, _nor, _n., nrml |
| Height/Displacement | height, displacement, displace, _disp, _hgt, _dp |
| Ambient Occlusion | ambientocclusion, ambient_occlusion, _ao, occlusion, _occ |
| Emission | emissive, emission, emit, _emm, _glow |
| Opacity/Alpha | opacity, alpha, transparency, _opa, _alpha, _mask |
| Specular | specular, spec, _spc |
| Sheen | sheen, _shn |
| Subsurface | subsurface, sss, translucen |
| Packed ORM | _orm, orm, _arm, arm, _rma, rma |
Examples
- ✅
stone_basecolor.png→ detected as Base Color - ✅
stone-rough.jpg→ detected as Roughness - ✅
stone_normal_dx.png→ detected as Normal (DirectX) - ✅
texture_ao.exr→ detected as AO - ✅
metal_orm.png→ detected as Packed ORM (splits R/G/B to AO/Roughness/Metallic)
Specificity
If a filename contains multiple keywords (e.g., base_roughness_map.png), Node Craft picks the longest matching keyword (more specific). In this case, it would match "roughness" over "base" because "roughness" is longer.
Packed ORM Maps
Node Craft fully supports packed texture maps where multiple PBR data are encoded in RGB channels:
- ORM (most common): Occlusion (R) → AO, Roughness (G), Metallic (B)
- ARM: AO (R), Roughness (G), Metallic (B) — same as ORM
- RMA: Roughness (R), Metallic (G), AO (B)
How it works:
- Node Craft detects the packed map (e.g.,
texture_orm.png) - Splits it into R / G / B channels via SeparateRGB node
- Wires:
- R channel → AO (multiplied into Base Color if "Composite AO" is on)
- G channel → Roughness (converted to grayscale value)
- B channel → Metallic (converted to grayscale value)
If you have explicit Roughness or Metallic maps in addition to ORM, the explicit maps take priority and the ORM channel is skipped.
Node Setup Generated
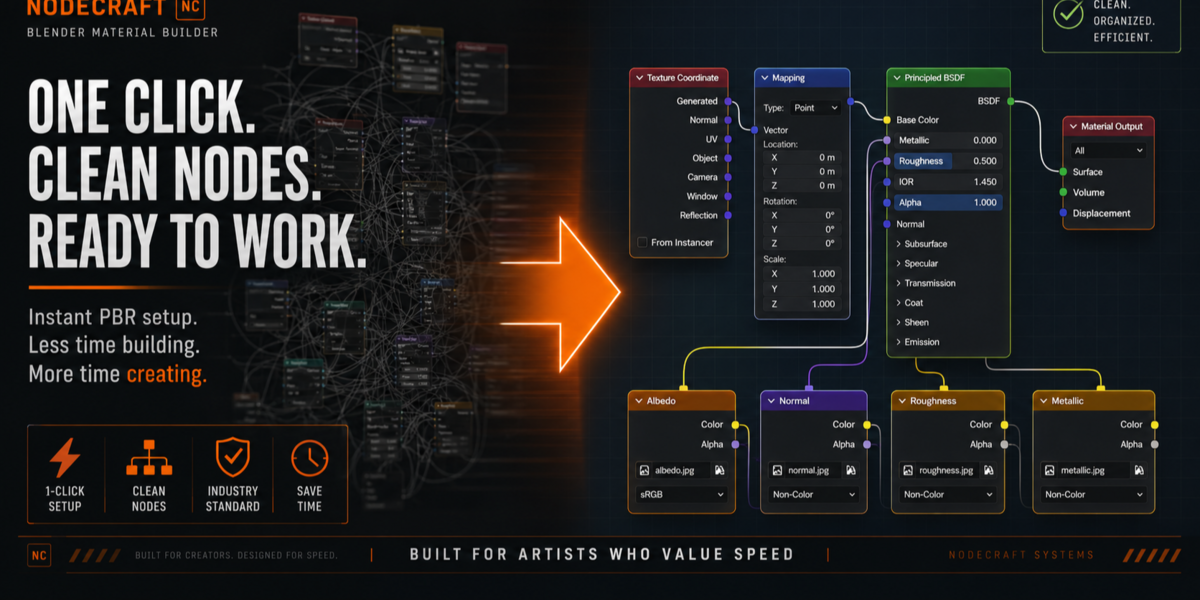
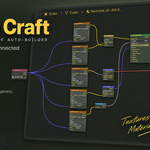
Here's what the generated node graph looks like:
UV Map  ──→ Texture (Albedo)  ───→ Mix (Multiply with AO) ───→ Principled BSDF
              (with correct colorspace & interpolation)           ↑
                                                                   │
        Texture (Roughness) → RGB→BW → ─────────────────────────→ Roughness

        Texture (Metallic)  → RGB→BW → ─────────────────────────→ Metallic

        Texture (Normal)    → Normal Map (DX fix if needed) ────→ Normal

        Texture (Height)    → Displacement ──→ Material Output (Displacement)

        [All Image Texture nodes receive UV coordinates from UV Map node]
Color Spaces:
- sRGB: Base Color, Emission, Subsurface Radius
- Non-Color: Roughness, Metallic, Normal, Height, AO, Opacity, Specular, Sheen
Normal Map Handling:
- Automatically adds Normal Map node between texture and BSDF
- If DirectX is detected: separates RGB, inverts G channel, recombines before Normal Map
RGB→BW Conversion:
- Used for scalar inputs (Roughness, Metallic, Opacity) to convert color images to grayscale values
Workflow Tips
Protecting Your Current Material
Use "Always Create New Material" in these scenarios:
- ✅ Your object already has a custom material
- ✅ You want to compare two different texture folder builds
- ✅ You're testing / experimenting with different textures
- ✅ You want to preserve the old material for reference
Without it:
- ❌ Old material nodes are deleted
- ❌ Cannot be undone after saving
When to Leave "Always Create New Material" OFF
- ✅ First time building on a mesh with no material
- ✅ You want a quick one-step workflow
- ✅ You're confident in your texture folder setup
Best Practice Folder Structure
projects/
  └── my_character/
      └── textures/
          ├── head/
          │   ├── head_bc.png
          │   ├── head_rgh.png
          │   ├── head_nrm.png
          │   └── head_ao.png
          ├── body/
          │   ├── body_bc.png
          │   ├── body_rgh.png
          │   └── body_nrm.png
Run Node Craft once per folder.
Testing & Iteration Workflow
- Enable "Always Create New Material"
- Build from
textures/v1/ - Compare results
- Adjust texture files or options
- Build from
textures/v2/→ new material created - Switch between materials in Material Properties to compare
- Once happy, delete old versions (Material Properties → X button)
Comparing Multiple Builds
Since each build can create a new material:
- Build from folder A → Material_A created
- Enable "Always Create New Material"
- Build from folder B → Material_B created
- Build from folder C → Material_C created
- Select object → Material Properties panel
- Click material names to compare them on the same mesh
- Delete unwanted ones when ready
Reuse Materials
Once built, the material is saved in the Blender file. Drag it to other objects in the Shader Editor or use the Material Properties panel.
Mixed Naming Conventions
Node Craft is flexible—use any convention as long as the keyword is present:
- ✅ Artstation style:
texture_AO.png,texture_Normal_DX.png - ✅ Game engine style:
material_ao.png,material_normal_dx.png - ✅ Substance style:
substance_roughness.png - ✅ Custom:
my_rock_albedo_2k.exr
Preview Before Building
Use the Preview Maps button before building. If something unexpected shows up, rename the file to remove the keyword.
Safe Workflow (Recommended)
- Create fresh object or ensure object has no important material
- Set texture folder
- Enable "Always Create New Material" ← Safety first
- Click Preview Maps to verify detection
- Click BUILD GRAPH
- Inspect result
- For next build, can keep toggle ON for safety or turn OFF if confident
Advanced Tips
Custom Color Spaces
If a map isn't color space correct after building:
- In Shader Editor, select the Image Texture node
- In Image Properties → Colorspace Settings → change from sRGB to Linear (or vice versa)
Subsurface/Translucency
- Node Craft connects Subsurface maps but doesn't auto-configure Subsurface Weight
- Manually adjust Subsurface Weight slider in Principled BSDF to enable
- Adjust Subsurface Radius color for fine-tuning
Sheen Maps
- Wired to Sheen Weight input
- Adjust Sheen Weight and Sheen Tint sliders in Principled BSDF for fine control
Re-scanning Different Folder
- Change Texture Folder path
- Click Preview Maps to verify detection
- Click BUILD GRAPH (will replace existing graph)
Edit Generated Nodes
After building, the node graph is just regular Blender nodes. Feel free to:
- Adjust Displacement Scale slider
- Toggle Mix Multiply nodes on/off
- Add additional nodes (ColorRamp, Mapping, etc.)
- Disconnect and rewire as needed
Note: Running BUILD GRAPH again will clear and rebuild from scratch, so save your edits elsewhere if you want to preserve them.
Version: 1.2.0
Author: Node Craft / Bohx
Blender: 3.6.0+
Have questions about this product?
Login to message
| Blender Extension Compatible | Yes |
| Published | 16 days ago |
| Blender Version | 4.2 - 5.2 |
| Extension Type | Add-on |
| Render Engine Used | Cycles, Eevee |
| License | Mit |