North Slice
 North Shutter
NorthSlice
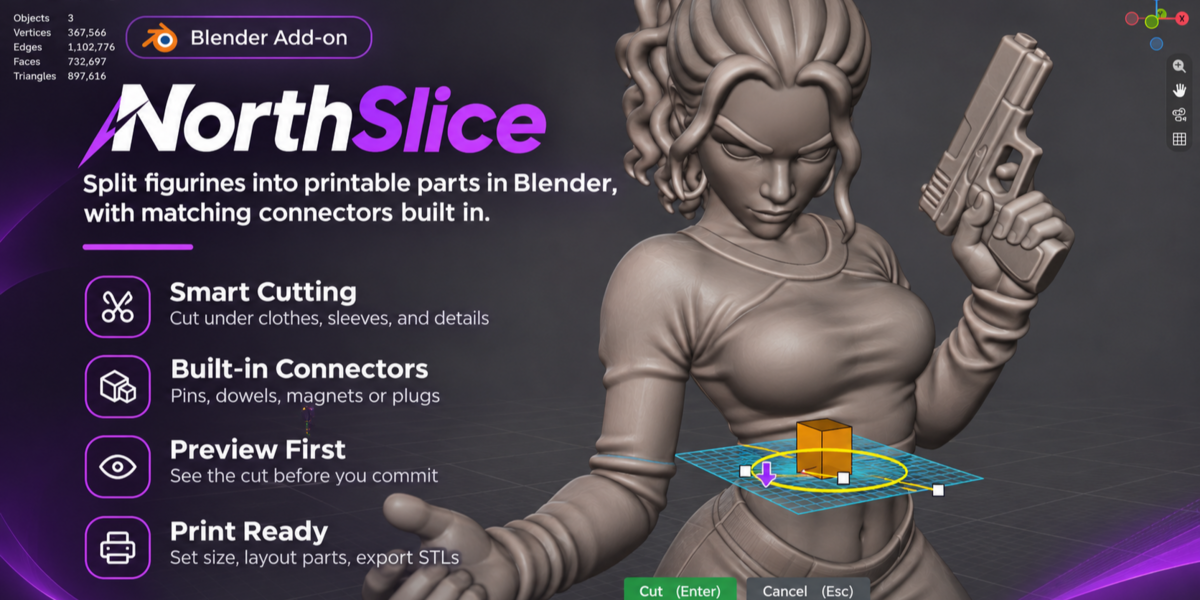
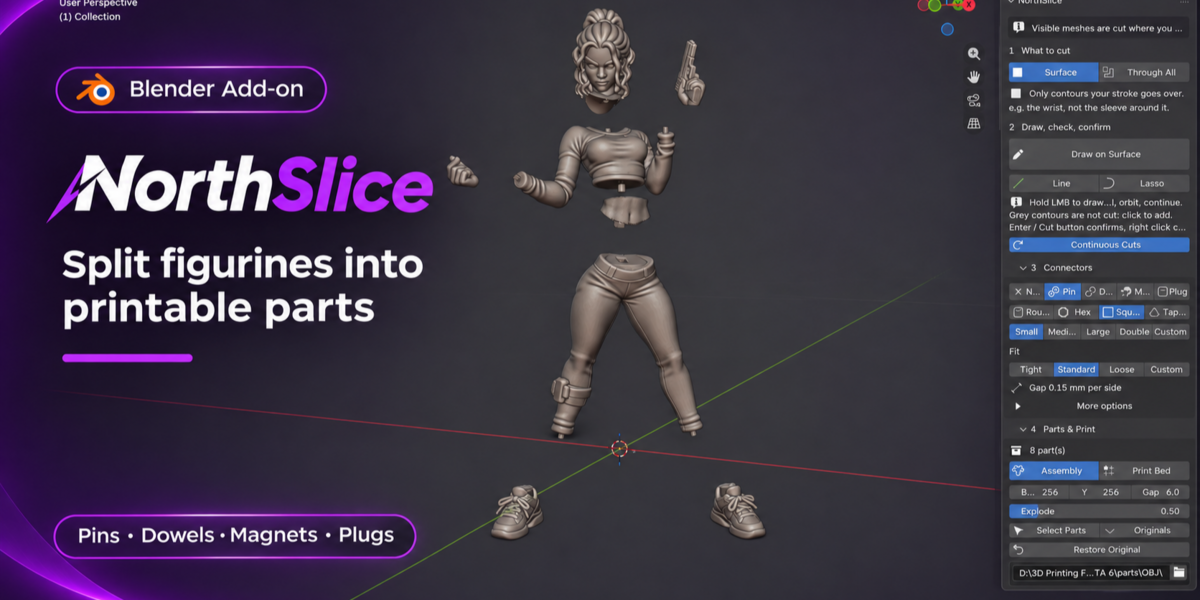
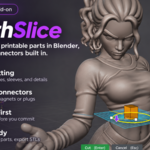
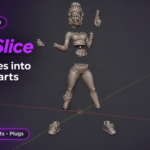
Split figurines into 3D-printable parts inside Blender, with pins, dowels, magnet pockets and plugs built into the cut faces.
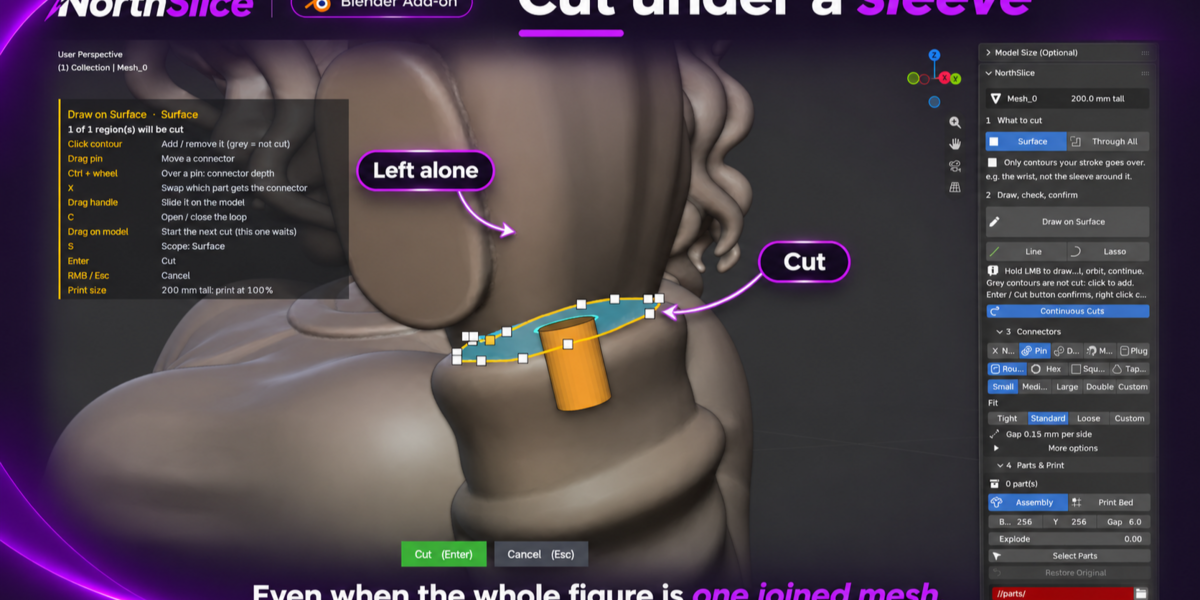
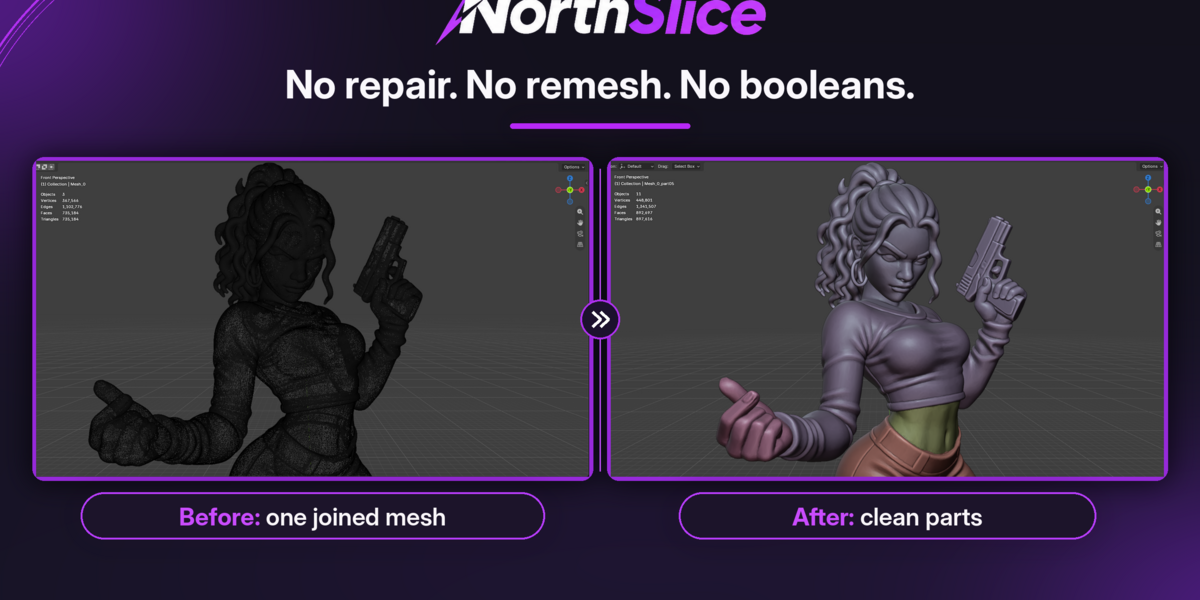
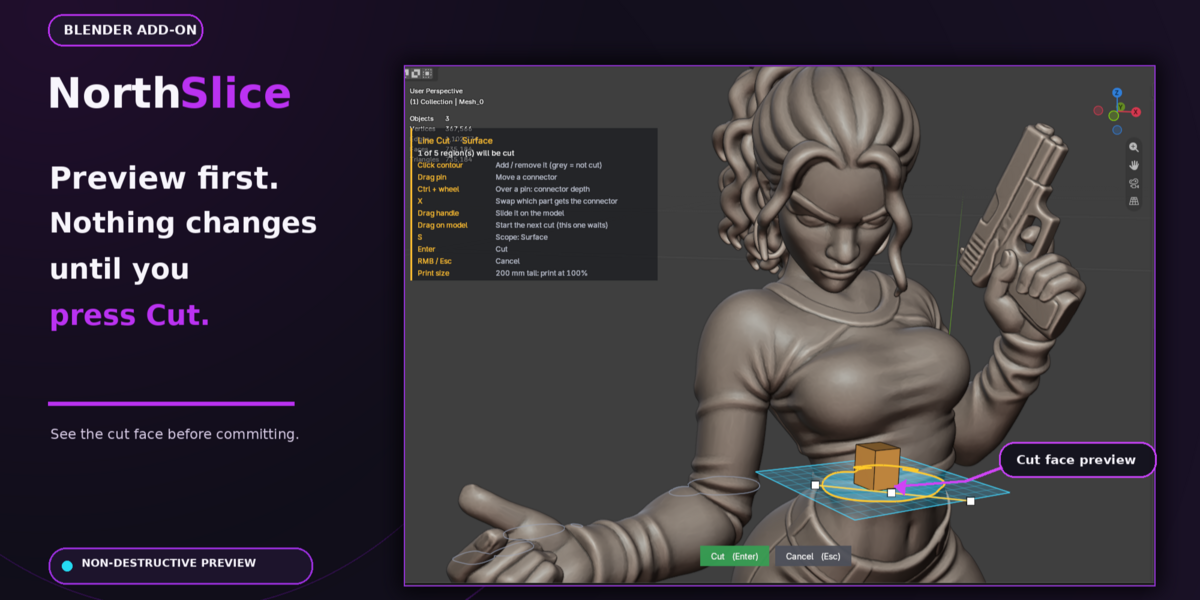
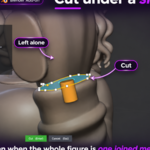
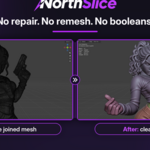
NorthSlice cuts a model where you draw on it. Its main trick is that it can cut under a sleeve: draw round the wrist inside a cuff and the wrist is cut while the cuff is left whole, even when the whole figure is one joined mesh. Nothing changes until you confirm: every cut is previewed first, with the parts it will make and the connectors it will add.
- Draw the cut on the model. The line sticks to the surface; orbit and carry on round the part.
- Preview, then confirm. See every contour and the cut face before the mesh changes.
- Works on messy meshes. Joined meshes, million-triangle sculpts, triangulated models, STL triangle soups. No booleans.
- Connectors on any cut. Pins, dowels, magnet pockets and shaped plugs, movable before you confirm.
- Ready for the printer. Print-bed layout, assembly view, explode, STL or OBJ export per part in millimetres.
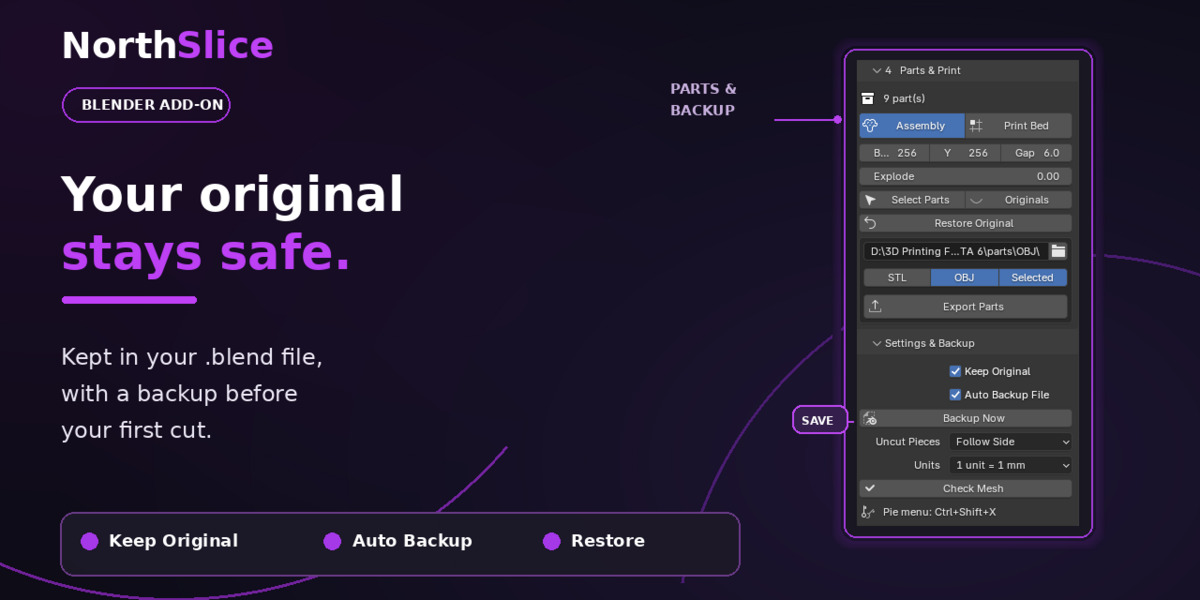
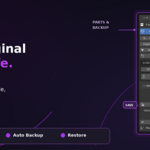
- Your model stays safe. The original stays in the file, and a .blend backup is saved before the first cut.
Requirements
- Blender 4.2 LTS or newer. Tested on Blender 4.2 LTS, 4.5 LTS, 5.2 and 5.3 on Windows.
- Windows, macOS or Linux. Pure Python, nothing extra to install, one zip for every system. Tested on Windows; macOS and Linux should work the same but haven't been tested yet.
Installation
- Download north_slice-1.0.0.zip. Don't unzip it.
- In Blender: Edit > Preferences > Get Extensions, click the ⌄ menu in the top-right corner, choose Install from Disk… and pick the zip.
- In the 3D Viewport press N and open the NorthSlice tab. Pie menu: Ctrl+Shift+X.
Mac users: Safari unzips downloads by default, which leaves a folder Blender can't install. Turn off Safari > Settings > General > Open "safe" files after downloading before downloading, or use another browser.
Updating: install the new zip the same way, then restart Blender. 12 months of updates and support included · renew at 50% after that · launch price until Dec 31, 2026 · Studio = up to 5 users in one company · GPL-3.0
Quick start
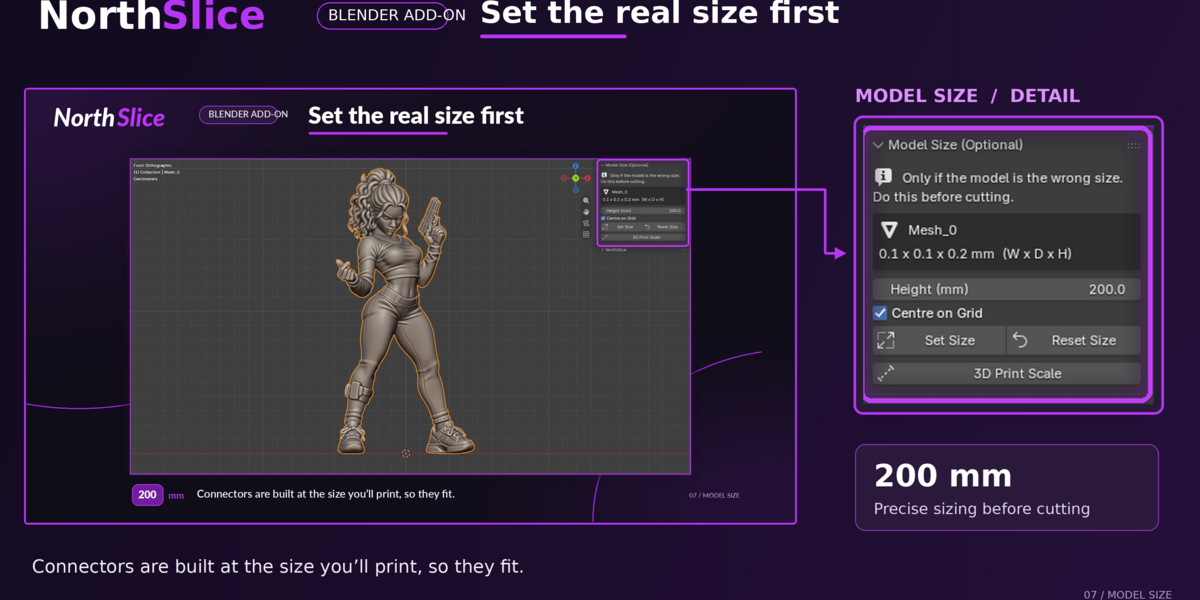
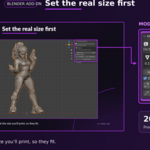
- Import your model (STL or OBJ) and check the height shown at the top of the panel. If a 200 mm figure says "2.0 mm tall", fix that first (see Print size below).
- Pick a connector in 3 Connectors. Pin, Medium, fit Standard is a good start.
- Click Draw on Surface, hold the left mouse button and draw round the neck, arm or leg. Release, orbit with the middle mouse button, keep drawing. Bring the line back to the green start ring and let go: the loop closes and the preview appears.
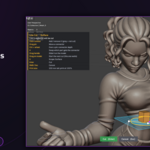
- Check the preview. Bright contours will be cut, grey ones won't. The brass shape is the real connector; drag it to move it.
- Press Enter or click the on-screen Cut button. Right click or Esc cancels.
- When everything is cut, click Print Bed, then Export.
Print size: set it in Blender, print at 100%
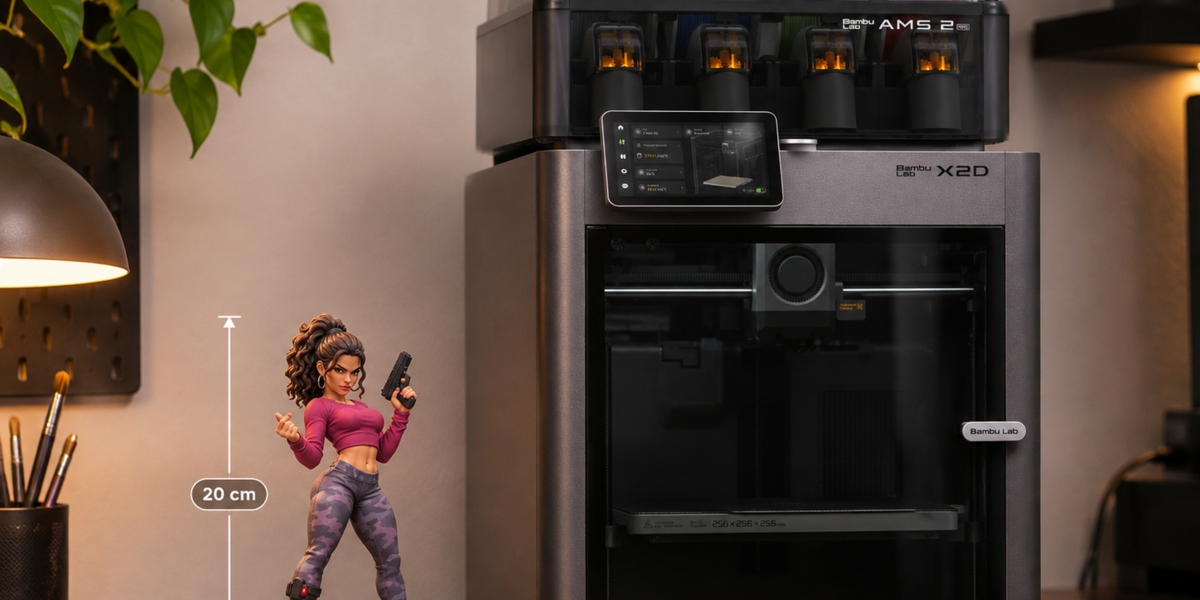
A connector's fit gap (0.15 mm per side by default) is made for the size you will print. Scaling the parts in your slicer scales the gap too: twice as big and the pin wobbles, half the size and it won't go in. Set the print height in Blender and print at 100%.
NorthSlice reads 1 Blender unit as 1 mm. The size guard catches models exported in other units before you cut:
- Under 15 mm or over 5 m: opening the cut tool asks How tall will you print this?, names the likely mix-up and fills in the corrected height ("Probably exported in inches. Set height to 200 mm?").
- Between 2 and 5 m: it only asks whether that is the size you want.
- It never blocks: Keep this size cuts the model as it is. Set Real Size… in the panel opens the same question any time.
Model Size (Optional), at the top of the sidebar: type a Height in mm and press Set Size to scale the model evenly to that height (before cutting). Reset Size undoes it. 3D Print Scale sets the scene to millimetres without resizing anything.
Cutting: draw, check, confirm
1. Draw
Draw on Surface (the main tool): hold the left mouse button and draw on the model. Strokes join up as you orbit and continue. Backspace undoes a stroke, C closes the loop by hand, Enter previews an open line. A closed loop on Surface takes off only what it encloses, even when a sleeve is fused to the wrist, and allows the shaped Plug connector.
Line: a straight cut across the current view, ends snapping onto the model. Cleanest for a bare limb.
Lasso: a loop round a region from the current view; the model turns slightly see-through.
2. Check the preview
- Bright = will be cut, grey = left alone. A cyan hologram shows the cut face. Nothing has changed yet.
- Click a contour to add or remove that region. Drag a handle to adjust; handles slide on the surface.
- Drag a connector to move it (red = doesn't fit there). Ctrl + scroll over it to make it shallower or deeper.
- S switches the scope, X swaps which part gets the pin or plug.
3. Confirm
Enter or the Cut button. Right click or Esc cancels at any point. If the chosen regions don't separate the model, the cut is refused with the reason and you stay in the preview.
Scope
| Scope | What gets cut |
|---|---|
| Surface | Only the regions your line is drawn on. Draw round the wrist under a cuff: the wrist is cut, the cuff is not. |
| Through All | Every region the cut crosses, on every visible mesh. |
Continuous Cuts
On by default. Draw a cut there, there and there, then press Enter once. Drag on the model to start the next cut while a preview is shown; click a waiting cut's connector or outline to adjust it again. Progress shows as Cut 3 of 9; Esc stops after the current cut. Backspace discards the cut on screen, then the last waiting one.
Connectors
Optional on every cut. Each one is placed at the point furthest from the edge of the cut face; faces too thin for one are skipped, and the status bar says so.
| Type | Result |
|---|---|
| None | Just split. |
| Pin | Pin on one part, socket in the other. Round, Hex, Square (no rotation) or Tapered (self-aligning). |
| Dowel | Holes in both parts plus a separate dowel to print. |
| Magnet | Matching pockets for round magnets of the size you enter. |
| Plug | A plug in the shape of the opening, reaching into a hidden socket. Needs a closed line drawn on Surface; other cuts get a pin. |
Size: Small, Medium and Large scale to each cut face and the mesh. Double puts two side by side so parts can't rotate. Custom sets size and count yourself.
| Fit | Gap per side | When to use |
|---|---|---|
| Tight | 0.10 mm | Well-tuned resin printers, snug press fit. |
| Standard | 0.15 mm | Default. Resin and fine FDM. |
| Loose | 0.25 mm | FDM, or parts that will be glued. |
| Custom | 0–2 mm | Your own value. |
More options: Max per Face, Pin On (Auto puts the socket in the deeper part), Socket Extra Depth (0.4 mm), Min Wall (1.2 mm), Min/Max diameter, Chamfer Tips.
Parts & Print
- Print Bed rests every part on its best flat face and packs the parts onto beds of your printer's size (default 256 × 256 mm).
- Assembly puts every part back where it was. Explode pulls it apart to inspect.
- Restore Original deletes the parts and brings the original back.
- Export writes one STL or OBJ per part, in millimetres.
Settings & Backup
- Keep Original: the uncut model stays hidden in the NorthSlice Originals collection.
- Auto Backup File: before the first cut of each session, a copy of your saved .blend goes to a NorthSlice_Backups folder next to it (last 5 kept). Backup Now makes one any time.
- Uncut Pieces: loose pieces a cut didn't touch follow a side or become separate objects.
- Units: 1 unit = 1 mm, or the scene's units. Check Mesh reports triangles, pieces and open edges.
Troubleshooting
Pins too tight or too loose? Make sure you printed at 100%, then change Fit (Loose if tight, Tight if loose). A quick test print of one joint is worth it.
A face got no connector? It was too thin. Try the Small preset, a smaller Min diameter or a lower Min Wall, or cut somewhere thicker.
"Doesn't separate the model"? It is still joined somewhere else. Click the grey contours where it is joined, or draw further round.
The sleeve was cut too? Use the Surface scope (S in the preview) and click the cuff's contour to turn it grey.
Chose Plug, got a pin? A plug needs a closed line drawn with Draw on Surface and the Surface scope.
Known limitations
- You can't draw on surfaces hidden under a cuff: draw on the visible wrist and the cut carries on under it.
- Connectors on Lasso cuts are placed automatically and can't be moved in the preview.
- A plug's socket wall can end up thinner than 1.2 mm; NorthSlice warns and still builds it.
- On meshes that already have defects, a few open edges can remain near the cut.
- Print Bed packing doesn't rotate parts to fit more on a bed.
- Auto Backup needs a saved .blend.
Update check & privacy
Once a day NorthSlice reads one small file online to see whether a newer version is out. It sends nothing about you or your files, downloads and installs nothing, only runs when Blender's Allow Online Access is on, and can be turned off in Edit > Preferences > Add-ons > NorthSlice.
Support & licence
Questions or bug reports: message us here on Superhive. Please include your Blender version and system, what you drew, and any status-bar message.
NorthSlice is released under the GNU GPL v3.0 or later. Copyright © 2026 alexandruiftimi-ns.
 Included
Includes 12 months of
- Support from North Shutter
- Product updates
Extend this product’s Support Period +12 months: 50% of product price
Have questions before purchasing?
Login to message
| Blender Extension Compatible | Yes |
| Published | about 24 hours ago |
| Blender Version | 4.2 - 5.3 |
| Extension Type | Add-on |
| Render Engine Used | Cycles |
| License | GPL |
Discover more products like this
cut-model northslice Print Preparation pins and sockets STL export figurine connectors model splitter miniatures split model 3d printing Resin Printing