Obssidian Optic Cloak FX
 Obssidian Art
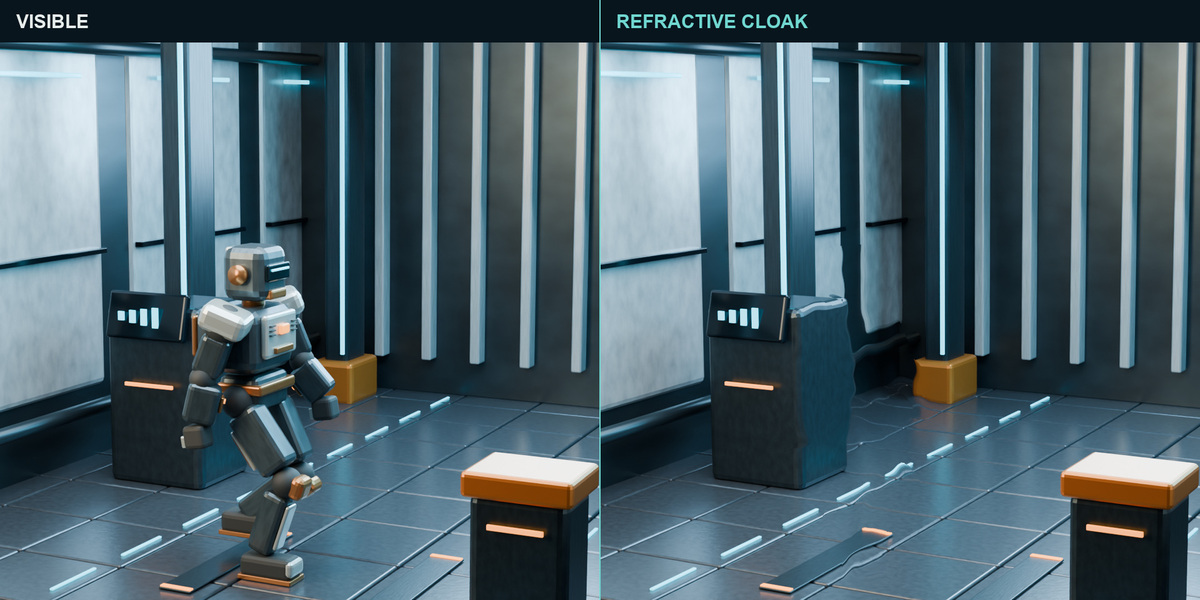
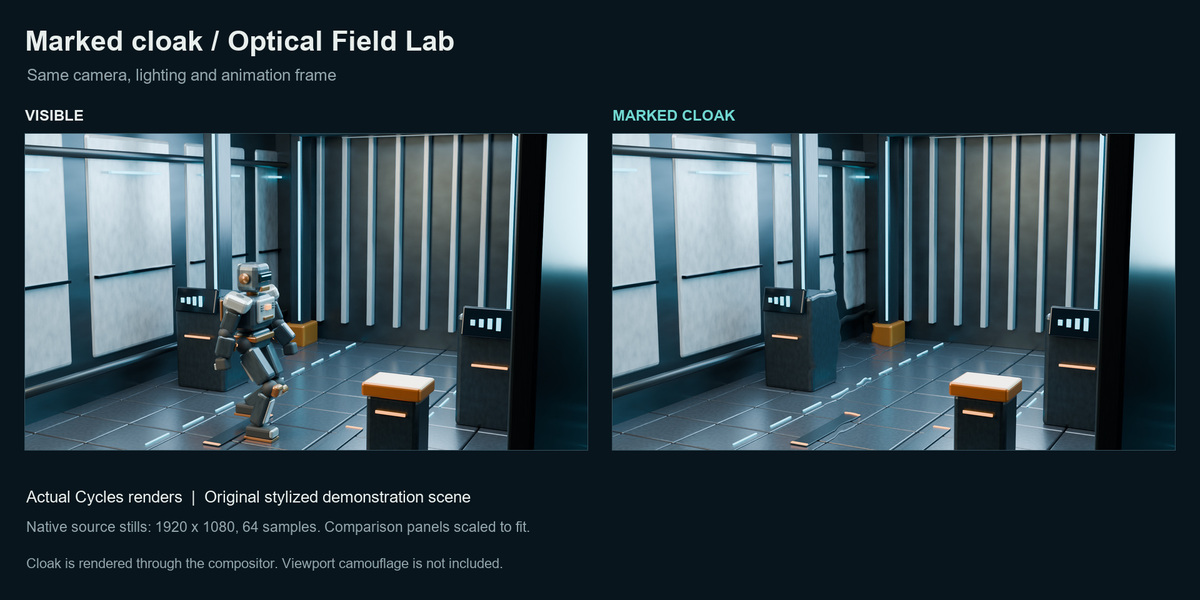
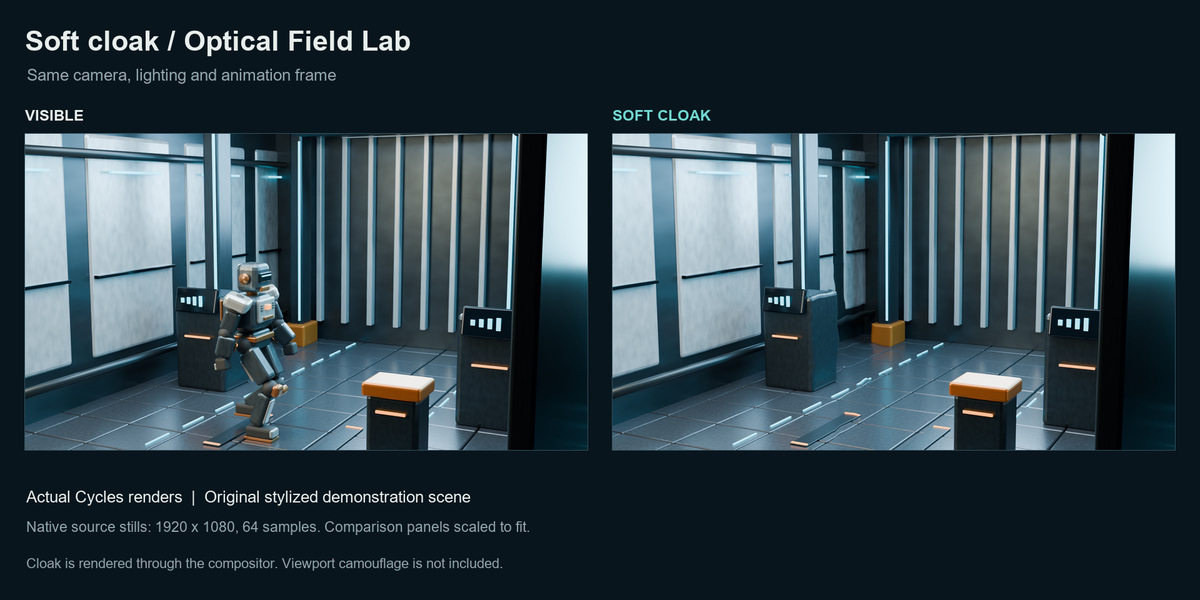
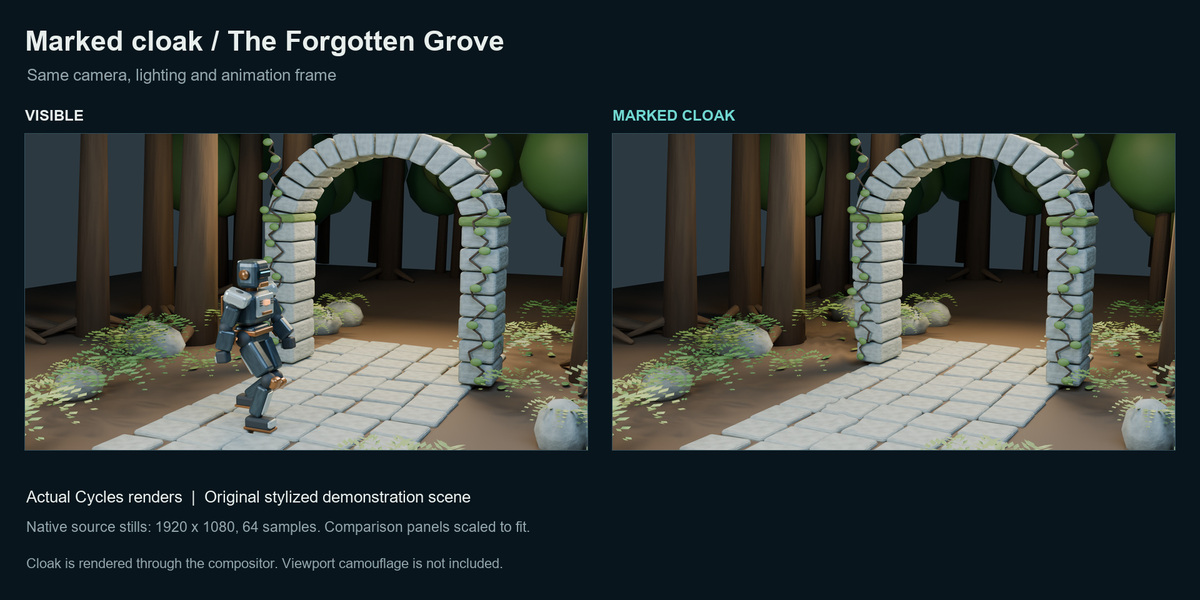
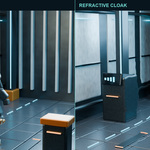
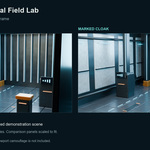
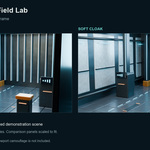
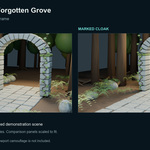

Installation and use
Before upgrading
Open projects that use an older Obssidian setup, use Remove Cloak / Restore Scene and save a copy. Disable the previous portable installer, preview controller or legacy Obssidian addon. Enable only one controller at a time.
Install the extension
- Open Edit > Preferences > Get Extensions.
- Open the menu and choose Install from Disk.
- Select the approved extension ZIP without unpacking it and enable it.
- In the 3D View press N and open the Obssidian FX tab.
Install Obssidian_Optic_Cloak_FX_0.5.2.zip directly. Extract the separate scene archive to open the examples. Do not install the outer seller kit as an extension.
Apply a cloak
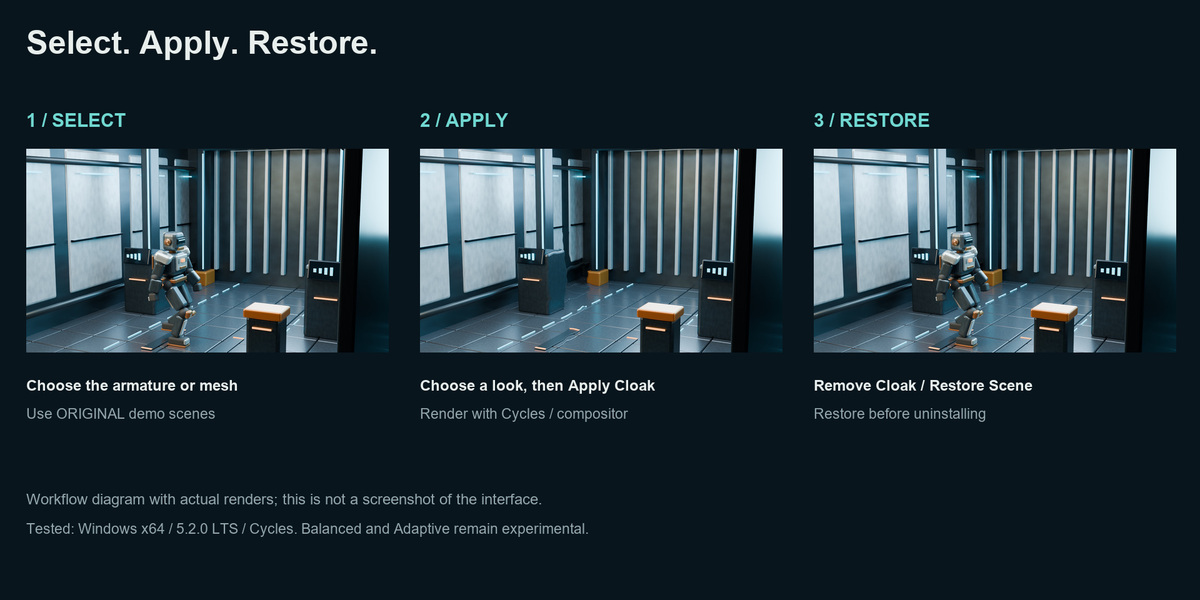
- Open an ORIGINAL example or a saved copy of your project.
- Select the subject armature or mesh. If using multiple subjects, select them together and keep one selected object active.
- Choose a look in the Obssidian FX panel.
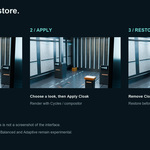
- Click Apply Cloak / Aplicar.
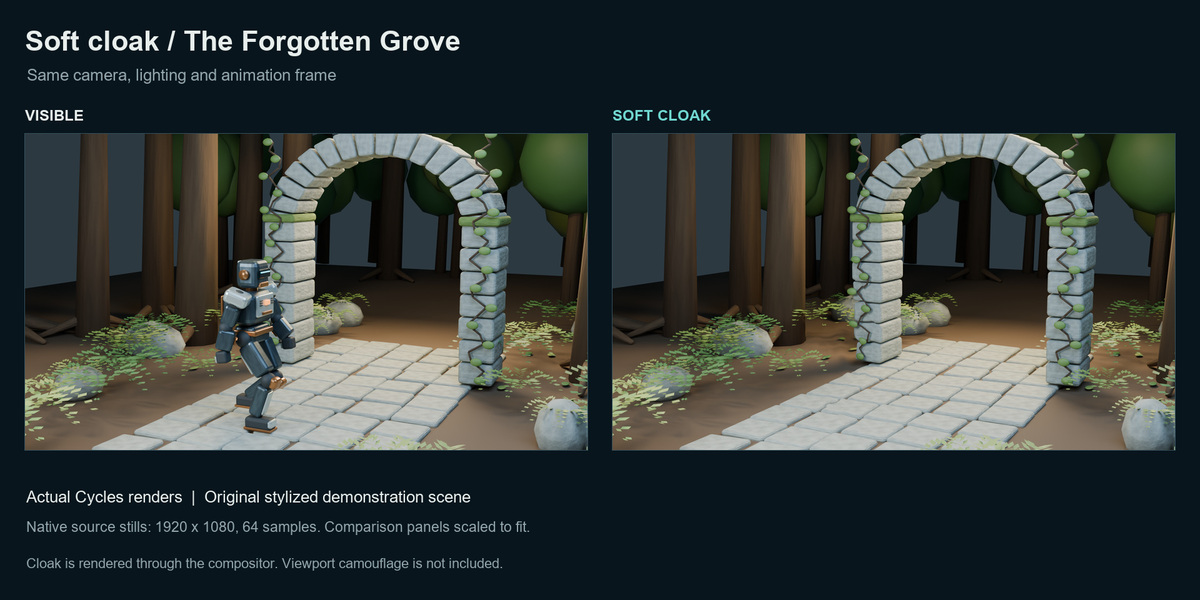
- Use Cycles and render with F12. The cloak is composited in the final render.
A repeated Apply with the same subject set is a no-op. To change the subject set, restore first, then select the new set and apply again. The dedicated wave-field override does not permanently replace your subject's original mesh materials.
Adjust a look
Choose a preset and click Use Preset / Usar preset. The Fine controls / Ajustes section exposes distortion, rim, smoothness, feather, field recovery, adaptive edge, shimmer, refraction spread, base-wave motion and micro-phase speed. Balanced and Adaptive are experimental; test a short excerpt of your shot before committing a long render.
Restore
Click Remove Cloak / Restore Scene before disabling or uninstalling. It restores the saved collection memberships, compositor and properties. The journal remains in the .blend after saving and reopening. If a managed view layer was renamed or deleted, or managed collections were edited, restore their required state before retrying. Do not remove the journal manually to bypass an error. A missing saved original compositor cannot be reconstructed by this tool; recover your backup.
Render the supplied scenes
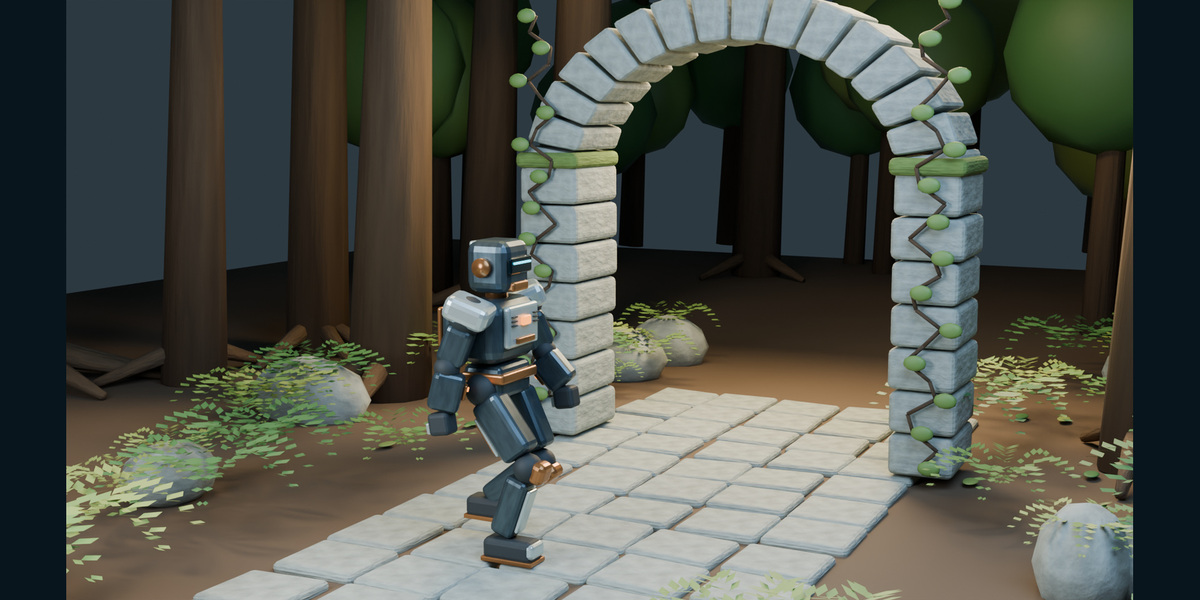
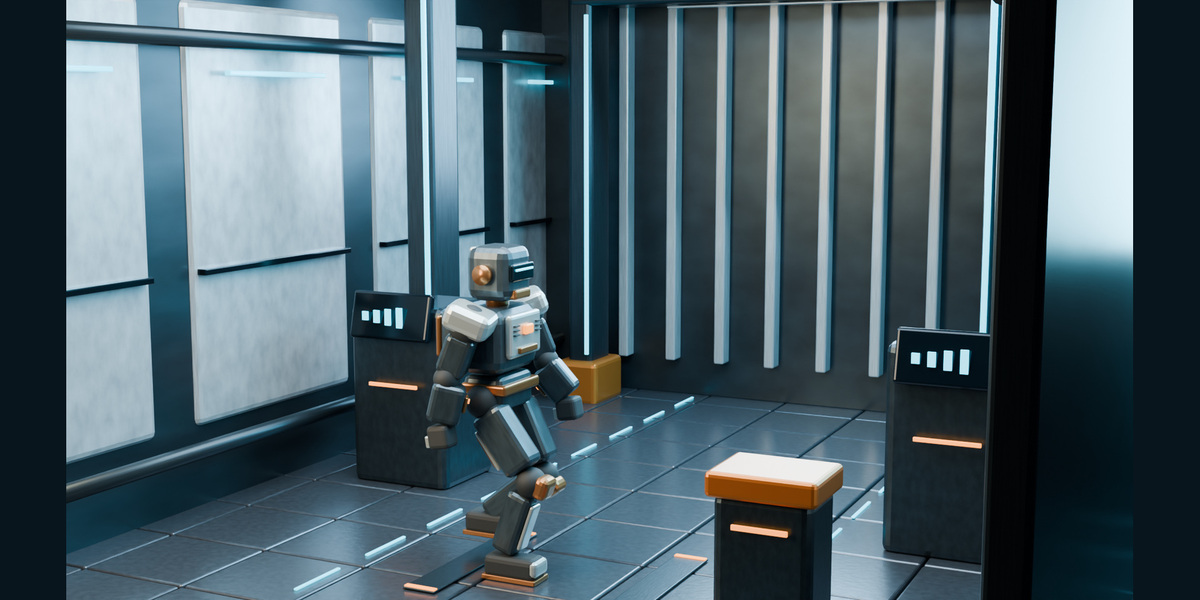
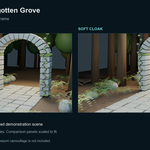
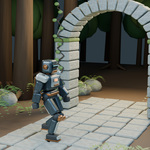
Extract the scenes ZIP. ORIGINAL is the visible setup; CLOAK_ACTIVE has Invisible Soft already applied; RESTORED has the setup removed. Render with F12. Outputs are relative under //renders/. GPU is preselected; choose CPU in Render > Device if no compatible GPU is configured. Reduce samples or resolution percentage for quick previews.
The source walk lasts 48 frames. The shipped video excerpts cover 32 frames. Scene geometry, materials and animation are editable. Temporary movie EXR caches are not part of the active scene dependencies.
Troubleshooting
- No panel: enable the extension, use the 3D View and press N.
- No visible cloak in viewport: inspect the Cycles compositor render, not Material Preview.
- Apply rejected: use local, editable subjects that belong to one scene; remove old competing controllers.
- Restore blocked: preserve the journal and backup; restore managed collection/layer names or recover the original missing data.
- GPU failure: configure a compatible device or select CPU.
- Unexpected refraction on a new project: render a short test with depth changes and foreground props. General transparency/hair/Geometry Nodes support is not certified.
Reporting an issue
Use the product's Superhive support inbox. Include extension version, Blender patch version, OS/GPU, steps to reproduce and a minimal project you are authorized to share. Do not send client-confidential scenes. Refer to the support terms shown on the product listing for response and update coverage.
Have questions about this product?
Login to message
| Blender Extension Compatible | Yes |
| Published | 11 days ago |
| Blender Version | 5.2 |
| Extension Type | Add-on |
| Render Engine Used | Cycles |
| License | GPL |
Discover more products like this
compositor science fiction invisibility refraction VFX camouflage Cycles