Oneclick Asset – One Click To Save Assets & Generate Previews
 VertexModeler Inc.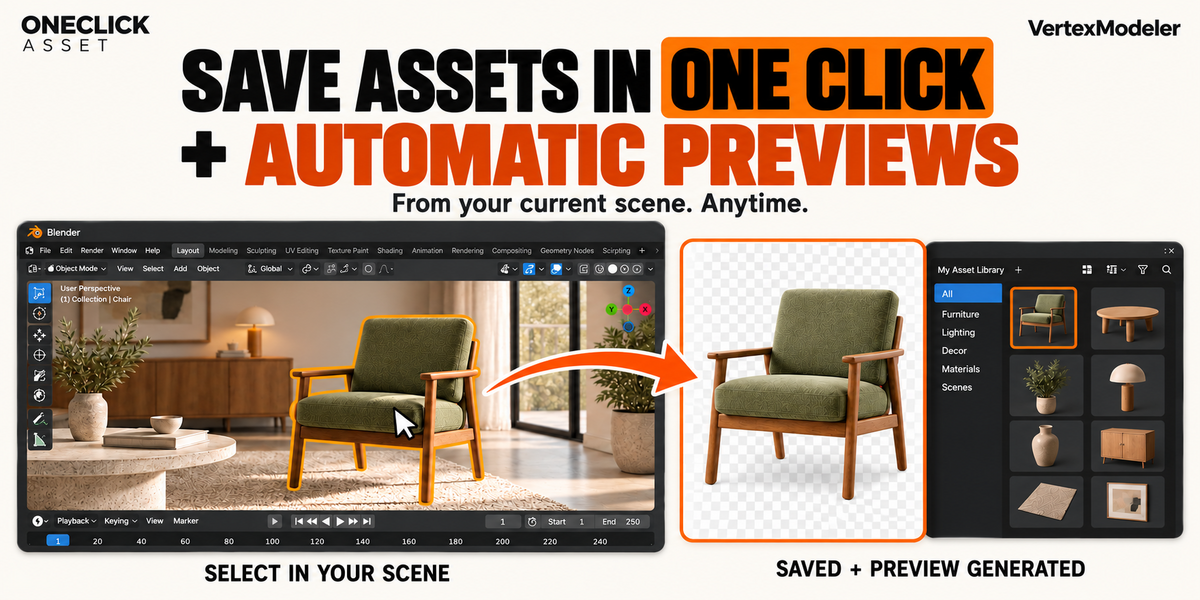
ONECLICK ASSET — USER DOCUMENTATION
One Click to Save Assets & Generate Previews
Version: 1.0.2
Author: VertexModeler
1. WHAT IT DOES
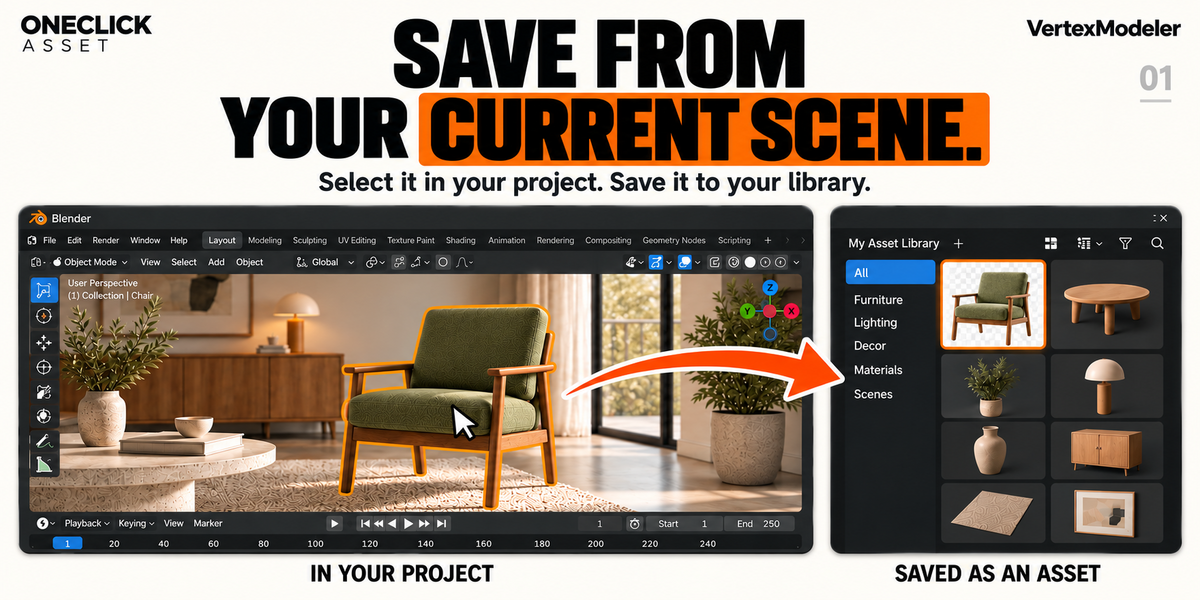
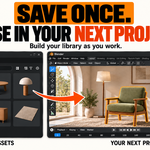
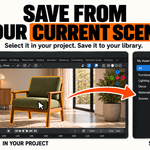
Save useful work while you build your scene. OneClick Asset exports your selected object, object set or material to a local Blender asset library and automatically generates a transparent preview in the same operation.
Choose your asset, open the export command, check the destination and confirm. You do not need to create and attach a thumbnail separately. Preview rendering still takes time; “one click” describes the combined save-and-preview workflow, not an instant render or a replacement for first-time setup.
2. REQUIREMENTS AND INSTALLATION
Release target: Windows x64, Blender 4.0–5.2.
Linux and macOS are not supported release targets.
Blender 4.0–4.1:
Open Edit > Preferences > Add-ons > Install, select the plugin ZIP and enable OneClick Asset.
Blender 4.2–5.2:
Open Preferences > Add-ons, use the menu's Install from Disk command, select the plugin ZIP and enable OneClick Asset.
Keep the ZIP intact when installing. If replacing an earlier development build, remove the previous add-on, restart Blender and install the current package. Avoid enabling two copies. Do not delete your asset library when removing the add-on.
3. FIRST-TIME LIBRARY SETUP
Create a local folder for your assets. In Blender Preferences > File Paths > Asset Libraries, register that folder as an asset library.
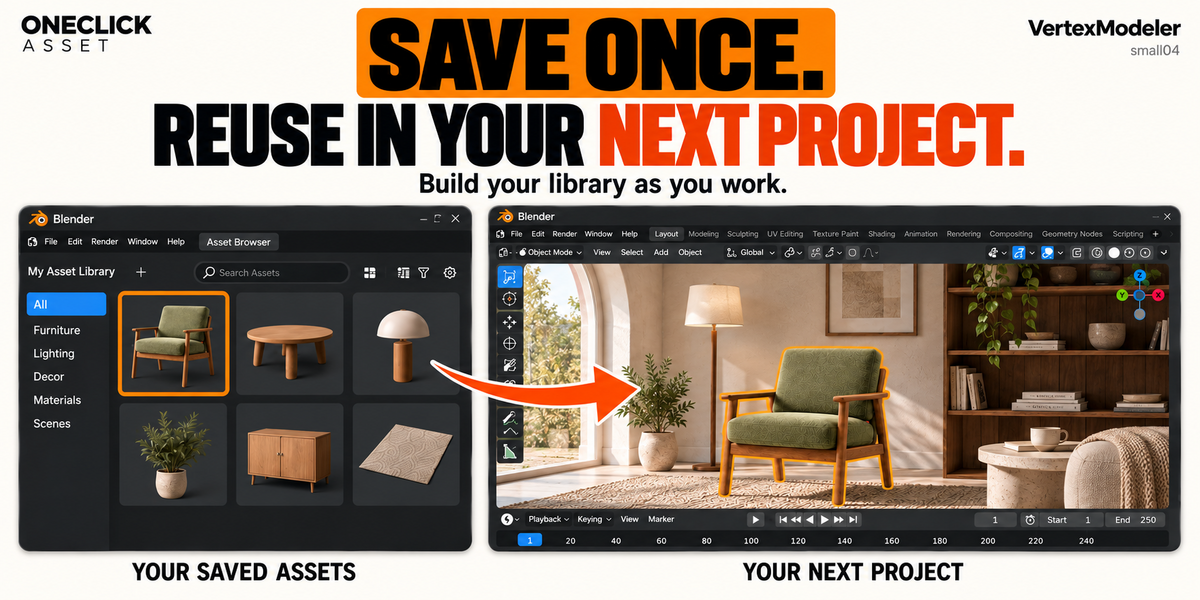
Use a folder you can write to, outside the add-on installation directory. Your saved assets belong in this library, so updating the add-on does not require moving them.
4. SAVE YOUR FIRST ASSET
1) In Object Mode, select the object or objects you want to save.
2) Right-click and choose OneClick Asset: Export Asset. You can also find this command with F3 search.
3) Check the asset name, destination library and Catalog.
4) Check the suggested Asset Type. One selected object suggests Object; multiple selected objects suggest Collection. You can change the type yourself.
5) Leave Render Preview enabled to generate the transparent thumbnail. Choose the preview angle and framing if needed.
6) Confirm the export and allow processing to finish.
7) Open the destination library in Blender's Asset Browser. Refresh the browser if the new asset is not yet visible.
The asset and its preview are stored together in the exported .blend file. Existing asset files are not overwritten by a new export.
5. CHOOSE AN ASSET TYPE
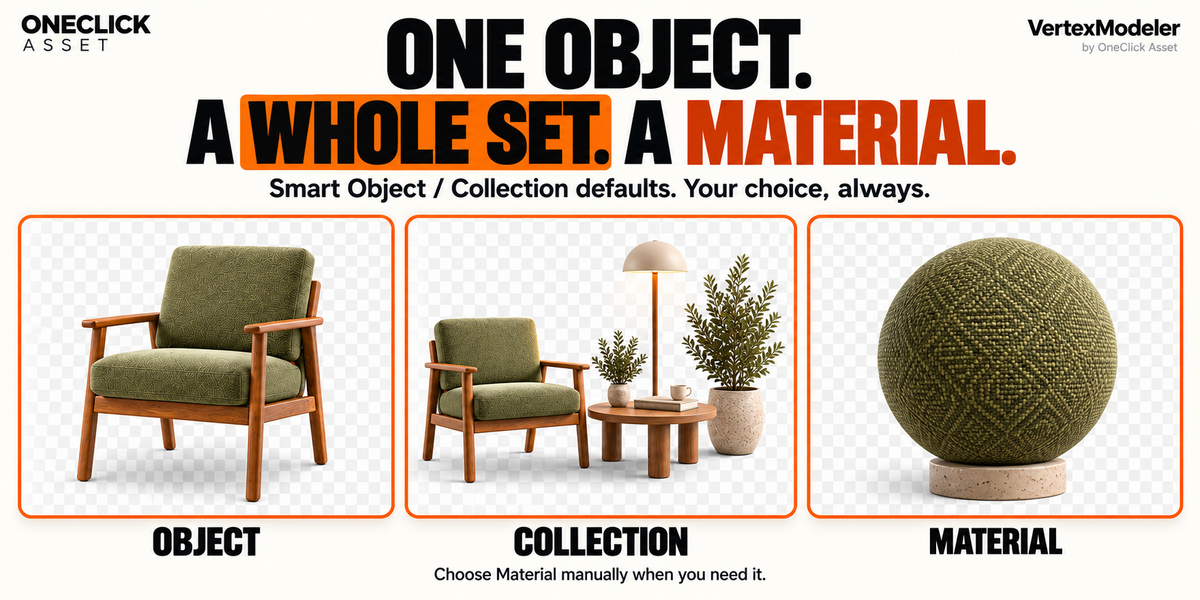
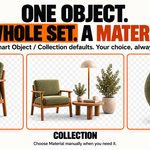
Object: Export the active object as an object asset. This is the suggested choice when one object is selected.
Collection: Export the selected objects together as one collection asset. Use this for furniture sets or other assemblies that should be reused together.
Material: Export one chosen material with its own preview. This requires an exportable material on the active object. It is a manual asset type, not an option that automatically creates extra material assets when saving a model.
6. PREVIEW ANGLES AND FRAMING
Render Preview is enabled by default. Turn it off if you do not want the add-on to render a custom thumbnail.
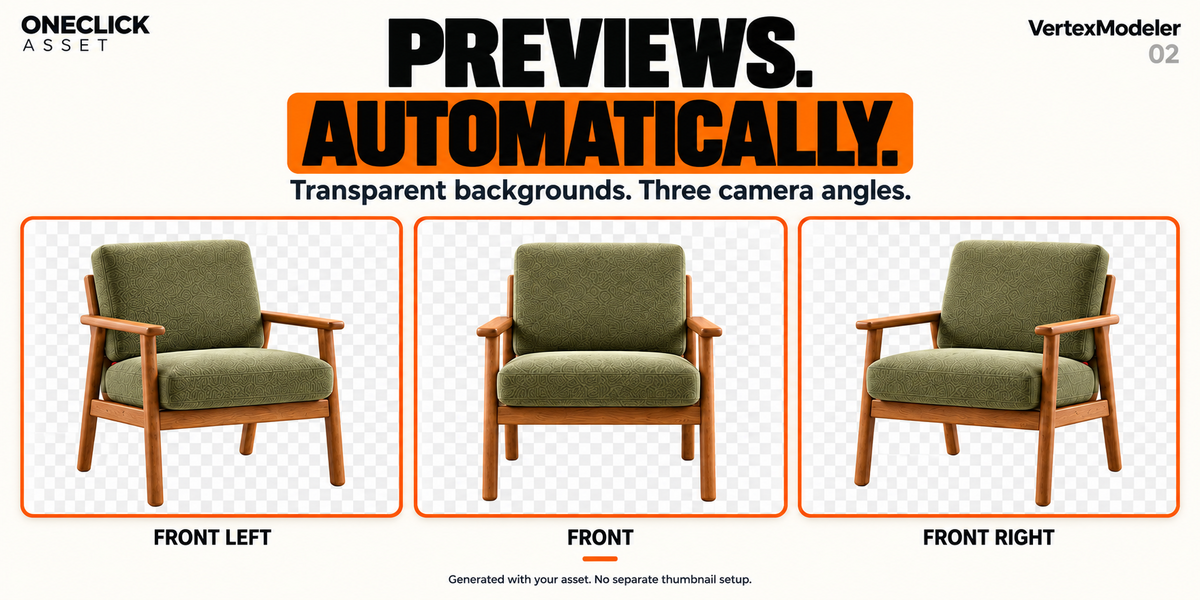
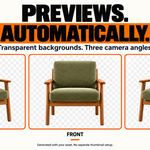
Front: Centered in the preview frame, without a sideways angle.
Front Left / Front Right: Positioned 45 degrees to either side of Front.
All three views have a gentle 15-degree downward angle.
These are preview-scene camera views, not your current viewport angle. Use Asset Orientation to align the model's intended front for its thumbnail. This changes the preview orientation, not the source object in your working scene.
Use preview margins to leave more or less space around the asset. If an existing asset still shows an old angle, export it again and inspect the newly created asset file. Changing the setting does not replace thumbnails already saved in older files.
7. PREFERENCES
Preview Quality:
Fast — Faster rendering with less detail.
Balanced — A balance between detail and rendering time; the default.
High Quality — Sharper previews with slower rendering.
Scene Loading:
Reuse Loaded Scene — The default. Speeds up repeated previews by keeping the preview scene loaded; uses more memory.
Reload Each Time — Reloads the preview scene for each export; slower.
Apply Rotation & Scale:
Enabled by default for single-object exports. Applies transforms to the export copy. Some modifiers can evaluate differently after transforms are applied; check the exported result if your setup depends on object transforms.
Place on Ground:
Enabled by default for single-object exports. Places the export copy on the ground.
Default Author:
Sets the author metadata for exported assets.
Reset Preview Scene:
Restores the supplied preview setup and replaces your custom preview settings. Use it only if you want to discard those changes.
8. CATALOGS AND LIBRARY ORGANIZATION
Choose a saved catalog or enter a new catalog name during export. Existing catalog identifiers are reused; a new name creates a catalog and a corresponding folder.
If catalogs seem to be missing, confirm that the intended library is selected and save any pending catalog changes in Blender before reopening the export dialog. Unsaved catalog edits may not be visible to file-based operations.
OneClick Asset: Update Catalogs from Folders updates catalog metadata from the library's folder layout and backs up changed files.
OneClick Asset: Organize Folders from Catalogs moves asset files to match the catalogs and creates backups. File moves can affect references. The tool skips referenced source files it detects inside the scanned library, but cannot discover or update references from projects outside that library. Review your library and project dependencies before organizing files.
9. DELETE ASSETS
In the Asset Browser, select the asset and use delete(OCA). Review every listed file path in the confirmation dialog before proceeding.
WARNING: This permanently deletes the selected asset's entire .blend file, including every other asset and data block stored in that file. It does not move the file to the Recycle Bin, cannot be undone in Blender and has no restore command. Projects linking to the deleted file will lose that reference.
This command does not delete Current File assets or files outside registered writable local libraries. Keep your own backups if you may need the asset again.
10. DEPENDENCIES AND VERSION COMPATIBILITY
Export works on copies of your data. Supported still-image dependencies are packed into the export copies. Missing image files can stop packing; restore their paths before exporting. Do not assume movies, image sequences, simulation caches or every external dependency are embedded. Read any export warnings and verify the saved asset in another project.
The exported .blend file uses the Blender version that creates it. OneClick Asset does not convert newer file formats, nodes or features for older Blender releases. If Blender 4.0 compatibility matters, create and verify the asset in Blender 4.0.
Collection exports on Blender 4.3–5.1 use an additional background save to preserve thumbnails. This may add a few seconds; allow the operation to finish.
11. TROUBLESHOOTING AND SUPPORT
Export command unavailable: Switch to Object Mode and select an exportable object.
No destination library: Register a writable local asset library in Preferences.
New asset not visible: Select the correct library and catalog, clear Asset Browser search filters and refresh the browser.
Old preview still visible: Inspect the newly exported file; older files keep their saved thumbnails.
Preview too slow: Use Fast quality or reuse the loaded preview scene.
Unexpected export appearance: Check dependencies and transform-sensitive modifiers; compare the exported asset in a fresh project.
When requesting support, include the OneClick Asset version, exact Blender version, Windows version, asset type, error text and steps to reproduce. Include a small example file if you can share it.
The supported version range is a release target, not a guarantee for every GPU, driver, third-party modifier or shader combination.
12. LICENSE AND INCLUDED CONTENT
OneClick Asset is distributed under GNU General Public License version 3 only (GPL-3.0-only). See LICENSE.txt in the plugin package for the complete terms.
Furniture and interior scenes shown in marketing images demonstrate the workflow. They are not an included model library.
 Included
Includes 12 months of
- Support from VertexModeler Inc.
- Product updates
Extend this product’s Support Period +12 months: 50% of product price
Have questions before purchasing?
Login to message
| Blender Extension Compatible | Yes |
| Published | 15 days ago |
| Blender Version | 4.2 - 5.2 |
| Extension Type | Add-on |
| Render Engine Used | Blender-Internal, Cycles, Eevee |
| License | GPL |
Discover more products like this
scene organization asset management Blender Add-on Automatic Previews asset export one-click 3d assets thumbnail generator productivity asset library asset-browser Workflow