Ontracks
 Shahzaib A.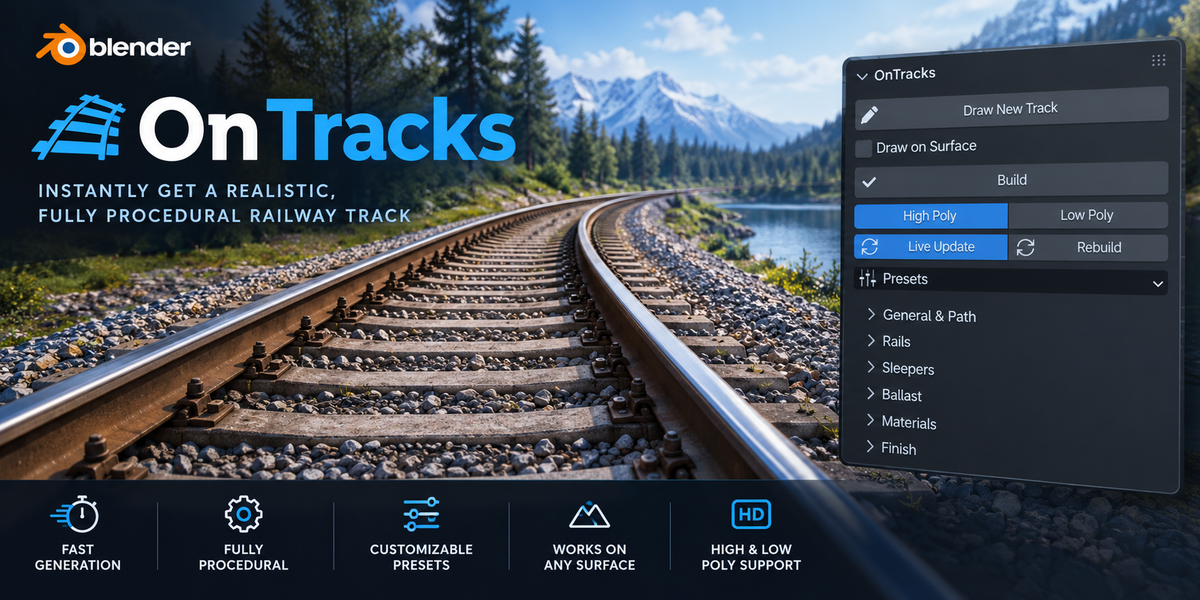

1. Installation
- Download the add-on
.zipfile. Do not unzip it. - In Blender, open Edit > Preferences > Add-ons.
- Use the install option and select the
.zipfile. - Enable OnTracks in the add-on list.
- Open the 3D Viewport, press N to open the sidebar and click the OnTracks tab.
No extra libraries or internet connection are needed.
2. Quick Start
- Click Draw New Track. Blender enters Edit Mode with the Draw tool active.
- Hold Left Mouse Button and draw the path of your track.
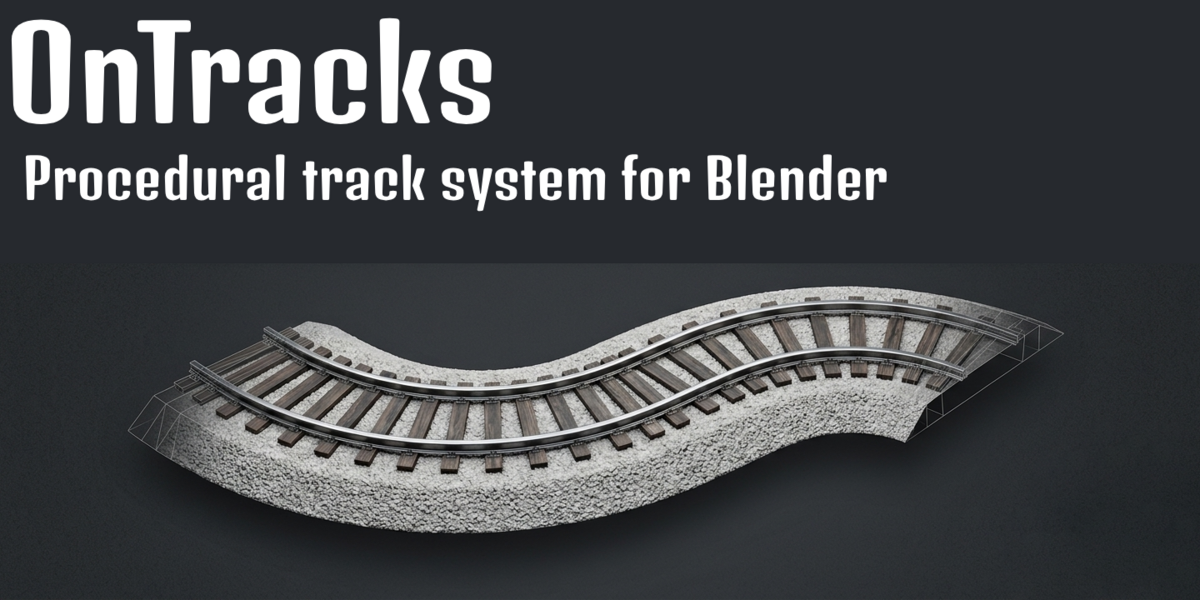
- Click Build. The rails, sleepers and ballast are generated.
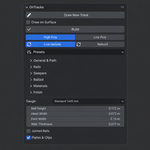
- Open the Presets menu to switch between track styles, or open the sub-panels to fine-tune the result.
That's it. With Live Update on, any change you make rebuilds the track automatically.
Already have a curve? Select it and click Use Selected Curve to convert it into a track.
3. Main Panel
| Control | What it does |
|---|---|
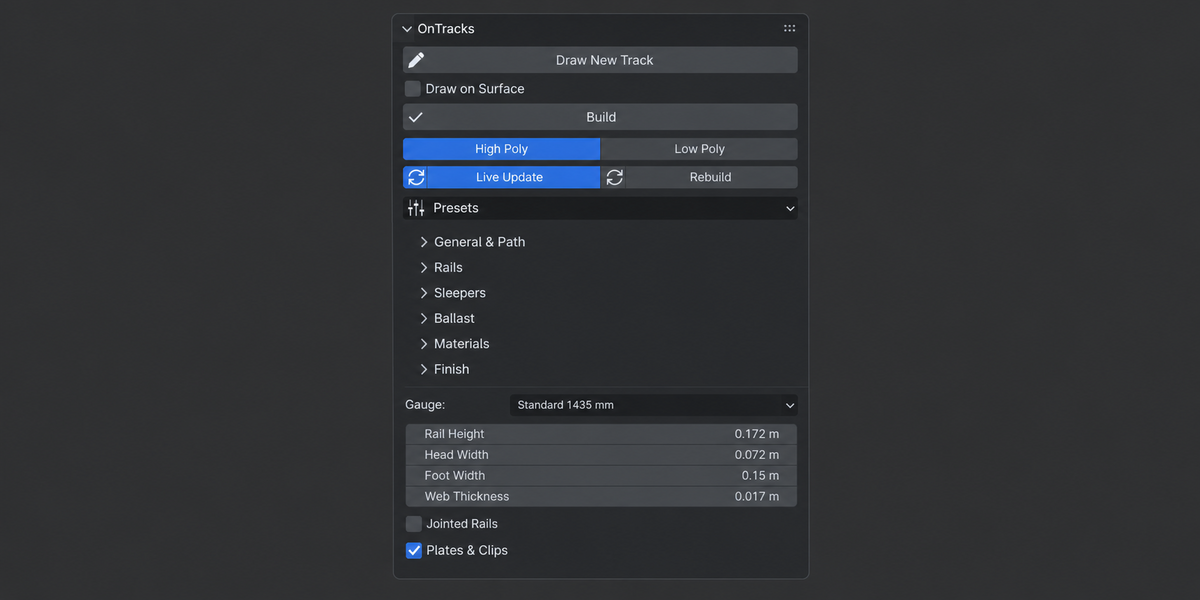
| Draw New Track | Creates a new curve and starts freehand drawing. |
| Draw on Surface | When on, your stroke is projected onto scene geometry. When off, it is drawn on the 3D cursor plane. Set this before you click Draw New Track. |
| Build | Appears while drawing. Leaves Edit Mode and generates the track. |
| Use Selected Curve | Turns the active curve object into a track. |
| High Poly / Low Poly | Chooses the level of detail (see section 5). |
| Live Update | Rebuilds automatically when settings or the curve change. |
| Rebuild | Rebuilds manually. Useful if Live Update is off. |
| Presets | Applies a full set of settings in one click. |
The track is only rebuilt when the curve is not in Edit Mode. Finish editing the curve and the track will update.
4. Presets
| Preset | Description |
|---|---|
| Mainline (Concrete) | Standard gauge, concrete sleepers, clean and modern. |
| Classic (Wood, Jointed) | Wooden sleepers, jointed rails, moderate weathering. |
| Neglected Branch Line | Wide sleeper spacing, heavy rust and weathering, dusty ballast. |
| Narrow Gauge 762 mm | Smaller rails, shorter sleepers and a narrower ballast bed. |
| Model Railway H0 (1:87) | Standard-gauge proportions scaled to 1:87. |
Applying a preset overwrites the related settings. You can keep adjusting everything afterwards.
5. Detail Levels
High Poly is for close-ups and renders.
- Beveled sleepers
- Tie plates and rail clips (if enabled)
- Rail joints and fishplates (if enabled)
- Noisy ballast surface and loose stones
Low Poly is for real-time and game use.
- Simple shapes
- Adaptive sampling
- No small parts
6. Settings Reference
General & Path
| Setting | Description |
|---|---|
| Rails / Sleepers / Ballast | Toggle each part on or off. |
| Unit Scale | Scales every dimension of the track. Use a small value for model railways (for example 0.0115 for H0). |
| Seed | Random seed for all variation. Change it to get a different random look. |
| Mesh Density | Sampling density along the track (High Poly). |
| Path Step | Distance in metres between path samples. Lower values give smoother curves. |
| Smoothing | Smooths out hand-drawn wobble. |
| Banking (Cant) | Tilts the track through curves. |
| Cant Amount / Max Cant | How strongly the track tilts, and the maximum tilt in degrees. |
| Conform to Ground | Projects the track onto a terrain mesh. |
| Terrain / Height Offset | The mesh to conform to, and a lift above its surface. |
Rails
| Setting | Description |
|---|---|
| Gauge | Standard 1435 mm, Russian 1520 mm, Broad 1676 mm, Cape 1067 mm, Metre 1000 mm, Narrow 762 mm, Mine 610 mm or Custom. |
| Custom Gauge | Distance between the inner faces of the rail heads (Custom only). |
| Rail Height / Head Width / Foot Width / Web Thickness | Shape of the rail profile. |
| Jointed Rails | Splits rails into segments with gaps and fishplates, with staggered joints. |
| Rail Length / Joint Gap | Segment length and the gap between segments. |
| Plates & Clips | Tie plates and rail clips (High Poly only). |
Sleepers
| Setting | Description |
|---|---|
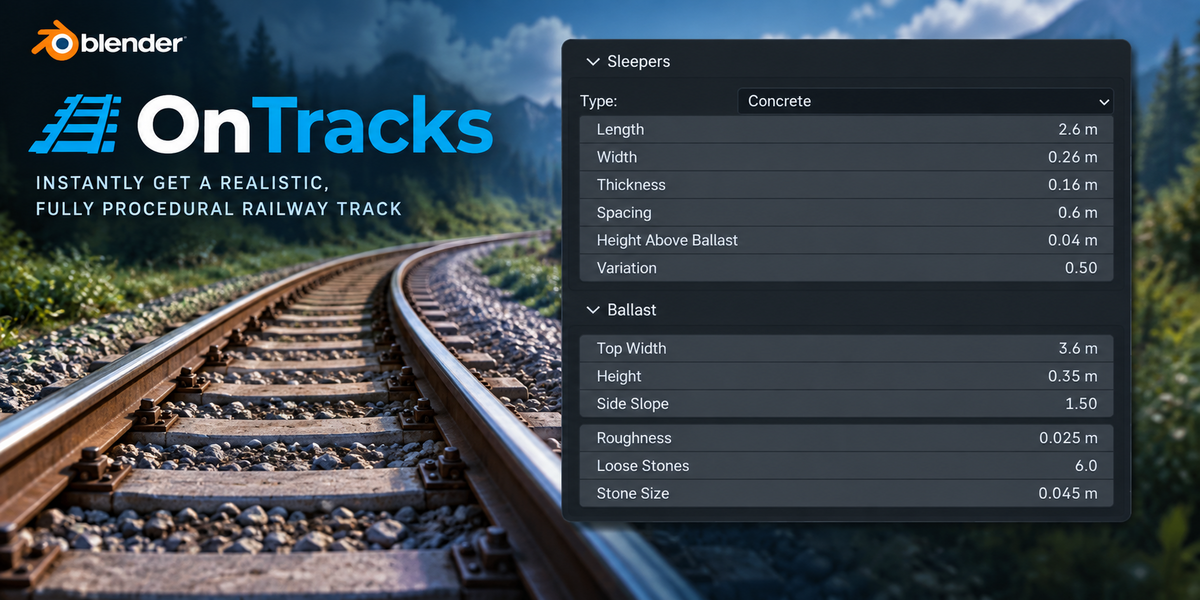
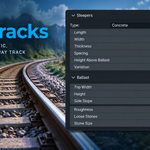
| Type | Wood or Concrete. |
| Length / Width / Thickness | Size of each sleeper. |
| Spacing | Centre-to-centre distance between sleepers. |
| Height Above Ballast | How far the sleepers sit above the ballast surface. |
| Variation | Random offset, rotation, sinking and size. 0 is perfectly uniform and 1 is very irregular. |
Ballast
| Setting | Description |
|---|---|
| Top Width | Width of the flat top of the ballast bed. |
| Height | Height of the ballast bed. |
| Side Slope | Horizontal run per unit of height. |
| Roughness | Height noise on the ballast surface (High Poly). |
| Loose Stones | Stones scattered per square metre (High Poly). |
| Stone Size | Size of the loose stones (High Poly). |
Materials
| Setting | Description |
|---|---|
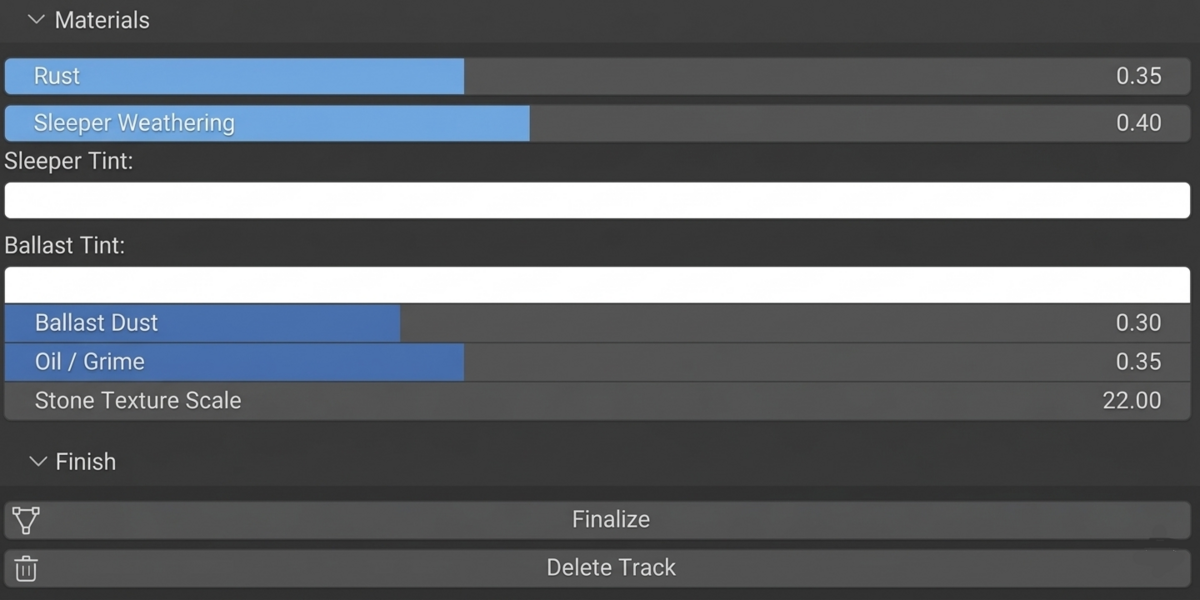
| Rust | Amount of rust on the rails. |
| Sleeper Weathering | How aged the sleepers look. |
| Sleeper Tint | Colour tint for the sleepers. |
| Ballast Tint | Colour tint for the ballast. |
| Ballast Dust | Amount of dust on the ballast. |
| Oil / Grime | Amount of dark oil and grime on the ballast. |
| Stone Texture Scale | Scale of the ballast stone pattern. |
All materials are procedural, so no image textures are required. Material sliders update the look immediately without rebuilding the geometry.
7. Finishing Your Track
Open the Finish panel when you're happy with the result.
Finalize detaches the generated meshes from the curve so they become normal, editable objects. Options:
-
Join Into One Object: merges rails, sleepers and ballast into a single mesh named
<CurveName>_Track. - Delete Curve: removes the source curve. If left off, the curve stays but stops being a track.
After finalizing, the track no longer updates from the settings. Save a copy of your file first if you may want to change it later.
Delete Track removes the curve and all generated parts, plus the track's collection.
8. Tips
- Draw fewer, longer strokes. Then use Smoothing to clean up the path.
- Use Low Poly while blocking out a long route, then switch to High Poly for the final render.
- Turn Live Update off on very long or dense tracks, and use Rebuild when you're ready.
- Edit the curve directly. Select the curve, enter Edit Mode, move the control points, then exit Edit Mode to rebuild.
- Use Seed to get a different random look without changing any other setting.
- Model railways: apply the H0 preset, or set Unit Scale yourself.
Have questions about this product?
Login to message
| Blender Extension Compatible | Yes |
| Published | about 12 hours ago |
| Blender Version | 4.4 - 5.2 |
| Extension Type | Add-on |
| Render Engine Used | Cycles, Eevee |
| License | GPL |
Discover more products like this
Generator procedural terrain game ready curve rails sleepers environment train track railway railroad track generator