OpenLight: Parametric Light Fittings for Archviz
 Virtual Lens
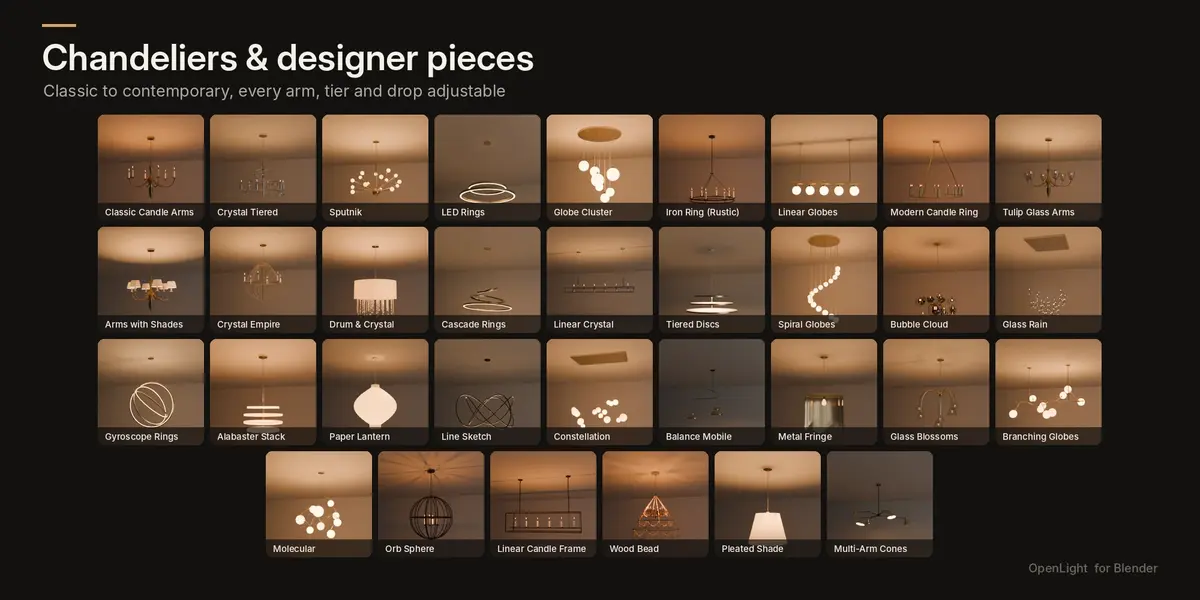
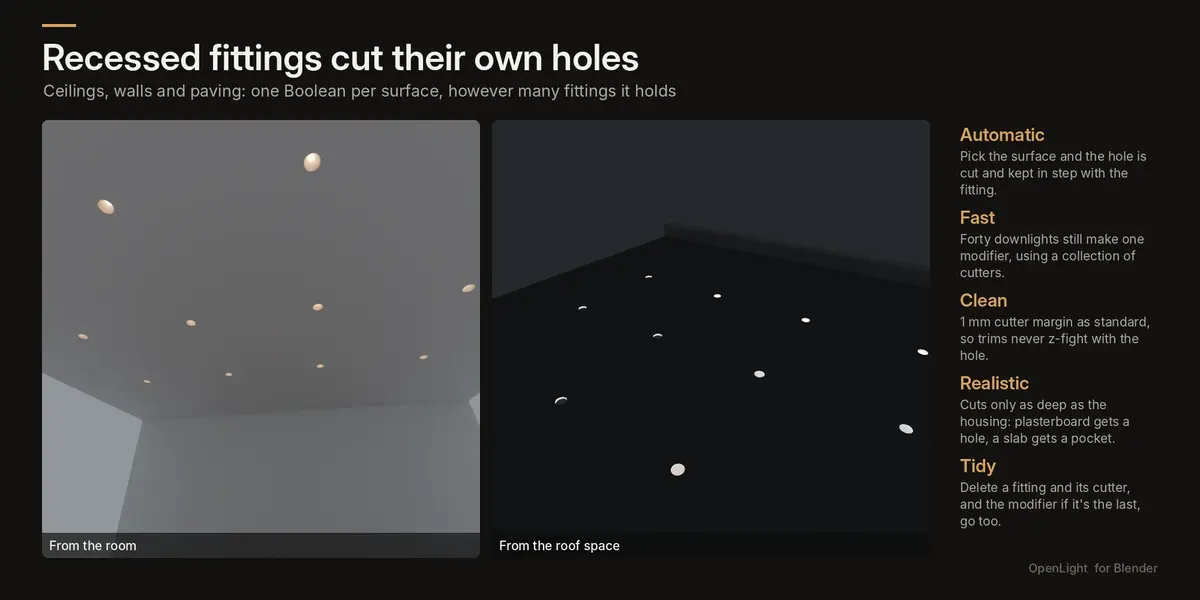
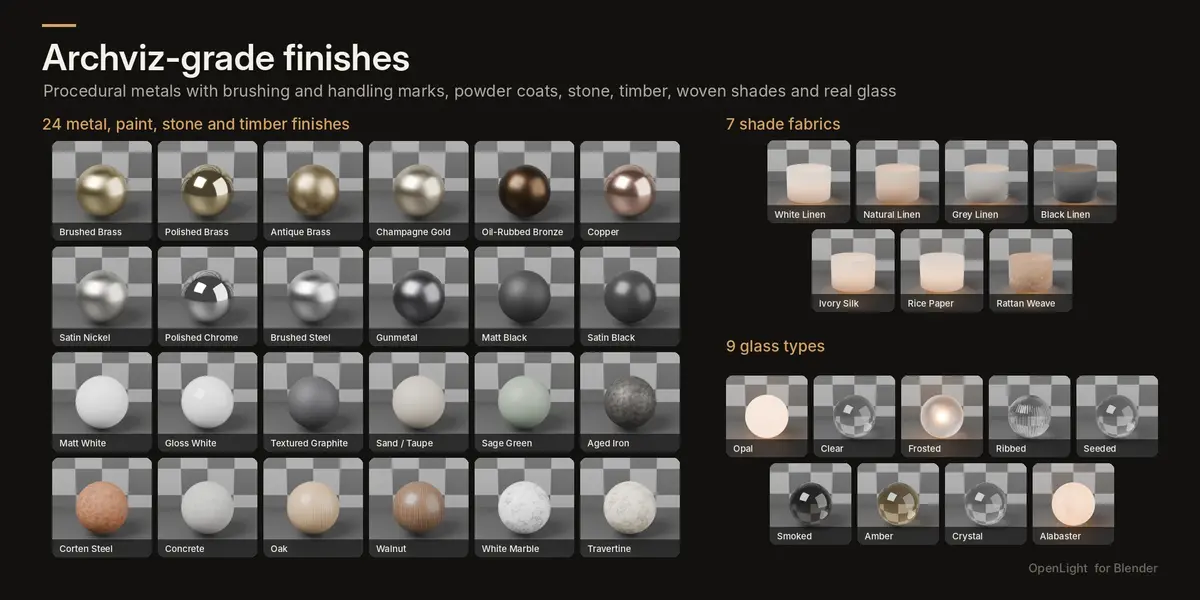
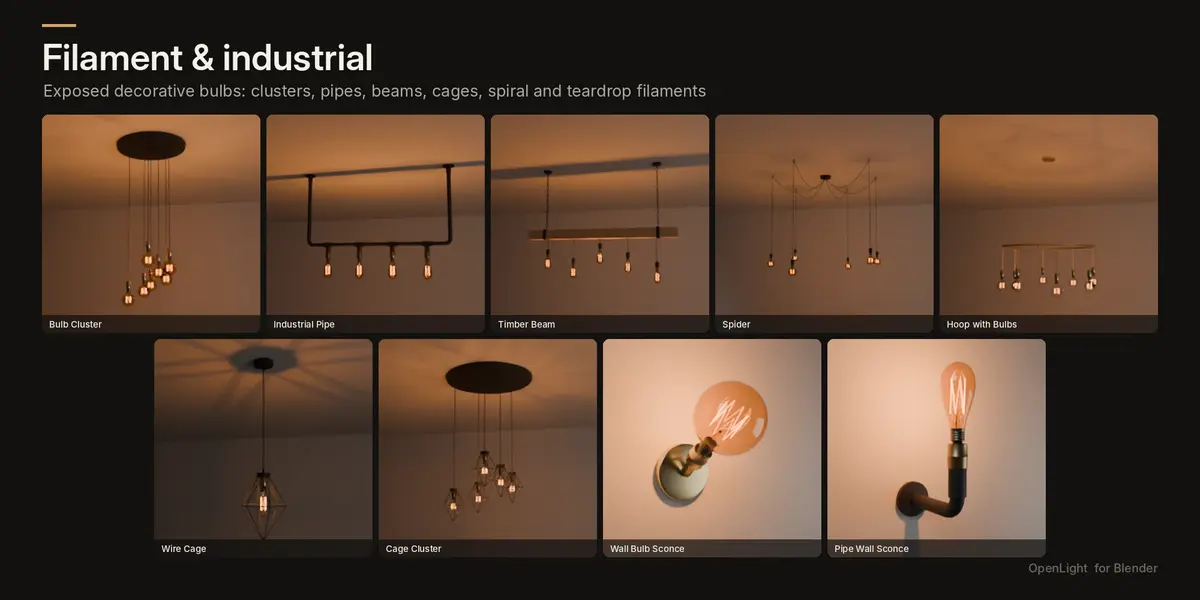
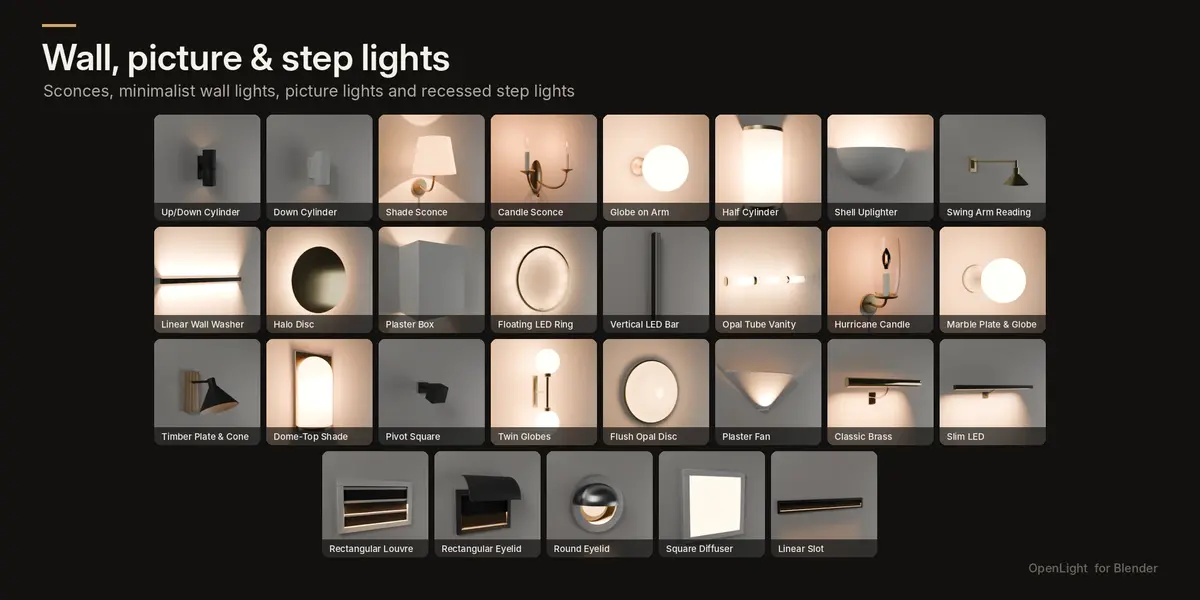
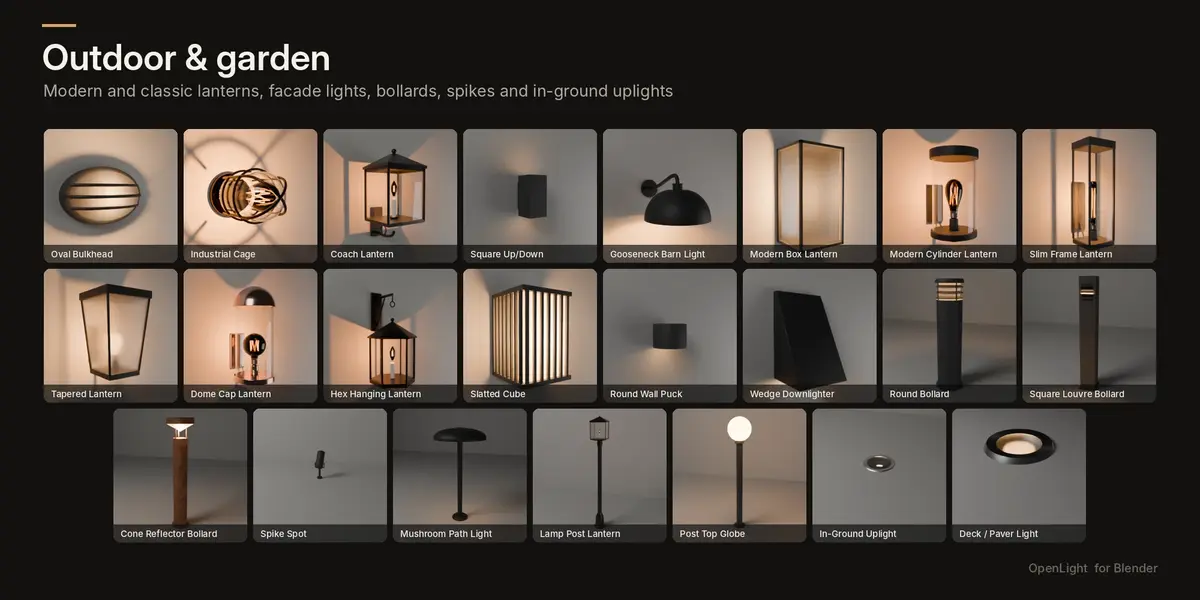
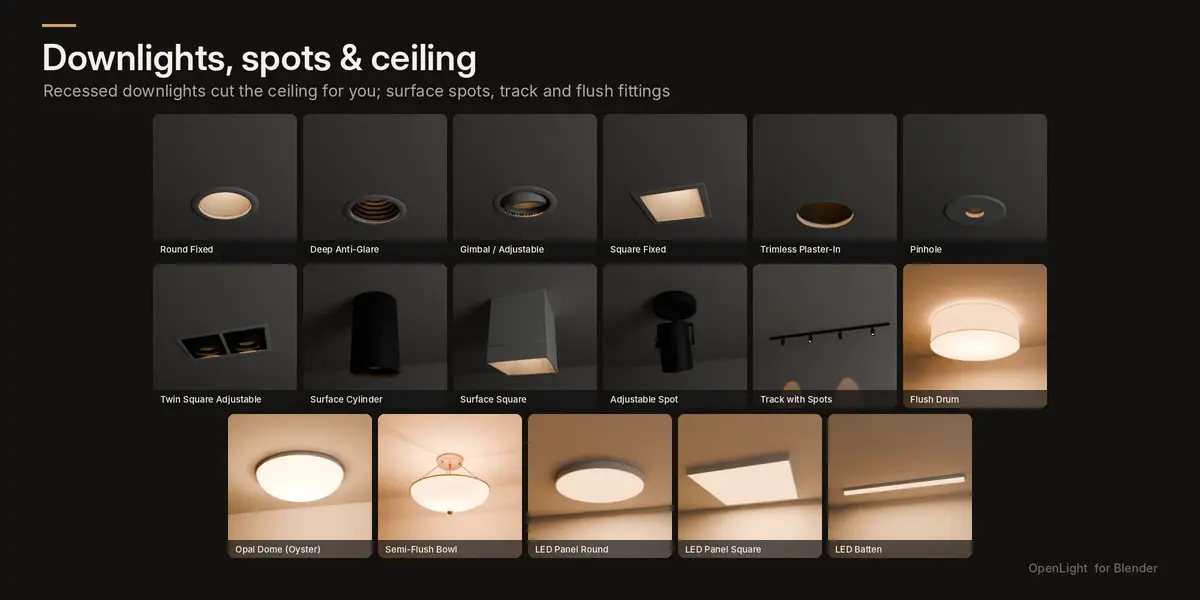
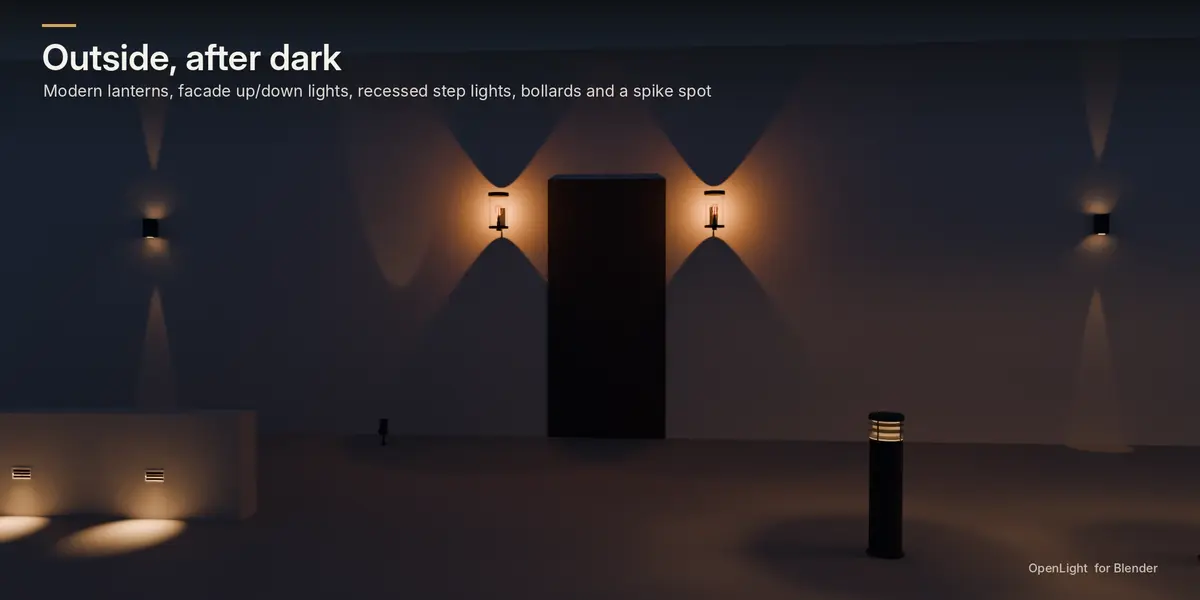
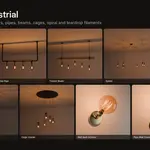
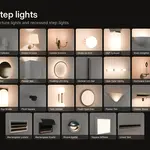
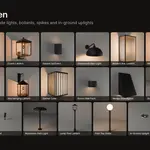
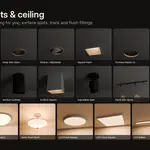
Installing
- In Blender, open Edit > Preferences > Get Extensions.
- Click the drop-down arrow at the top right and choose Install from Disk.
- Select OpenLight_v1.0.0.zip. Don't unzip it first.
OpenLight appears on the OpenLight tab of the 3D Viewport sidebar (press N) and under Shift+A > OpenLight. The full illustrated manual (PDF) is included in the download.
Quick start: a downlight in a ceiling
- Click your ceiling object to select it.
- Shift+right-click on the underside of the ceiling to place the 3D cursor.
- Open Browse All Fittings and click Round Fixed.
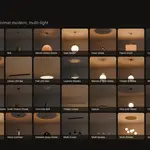
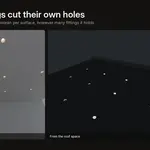
The downlight snaps to the ceiling, faces into the room, cuts a hole the right size and is already lit. Change any setting in the sidebar and it rebuilds instantly.
Where to put the 3D cursor
- Downlights, ceiling and surface lights: on the underside of the ceiling.
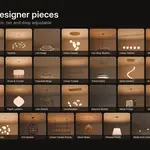
- Pendants, chandeliers, designer and filament fittings: on the ceiling. They always hang straight down.
- Wall, outdoor wall and picture lights: on the wall face at mounting height.
- Step lights: on the wall face. The wall is cut.
- Garden lights: on the ground. In-ground and deck lights cut the paving.
Select the surface before adding a fitting so OpenLight can snap to it and cut it. You can also choose the surface later under Mounting.
The sidebar panel
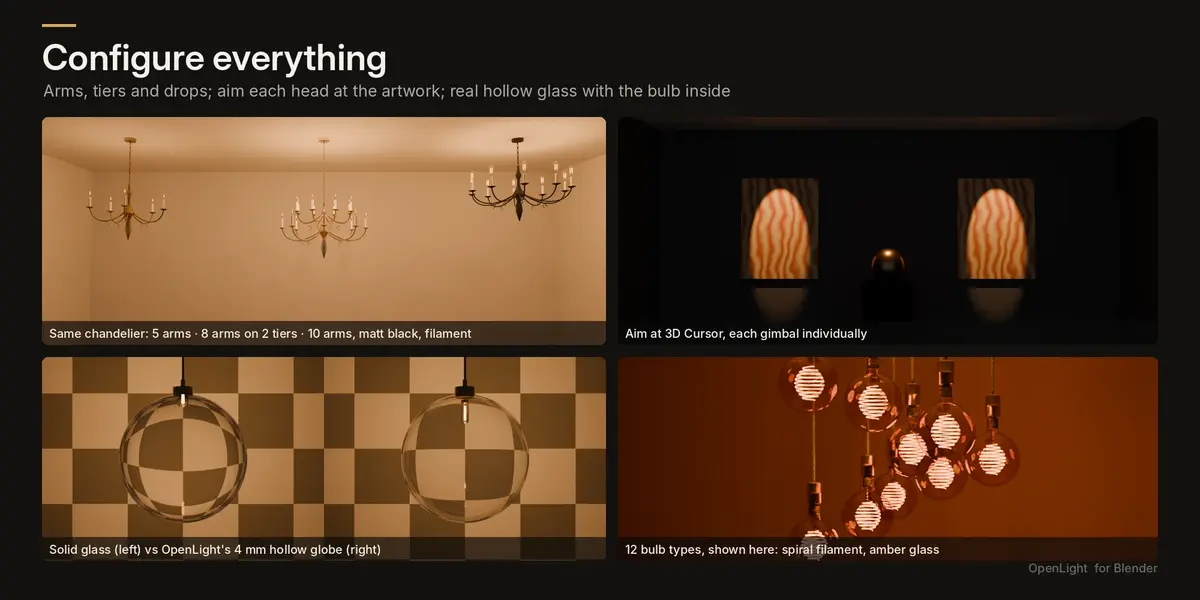
- Hanging: drop from the ceiling or height above the floor; suspension type and cable colour.
- Dimensions: sizes, arms, tiers, counts, spread and variants, plus a grid Array for ceiling and garden fittings.
- Aim: tilt and rotate, individual aiming across an array, and Aim at 3D Cursor.
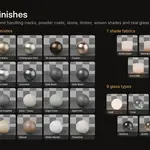
- Finishes: finish, inner/accent, shade fabric, glass, bulb type and bulb glass.
- Light: on/off, dimmer, colour temperature, power per lamp, beam angle and softness, visible glow, glass shadows, show lamp shape, select lamps.
- Mounting: mount surface, snap, cut surface, show cutter and cutter margin (1 mm default).
- Custom Materials: click any part of a fitting and assign your own material. It is kept through every rebuild.
- Scene Lighting: master dimmer and on/off for every fitting in the scene.
Rendering tips
- Cycles gives the most realistic glass and shade translucency. EEVEE is supported.
- Use AgX (Blender's default view transform) so filaments and diffusers roll off naturally.
- Warm interiors look right at 2700 K. Filament and candle styles look right at 2200 K.
- Use Power per Lamp for how much light a fitting casts, and Visible Glow for how bright the bulb or diffuser itself looks.
- For daylight renders, leave fittings on with the Master Dimmer at 0.3 to 0.6.
Requirements
Blender 4.2 LTS or newer. Version 1.0.0 is tested on 4.2 LTS and 5.2.
Have questions about this product?
Login to message
| Blender Extension Compatible | Yes |
| Published | 1 day ago |
| Blender Version | 4.2 - 5.2 |
| Extension Type | Add-on |
| Render Engine Used | Cycles, Eevee |
| License | GPL |
Discover more products like this
Lighting parametric Outdoor lighting wall-light lantern Interior pendant ArchViz architecture downlight chandelier Light fixtures