Optic Lab FX: Partial Object Blur, Data Points, Patterned Glass and Surface Ripple
 gigirenders
OPTIC LAB
Quick-start documentation for Optic Lab Version 1.
Blender 5.2+ · Cycles & Eevee
01 / INSTALLATION
Getting started
1. Open Blender and go to Edit → Preferences → Extensions.
2. Choose Install from Disk.
3. Select the Optic Lab ZIP file. Do not unzip it first.
4. Enable Optic Lab in your installed extensions.
5. Open the 3D Viewport, press N, and choose the Optic Lab tab.
02 / BASIC WORKFLOW
Select → Create → Adjust → Render
Optic Lab is designed around a simple workflow. Select the object you want to work with, assign it to Optic Lab, choose an effect, and refine the generated result.
Some Blur Direction and camera-aware Data Points effects require an active camera. Use Add Camera or Select Camera when needed.
03 / BLUR
Directional & area blur
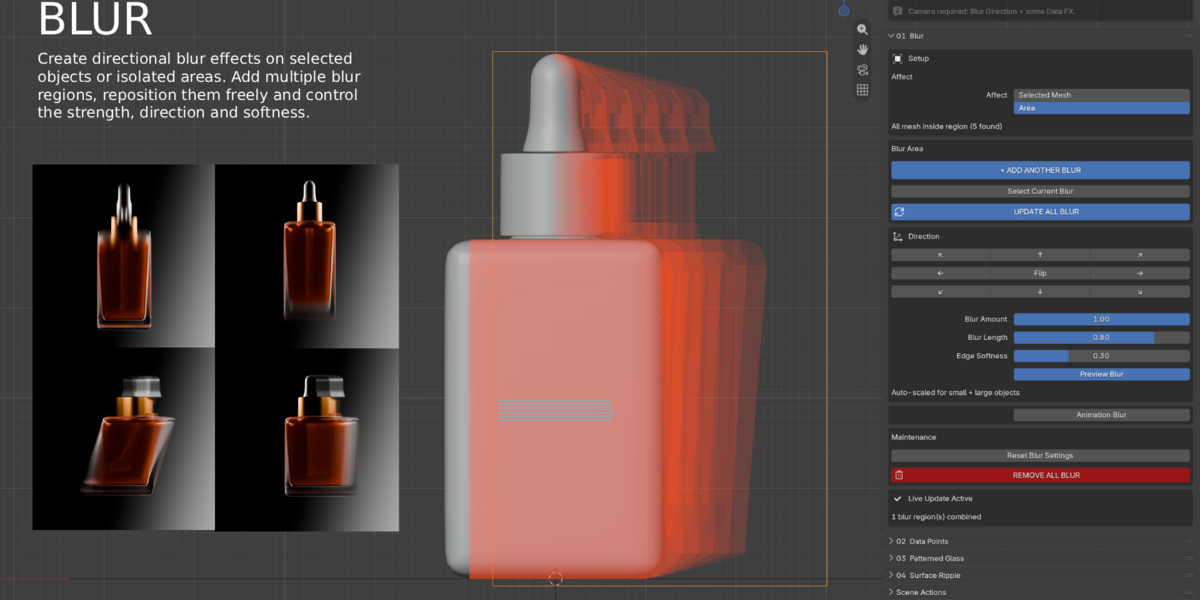
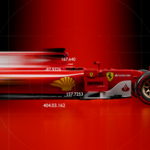
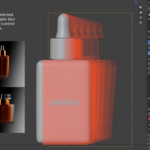
Blur creates localized stylized blur effects on selected meshes or inside movable blur regions.
Selected Mesh
Applies the blur system directly to the assigned object.
Area Blur
Creates a movable controller. Meshes inside the region are affected by the blur. Multiple independent blur regions can be used in one scene.
Main controls
- Blur Amount
- Blur Length
- Direction
- Edge Softness
- Preview Blur
- Animation Blur
- Live Update
- Add Another Blur
- Update All Blur
Use Reset to Defaults to restore the Blur controls without removing the effect setup.
04 / DATA POINTS
Technical & FUI overlays
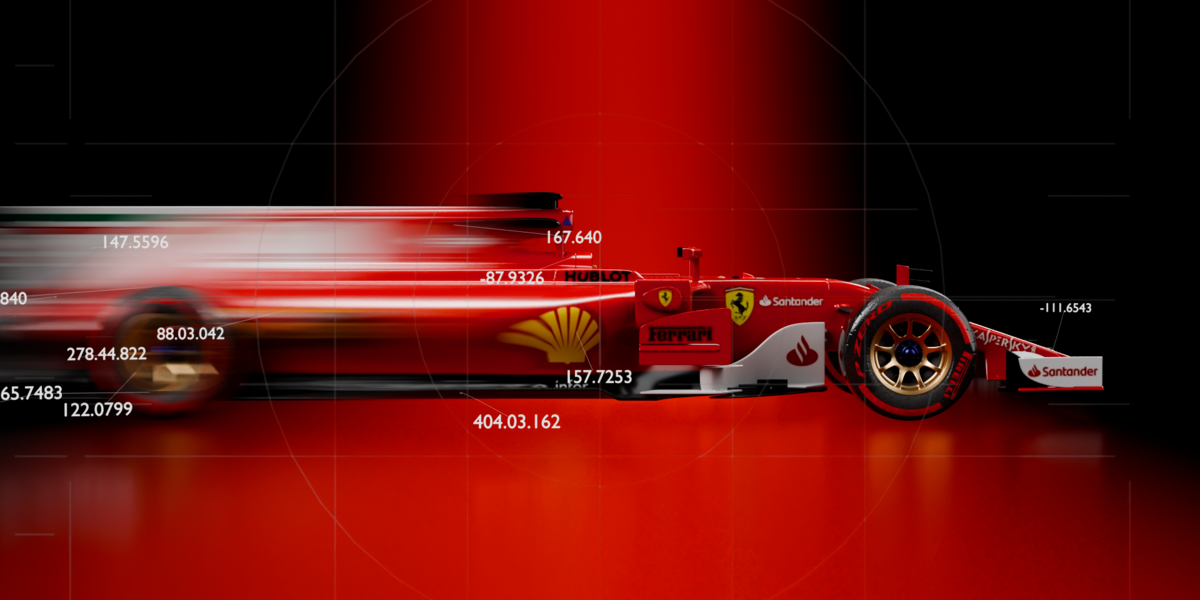
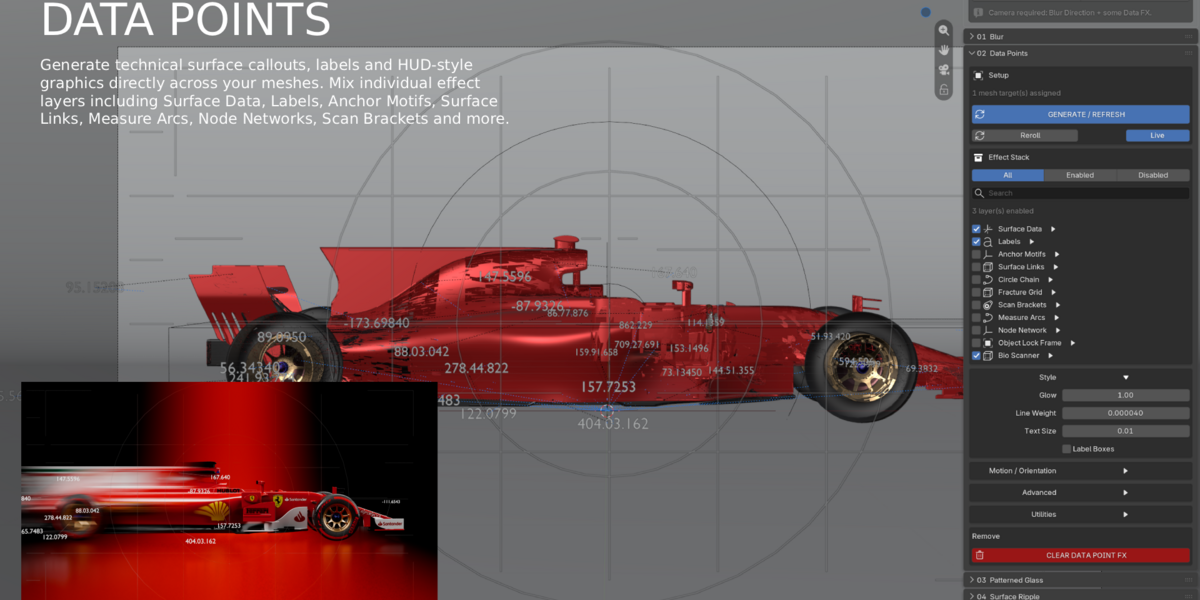
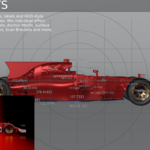
Data Points generates technical graphics, labels, callouts and futuristic interface-style overlays around your selected objects.
Enable individual layers to build your own combination:
The default setup starts with Surface Data and Labels enabled.
You can adjust properties such as glow, opacity, scale and line thickness. Use Reset to Defaults to restore the section's original settings.
05 / PATTERNED GLASS
Procedural optical glass
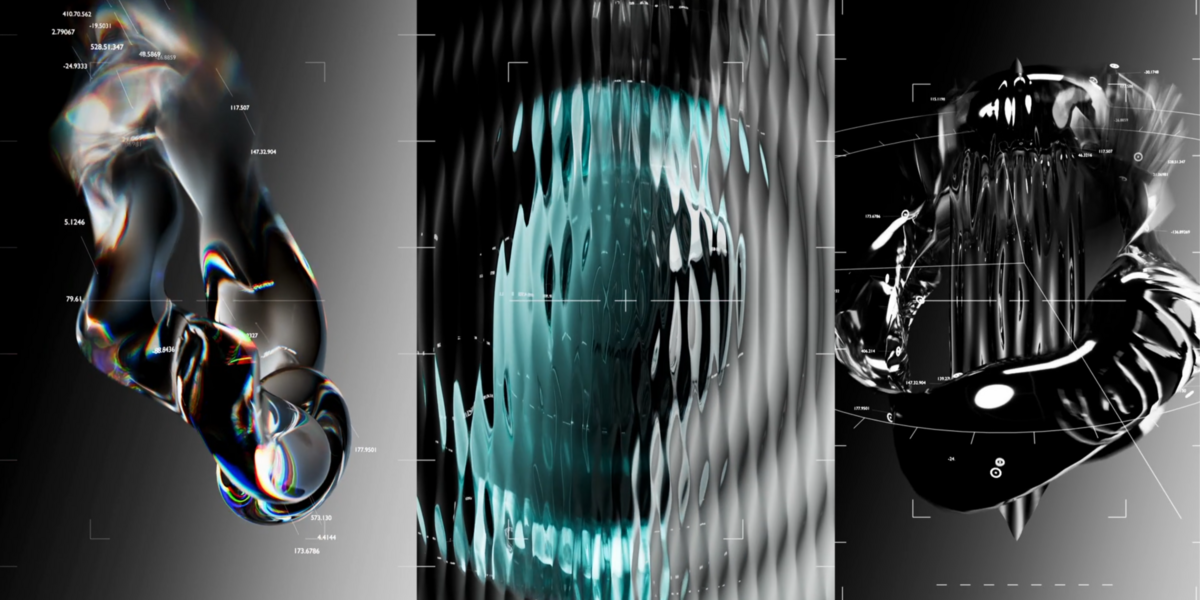
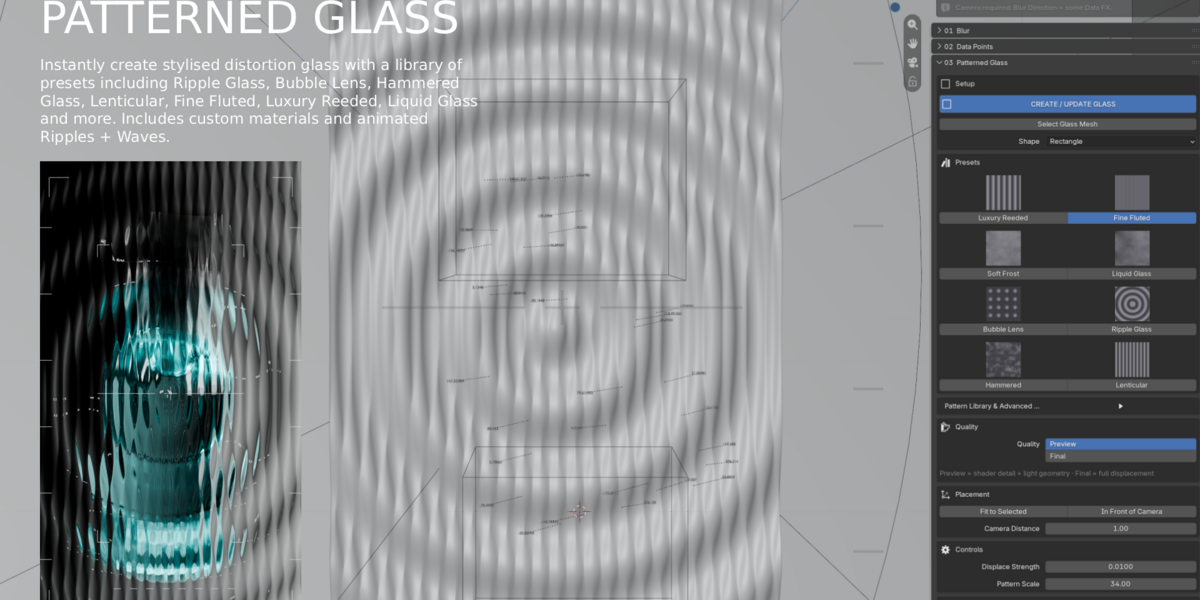
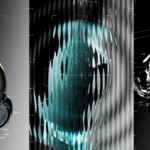
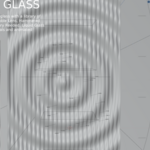
Patterned Glass creates stylized glass panels with procedural patterns, material controls and animated distortion.
Included presets
Luxury Reeded · Fine Fluted · Soft Frost · Liquid Glass · Bubble Lens · Ripple Glass · Hammered · Lenticular
Materials
- Glass
- Glass Dispersion
- Custom Material
Animation
Enable Animate Glass and choose:
- Ripples — concentric travelling rings
- Waves — directional travelling wave motion
Use Reset to Defaults to restore the Patterned Glass controls.
06 / SURFACE RIPPLE
Procedural surface deformation
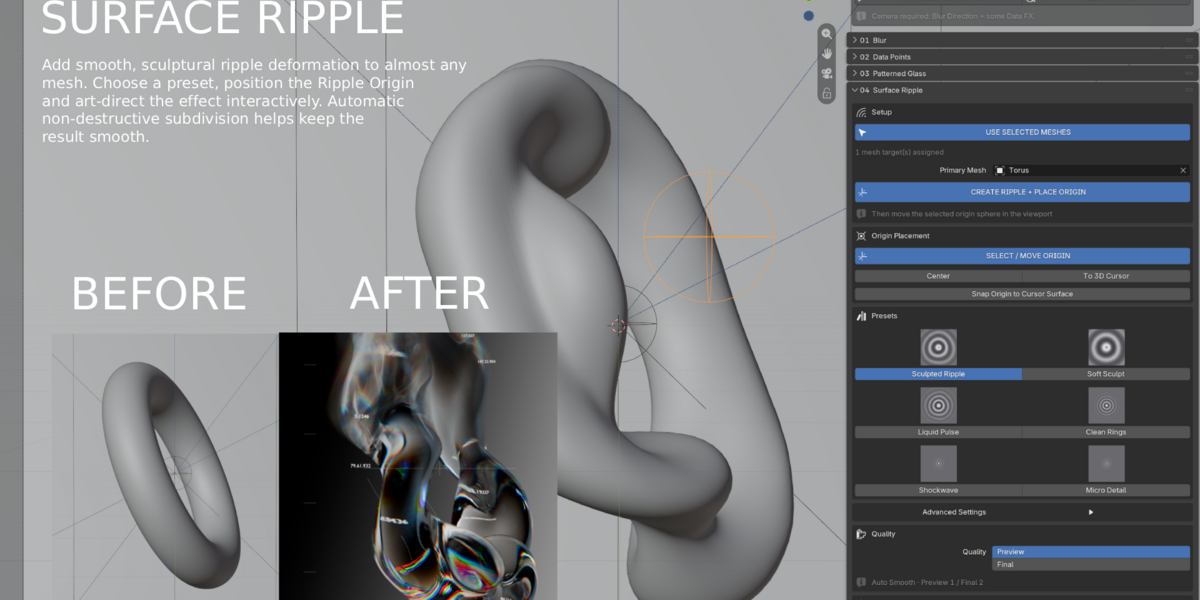
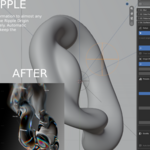
Surface Ripple creates smooth procedural ripple deformation across one or multiple selected mesh objects.
1. Select your mesh or meshes.
2. Click Use Selected Meshes.
3. Click Create Ripple + Place Origin.
4. Move the Ripple Origin controller to reposition the centre of the effect.
5. Choose a preset and refine the advanced settings.
Subdivision
Surface Ripple uses non-destructive subdivision support. The original mesh is not permanently subdivided.
- Preview defaults to subdivision level 1
- Final defaults to subdivision level 2
- Dense meshes may be automatically capped for stability
Use Reset to Defaults to restore the Surface Ripple controls.
07 / SCENE ACTIONS
Global controls
Update All Effects
Refreshes generated Optic Lab effects after larger scene changes.
Clear Generated FX
Removes generated Optic Lab effects from the scene without deleting your original source meshes.
08 / PERFORMANCE
Working with heavier scenes
- Use Preview quality while building your scene.
- Switch to Final quality only when preparing your render.
- Reduce the number of active Data Point layers if viewport performance drops.
- Disable Live Update while making several changes in heavier scenes.
- Use sensible subdivision levels on high-density meshes.
Optic Lab locks scene-mutating controls while Blender is actively rendering to help prevent accidental scene changes during a render.
09 / TROUBLESHOOTING
Quick fixes
My effect is not appearing
Re-select the mesh, click Use Selected Meshes, and generate or update the effect again. Check that a camera is active if the selected effect requires one.
Blur is not refreshing
Use Update All Blur to rebuild the currently active blur regions.
Glass animation is not moving
Make sure Animate Glass is enabled and the Blender timeline is advancing.
Surface Ripple is too heavy
Switch back to Preview quality. Optic Lab may automatically reduce subdivision on very dense meshes for stability.
I want to remove all generated effects
Open Scene Actions and choose Clear Generated FX.
10 / COMPATIBILITY
Optic Lab: Version 1.0
Minimum Blender Version: 5.2
Render Engines: Cycles & Eevee
License: GPL-3.0-or-later
Optic Lab
Creative optical effects for Blender.
Have questions about this product?
Login to message
| Dev Fund Contributor | |
| Published | 1 day ago |
| Blender Version | 5.2 |
| Render Engine Used | Cycles, Eevee |
| License | GPL |

Discover more products like this
blur geometry blur effect surface ripple FX hud data-visualization patterned glass Fui blur Directional Blur special effect animation HUD