Ornament & Bauble Maker
 Sonneblom Digitaal
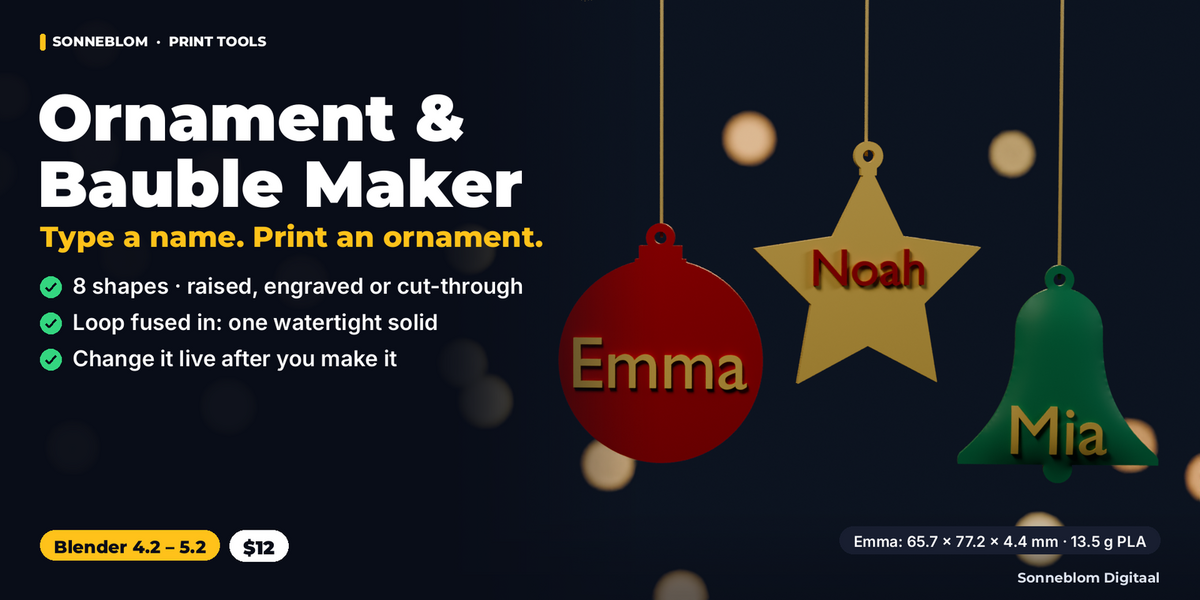
Ornament & Bauble Maker 1.0.1 - documentation
Install
- Extension zip (ornament_maker-1.0.1.zip, Blender 4.2 and newer): Edit > Preferences > Get Extensions > the arrow menu (top right) > Install from Disk, pick the zip. Or drag the zip into the Blender window.
- Legacy zip (ornament_maker-1.0.1-legacy.zip): Edit > Preferences > Add-ons > the arrow menu > Install from Disk, pick the zip, then tick the add-on.
- Install one of the two, not both.
Where it is
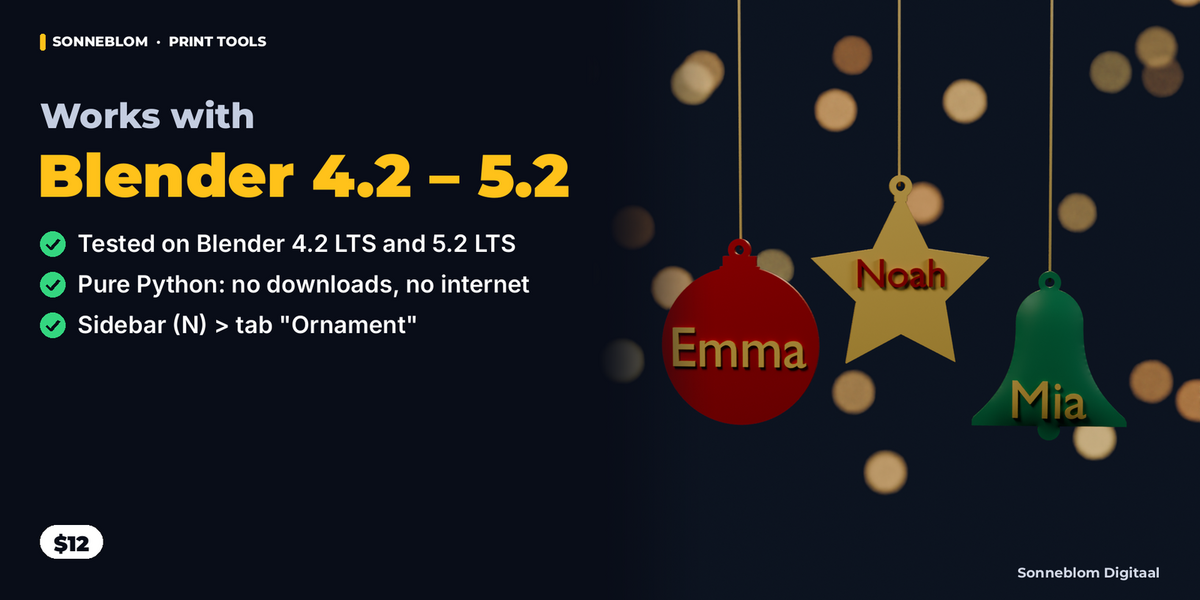
3D Viewport > Sidebar (press N) > tab Ornament. Also Add > Mesh > Name Ornament.
Step by step
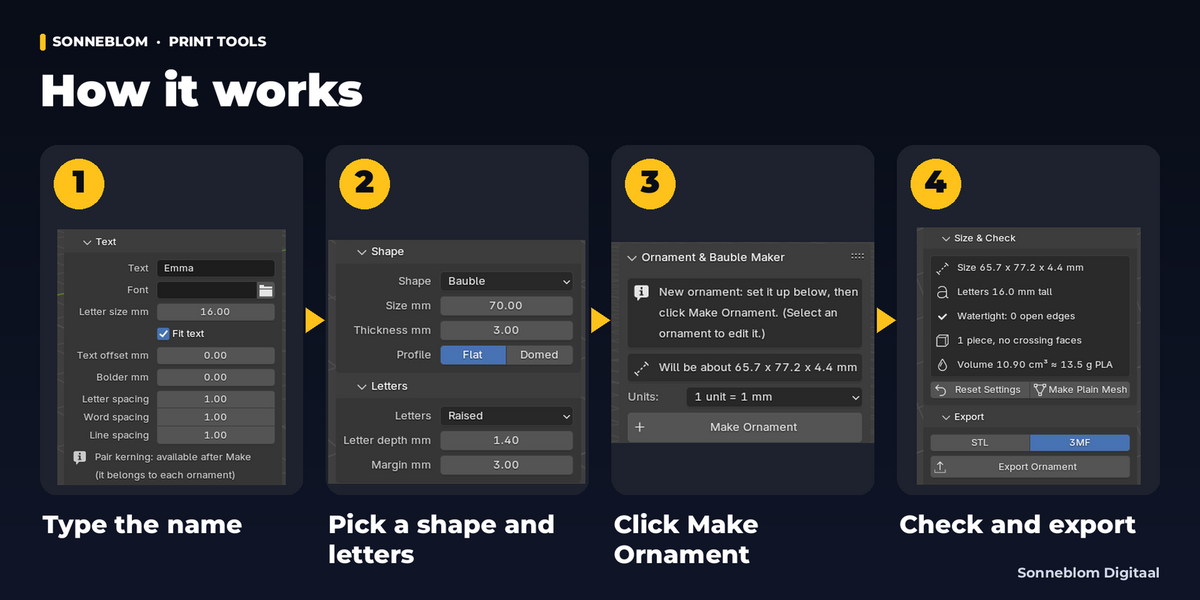
- With nothing selected, the panel shows the settings for the next ornament and "Will be about W x H x T mm".
- Type the name in Text (| makes a new line: Emma|2026). Pick a font file if you like.
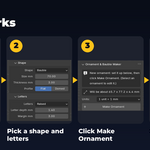
- Pick a Shape, the Size mm and Thickness mm, Flat or Domed.
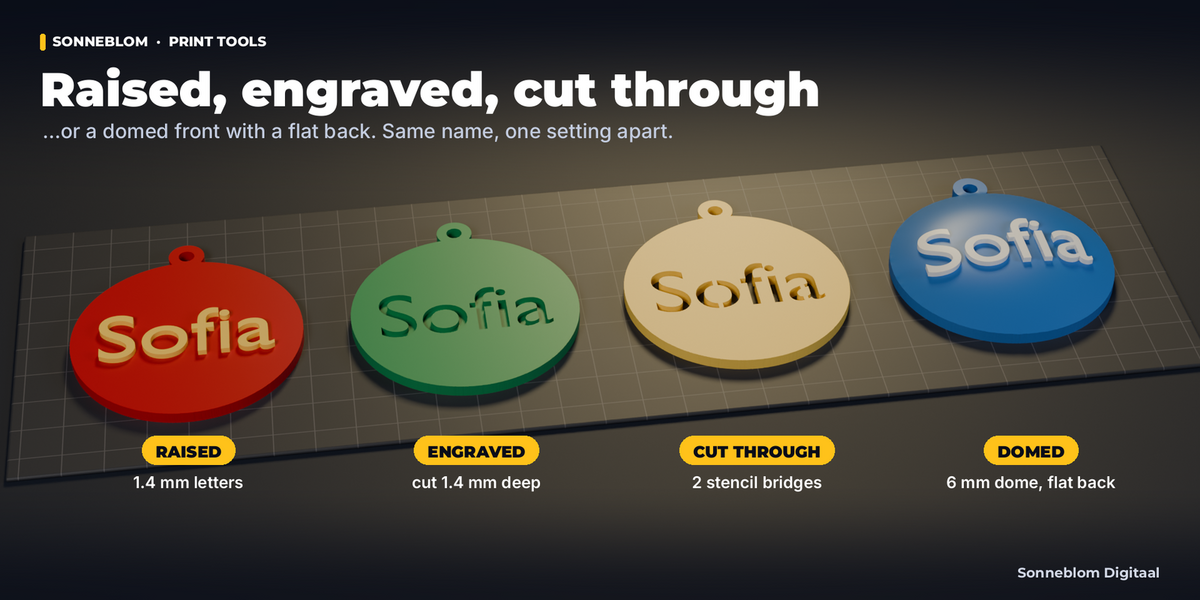
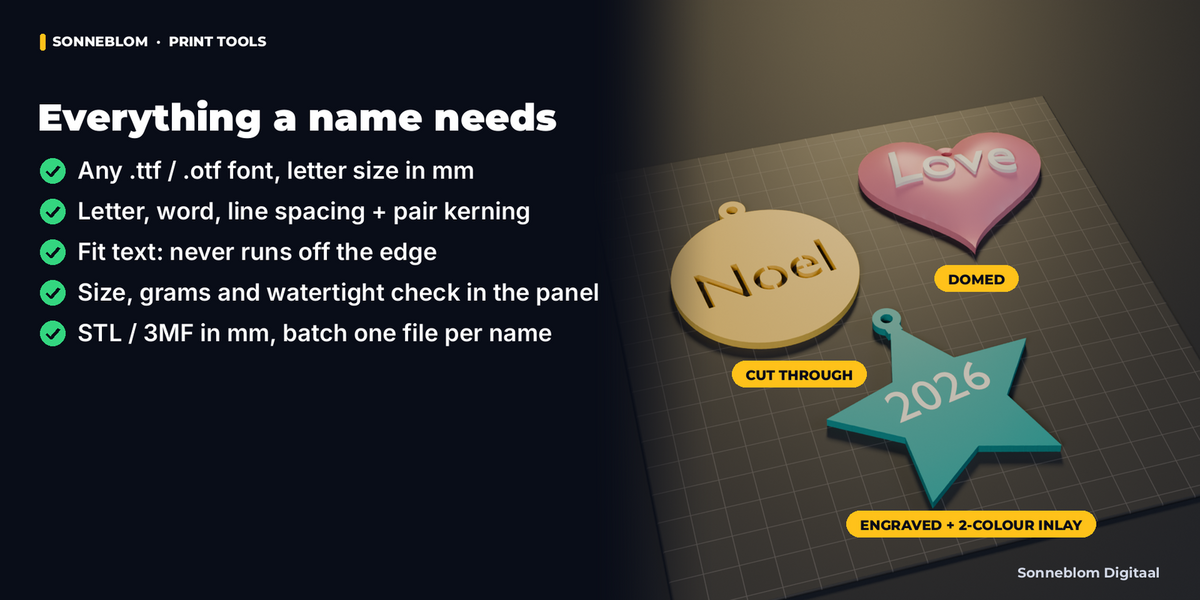
- Pick how the Letters are made (Raised, Engraved, Cut through, No text) and the Hang option.
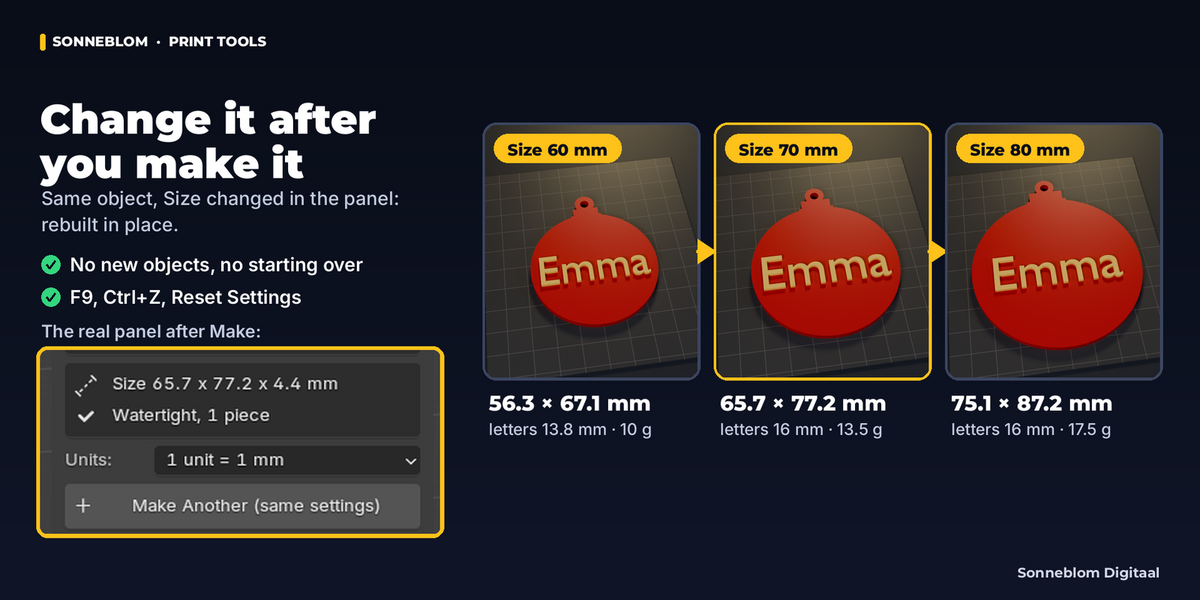
- Click Make Ornament. The new ornament is selected and the panel now edits it: every change rebuilds it in place.
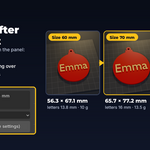
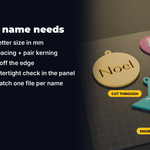
- Check the box at the top and Size & Check: size in mm, real letter height, watertight (0 open edges), pieces, volume and grams of PLA.
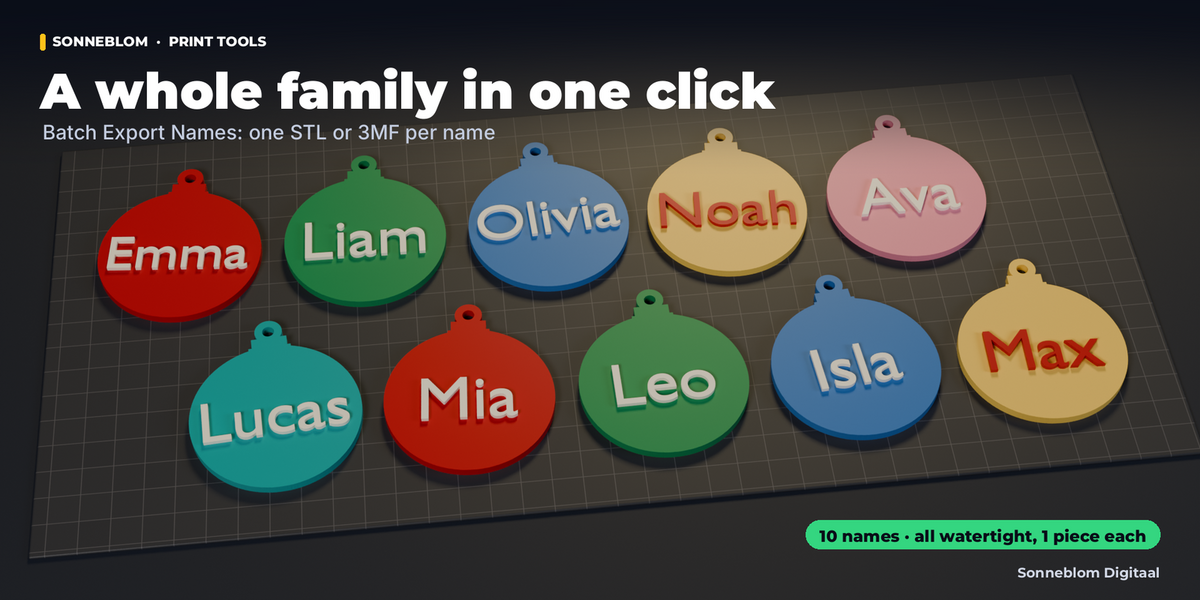
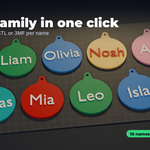
- Click Export Ornament and choose STL or 3MF. For many names, type them in Names (separated by commas) and click Batch Export Names. Two equal names get two files (Ann, Ann_2); pair kerning is not copied to other names.
Settings
| Setting | Default | What it does |
|---|---|---|
| Units | 1 unit = 1 mm | What one Blender unit is (1 mm is the STL standard; cm, m or Scene units). Sizes in the panel are always mm. |
| Text | Emma | The name. Type | for a new line. |
| Font | built-in | Any .ttf / .otf file on your computer. |
| Letter size mm | 16 | Height of a capital letter (what a caliper measures). With Fit text on, never bigger than this. |
| Fit text | on | Shrinks and places the text so it stays inside the shape with the margin. |
| Text offset mm | 0 | Moves the text up or down from its automatic spot. |
| Bolder mm | 0 | Thickens every letter stroke on each side. |
| Letter / Word / Line spacing | 1 / 1 / 1 | Tracking, word gaps and leading. |
| Letter pair + Kerning mm | 1, 0 | Per-pair kerning in mm, after Make (each ornament keeps its own). |
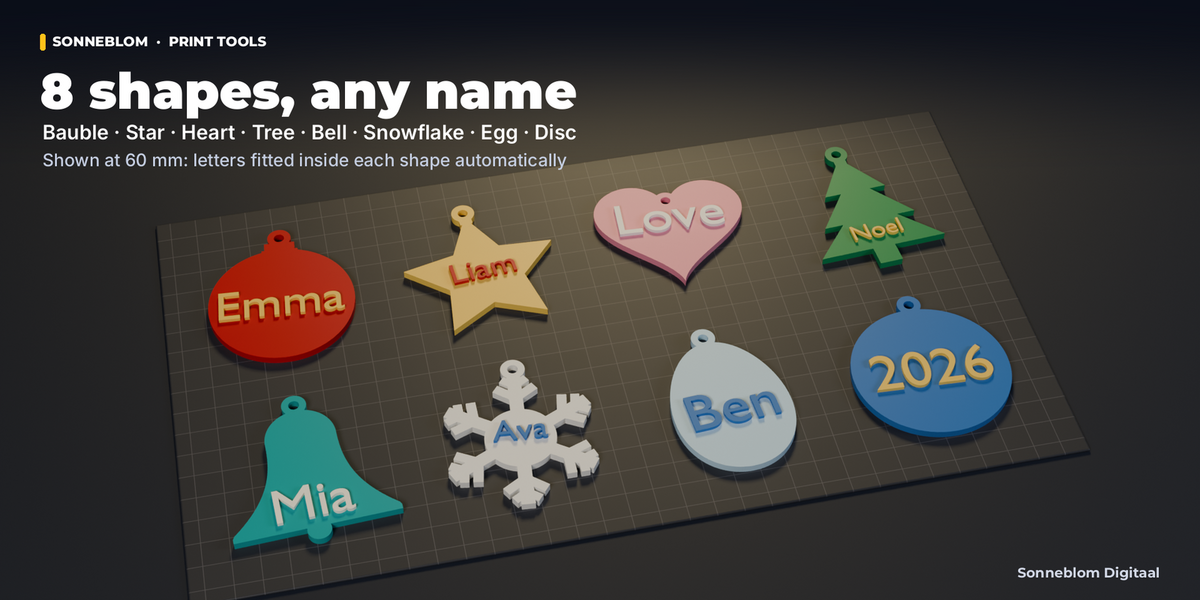
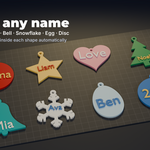
| Shape | Bauble | Bauble, Flat disc, Star, Bell, Tree, Snowflake, Heart, Egg. |
| Size mm | 70 | Longest side of the body (the loop comes on top). |
| Thickness mm | 3 | Body and loop thickness. |
| Profile | Flat | Flat, or Domed (domed front, flat back). |
| Dome mm | 5 | How far the dome rises above the edge (Domed only). |
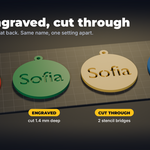
| Letters | Raised | Raised, Engraved, Cut through or No text. |
| Letter depth mm | 1.4 | Height of raised letters / depth of engraved letters. |
| Margin mm | 3 | Minimum gap between the letters and the edge or hole (reduced automatically on very small ornaments, with a note). |
| Bridge mm | 1.2 | Width of the stencil bridges (Cut through only). |
| Hang | Loop | Loop on top (fused), Hole, or None. |
| Hole Ø mm | 4 | Hole for the ribbon or hook. |
| Loop width mm | 2.6 | Material around the hole. |
| Colours | One piece | One piece, or Two colour parts (body + letters). |
| Body / Letter colour | red / gold | Viewport colours, also written into the 3MF file. |
| Live | on | Rebuild as soon as a setting changes (off: press Update). |
| Export format | 3MF | STL (one file per colour part) or 3MF (both parts in one file). |
| Names (batch) | (empty) | Names for Batch Export Names, separated by commas, e.g. Emma, Liam, Noah. |
Changing your mind
- Every setting is live on the ornament: change it and the same object is rebuilt (no new objects). Untick Live to change several settings and then press Update.
- The object takes the name of its text (Emma, then Liam when you retype it) until you rename it yourself.
- A change made while the ornament is in Edit Mode is applied as soon as you press Tab to go back to Object Mode. With Units = Scene units, changing Scene > Units also rebuilds it.
- Right after Make Ornament, F9 (Adjust Last Operation) shows the main settings too.
- Ctrl+Z steps back through your changes. Reset Settings puts every setting back to the factory look (the text is kept).
- If a change cannot work (for example a long name on a tiny star), the panel says why and what to do, and the previous result stays.
- Make Another (same settings) appears when an ornament is selected: it makes a copy beside it, ready for the next name.
- Make Plain Mesh drops the settings so you can edit the mesh by hand.
Two colours
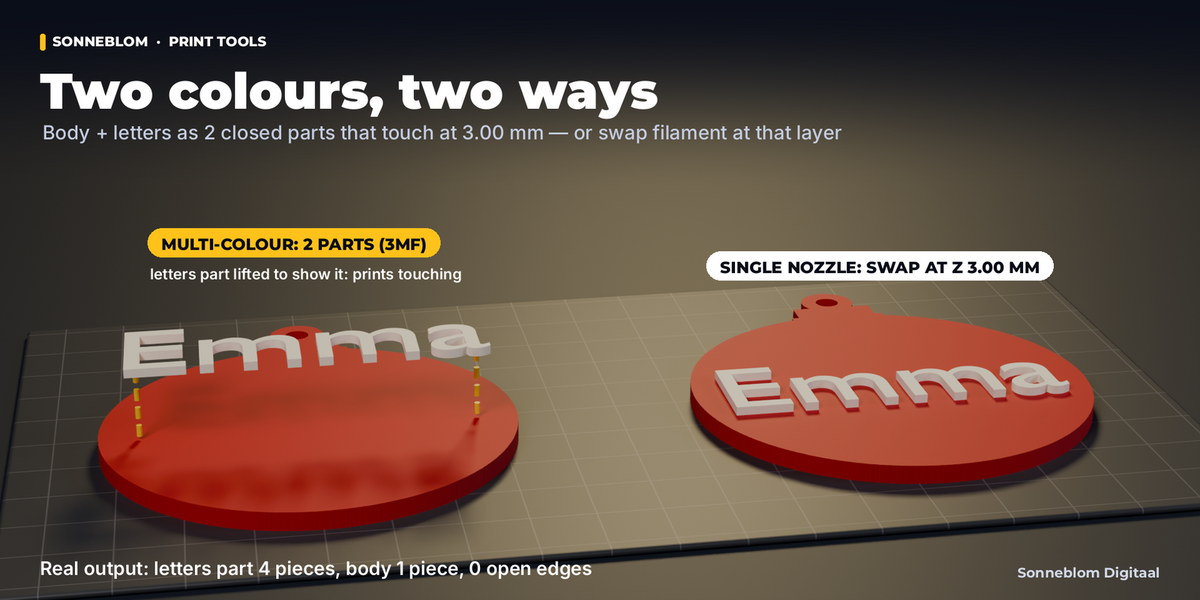
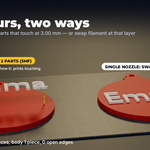
- Single nozzle: flat ornament, raised letters, One piece. The Colours section shows "pause / swap filament at Z 3.00 mm": add a pause or filament change at that height in your slicer.
- Multi-colour printer: Colours = Two colour parts. The letters become a separate closed part that touches the body exactly (engraved letters become an inlay that fills the engraving). Export as 3MF (both parts in one file) and give each part its own filament, or as STL (one file per part) and load both as parts of one object.
Tips
- For narrow shapes, two short lines fit better than one long line. The panel shows the real letter height after fitting.
- Text offset puts the text exactly where you ask (with Fit text on, it only gets smaller there). With offset 0, Fit text may also move the text up or down to find the biggest letters; the panel says how far.
- Bold, rounded fonts print best. For thin script fonts add 0.2 - 0.4 mm Bolder.
- Pair kerning: choose the Letter pair (1 = between the 1st and 2nd character) and type the change in mm; negative pulls the letters closer.
- Default 1 unit = 1 mm matches STL files and slicers. In a default Blender scene (1 unit = 1 m) a 70 mm ornament looks big in the viewport: that is expected, the exported file is 70 mm.
- Print flat on the bed, front up. A 4 mm hole fits ribbon, string and most ornament hooks.
Limits
- Text is on the front face; it is not bent along an arc or around a full sphere. Domed ornaments have a flat back.
- A setting change replaces hand edits of the mesh (use Make Plain Mesh first).
- The 3MF stores the colours; some slicers ignore them and ask you to assign a filament per part.
Troubleshooting
- "No room for this text": make the shape bigger, use a shorter text or two lines, or lower the Margin.
- "Type a name or text first": the Text field is empty (or set Letters to No text for a plain ornament).
- "Leave Edit Mode": press Tab; settings rebuild the mesh only in Object Mode.
- Grey buttons tell you why in their tooltip: Export needs a selected ornament.
Licence
GPL-3.0-or-later. © 2026 Sonneblom Digitaal.
Have questions about this product?
Login to message
| Blender Extension Compatible | Yes |
| Published | about 20 hours ago |
| Blender Version | 4.2 - 5.2 |
| Extension Type | Add-on |
| License | GPL |
Discover more products like this
3d printing text name Bauble Christmas STL ornament personalised