 Zosuya
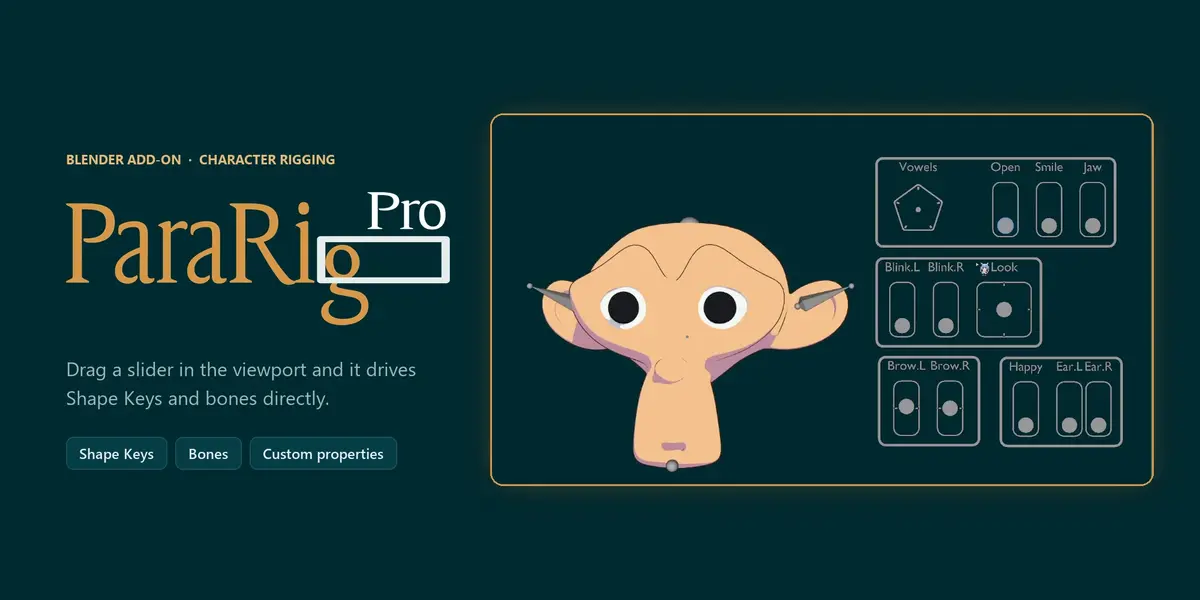

Installation
- Download
para_rig_pro_v1.0.0.zip(don't unzip it). - In Blender, go to Edit > Preferences > Add-ons, open the drop-down at the top right and choose Install from Disk, then pick the zip.
- Make sure ParaRig Pro is ticked. The panel appears in the 3D Viewport sidebar (press N) under the ParaRig Pro tab.
Requires Blender 4.2 or later. Tested on Blender 4.5 LTS and 5.2 LTS. If you also have the free ParaRig installed, disable it first; the two can't be enabled at the same time.
Quick start
- Add a slider: in the Sliders tab, click +. A group is created for you if there isn't one yet.
- Pick a style: click the control icon and choose vertical, horizontal, 2-axis, polygon and so on.
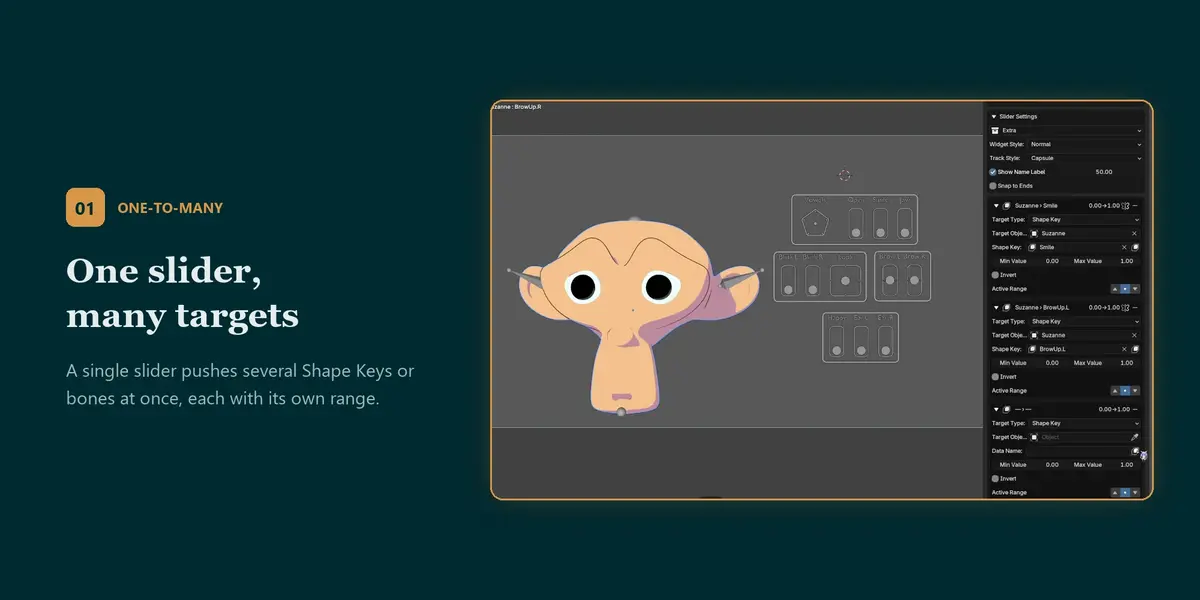
- Bind a target: expand the slider's details, choose a Target Type (Shape Key, custom property, bone location, bone rotation or Data Path), the object, and the data to drive. Set Min / Max.
- Generate: click Generate Slider Rig. The panel, sliders and Drivers appear in the viewport.
- Drag and adjust: drag a handle to test. Change any setting and click Update Slider Rig; anything you've already moved or resized by hand stays where it is.
Shortcut: select a Shape Key or bone first, then use Fill Selected Shape Key / Fill Selected Bone to fill in the target in one click. You can also right-click almost any property in Blender and choose Add Slider.
Main panel buttons
- Generate / Update Slider Rig: builds the sliders the first time, and applies your changes after that.
- Auto Update (the toggle next to it): rebuilds automatically shortly after you change a setting. Only runs in Object and Pose Mode.
- Clear Generated Sliders: removes everything that was generated. Your slider settings are kept, so you can generate again.
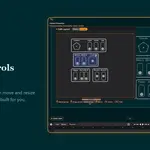
- Quick View: opens the 2D slider panel (see below).
- Export / Import: saves or loads a slider setup as a JSON file.
Groups
A group is one slider panel: its sliders share a frame and move, rotate and scale together. Use one group per character or per area (mouth, eyes, brows...).
- Checkbox in the list: include or skip the group when generating. Unticking it removes the group's generated sliders on the next update.
-
Widget Mode:
- Empty Object: sliders are separate objects, dragged in Object Mode.
-
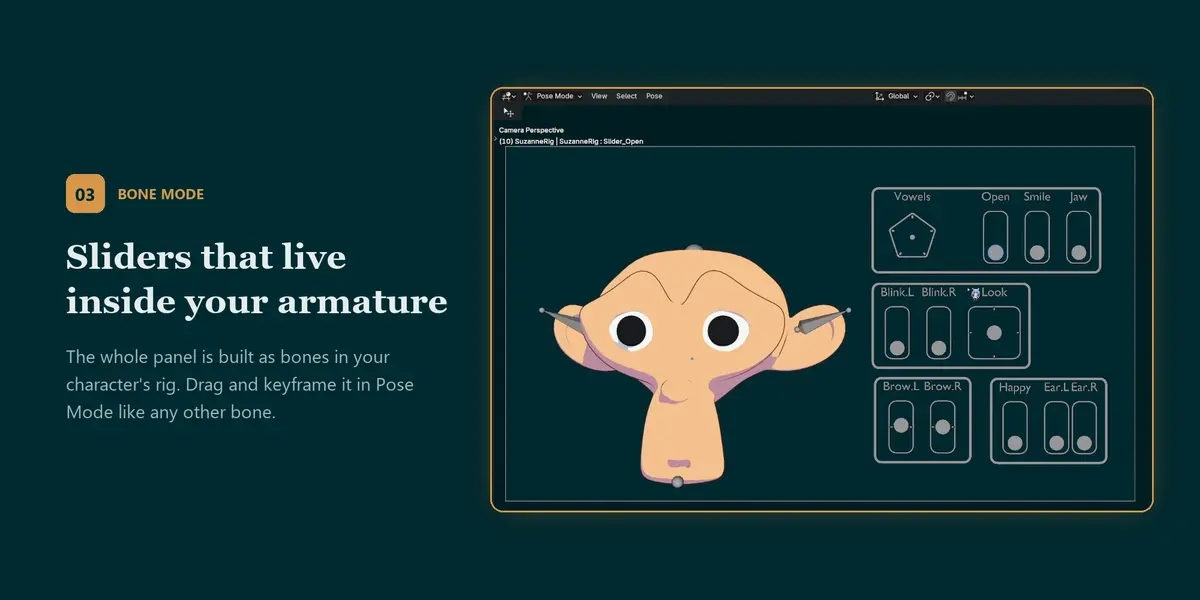
Armature Bone: the whole panel is built as bones inside an armature. Pick your character's armature as the bound object, or leave it empty to get a shared
ParaRigSlidersarmature. Drag the sliders in Pose Mode and keyframe them like any other bone.
- Bound Object / Bound Bone: what the panel follows (for example the head bone).
- Show Frame Outline / Show Group Name: visual options for the panel.
- Hide 3D Sliders: hides the group in the viewport while its Drivers keep working. Use Quick View to operate it.
- Align Panels to Current View: turns every panel to face the current viewport angle.
- Removing a group also removes the sliders inside it and everything generated for them.
Sliders and targets
Every draggable axis has its own target settings:
- Target Type: Shape Key, Custom Property, Bone Location, Bone Rotation, or Data Path (any property that accepts a Driver: modifier settings, visibility, material values and so on).
- Bone Axis: the X / Y / Z buttons. A lit button means that axis is driven; each axis has its own range. Bone rotation is in degrees and needs an Euler rotation mode; Quaternion bones show a warning with a one-click Switch to Euler.
- Min Value / Max Value: the value sent to the target at each end of the slider. Invert swaps the direction.
- Active Range: Full, Upper Half or Lower Half. Give one target Upper Half and another Lower Half to drive two things from the two ends of one slider (drag up to raise the brow, down to lower it). Split sliders snap gently to the middle, so it's easy to land exactly on neutral.
- Add Target: one axis can drive any number of targets at once, each with its own range.
-
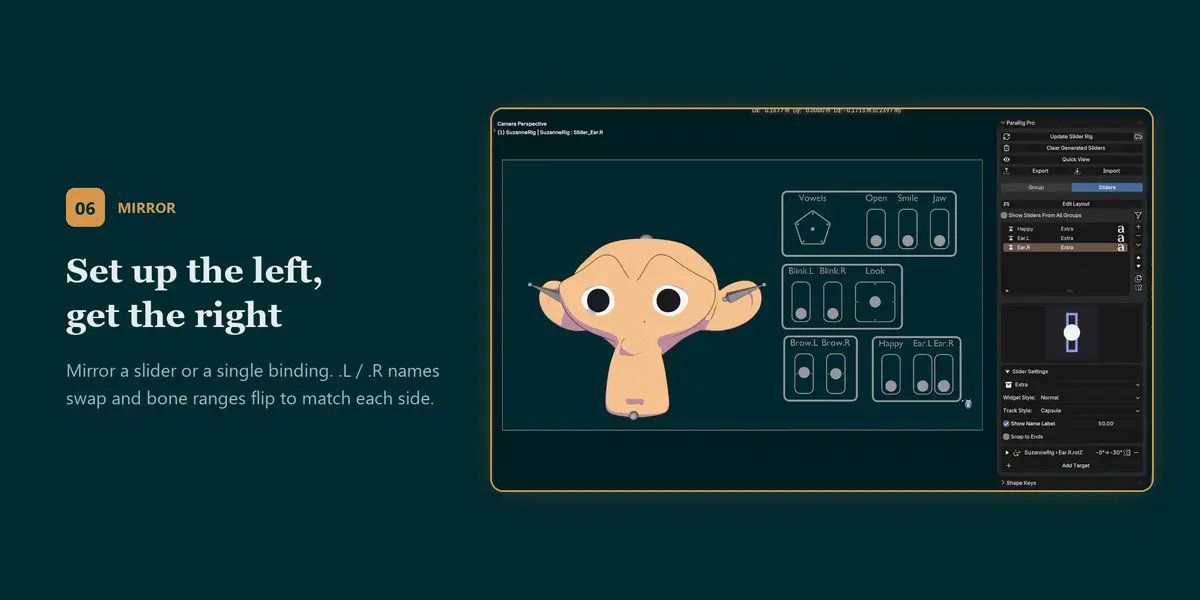
Mirror Target (mirror icon on a target): adds the left/right copy of that target to the same slider, e.g.
Brow.L→Brow.R.
List buttons: Duplicate copies a slider with all its targets. Mirror creates the opposite-side slider; .L/.R names are swapped, and bone ranges flip sign based on how the two bones are actually oriented. The drop-down menu has Remove Unbound Sliders and Remove All Sliders.
Control styles
- Vertical / Horizontal, plus Long versions for finer control. Snap to Ends makes the handle jump to the nearest end on release, for on/off controls.
- 2-Axis (XY), normal and large 3×3: X and Y each drive their own targets.
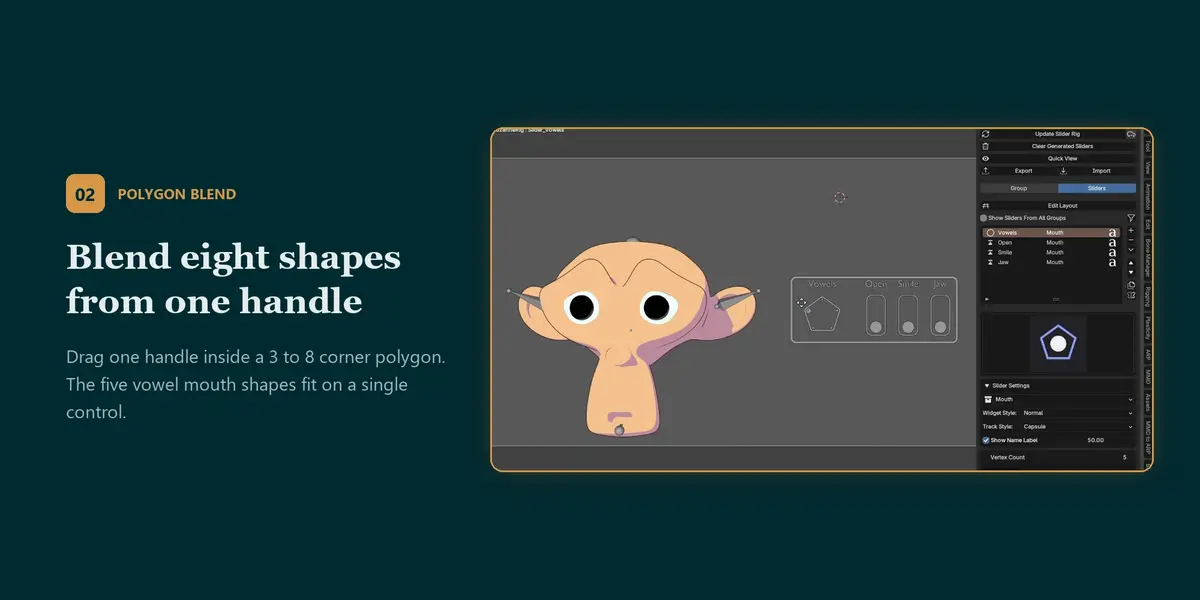
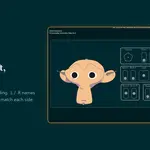
- Polygon Blend (3 to 8 corners, normal and large): each corner is a target; the handle blends between the corners it's closest to. Name each corner so you can tell them apart in the viewport.
- Text Label: just text, for titles and notes on the panel.
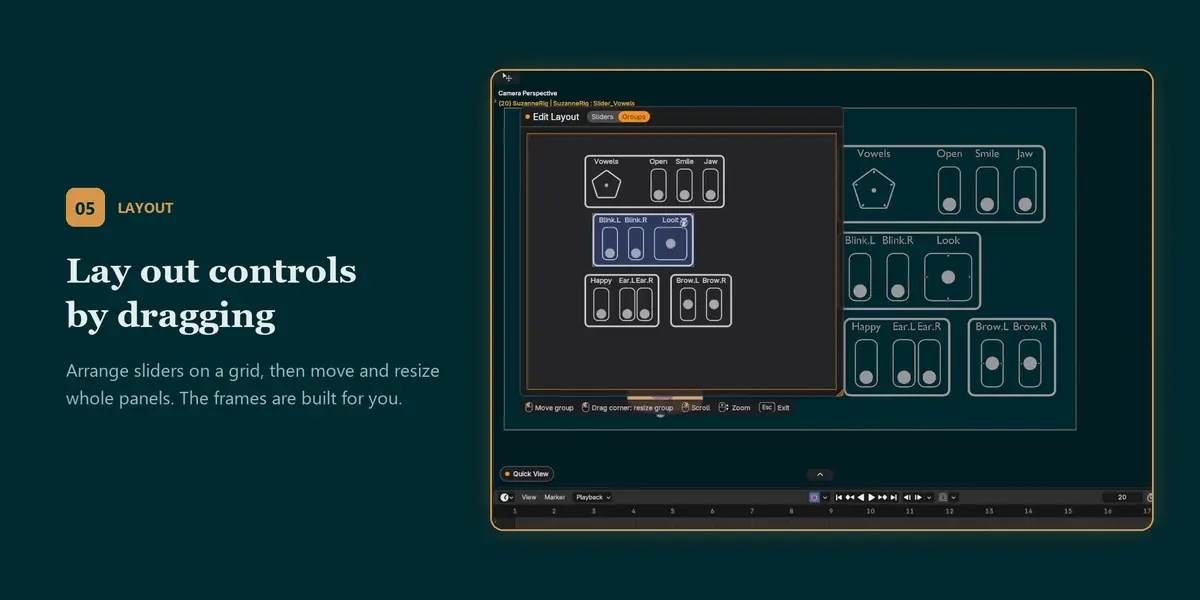
Edit Layout
Click Edit Layout to arrange sliders on a grid in a 2D canvas instead of moving objects by hand. The switch at the top has two modes:
- Sliders: drag sliders into grid cells, box-select or Shift-click to move several at once.
- Groups: move whole panels, and drag a panel's corner to resize it. Groups that haven't been generated yet can be placed too; they appear there when you generate.
Mouse wheel zooms, right-drag scrolls, Esc exits.
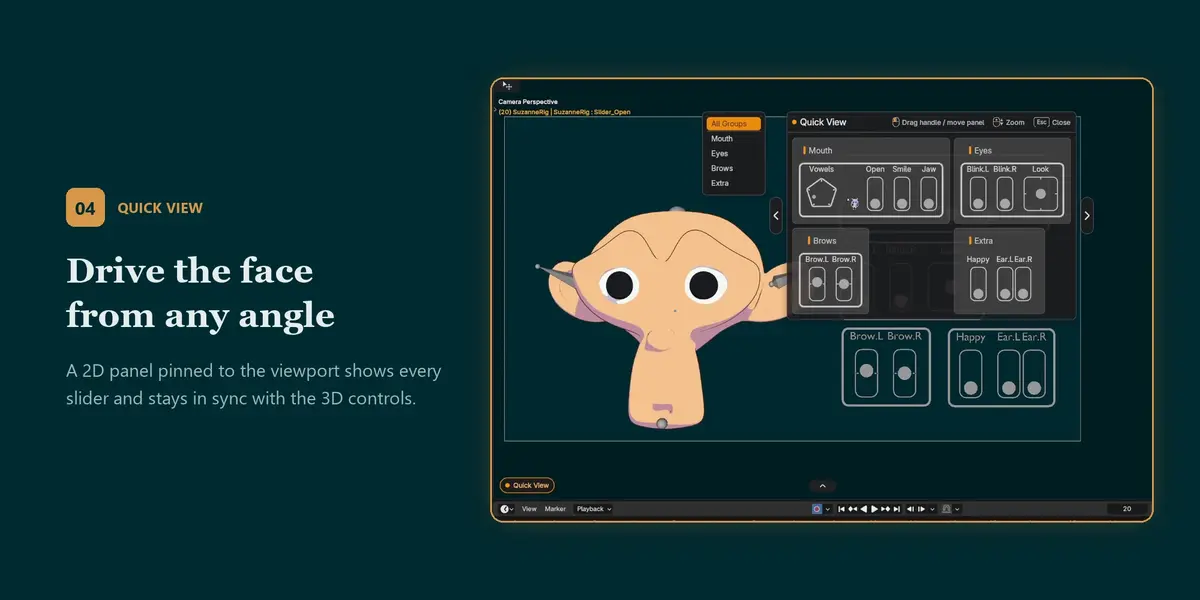
Quick View
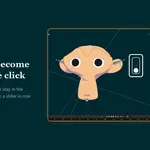
A 2D panel pinned to the viewport that shows every slider. Drag the handles to drive your character from any camera angle; it stays in sync with the 3D sliders.
- Open it from the Quick View button at the bottom left of the 3D Viewport or in the panel. You can also set a hotkey in the add-on preferences.
- Pick a group from the list on the left, drag the title bar to move the panel, mouse wheel to zoom, Esc to close. Position and size are remembered.
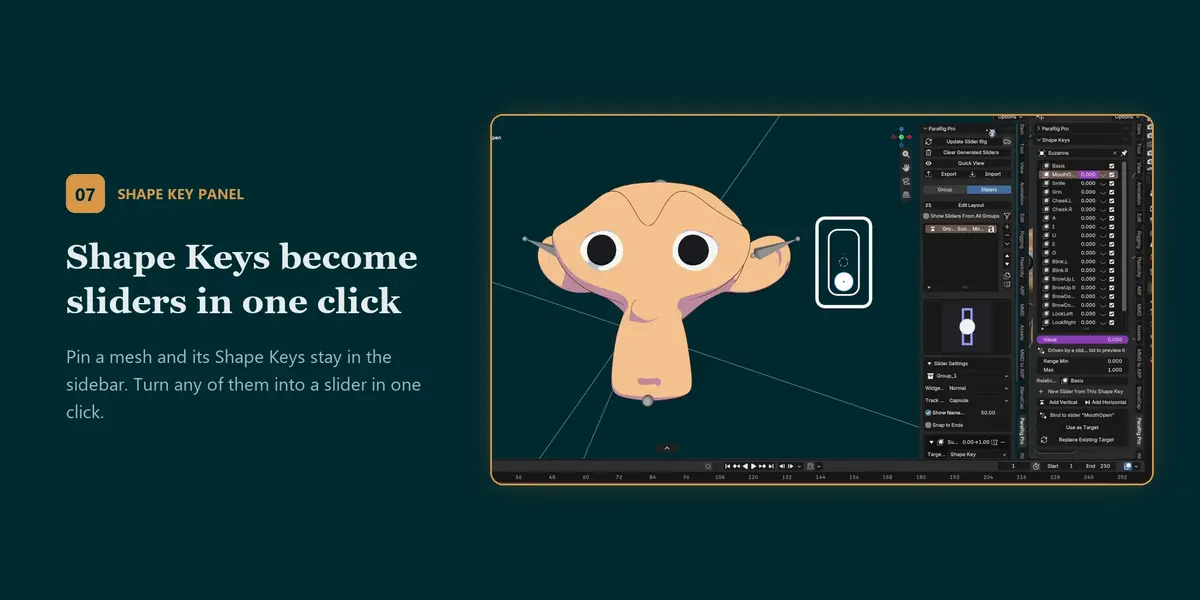
Shape Keys panel
The Shape Keys sub-panel lists the Shape Keys of a mesh. Click the pin to keep that mesh listed while you select other things.
- Click the eye next to a Shape Key to preview it at full strength, even if a slider is driving it. Click again to stop.
- New Slider from This Shape Key: Add Vertical or Add Horizontal makes a slider already bound to it.
- Bind to slider: Use as Target adds it to the selected slider; Replace Existing Target swaps it in.
Pose resets and Clear Transform
With Keep ParaRig on Clear Transform on (the default, in the add-on preferences), clearing transforms on your character (Alt+G / R / S, and Ctrl+Alt+A in Pose Mode) doesn't move the slider panels, and bone sliders keep their values. Switching the armature to Rest Position or using a Reset Pose tool sends sliders to their neutral value instead of the middle of the track.
Import / Export
Export saves groups, sliders and all targets to a JSON file. Import loads it into any file. Objects and bones are matched by name; anything that can't be found is listed in the Relink Unresolved Objects panel so you can point it at the new character.
Add-on preferences
- Edit Layout canvas size, default panel scale, Quick View hotkey, background opacity and the viewport button.
- Auto-rename a slider after the target you pick.
- Keep ParaRig on Clear Transform.
Troubleshooting
- A change doesn't show in the viewport: click Update Slider Rig (or turn on Auto Update). After updating the add-on itself, click Clear Generated Sliders and then Generate once to rebuild with the new version.
- Two sliders on the same Shape Key fight each other: a Shape Key can only have one Driver, so the slider generated last wins. Use one slider with several targets instead.
- A rotation target does nothing: the bone is probably in Quaternion mode; use Switch to Euler.
Still stuck? Message me through this product page and I'll help you sort it out.
Have questions about this product?
Login to message
| Published | about 5 hours ago |
| Blender Version | 4.2 - 5.2 |
| Extension Type | N/A |
| License | GPL |

Discover more products like this
blend-shapes bone controls Facial Animation slider facial rig Character rigging Rig-UI lip sync face rig shape keys drivers custom properties