Parrot Lipsync
 kitfox.com
in VSE
kitfox.com
in VSE
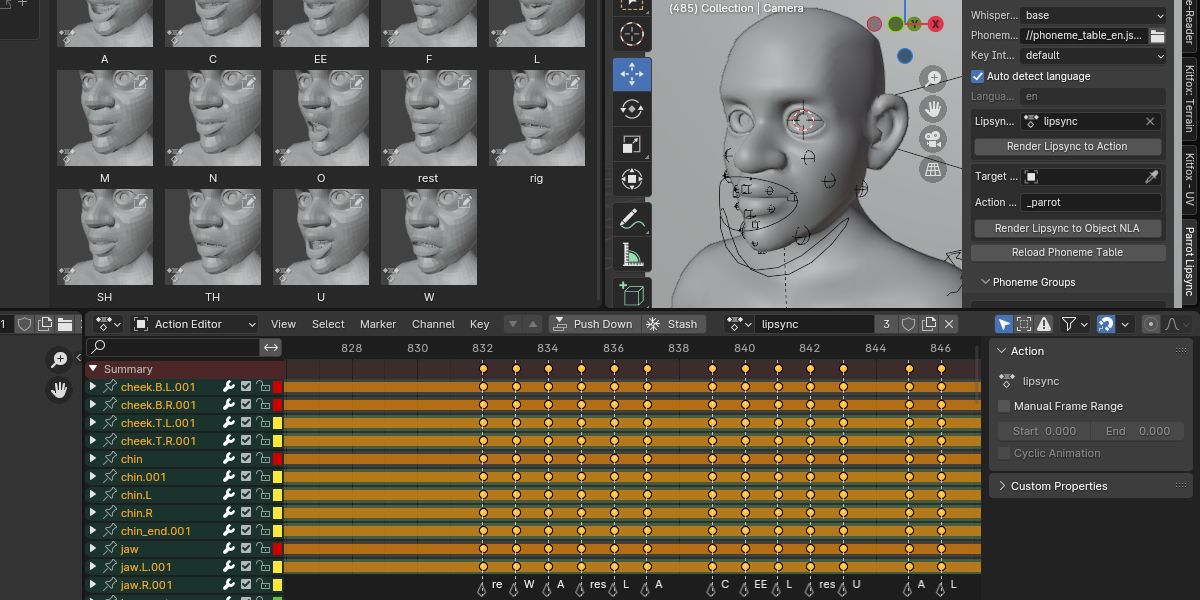
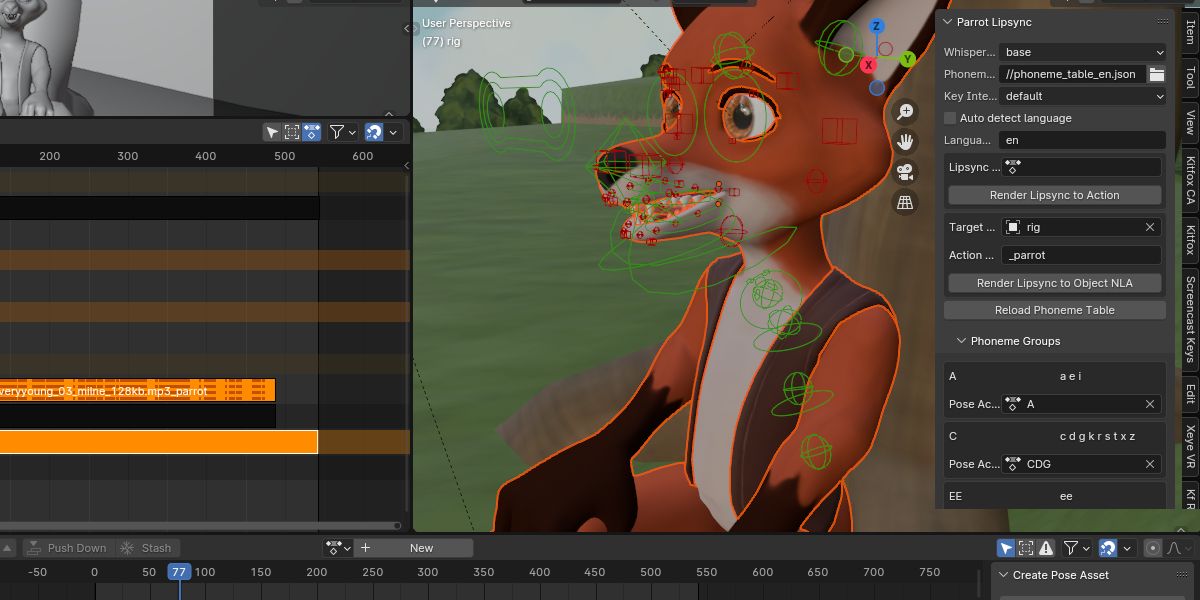
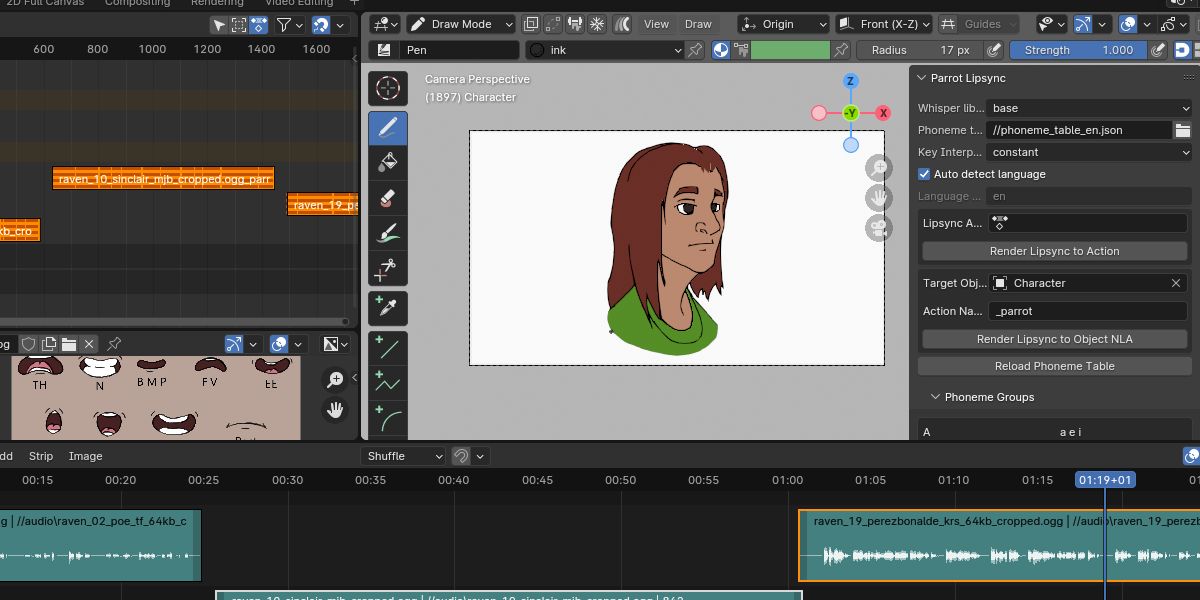
This addon requires some additional setup in addition to just installing it through the addons menu, so please read the installation section carefully.
At present, it does not provide support for
east Asian languages that use kanji due to a lack of support in the
phonemizing libraries. Hopefully this will change in the future as the
Python libraries Parrot relies upon improve.
This addon can also be downloaded from its Github page. Please post any errors you encounter there.
Installation
Install Ffmpeg
Ffmpeg is a popular library that lets you read
and write many popular media files. It needs to be accessible from the
command line.
Open a command prompt and type the following to see if it is already installed:
ffmpeg -version
If ffmpeg has not been found, you will need to install it.
# on Ubuntu or Debian
sudo apt update && sudo apt install ffmpeg
# on Arch Linux
sudo pacman -S ffmpeg
# on MacOS using Homebrew (https://brew.sh/)
brew install ffmpeg
# on Windows using Chocolatey (https://chocolatey.org/)
choco install ffmpeg
# on Windows using Scoop (https://scoop.sh/)
scoop install ffmpeg
Installing Parrot version 1.1.0:
Parrot
Lipsync bundles all the files it needs. Download the zip file for your
machine. Then from the Edit/Preferences menu, select the down pointing
arrow in the top right corner and select Install From Disk. Then
browse to the zip file.
Installing Parrot version 1.0.5:
Now that ffmpeg is installed, you can install Parrot by
opening the `Edit > Preferences > Addons` window and clicking the
`Install` button. Browse to the Parrot Lipsync zip file you downloaded
and select it. Finally, make sure the check mark next to `View 3D:
Parrot Lipsync` is checked so that the addon is activated.
Install Whisper and Gruut
Parrot
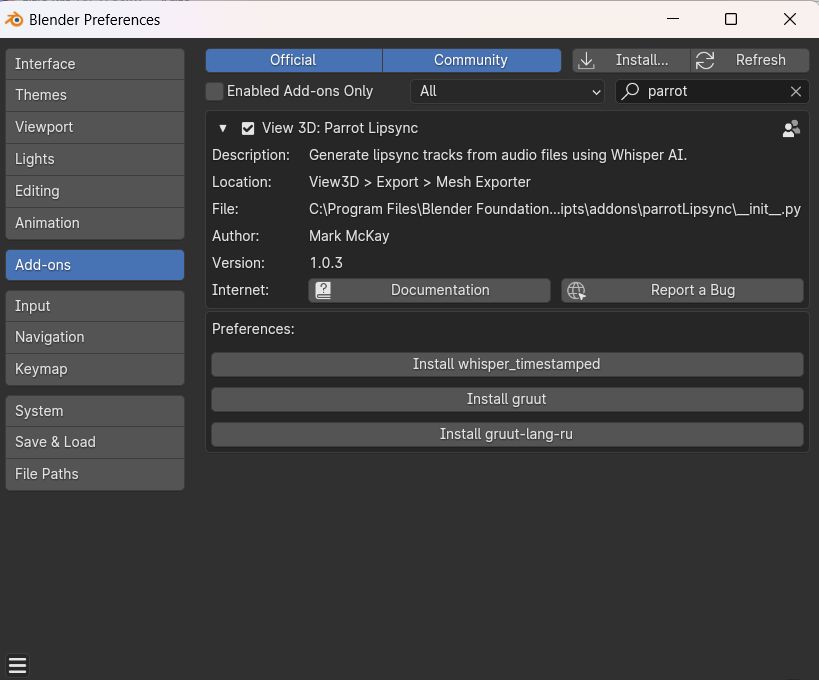
needs some support libraries to function. The easiest way to install
them is to open Parrot's configuration page in the `Addon` window to
reveal the buttons on the bottom. Press the `Install
whisper_timestamped` and `Install gruut` buttons to ensure these
necessary libraries are added to your Blender's python packages. Some
languages will require an additional package - for example, if you
intend to use the Russian language, make sure to click the `Install
gruut-lang-ru` button as well.
Alternate installation procedure for Whisper and Gruut
It is also possible to install Whsiper and Gruut on the command line as well if you don't want to use the installation panel.
Open a terminal window and go into your Blender installation's python directory (on Windows it should be something like `C:\Program Files\Blender Foundation\Blender 4.0\4.0\python\bin`). Then issue the following commands:
./python.exe -m pip install --upgrade whisper_timestamped
./python.exe -m pip install --upgrade gruut
For MacOS and Linux, the following should work:
./python -m pip install --upgrade whisper_timestamped
./python -m pip install --upgrade gruut
Some languages will require additional packages to be installed:
Russian:
./python.exe -m pip install --upgrade gruut-lang-ru
Usage
I've put together a video describing how you can use Parrot to lip sync characters in your animations.
Editing the Phoneme Table
Parrot
Lipsync uses a separate JSON file which defines what mouth positions to
use and which phonemes are used for which mouth positions. By default
it will use the file named `phoneme_table_en.json` which comes with the
addon. This file can be edited to change which mouth position groups
are used and which phonemes should be used for each mouth position.
If
you wish to define your own phoneme table, it is recommended that you
make a copy of `phoneme_table_en.json`, add your customizations to it
and then set the `Phoneme table file` field of the Parrot UI to point to
your custom file.
Description of the Phoneme table
The phoneme table has two main sections:
The
`groups` section defines each mouth position that your animation will
use. The groups are what you will assign mouth poses to in the addon
UI. The `name` field defines the name of the group and the
`description` field lets you add some descriptive text to explain to the
user what sounds this mouth pose is meant to make (and which is
displayed as a hint). The groups will also always include a special
group called `rest`, even if you do not explicitly define it in the JSOn
file. The `rest` group is meant to represent the mouth when it is
closed between words.
The `phonemes` section is where you let
Parrot know which phoneme symbols belong to which group. The `code`
field is the International Phonetic Alphabetic code for the syllable and
the `group` field indicates which mouth pose group the syllable belongs
to. The `class` and `example` fields are not currently used by Parrot
but meant to provide usage hints to the user and might be used in a
future version of Parrot.
Have questions about this product?
Login to message
| Sales | 90+ |
| Dev Fund Contributor | |
| Published | over 2 years ago |
| Blender Version | 4.2 - 4.5 |
| License | Mit |
Discover more products like this
spring24 artificial intelligence Automatic 2d animation 3d animation lipsync