Path Painter
 iralon


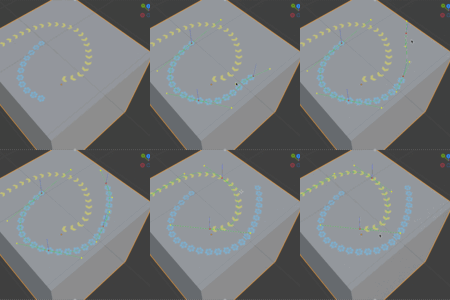
Installation:
- Download the pathpainter.zip file.
- In Blender, navigate to
Edit > Preferences > Add-ons - Click Install, and find where you downloaded the zip file. Then hit the
Install Add-onbutton. - In the sidebar panel, (shortcut key N), you will see Path Painter, click on it.
Updates:
How to Use:
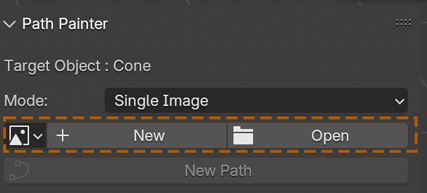
1. Select an image or create a new one, and the 'New Path' button will become available. Click it to create a new path.
When creating a new image, ticking the 'New Material' (Default) option will also create a new material, using the created image as the color input.
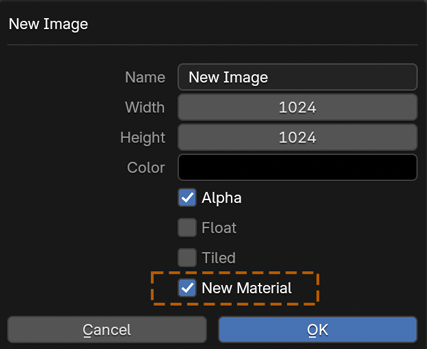
If 'New Material' is not selected, or if you choose an existing one, ensure that the image is assigned to the current material to see the path painting result directly.
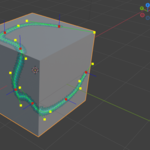
2. After clicking 'New Path,' you can click on the surface of the active object with the left mouse button to create the first path point. Click on the surface again to form a path line:
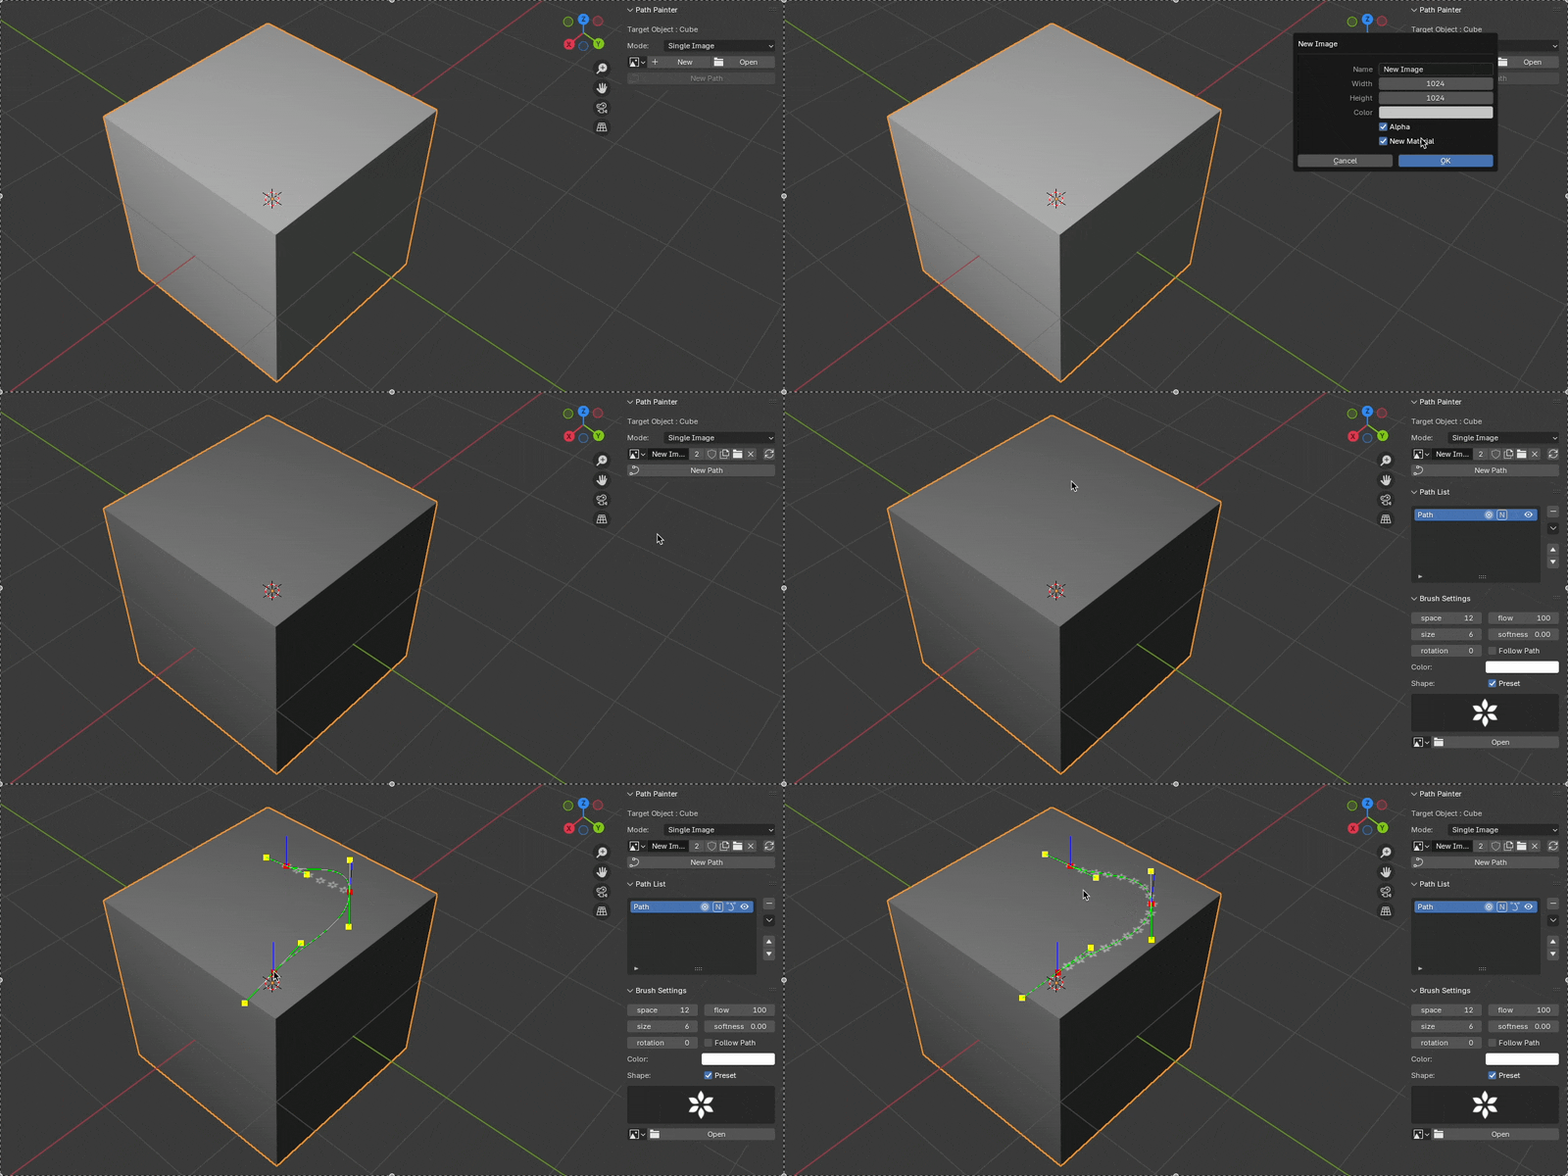
To add a path point, just click the left mouse button on the object’s surface. When hovering over a path point, right-click to delete it, or left-click to toggle its type (free or vector). While hovering over a path line, left-click to easily insert a new point.
3. After creation, you can perform several operations on the path.
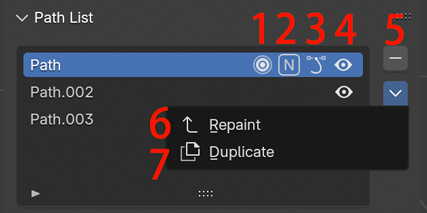
1: Start or end editing the path. Once the path is created, it will automatically be ready for editing. Press 'Enter' or 'Esc' to finish editing. To edit an existing path, simply press the button again.
2: Make the path symmetrical. 'N' means asymmetric, while 'X,' 'Y,' or 'Z' will make the path symmetrical along the corresponding axis.
3: Toggle cycle or not for the path.
4: Make the path visible or not.
5: Delete the selected path.
6: Repaint the selected path. It's useful when a new image is selected and want to paint the path on the image.
7: Duplicate the selected path.
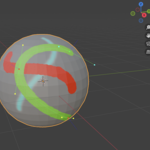
4. Adjust brush settings to achieve the desired effect. Each path has its own brush settings.
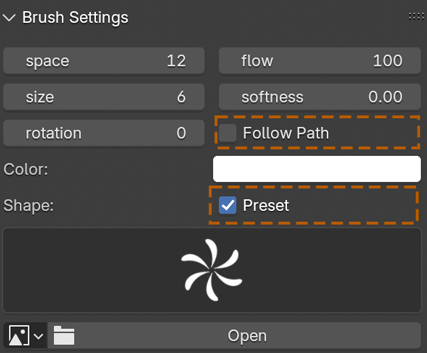
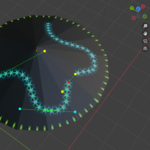
Follow path: When ticked, the shape will be rotated following the path direction(tangent on the path point)
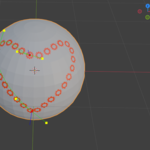
Preset : You can select various shapes to fill the path. When "Preset" is ticked, not just the shape but also the parameters like space, flow, etc. will be set to the path.
5. To edit a curve, you can left-click the curve line (not a point) to add a new point, and left-click a control point (not handlers) to change its type (free or vector), and right-click a control point to delete it.
Have questions about this product?
Login to message
| Blender Extension Compatible | Yes |
| Sales | 20+ |
| Dev Fund Contributor | |
| Published | over 1 year ago |
| Blender Version | 3.0 - 5.0 |
| Extension Type | Add-on |
| Render Engine Used | Blender-Internal, Cycles, Eevee |
| License | GPL |