PencilRig
 BlenderGem
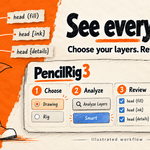

PencilRig 3.0.1 — Quick start
Recommended: Blender 5.2 LTS. Tested on macOS in 5.2.2 LTS, 5.2.0 LTS and 5.1.1. Minimum required: 4.5. Versions 4.5 and 5.0 have not been verified. The example file targets 5.2.
1. Install the extension
Disable older PencilRig addons first. Download pencilrig-3.0.1.zip and keep it zipped. Open Edit → Preferences → Get Extensions. From the menu at the top right, choose Install from Disk, select the ZIP and enable PencilRig. Open the 3D View sidebar with N, then choose PencilRig.
2. Prepare your character
Use a Grease Pencil object and an existing armature with deform bones. Save a copy of your project first. Each chosen layer will be rigidly assigned to one bone. PencilRig does not create the artwork, skeleton, IK controls or soft deformation.
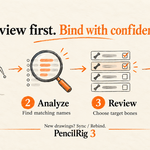
3. Choose, analyze, review and bind
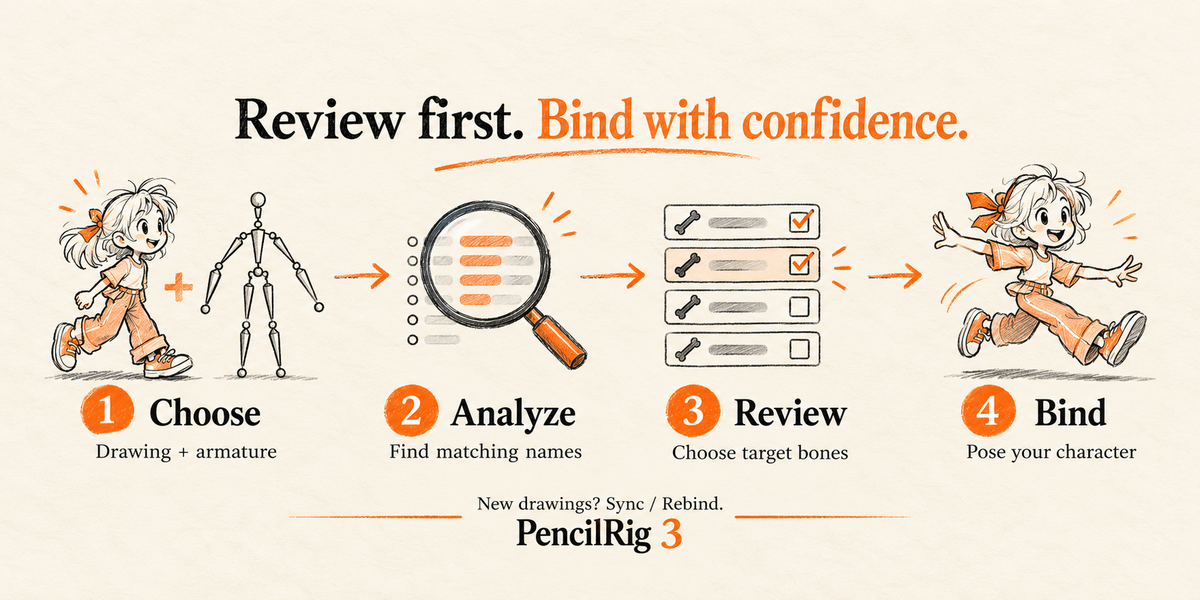
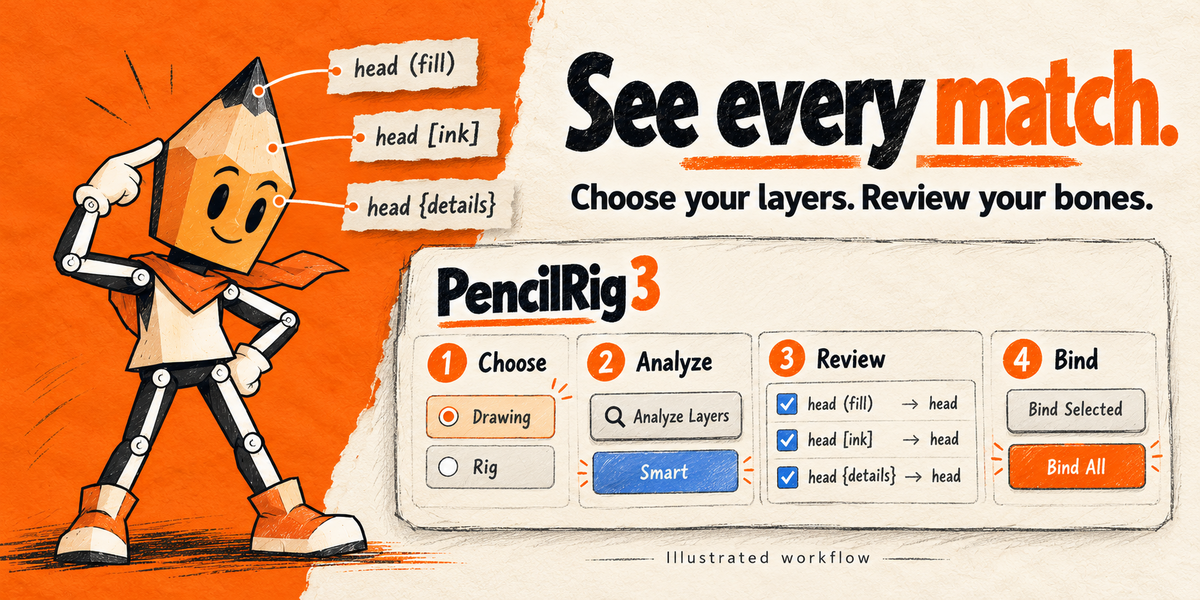
- Select one drawing and one armature, then click Use Selected. You can also choose them in the Drawing and Rig fields.
- Click Analyze Layers. Exact mode ignores case; Smart mode also normalizes annotations and common side labels.
- Review suggested matches. Search and filter the list, tick the layers you want, and use the Bone field to override a target manually. Ambiguous names are not guessed.
- Click Bind Selected or Bind All Matched. Pose the armature and inspect the result.
Naming examples
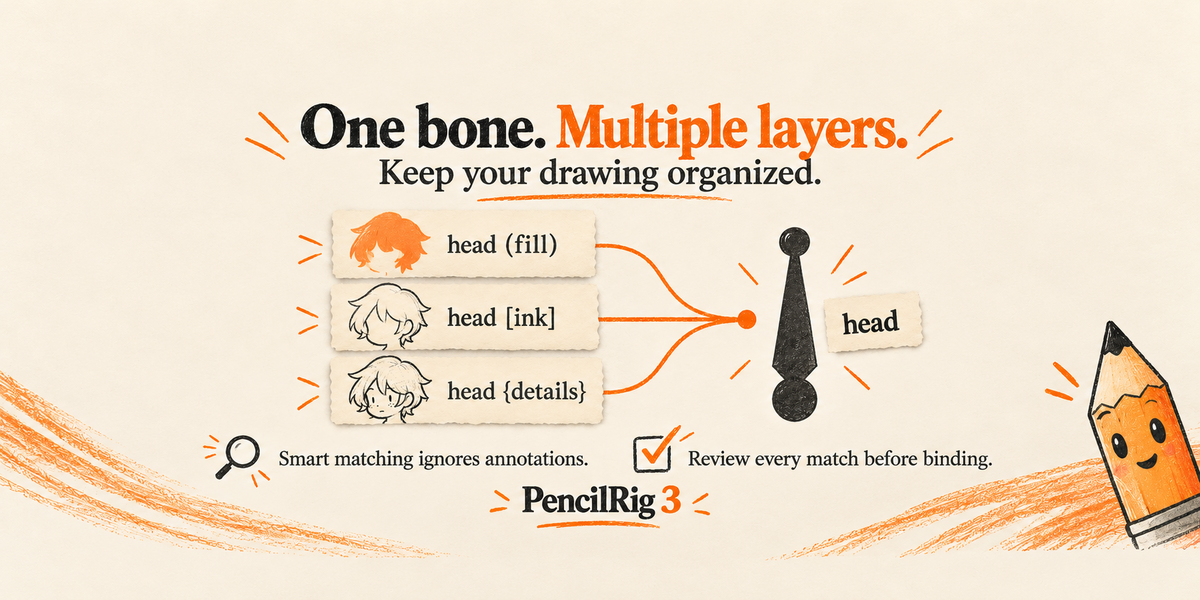
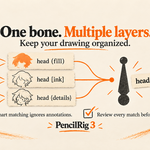
- head (fill), head [ink], head {details} → head
- Upper Arm.L [ink] → upper_arm.L
- forarm does not match forearm: assign it manually.
- arm is ambiguous when both arm.L and arm.R exist.
Drawing more frames
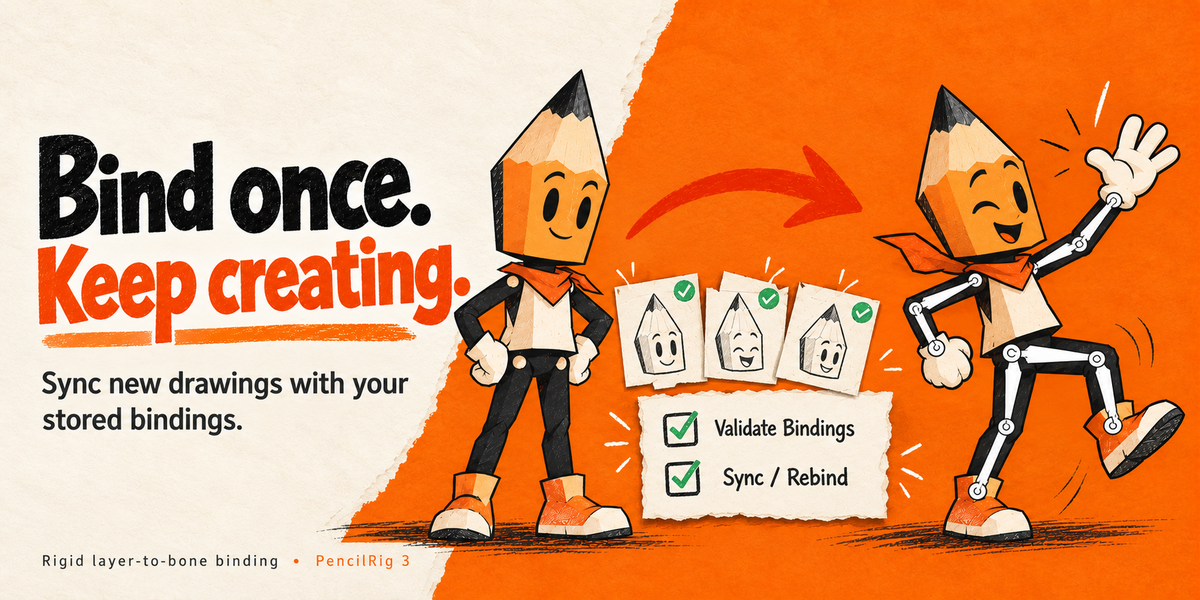
Binding covers all drawing frames that already exist on each chosen layer. After creating frames or adding points, click Sync / Rebind. The stored mappings are applied again. Validate Bindings checks mapping names, layers, bones, groups and Armature modifier settings; it does not audit every point's weight.
Unbinding and weight changes
Each chosen layer receives 100% weights to its target deform bone. Competing weights for bones in that armature are removed on that layer. Unselected layers and unrelated groups are preserved. Unbind Selected clears the weights assigned by PencilRig; it does not restore weights that existed before binding. Use Undo or a saved copy to return to that earlier setup.
Migrating an old character
Work on a separate copy. Put the armature in rest pose, Analyze, then explicitly enable Remove Legacy Layer Parenting before binding those layers. Check rest pose and several animated poses afterwards. Migration does not bake parent-space animation or transform offsets. Leave this option off for new setups.
Troubleshooting
- No movement: select a deform bone and verify the Armature modifier targets your rig, is enabled in viewport and render, uses vertex groups, has bone envelopes disabled and has no influence-group restriction. Run Sync / Rebind.
- Shared data: make the Grease Pencil object and data local and single-user. Drawings shared across layers must be unique.
- Multiple selected drawings or rigs: choose exactly one of each, or assign the fields explicitly.
- After renaming: Analyze again, choose the correct target and rebind. Validate reports missing names from older mappings.
Included example
Open PencilRig-example.blend in Blender 5.2. It contains an original pencil character with nine layers, eight deform bones and a simple pose animation on frames 1–48. The character is already bound; you can Unbind Selected, Analyze and bind again to practice. The artwork and armature were created separately to demonstrate PencilRig.
Support
Use Contact the Creator on your Superhive purchase. Include your Blender version, PencilRig version, reproduction steps and a minimal sample if possible.

Discover more products like this
linking animation Grease Pencil Add-on PencilRig bones rigging armature Grease Pencil Layers Workflow Layer Management