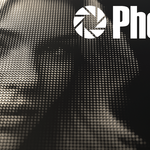
Photrix
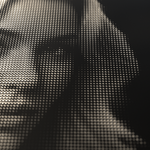
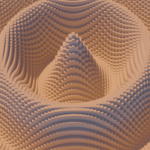
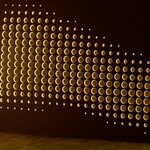
 Impression Sunrise



Installation Steps
Download: You will receive a .zip file after purchasing the addon (check your Orders page). Do not unzip this file.
Open Blender: Launch Blender
Go to Preferences: From the top menu, navigate to Edit > Preferences.
-
Install the Addon:
In the Preferences window, click on the Add-ons tab.
Click the Install... button located at the top right (you have to click the arrow then Install from Disk in newer versions).
Find and select the Photrix_v01.zip file you downloaded and click Install Add-on.
-
Enable the Addon:
The addon will now appear in the list. Type "Photrix" into the search bar to find it quickly.
Click the checkbox next to "Object: Photrix" to enable it.
You can now find the Photrix panel in the 3D Viewport. Just press the 'N' key to open the sidebar, and you'll see a tab named "Photrix".
Inputs
Select a Source Object: In the Photrix panel, click the eyedropper icon next to "Source Object" and select any mesh object in your scene. This is the object that will be copied.
Vertical Resolution: This determines the number of instances along the vertical (Y) axis. The horizontal resolution is calculated automatically based on the image's aspect ratio to prevent stretching.
Deformation Properties
Value Mapping
Have questions about this product?
Login to message
| Blender Extension Compatible | Yes |
| Sales | 10 |
| Dev Fund Contributor | |
| Published | about 1 year ago |
| Blender Version | 3.5 - 4.4 |
| Extension Type | Add-on |
| Render Engine Used | Cycles, Eevee |
| License | GPL |
Discover more products like this
mosaic Image to Mesh Generative Art instancing array modeling procedural abstract pixel Generator halftone Photo to 3D