Poly Stamp - Stamp Assets Onto Selected Faces! (Kit Included)
 hodgson3d


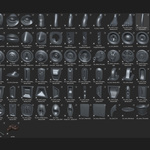
How to create your own assets:
- Make sure the origin point is centered on the assets border edges. Its ideal for hard surface inserts that the border edges are flat, however, this is not a hard rule. For many organic assets (see kit provided) you can have curvature in your assets but the pivot should always be centered around the border edges to avoid the stamp being overly recessed or extruded from the target surface.
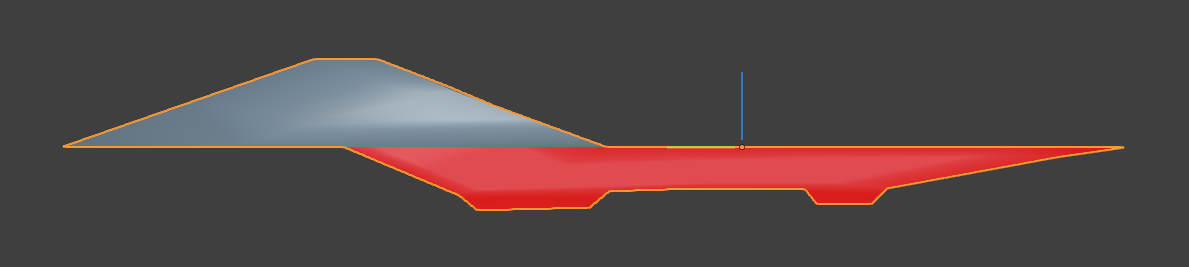
- If you asset is elongated, make sure the longest dimension of the asset is oriented in the Y axis. The asset must also be facing up in the Z axis.
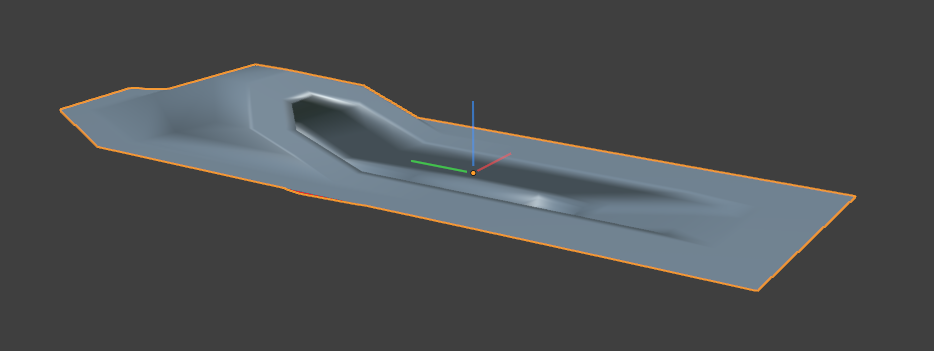
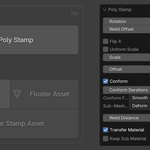
- If you are creating fused assets (welded to target surface). Enter EDIT MODE on all the stamps you want to converted to assets, select border edges (the edges that get fused to the target surface) and run "Fuse Asset." This will add the necessary vertex groups and tag these objects as assets for you to organize in our asset browser.
-
Alternatively, if you want to create a floater asset (non welded) follow the same instructions above, but only select the selected geometry in OBJECT MODE and run "Floater Asset".
Naming:
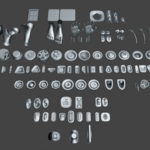
Its not mandatory, but I suggest naming your assets in a similar way to the assets I have provided. Reason being is that it allows you to preview the required/suggested face selection for each asset.
In the assetLib provided with Poly Stamp I have opted for 'number of border edges'_'Grid Selection'. For example if an asset with 16 sides and a suggested 4x4 selection grid I would name it '16_4x4_Asset'.
Again, this is not required. Just a suggestion to help organize and maintain your own asset library.
NOTE: For best results your stamp border edge count should match
the border edge count of the selected faces when using Poly Stamp. However, its important to
note that this is not mandatory, the addon is smart enough to do its
best weld/collapse edges to ensure the asset is welded in a clean way even if they edge count does not match.
