 Poly Haven


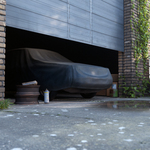
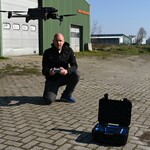
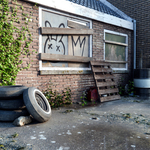
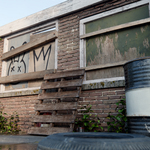
Turn the real world into production-ready 3D assets
Learn the production workflow behind Poly Haven's world-class scans. Join us on location in an abandoned factory and follow every step, from capture to a finished Blender environment.
Learn the full photogrammetry pipeline
A complete learning program for artists who want to capture the real world and turn it into high-quality 3D assets. You will learn how to create texture scans and object scans on location, process them into production-ready materials and models, and use them inside a professional 3D environment workflow.
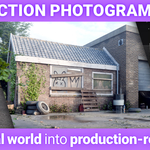
We visit an abandoned industrial complex and use this real location as the foundation for the course. Every stage is demonstrated in context: from choosing strong scan subjects to processing the results and building the final scene.
The course takes you through the full photogrammetry pipeline, from understanding what photoscans are and what equipment you need, to capturing scans in the field and processing them into usable assets for your own 3D scenes.
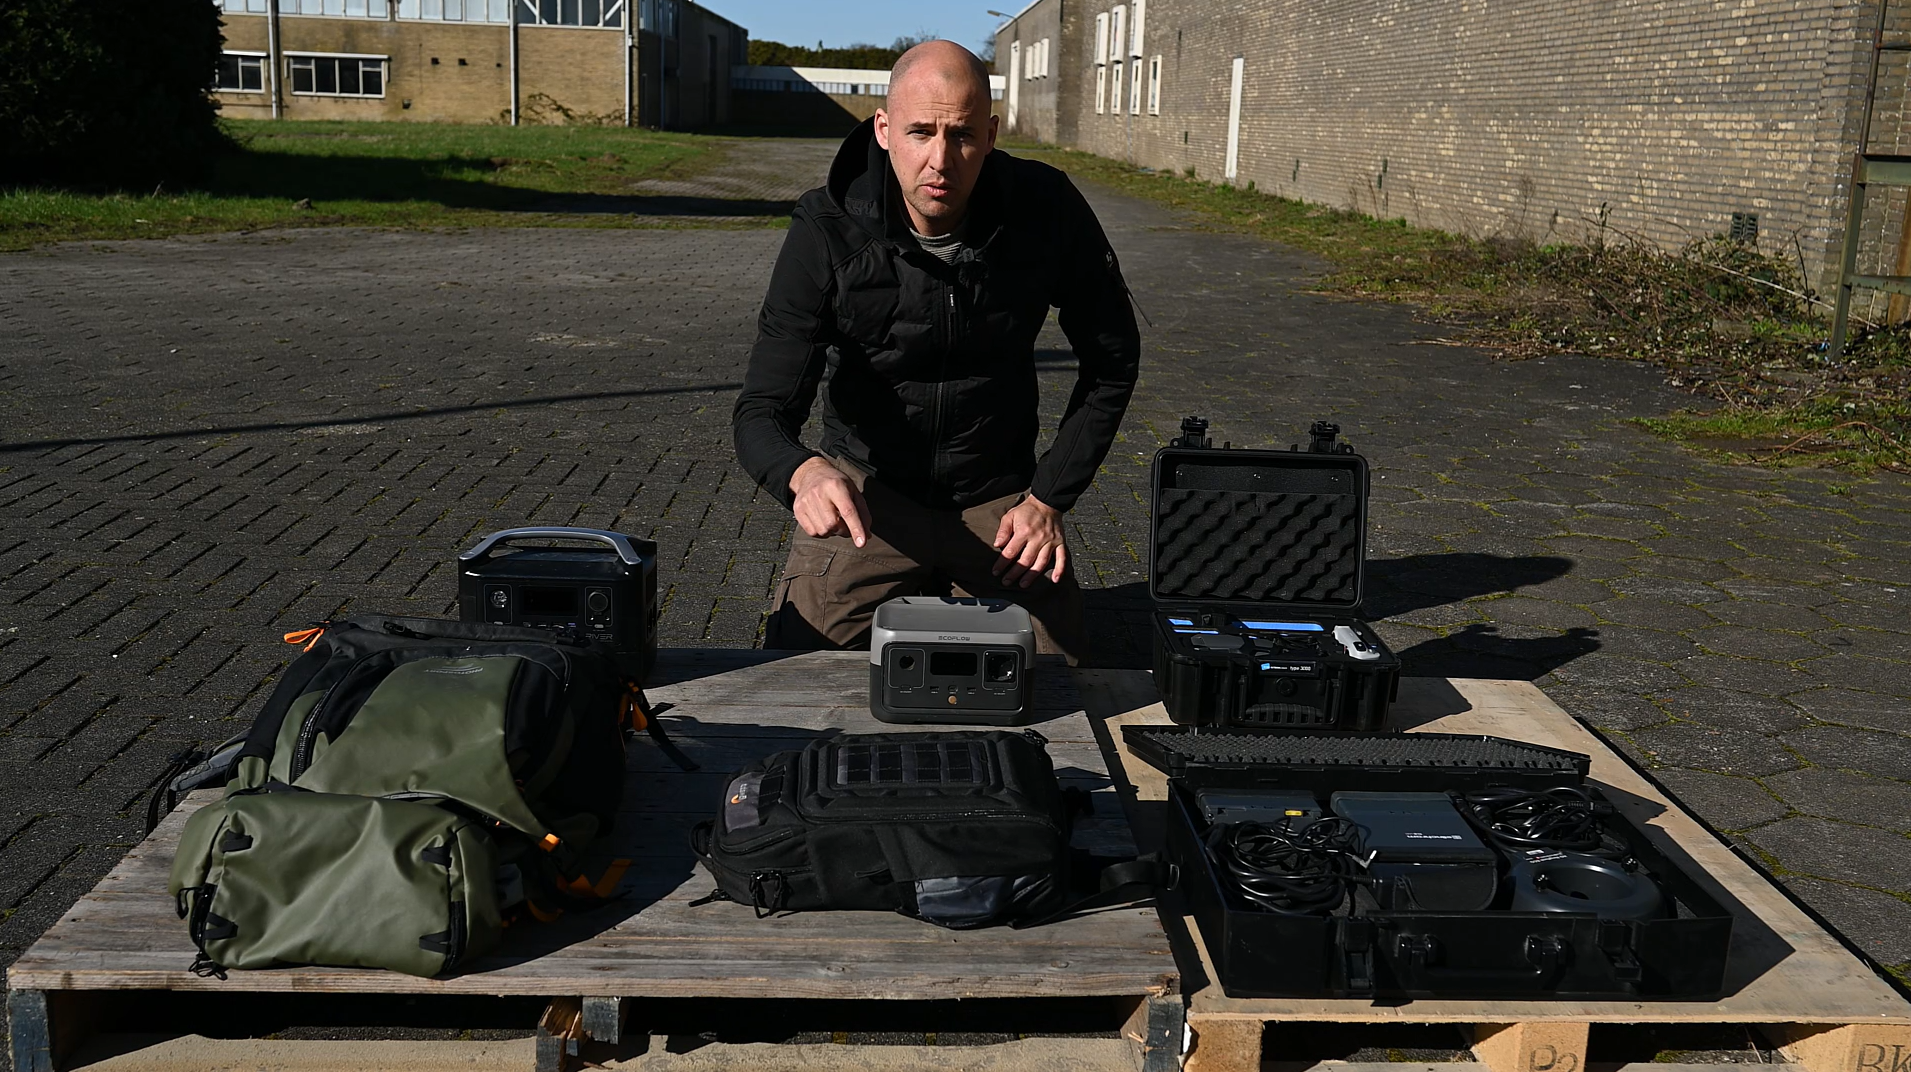
Equipment and scanning on location
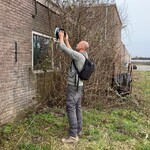
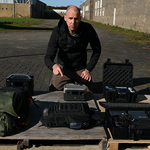
This chapter begins with an overview of the equipment used throughout the course. We then explore an abandoned industrial complex, surrounded by weathered surfaces, worn materials and unique objects that are ideal for learning photogrammetry.
Learn how to recognize strong scan subjects, which surfaces work well, which materials are problematic, and how to approach a location with a clear scanning plan. Every step is shown directly in the field.
From surface capture to tileable materials
See how different surfaces are captured on location and how the complexity of a material affects the processing stage. Then move through RAW development and color calibration, photoscan reconstruction, baking, and the clone stamp workflow that turns a scan into a seamless, tileable PBR material.
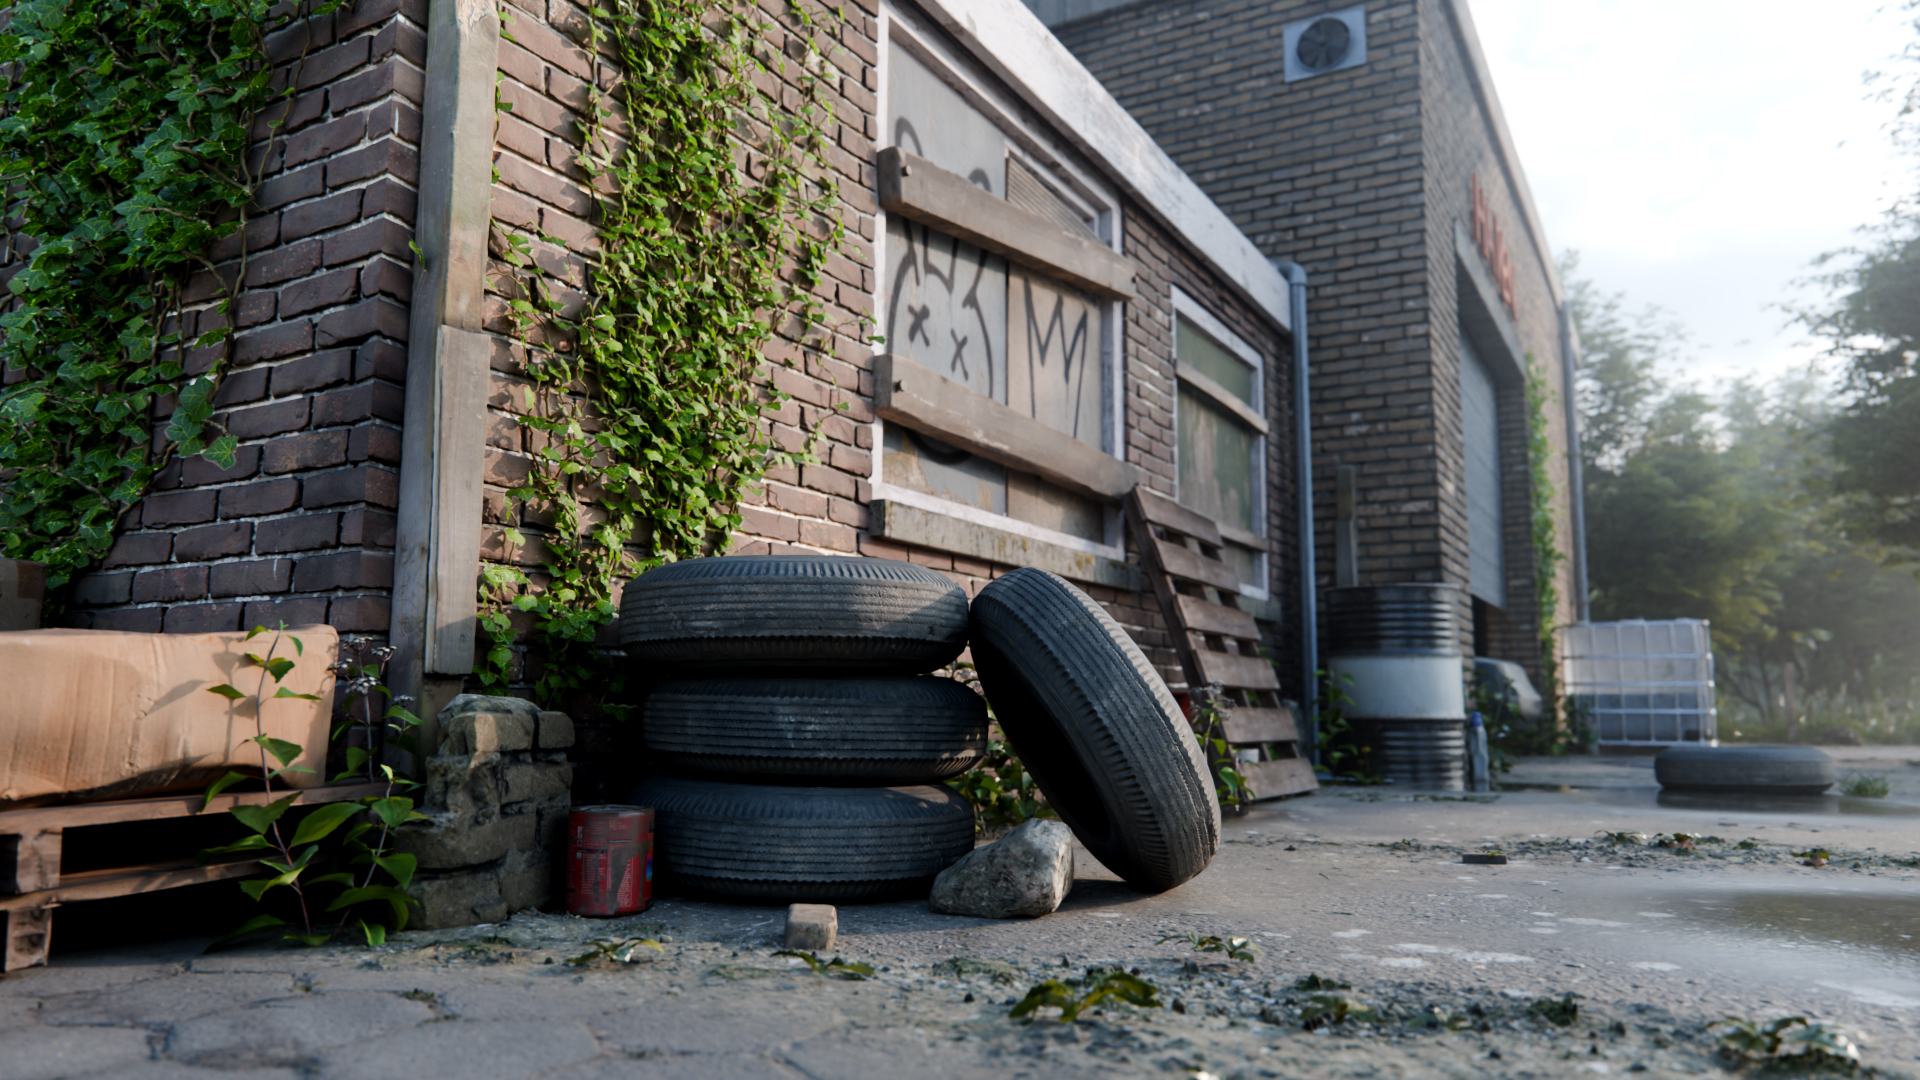
Build a believable environment
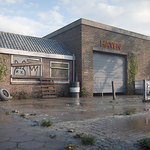
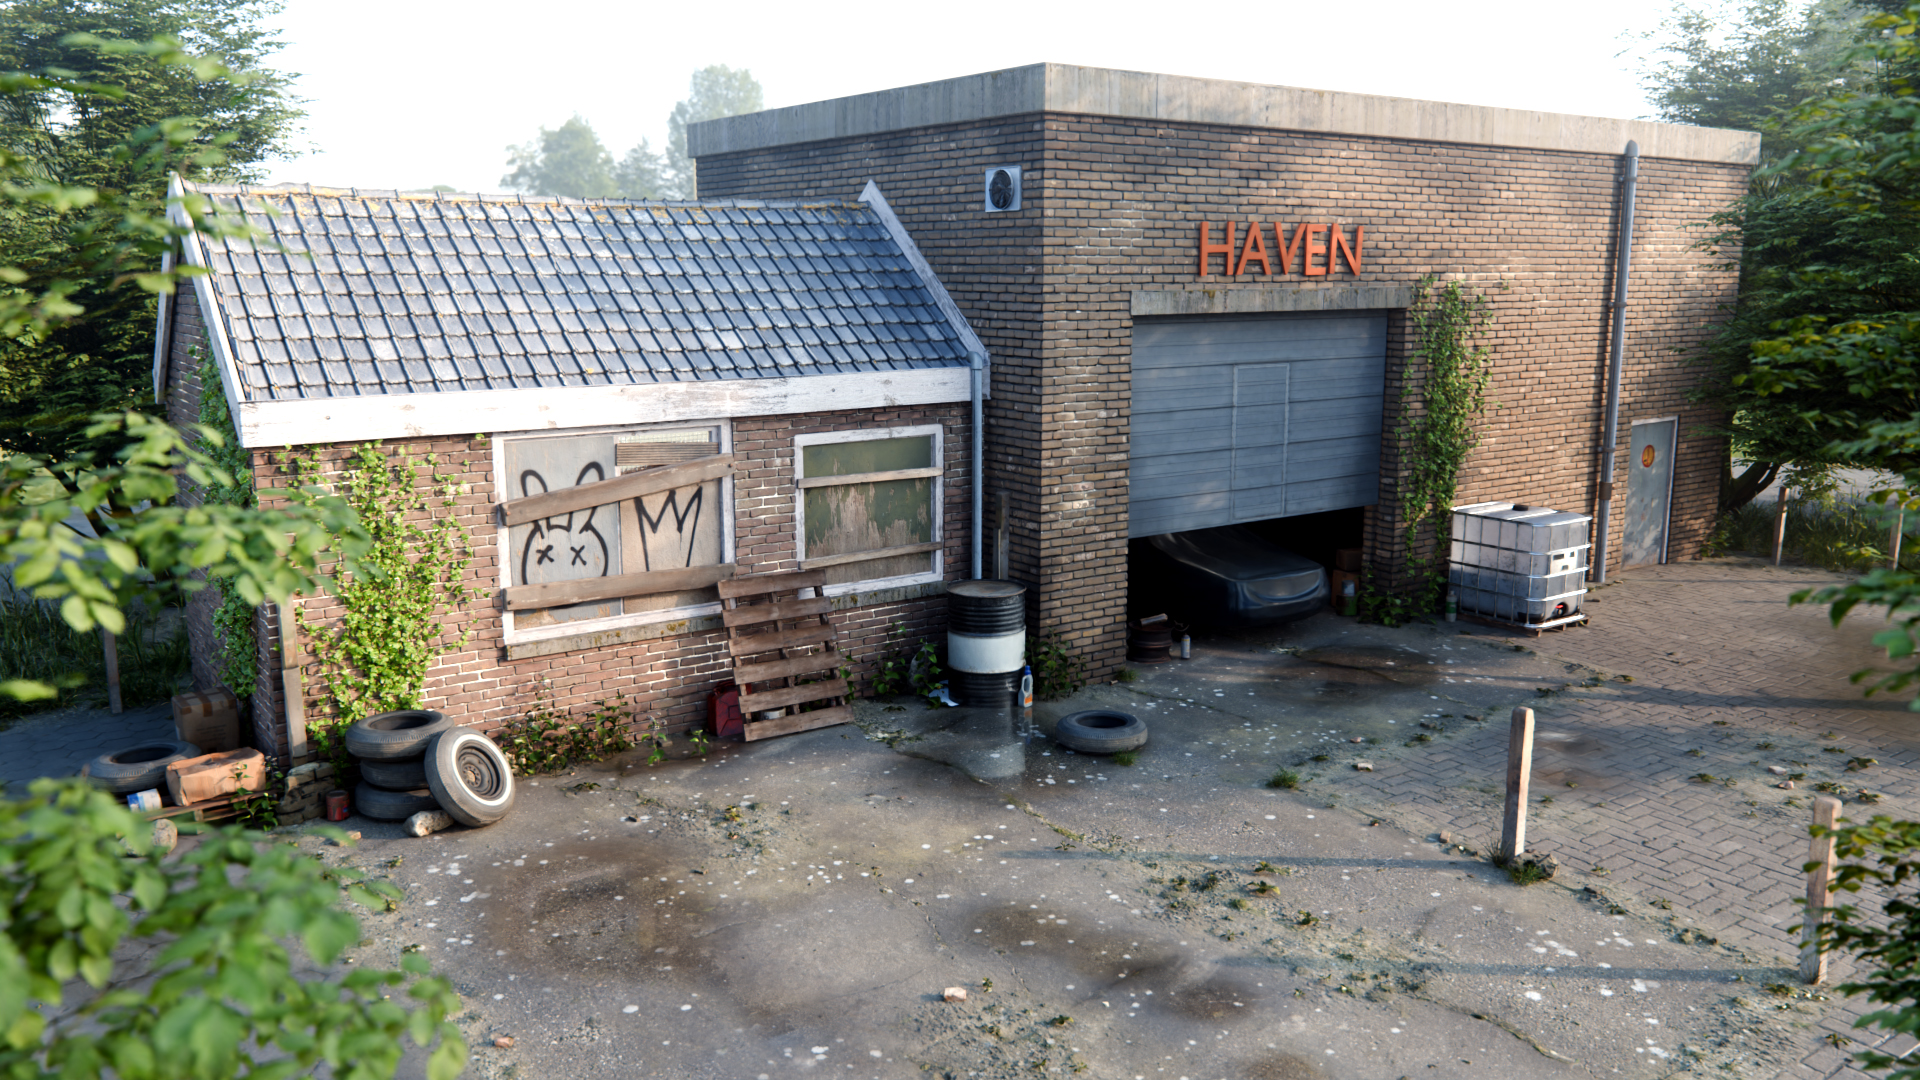
Once the first texture scans are processed, we begin shaping the factory scene in Blender: a blockout from primitives, sized against reference, with door and window openings cut before a single texture is applied. From there we build Cycles materials for the brick walls, roof and tiled ground, wiring up base color, roughness, normal and displacement.
The chapter then moves into the details that sell the shot: adaptive subdivision displacement, blending hard seams away with vertex-painted dirt masks, weathering the bricks so they never read as a repeated texture, wood panels and beams, and finally an HDRI lighting setup with volumetric fog. Scanned materials become the visual foundation of a believable environment.
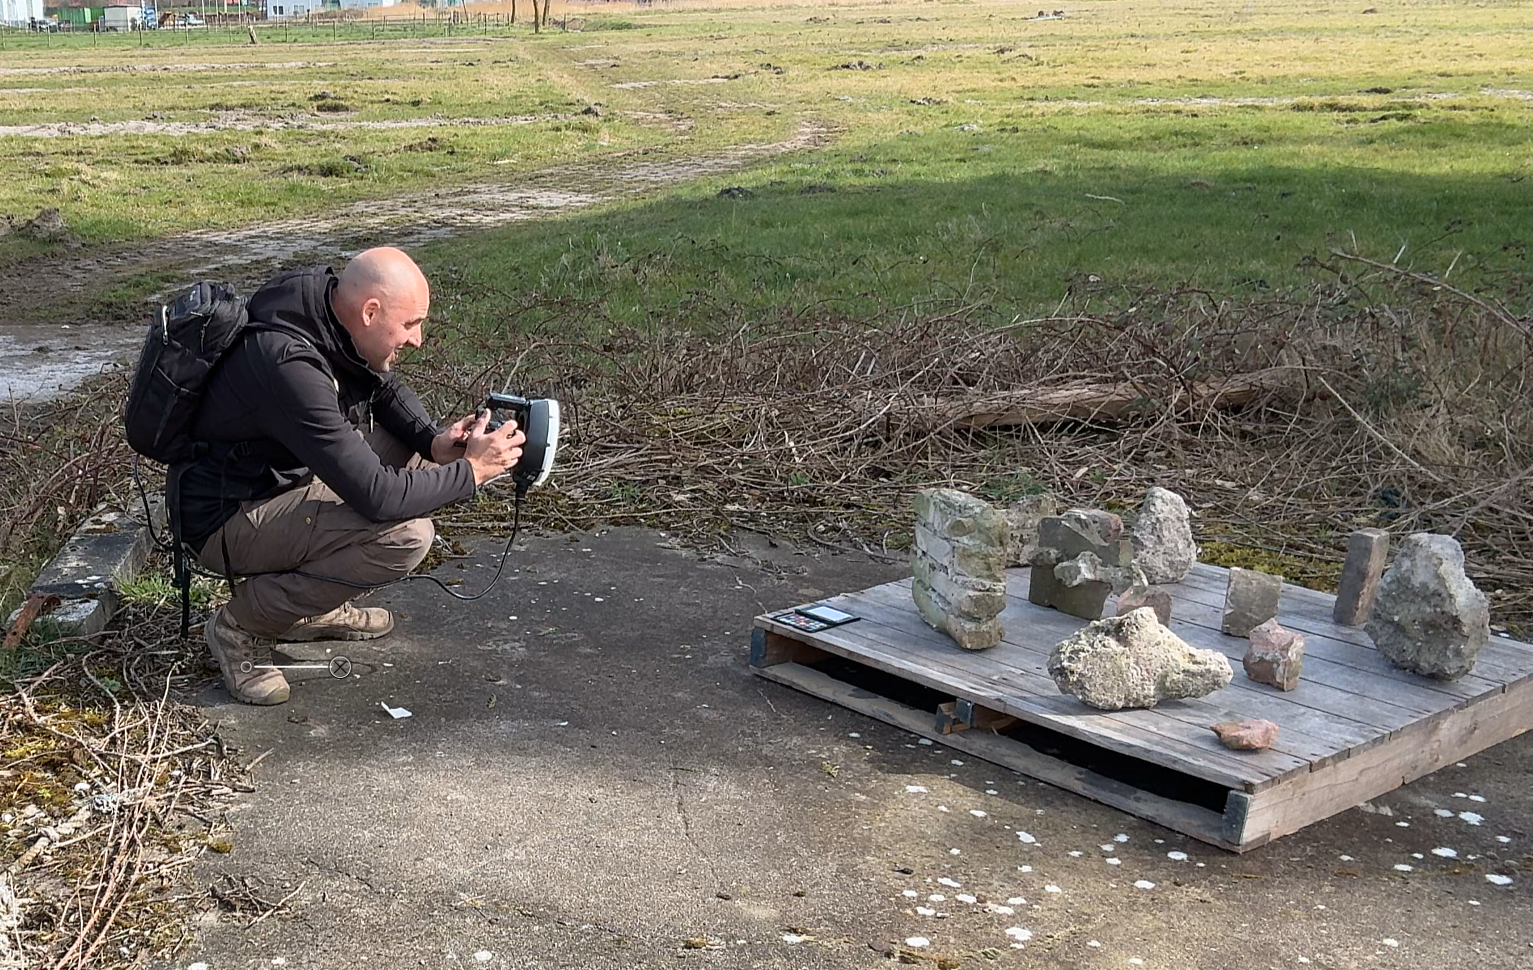
Create 3D model scans
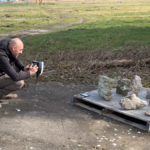
Model scanning is a different process with its own challenges, camera approach and post-processing requirements. We collect several objects from the location - bricks, stones, planks, beams, a barrel and a wheel - and scan them step by step.
For each object, the course explains what to look out for, how to capture enough coverage and how to avoid common photogrammetry problems, including the tricky cases: a reflective metal barrel, and a thin wheel full of holes.
Make your scans production ready
Raw 3D scans are rarely ready to use directly. Learn the full processing pipeline: color-calibrate the photos, reconstruct in RealityScan, clean and remesh in Blender, retopologize with Instant Meshes, UV map, reproject the high-poly detail, bake ambient occlusion, then repair the gaps in Substance 3D Painter. The whole pipeline is then run a second and third time on the planks and the barrel, so you see it repeat on real objects.
Bring everything together
Import and place your scanned models, combine them with additional free assets from Poly Haven, and use scattering to integrate objects naturally. Vertex-paint grass and dirt masks, add nettles, shrubs and ivy, place props and debris with believable logic, then finish with depth of field and wet puddles painted onto the scanned tiles. The goal is not only to create individual scans, but to understand how they function inside a complete scene.
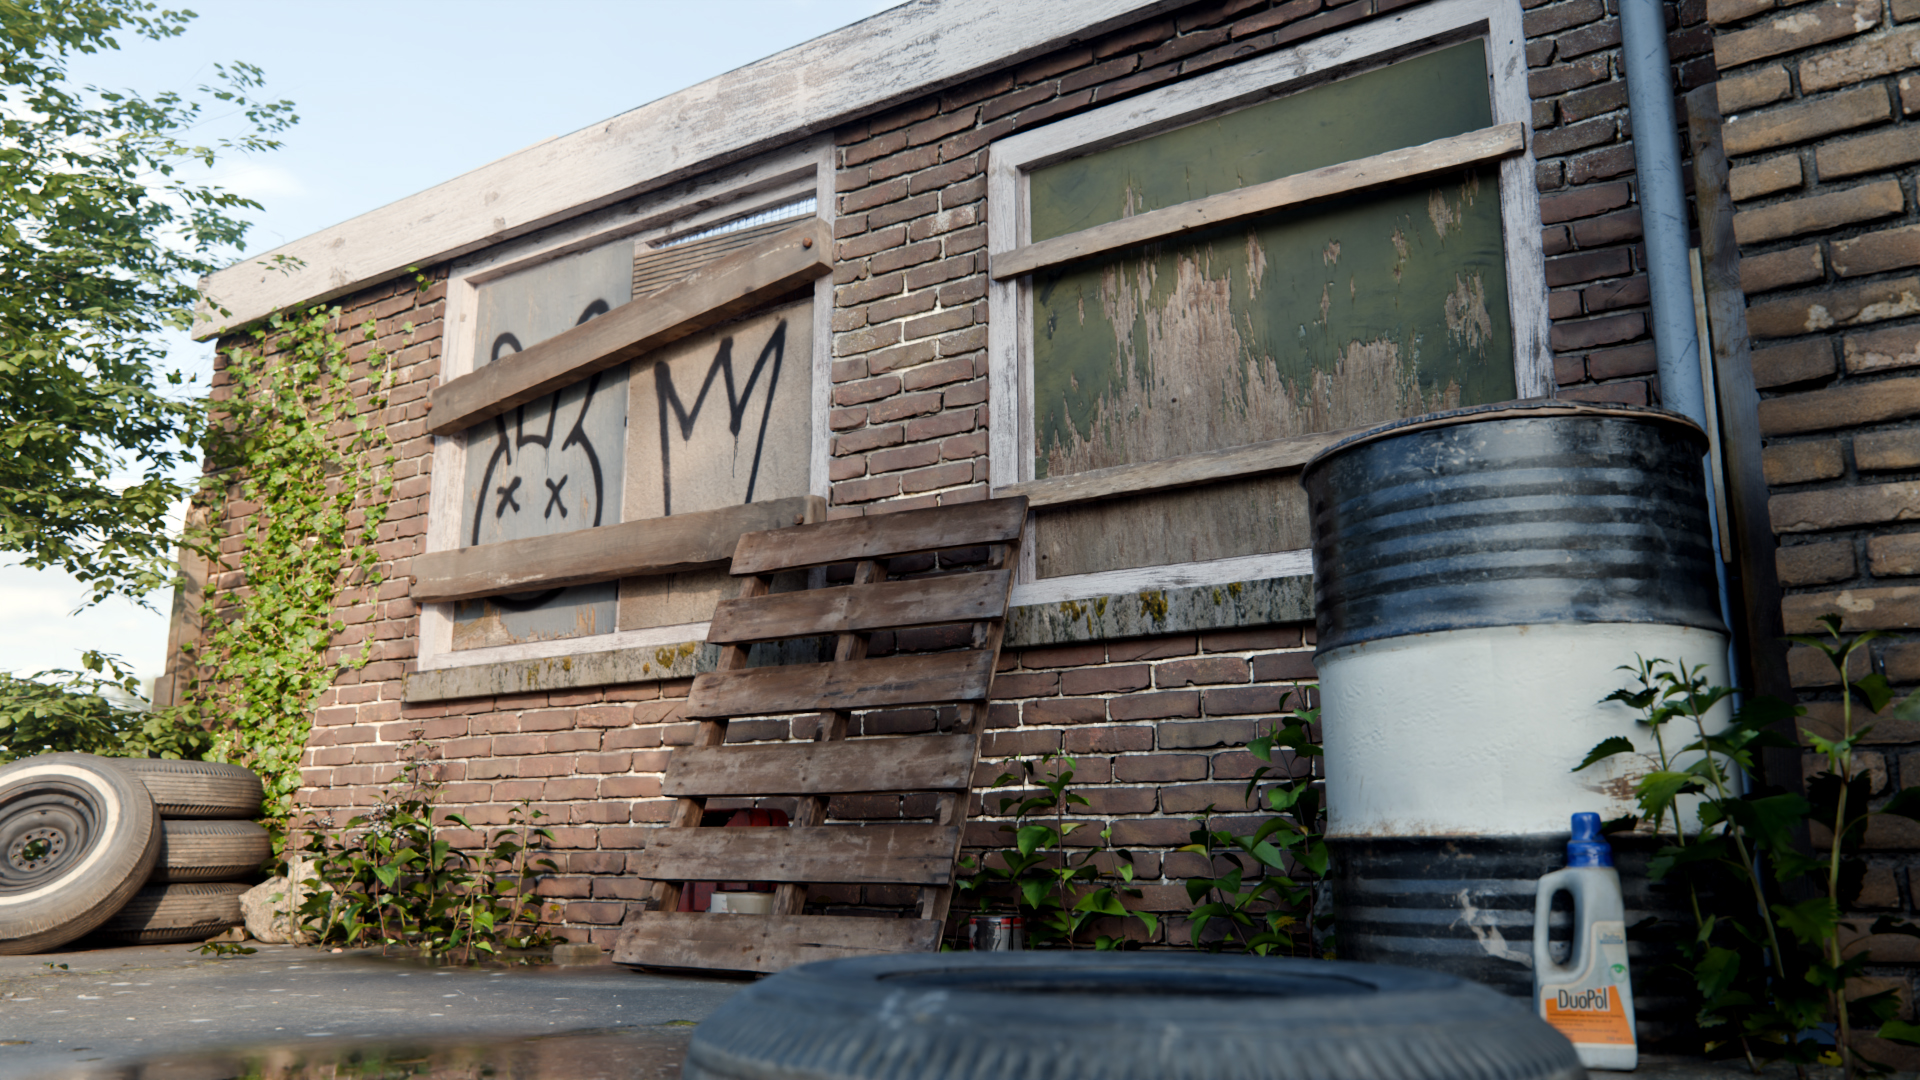
A complete practical workflow
More than just video lessons
For over 10 years, Poly Haven has published free CC0 HDRIs, textures and 3D models used by millions of artists around the world. This course teaches the same production workflow we use ourselves - built on real photography and years of refinement, not generative AI. Every purchase helps fund more free assets for everyone.
Start creating your own scanned 3D assets
Learn how to capture real-world materials and objects, process them into usable assets and apply them inside a complete 3D scene, from start to finish.
This is a paid course, for now.
Every asset on Poly Haven is free, and always will be - but making them costs a lot. Selling this course helps fund that work, the same way our Blender add-on does.
We don't want to keep it behind a paywall forever. Once we reach 4,800 Patreon supporters, we'll release the entire course free to everyone.
So there are two ways to get it. Buying here on SuperHive gets you the course, yours forever and downloadable. Supporting us on Patreon for $7/month gets you the same course streamed online, plus everything else we make for patrons - and it moves us closer to making the course free for everyone.
Both options are the same course, and both fund the same work - pick whichever suits you.
See live progress
towards the free release, and compare the two options side by side: