 AlbertoFX


Installation Guide
Step-by-Step Installation
- Download the add-on
- Get the latest version as a .zip file (do not unzip it).
- Install in Blender
- Open Blender (5.0 or newer recommended).
- Go to Edit → Preferences → Add-ons.
- Click Install from Disk... (top right).
- Navigate to your downloaded .zip file and select it.
- Click Install Add-on.
- Enable the add-on
- In the Add-ons tab, search for "PolyTools"
- Check the box to enable it.
- It will now appear in the 3D Viewport Sidebar under the Retopology tab.
- Start using it
- Select your high-poly reference mesh.
- In the 3D Viewport Sidebar → Retopology tab, click Start Retopology.
- A new empty mesh named "Retopo" will be created (or your existing one used).
- Use hotkeys Q / L / X / T to switch modes and start drawing.
PolyTools Add-on Documentation
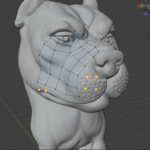
PolyTools is a retopology companion for Blender, focused on fast quad drawing, loop creation, cleanup, and basic tweaking.
Version: 0.1
Blender: 5.1+
Overview
PolyTools provides four main modes:
- Quad (Q) – Draw individual quads or continuous strips
- Loop (L) – Create circular/tubular edge loops
- Delete (X) – Brush-delete faces, verts, or edge loops
- Tweak (T) – Move existing verts or yellow guide points
Getting Started
- Select your high-poly reference mesh (the target object).
- In the 3D Viewport Sidebar → Retopologytab, click Start Retopology.
- A new empty mesh named Retopo is created (or your existing one is used).
- Use hotkeys Q / L / X / T to switch modes.
All operations work in Edit Mode on the Retopo mesh. If you want to start on an existing retopology mesh, make sure you rename that mesh "Retopo" and then have the 3D model you are working on as the active object. You can then Start Retopology.
Modes & Controls
Quad Mode (Q)
Purpose: Create new quads on the surface.
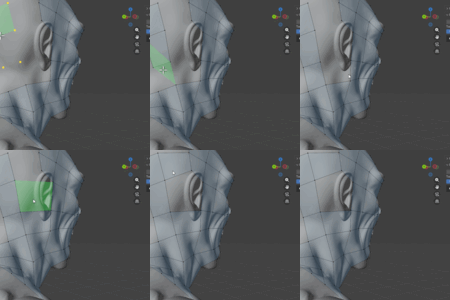
- LMB drag → Draw continuous quad strips (auto-placement when far enough from previous quad)
- Ctrl + LMB → Place a yellow guide point
- RMB → Remove nearest yellow guide point (when close)
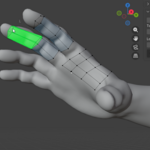
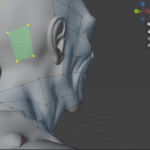
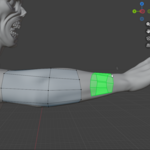
- Live preview: Best quad candidate is shown in green translucent fill
Loop Mode (L)
Purpose: Create clean circular or tubular edge loops.
- LMB click → Start loop at mouse position
- Move mouse → End point of loop
- Release LMB → Create the loop (faces + edges)
- Hold S + move mouse left/right → Adjust segment count live
- Snaps to nearest existing boundary loop when possible
Delete Mode (X)
Purpose: Brush-delete geometry.
Submodes (switch with F / V / E):
- Faces (F) → Individual faces
- Visualization: Red translucent fill + red outline
- Verts (V) → Vertices
- Visualization: Large red points
- Edge Loops (E) → Full closed loops (any cycle)
- Visualization: Orange thick lines + red faces
- LMB drag → Brush over geometry to highlight
- Release LMB → Delete highlighted geometry
Tweak Mode (T)
Purpose: Move existing vertices or yellow guide points.
- Hover near a vertex (on Retopo mesh) or yellow point → cursor becomes hand icon
- Hold LMB + drag → Move the vert/point live (raycast to surface)
- Release LMB → Confirm move
- Esc during drag → Cancel (revert to original position)
Only active in Quad and Loop modes (Tweak mode is independent but shares the same space).
General Controls
- Switch to Quad mode: Q (default)
- Switch to Loop mode: L
- Switch to Delete mode: X (then F/V/E for submode)
- Switch to Tweak mode: T
- Undo: Z (standard Blender undo)
- Exit tool: Esc
- Add guide point: Ctrl + LMB (in Quad mode)
- Remove guide point: RMB (near point, in Quad mode)
- Merge nearby verts: Hold Shift + hover + release (works in any mode)
- Adjust loop segments: Hold S + move mouse left/right (in Loop mode only)
Thank you for your support!
If you run into any add-on errors/issues please contact me: [email protected]
Have questions about this product?
Login to message
| Sales | 10+ |
| Dev Fund Contributor | |
| Published | 7 months ago |
| Blender Version | 5.0 - 5.2 |
| Extension Type | N/A |
| License | GPL |