 brandPOS


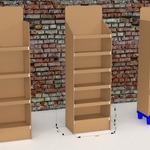
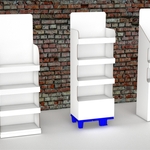
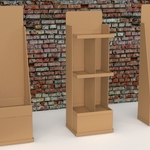
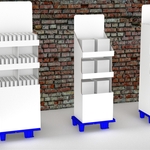
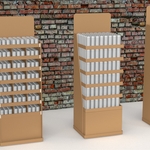
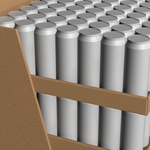
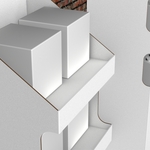
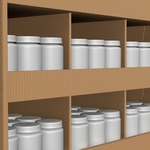
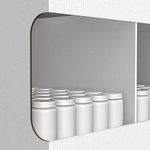
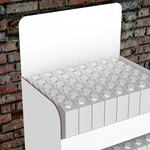
For documentation and tutorial please refer to this video
1. Enable the Add-on
Install and enable the add-on in Edit > Preferences > Add-ons.
Once enabled, the generator becomes available in the 3D View.
2. Open a Scene
Create a new Blender scene or open an existing one.
Switch to Object Mode before using the generator.
3. Open the Generator Panel
Open the POS FSDU Generator panel from the 3D View pop-up or sidebar.
All settings are controlled from this panel.
4. Set Display Parameters
Define the main dimensions of the display: width, depth, height, and number of shelves.
These values control the overall size and layout.
5. Customize the Structure
Enable or disable elements such as side panels, base section, bottom tray, and shape variations to match your concept.
6. Adjust Material Thickness
Set the material thickness to simulate real cardboard or similar materials.
7. Generate the Display
Click Generate to create the FSDU display.
A clean, low-poly mesh is created automatically.
8. Apply Textures or Shaders
Use the auto-generated textures or select one of the included abstract shaders to instantly enhance the look of the model.
9. Add Products
Place products on the shelves using included samples, import your own .pkl product models, or create simple placeholder boxes.
10. Finalize and Use
Adjust the model if needed, add graphics or branding, and use the display for rendering, presentation, or further editing.
Have questions about this product?
Login to message
| Blender Extension Compatible | Yes |
| Sales | 10+ |
| Dev Fund Contributor | |
| Published | about 1 year ago |
| Blender Version | 4.1 - 5.1 |
| Extension Type | Add-on |
| Render Engine Used | Cycles, Eevee |
| License | GPL |
