Powerprim
 Andrew Smith


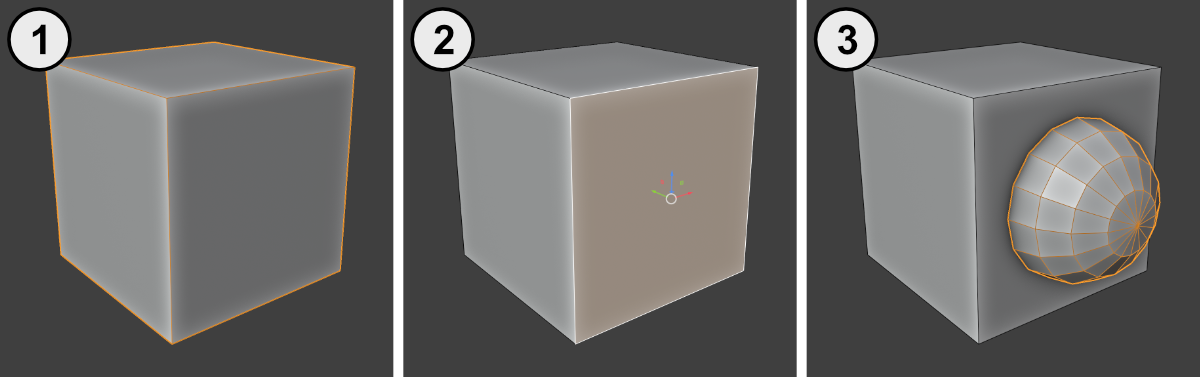
Basic Operation
- Select any object.
- Change to edit mode and select a face, edge or vertex.
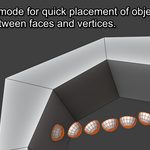
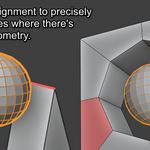
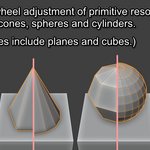
- Open PowerPrim. Follow the on-screen instructions to choose which primitive to create, and to change its size, alignment, and resolution..
Multiple Primitives
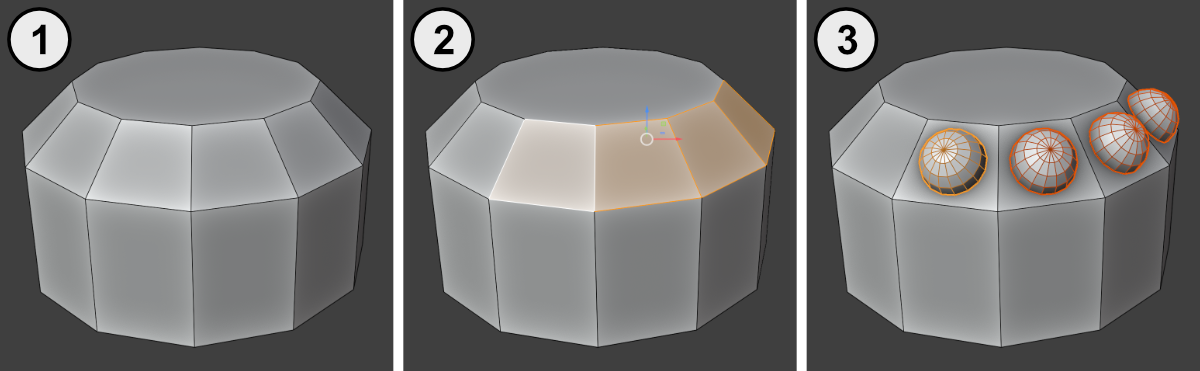
- Select an object.
- Change to edit mode and select any number of faces, edges, or vertices.
- Open PowerPrim. Follow the on-screen instructions to choose which primitive to create, and to change its size, alignment, and resolution. The same primitive will be created for every selected element, and aligned to each element.
Object Origins
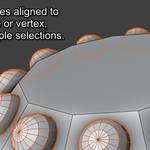
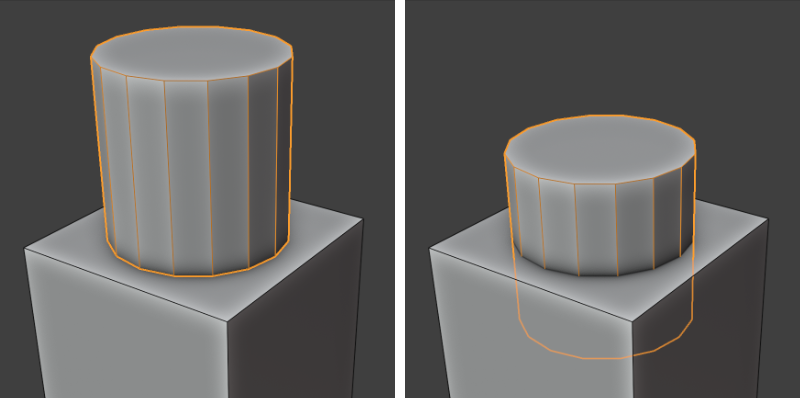
When creating primitives you choose if they should sit precisely on the selected element (left image) or be centred on the selected element (right image). Press the 'O' key to toggle between the two origins.
Custom Objects
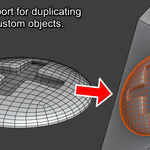
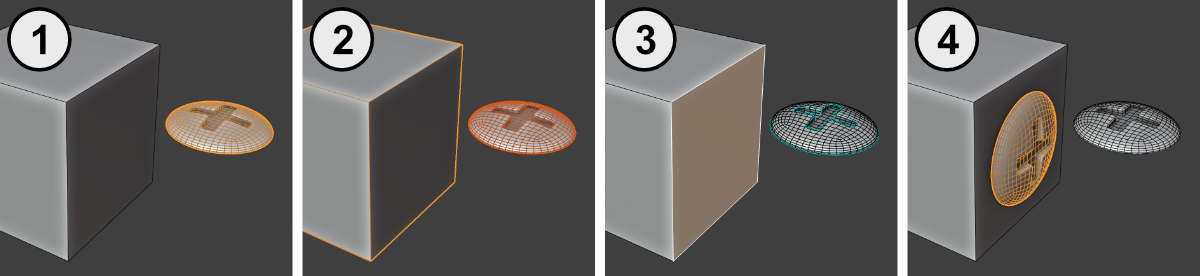
PowerPrim can use any object in your Blender scene as a custom object:
- Select the custom object.
- Shift+select the object to use for placement.
- Change to edit mode and select the faces, edges or vertices where you want to place the custom object.
- Open PowerPrim. Follow the on-screen instructions to scale the custom object, and to choose if it should be instanced or duplicated.
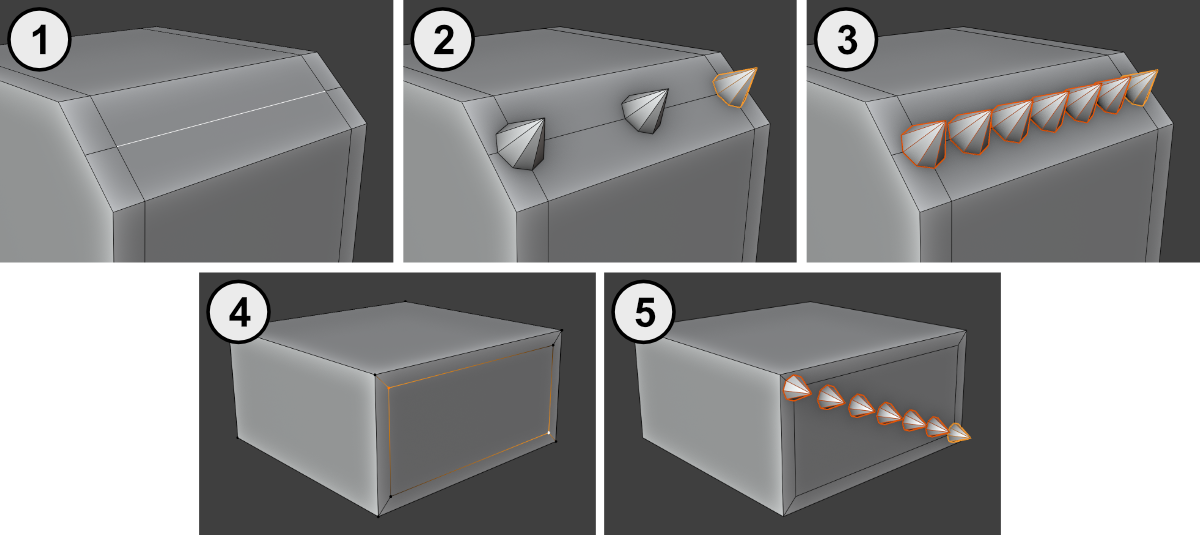
Arrays
- Select one or more edges.
- Open PowerPrim. Array mode will automatically be activated.
- Follow the on-screen instructions to customise the object and the size of the array.
- Alternatively, select two vertices or faces as the end points for the array.
- Open PowerPrim and follow the on-screen instructions.
Median Placement
Sometimes you may want to create a primitive, or place a custom object, in a position where there isn't any existing geometry. PowerPrim can use median placement to achieve this:
- Select two or more faces, edges or vertices.
- Open PowerPrim. Change to 'Single' placement mode. The primitive or custom object will be created at the median point of the selected elements.