 Mrs Eliza
Procedural Building Generator
1. Overview
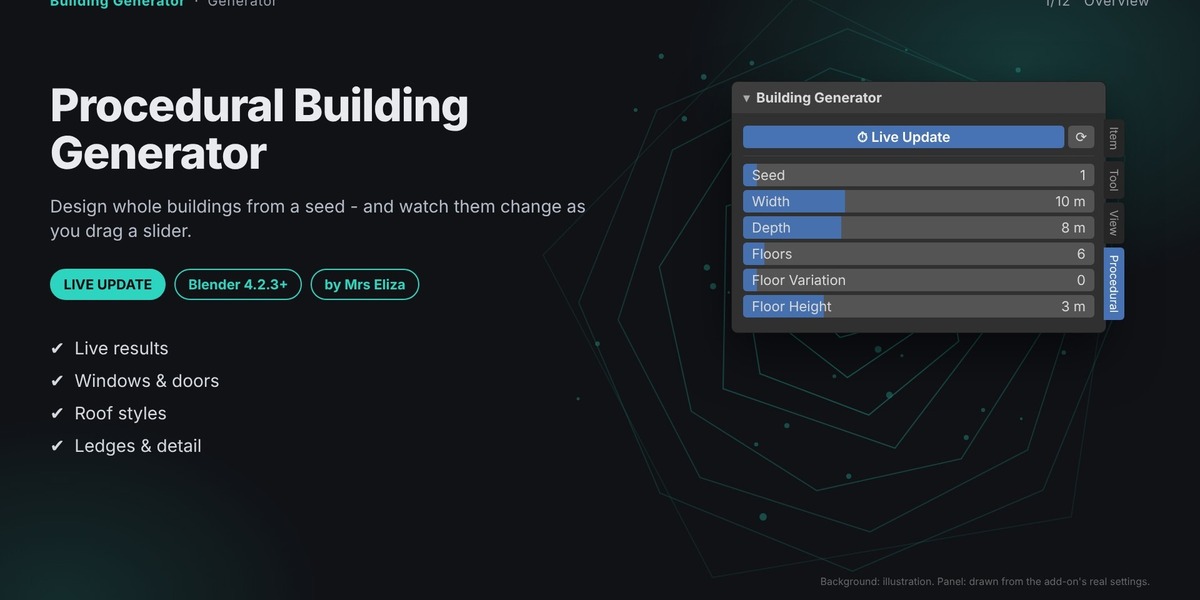
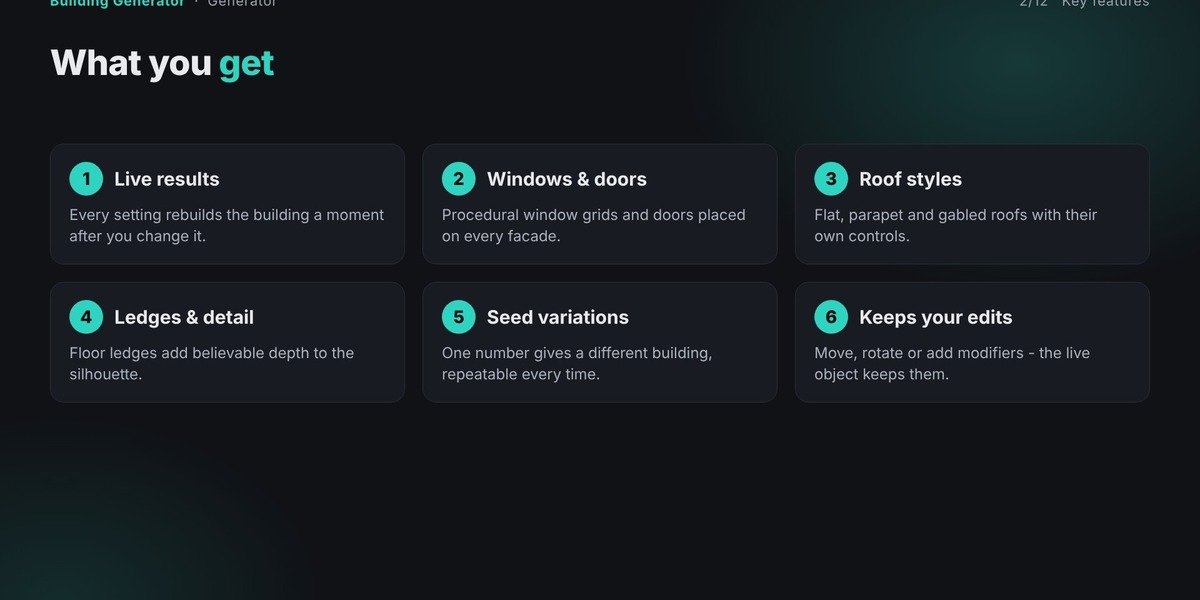
The Building Generator creates a complete building from a handful of numbers: width, depth, number of floors, floor height, how wide each bay is, the size of the windows and what kind of roof sits on top. Every part is generated procedurally, so a single seed value gives you a repeatable design and a different seed gives you a different one.
Because the add-on is live, you never wait for a result. Once the building exists, every slider you move rebuilds it a fraction of a second later. This makes it practical to explore proportions visually instead of guessing numbers.
Design whole buildings from a seed - and watch them change as you drag a slider.
2. Installation
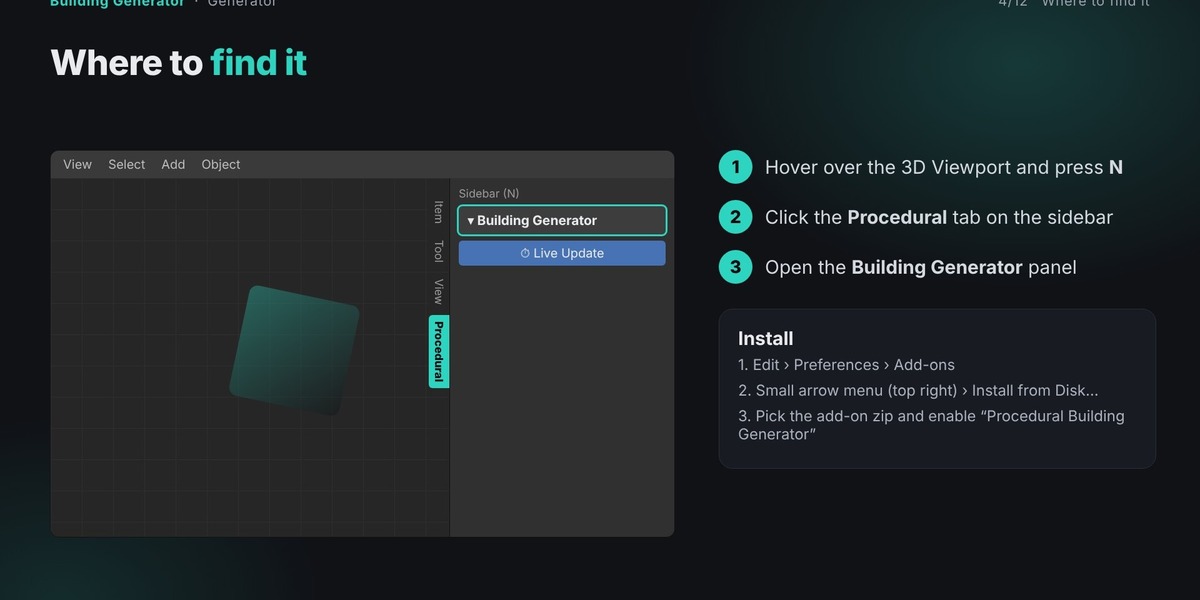
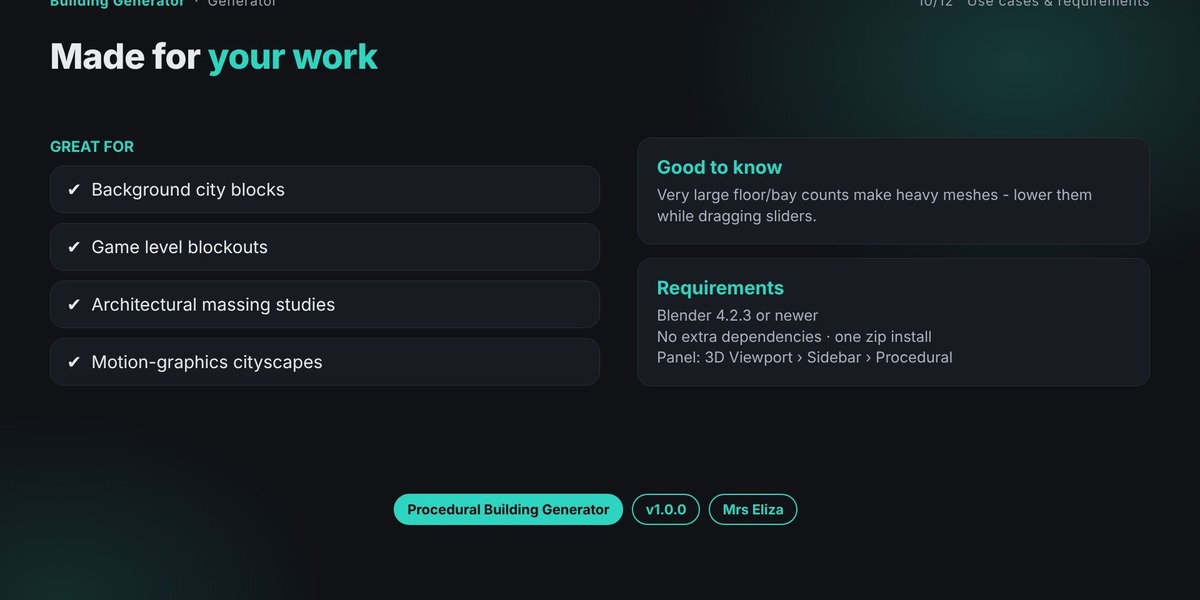
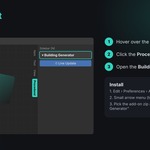
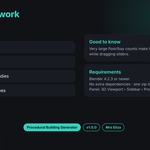
Download the add-on zip file. In Blender 4.2.3 or newer, open Edit › Preferences › Add-ons. Open the small arrow menu at the top right of the Add-ons list and choose Install from Disk…. Select the zip file and enable the add-on by ticking the box next to its name. Do not unzip the file first.
If Blender reports an error during installation, make sure you picked the individual add-on zip (the one containing a single folder), not a bundle of several add-ons.
3. Opening the panel
Hover over the 3D Viewport and press N to open the sidebar. Click the Procedural tab on the edge of the sidebar. All Mrs Eliza procedural add-ons share this tab, so if you have several installed you will see one panel for each of them. Click the panel title to expand or collapse it.
The panel is titled Building Generator.
4. How live updating works
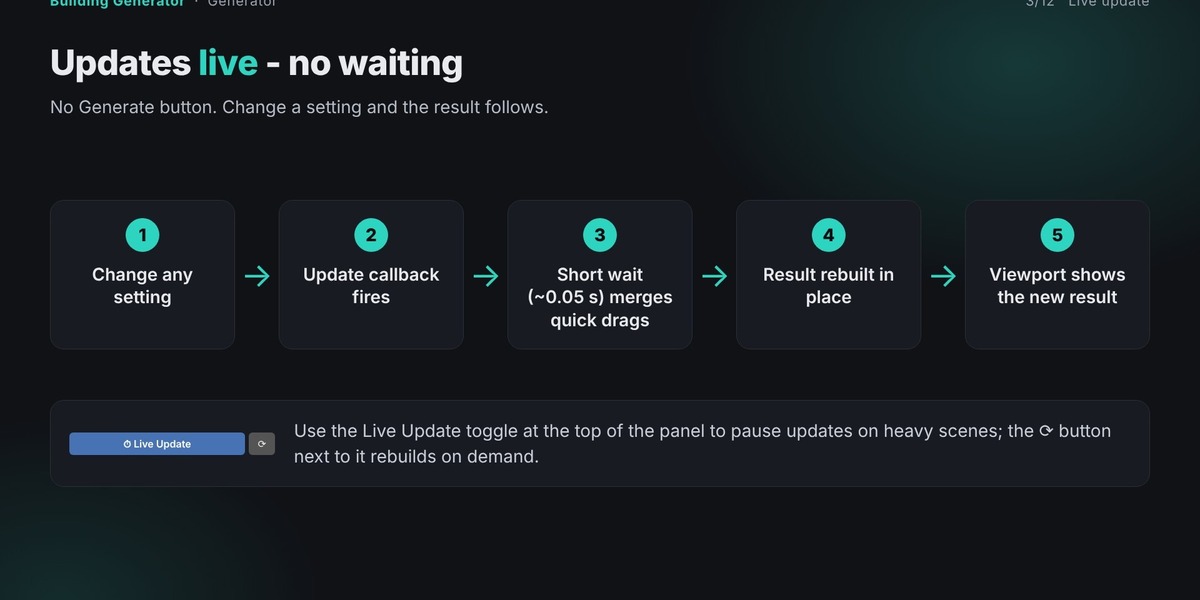
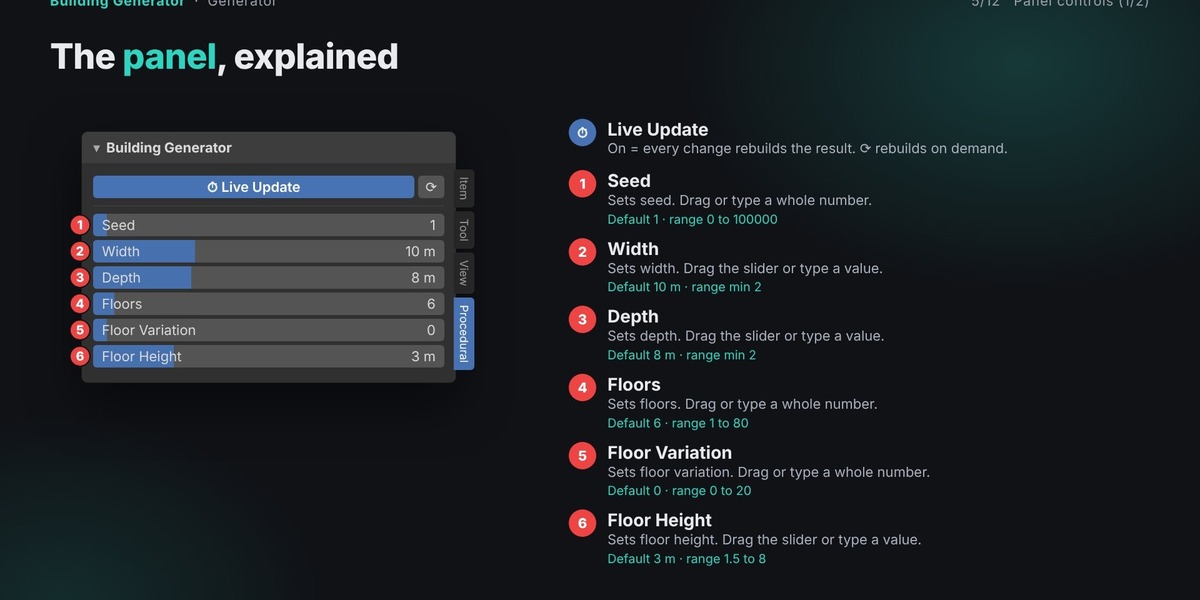
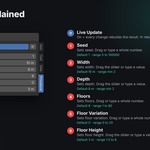
At the top of the panel is a Live Update switch, switched on by default. While it is on, changing any setting schedules a rebuild after a very short pause (about a twentieth of a second), so quick drags are merged into one update. The button with the circular arrow next to the switch rebuilds on demand, which is useful when Live Update is off.
The result is kept in one live object. When the add-on rebuilds, it swaps the new data into that same object, so the object's position, rotation, scale, parent and any modifiers you added are preserved.
Create New leaves the current result untouched and starts a fresh live object at the 3D cursor, which is how you keep a design while exploring another.
Randomize Seed picks a new random seed and the result updates immediately. The same seed always gives the same result, so you can come back to a design by typing its seed.
5. Your first result, step by step
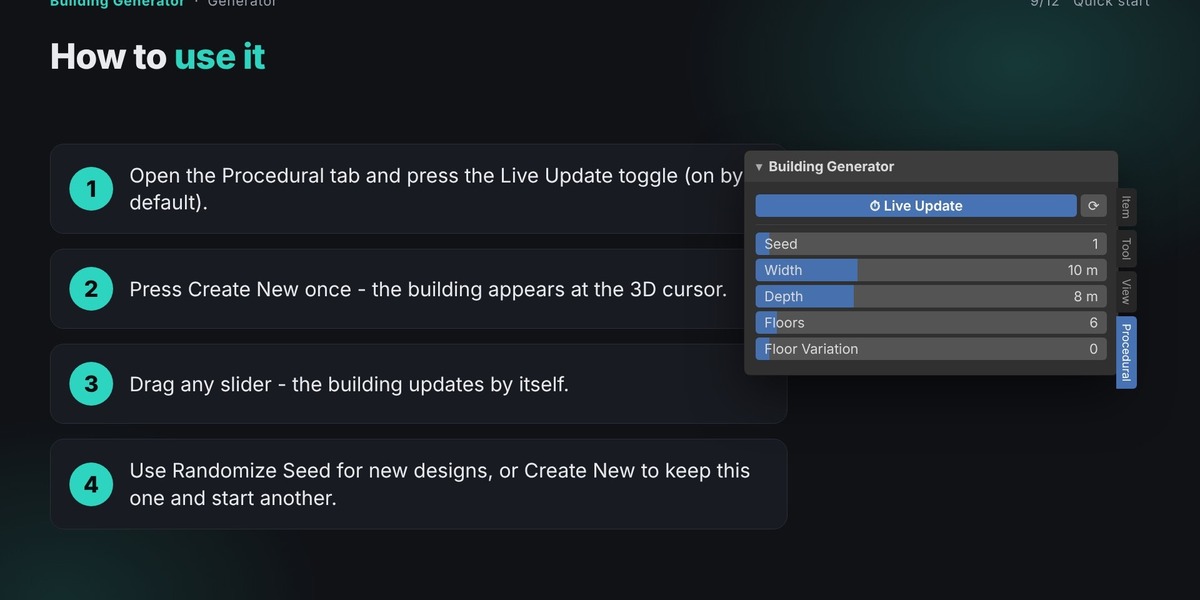
Open the Procedural tab, make sure Live Update is switched on, and press Create New. The building appears at the 3D cursor. Start by changing Floors and Width to get the overall mass right, then adjust Bay Width and the window settings to get the rhythm of the facade. Finally choose a roof type and set its height. If you like the look but want to explore another variant, press Randomize Seed rather than changing every slider. When you want to keep the current building and start a second one, press Create New; the first building is left exactly as it is.
In short, the workflow is:
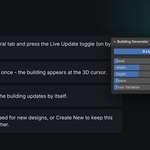
(1) Open the Procedural tab and press the Live Update toggle (on by default). (2) Press Create New once - the building appears at the 3D cursor. (3) Drag any slider - the building updates by itself. (4) Use Randomize Seed for new designs, or Create New to keep this one and start another.
6. One-click setup and presets
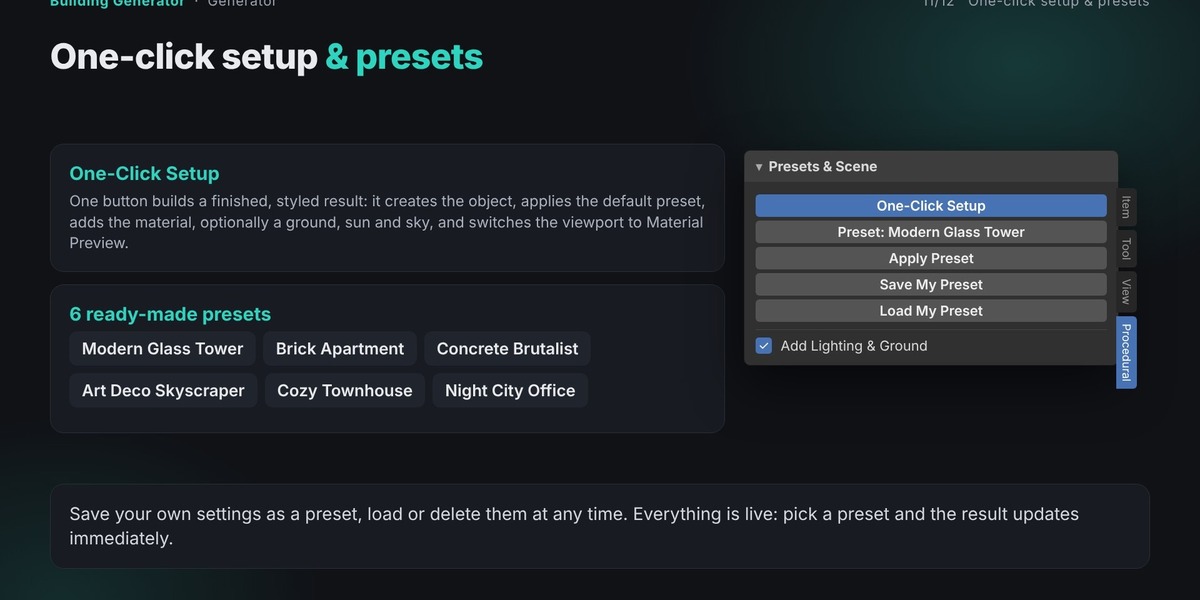
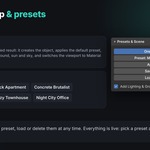
The panel Presets & Scene, found under the add-on's main panel, is the fastest way to a finished result. Press One-Click Setup and the add-on builds a ready-to-look-at example in one step: it applies the default preset (Modern Glass Tower), creates the material, optionally adds a ground, a sun and a sky color (the Add Lighting & Ground switch), and switches the 3D view to Material Preview so you can see the colors straight away.
There are 6 ready-made presets: Modern Glass Tower, Brick Apartment, Concrete Brutalist, Art Deco Skyscraper, Cozy Townhouse and Night City Office. Choose one from the Preset list and press Apply Preset; because everything is live, the result updates immediately and you can keep adjusting any setting afterwards.
To keep your own settings, type a name and press Save My Preset. Load My Preset brings it back and Delete My Preset removes it. Saved presets live in your Blender configuration folder, so they are available in every .blend file.
7. Colors, materials and textures
The panel Color, Material & Texture styles the result with procedural shader nodes, so no image files and no UV unwrapping are needed. When the result has several parts (for example walls, glass and roof), choose the part at the top of the panel and style each one separately. Auto Style keeps the material applied live; Apply Now forces it once.
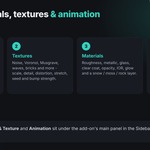
Colors: four colors form a gradient whose stops you can move; Hard Bands turns the blend into stepped, toon-style bands. The gradient can follow the texture, the height or the slope of the surface. Texture: choose a texture type (noise, Voronoi, wave, brick and more), then set its scale, detail, distortion, stretch and seed, and how strongly it bumps the surface. Layer: add a second color such as snow on top faces, moss on steep faces or dust underneath, with a threshold and a breakup control. Surface: roughness, roughness variation, metallic, glass, clear coat, opacity and IOR. Glow and adjust: glow color and strength, hue variation per object, saturation and brightness. Random Look tries a new combination; Reset Look returns to the preset.
8. Animation
The panel Animation plays on the timeline and updates live. Material animation: Flowing Texture slides the texture along a direction, Color Cycle rotates the hue and Glow Pulse makes the glow breathe (set a Glow Strength above zero first). Object motion: choose float, spin, pulse or orbit with a speed and an amount. Stop All Animation removes everything again.
9. Settings guide
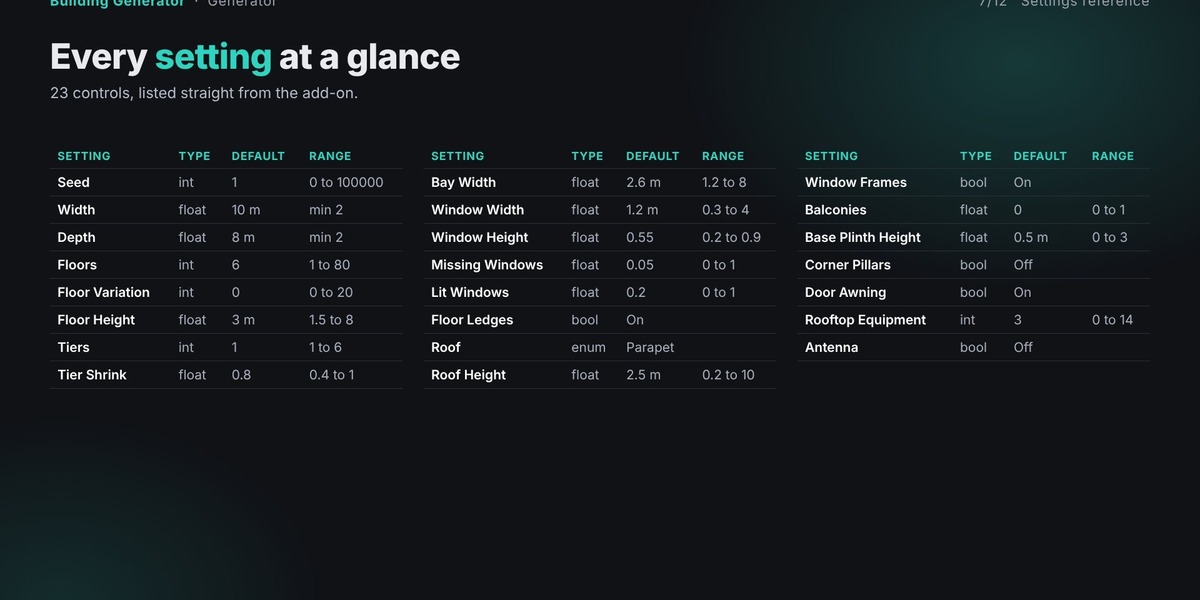
This section goes through the controls in the order they appear in the add-on's property list. Where a setting only appears for a particular mode, the panel hides it until that mode is chosen.
1. Seed is a whole number control. It starts at 1. It can be set from 0 to 100000.
2. Width is a number control. It starts at 10 metres. It cannot go below 2.
3. Depth is a number control. It starts at 8 metres. It cannot go below 2.
4. Floors is a whole number control. It starts at 6. It can be set from 1 to 80.
5. Floor Variation is a whole number control. It starts at 0. It can be set from 0 to 20.
6. Floor Height is a number control. It starts at 3 metres. It can be set from 1.5 to 8.
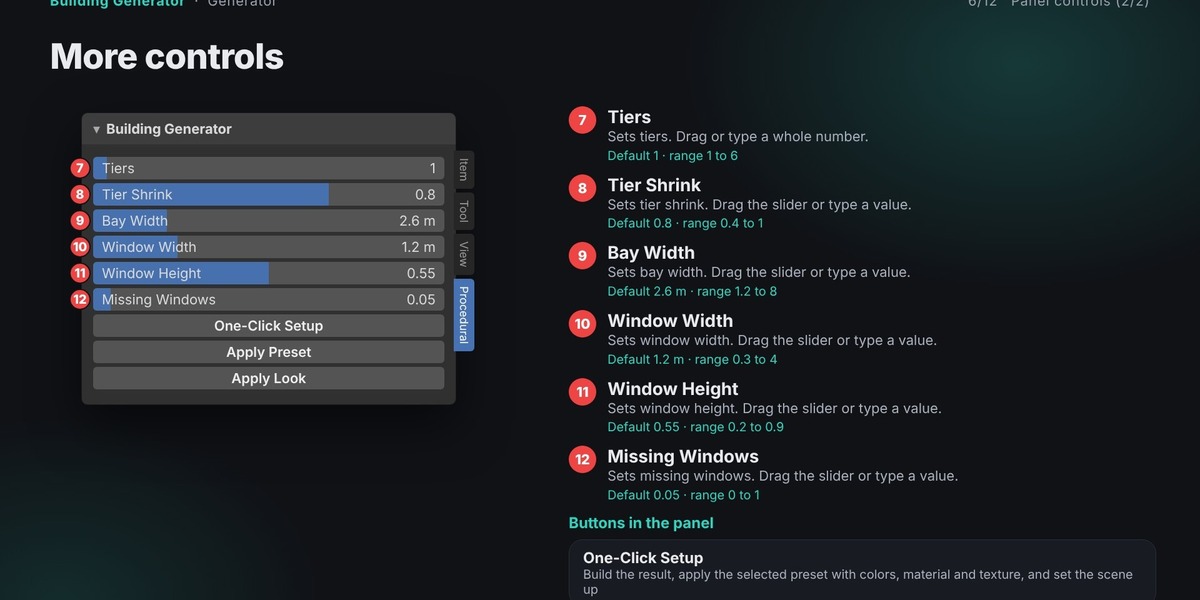
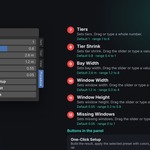
7. Tiers is a whole number control. It starts at 1. It can be set from 1 to 6.
8. Tier Shrink is a number control. It starts at 0.8. It can be set from 0.4 to 1.
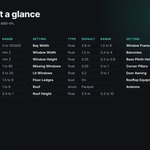
9. Bay Width is a number control. It starts at 2.6 metres. It can be set from 1.2 to 8.
10. Window Width is a number control. It starts at 1.2 metres. It can be set from 0.3 to 4.
11. Window Height is a number control. It starts at 0.55. It can be set from 0.2 to 0.9.
12. Missing Windows is a number control. It starts at 0.05. It can be set from 0 to 1.
13. Lit Windows is a number control. It starts at 0.2. It can be set from 0 to 1.
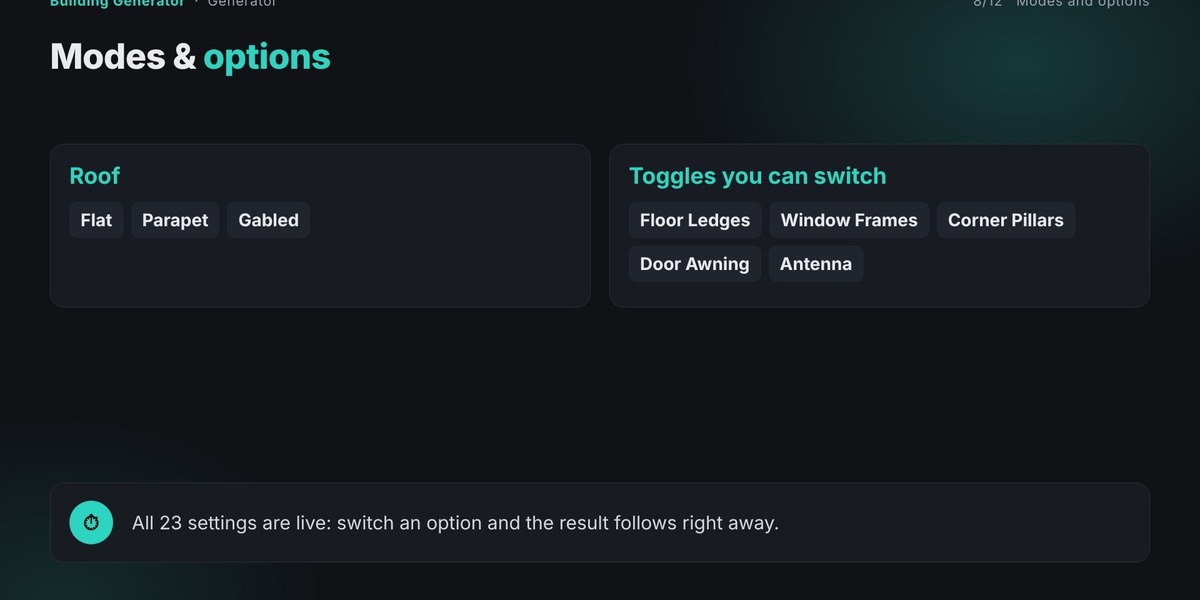
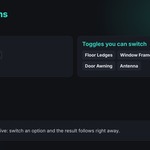
14. Floor Ledges is a checkbox. It is on by default.
15. Roof is a dropdown. Its options are Flat, Parapet and Gabled. The default is Parapet.
16. Roof Height is a number control. It starts at 2.5 metres. It can be set from 0.2 to 10.
17. Window Frames is a checkbox. It is on by default.
18. Balconies is a number control. It starts at 0. It can be set from 0 to 1.
19. Base Plinth Height is a number control. It starts at 0.5 metres. It can be set from 0 to 3.
20. Corner Pillars is a checkbox. It is off by default.
21. Door Awning is a checkbox. It is on by default.
22. Rooftop Equipment is a whole number control. It starts at 3. It can be set from 0 to 14.
23. Antenna is a checkbox. It is off by default.
10. Buttons in the panel
The panel offers these actions.
. One-Click Setup: Build the result, apply the selected preset with colors, material and texture, and set the scene up.
. Apply Preset: Apply the chosen built-in preset (settings, colors, material and animation).
. Apply Look: Apply the procedural material to the result (tools: to the selected objects).
. Random Look: Invent a new harmonious palette and texture for the part being edited.
. Reset Look: Return every color, texture and animation setting to this addon's defaults.
. Stop All Animation: Turn off texture flow, color cycle, glow pulse and object motion.
. Add Lighting & Ground: Add a ground plane, a sun light and a sky color to the scene.
. Save My Preset: Save every current setting as your own preset file (kept between sessions).
. Load My Preset: Runs this action on the current selection or settings.
. Delete My Preset: Runs this action on the current selection or settings.
11. Tips for good results
These suggestions come from how the add-on behaves and are worth reading before you start a larger project.
Set the overall mass (width, depth, floors) before touching window details; window settings only make sense once the facade size is settled.
Use Floor Variation and Tiers to break up the silhouette instead of building one plain box.
Move, rotate or scale the building object freely. The add-on keeps its position and any modifiers you add, so you can bevel or subdivide it and keep tweaking.
For a row of different buildings, press Create New, then Randomize Seed, and move each new building aside.
12. What the add-on is good for
It suits background city blocks, game level blockouts, architectural massing studies and motion-graphics cityscapes.