 Mrs Eliza
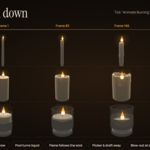
Candle Forge – Procedural Candle Generator for Blender
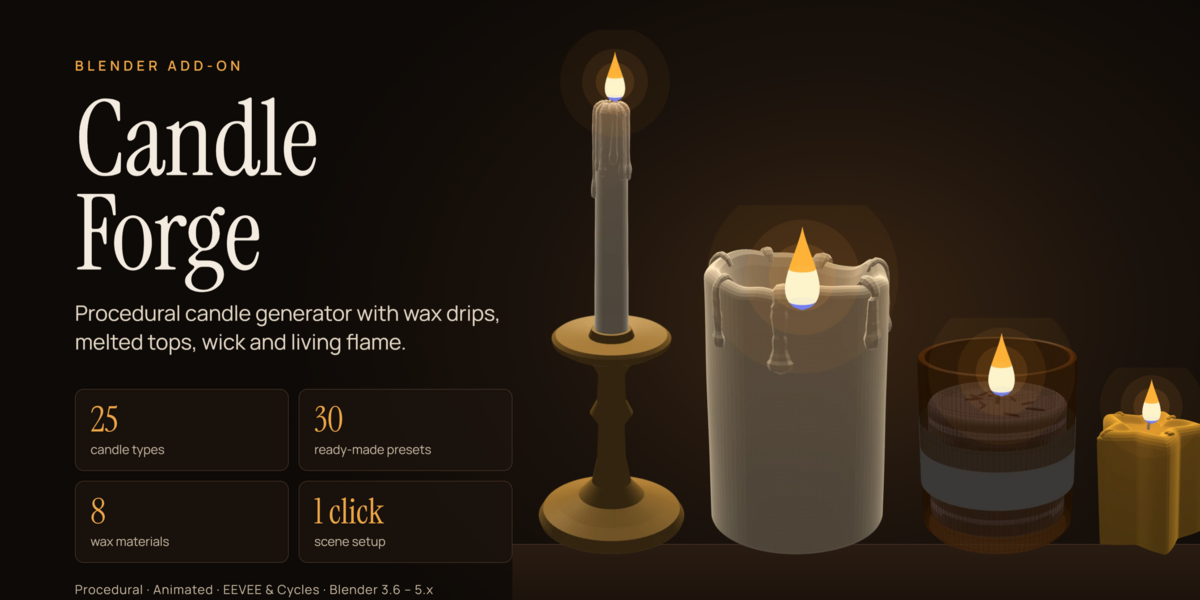
Create realistic, fully editable candles with procedural wax, melting effects, dripping wax, curled wicks, flames, and lighting.
Candle Forge includes 30 ready-made designs covering 25 candle types, with extensive customization options, realistic materials, burn-down animation, and a complete one-click rendering setup.
✨ Key Features
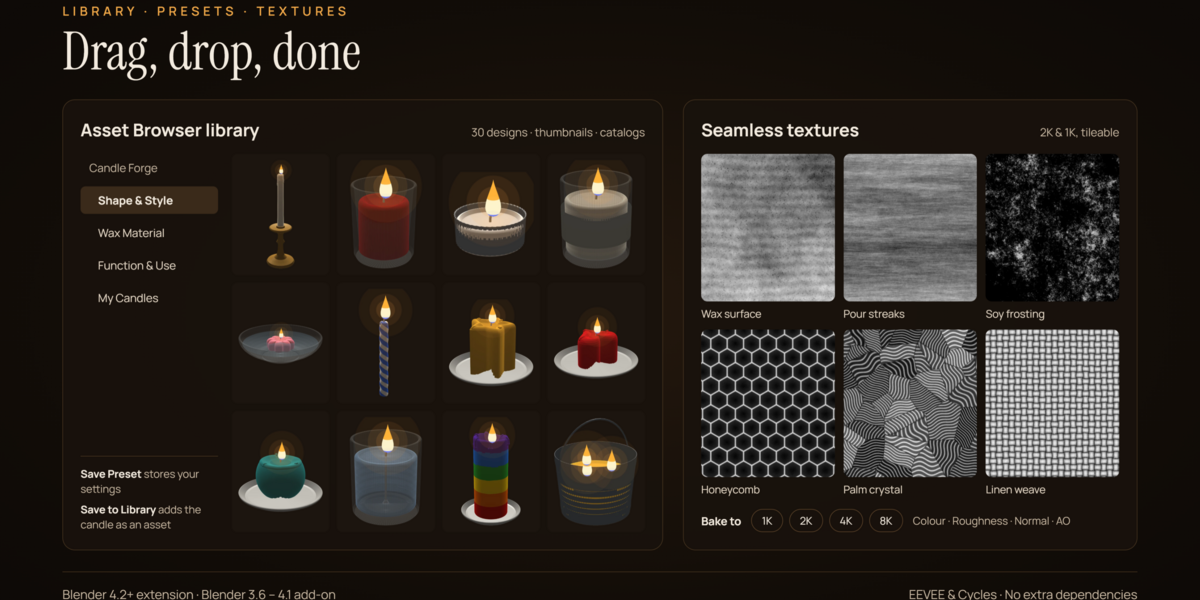
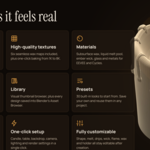
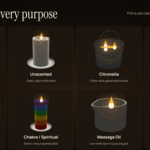
30 Ready-Made Designs – Explore candles across Shape & Style, Wax Material, and Function & Use categories.
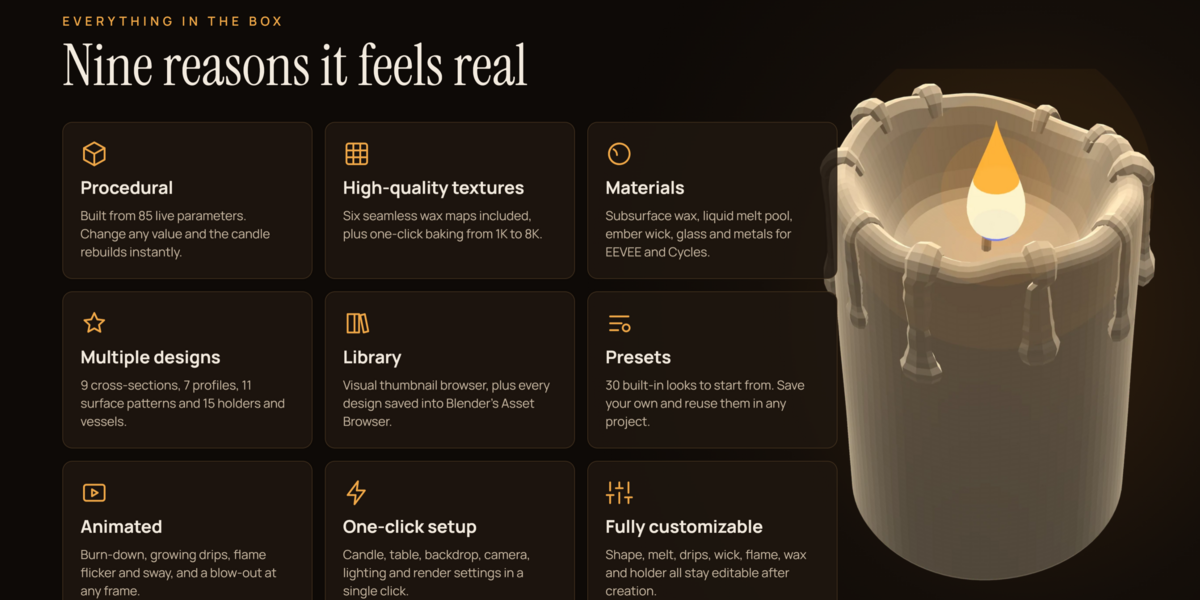
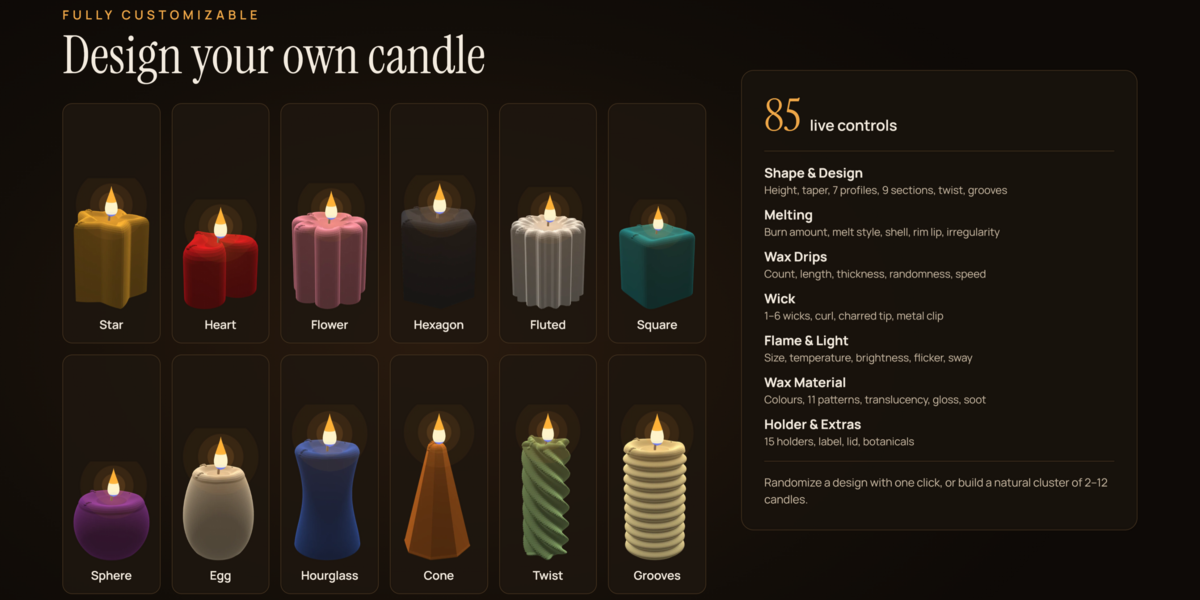
85 Live Settings – Customize candle shape, melting, drips, wick, flame, materials, holders, and quality.
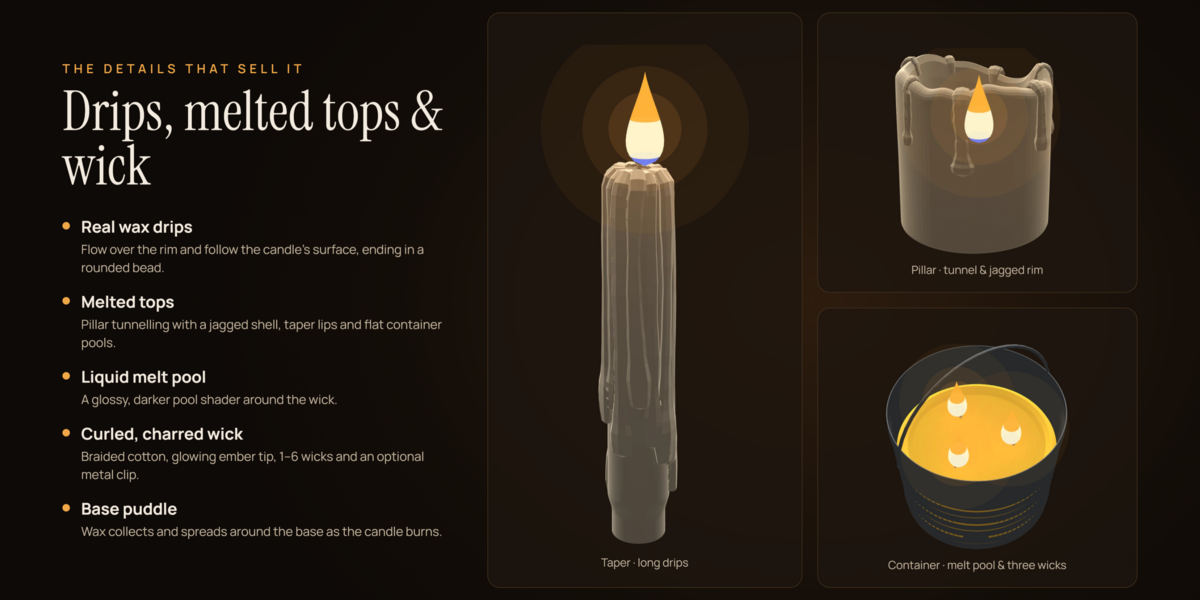
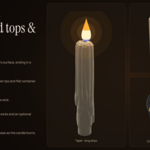
Realistic Wax Effects – Create wax drips, melted tops, tunnels, liquid pools, and base puddles.
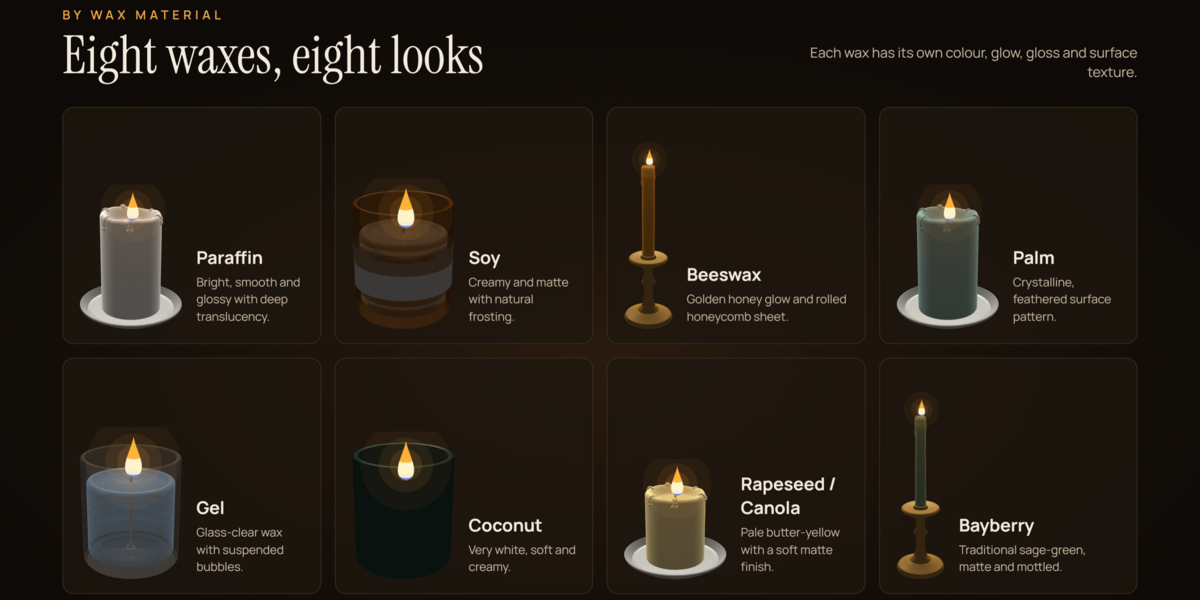
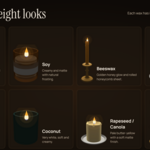
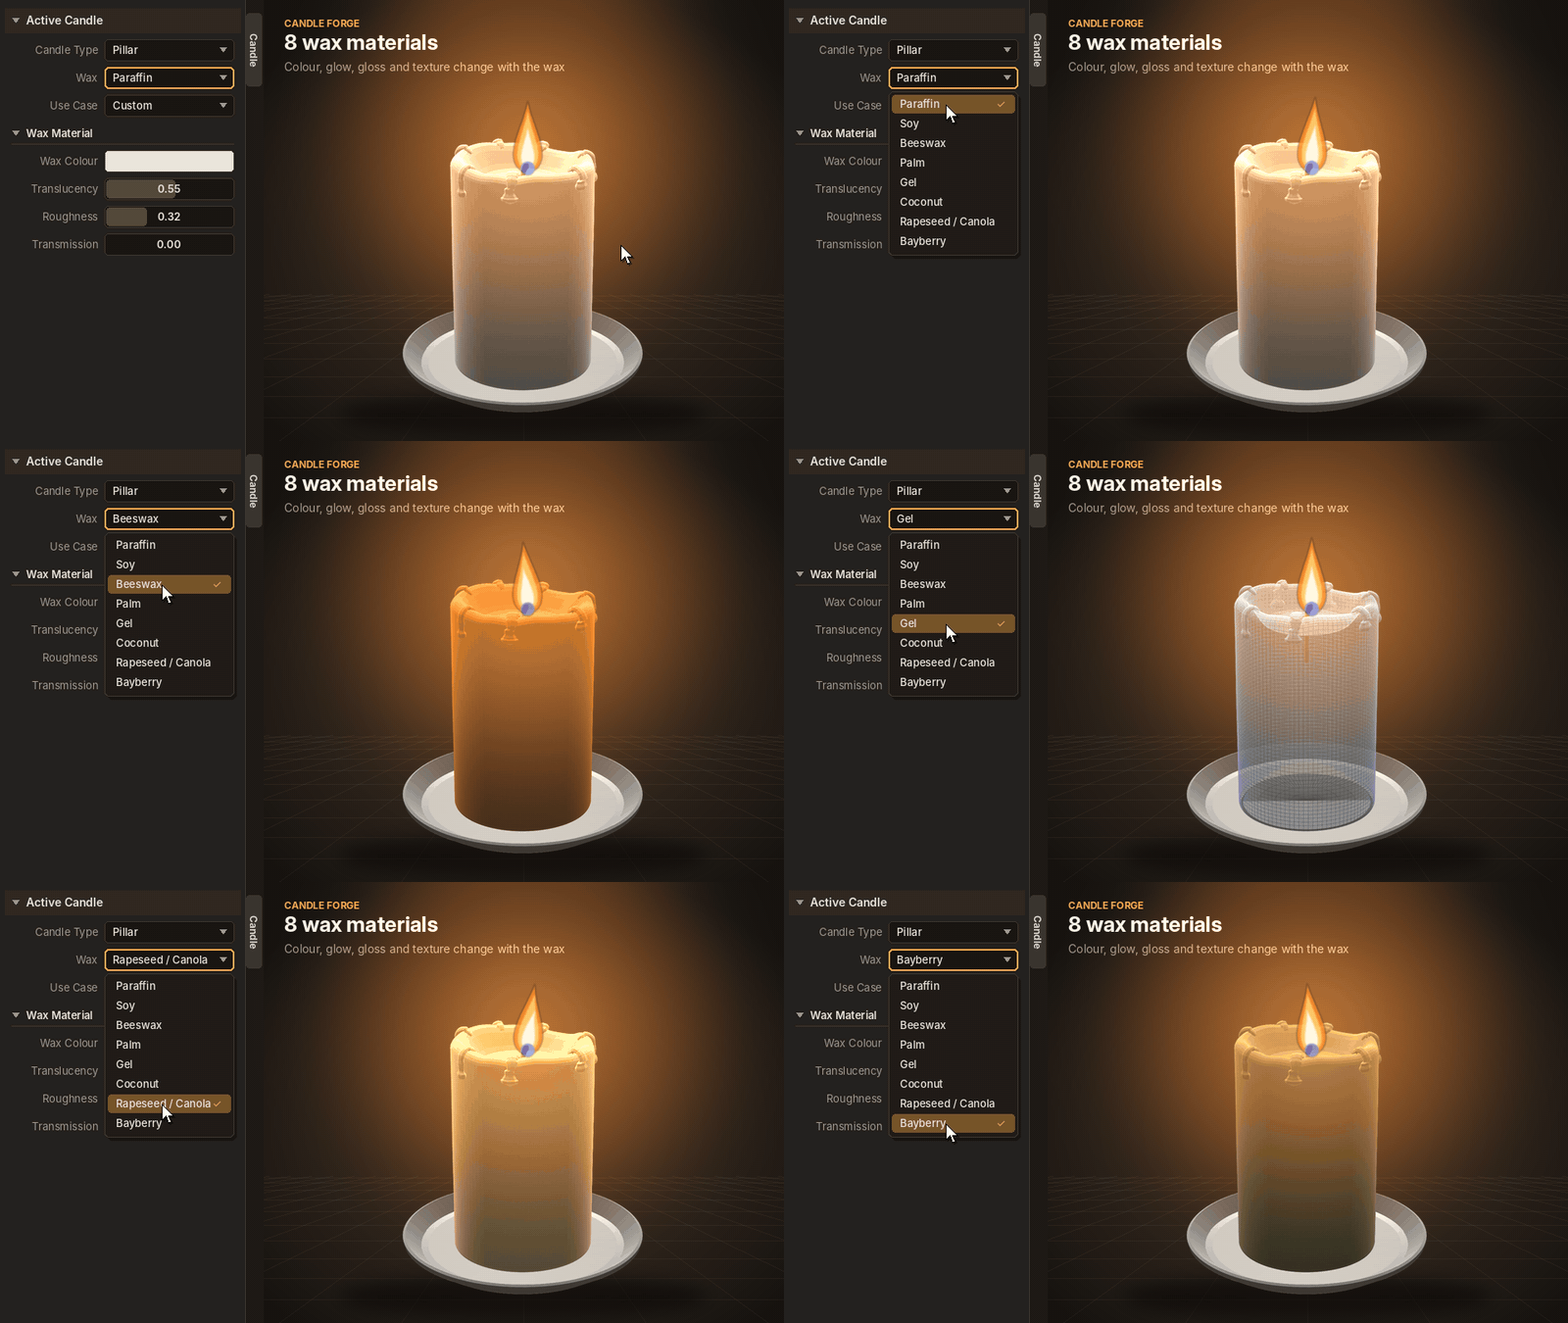
Multiple Wax Materials – Paraffin, soy, beeswax, palm, gel, coconut, rapeseed, and bayberry.
Animated Burning – Make candles gradually burn down, melt, and extinguish.
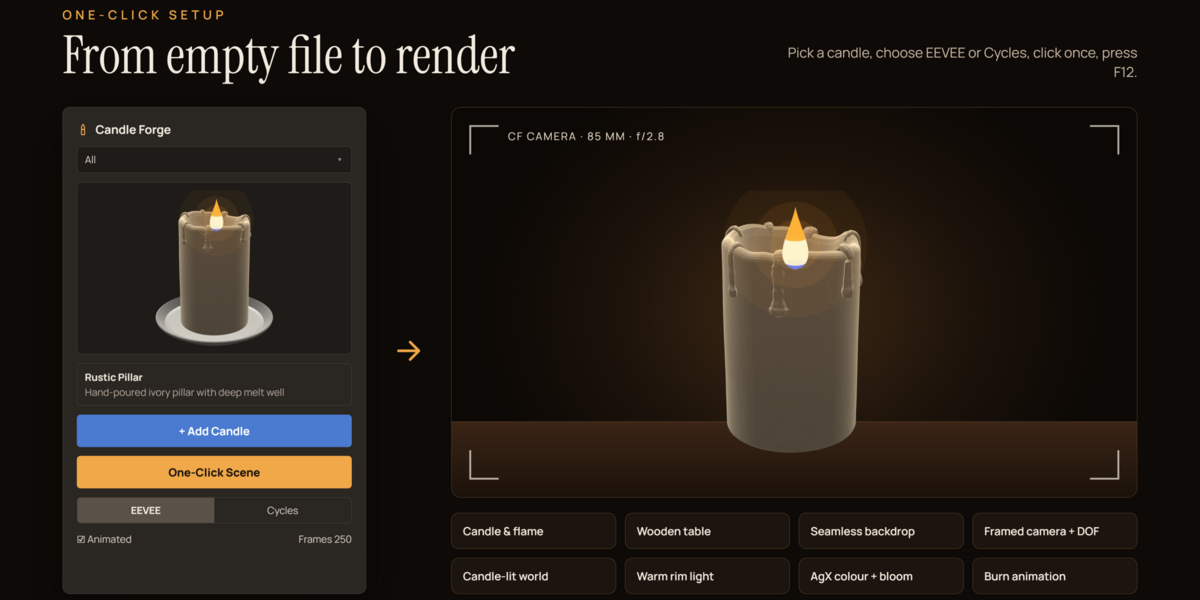
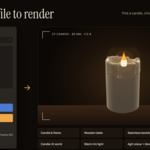
One-Click Scene – Generate a complete candle render scene with camera, lighting, table, and backdrop.
Custom Presets – Save and reuse your own candle designs.
Asset Browser Library – Save individual candles or generate the complete 30-design library.
Procedural Materials – Node-based materials for EEVEE and Cycles.
Texture Baking – Export Base Colour, Roughness, Normal, and AO maps.
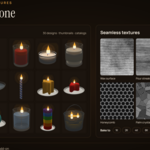
Six Seamless Textures – Includes wax surface, soy frosting, honeycomb, palm crystal, pour streaks, and linen weave.
1. Installation
Candle Forge installs from a single ZIP file: candle_forge.zip.
Requirements: Blender 3.6 to 5.x. No additional dependencies are required.
Blender 4.2 and newer
Open Edit → Preferences → Get Extensions.
Click the arrow in the top-right corner.
Select Install from Disk.
Choose
candle_forge.zip. The extension is enabled automatically.
Blender 3.6 to 4.1
Open Edit → Preferences → Add-ons.
Click Install and select
candle_forge.zip.Enable Candle Forge – Procedural Candle Generator.
Do not unzip the installation file.
After installation, open the 3D Viewport sidebar with N and select the Candle tab.
To update, remove the previous version from Preferences before installing the new ZIP file.
2. Quick Start
Create a finished candle scene in just a few steps.
Open the Candle tab in the 3D Viewport sidebar.
Choose a category: All, Shape & Style, Wax Material, Function & Use, or My Presets.
Select a design from the thumbnail browser, such as Rustic Pillar.
Choose EEVEE for faster previews or Cycles for higher-quality rendering.
Enable Animated if you want the candle to burn down.
Click One-Click Scene.
Press F12 to render or Space to play the animation.
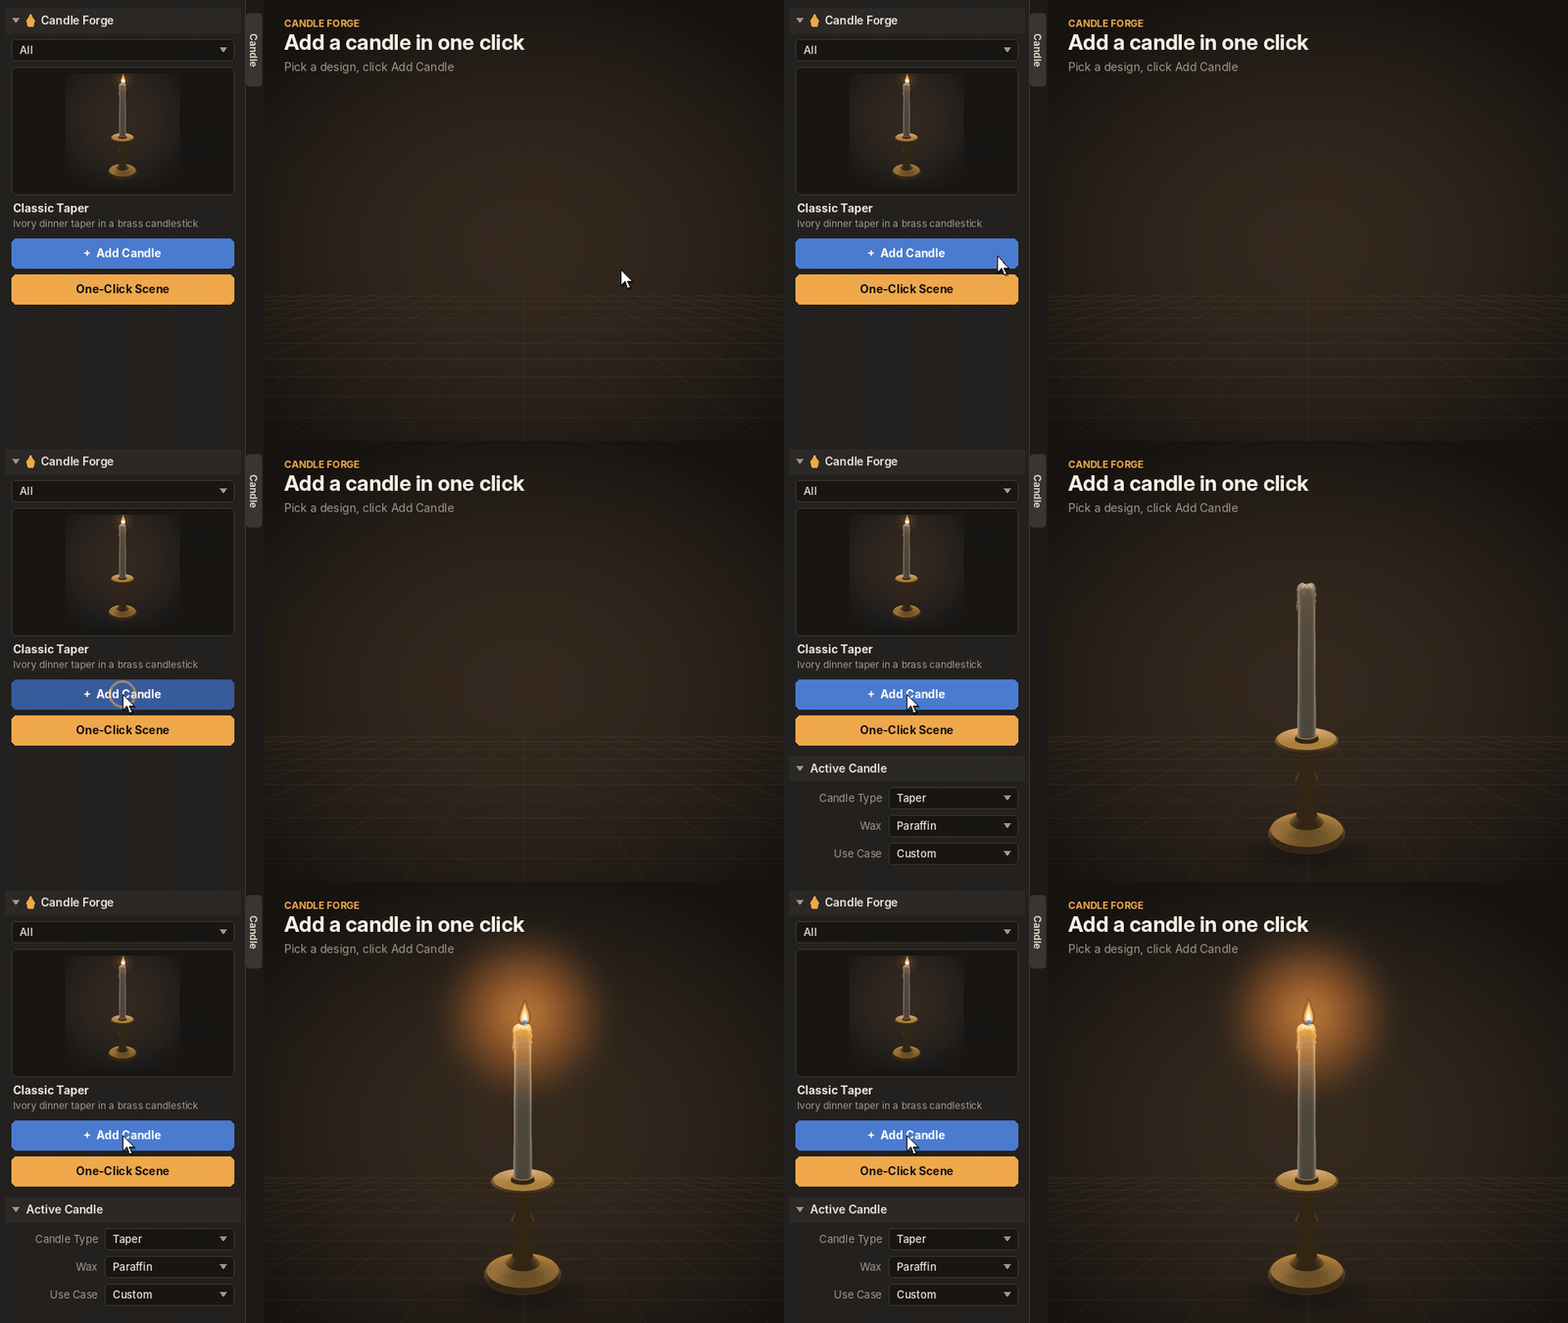
Add a Single Candle: Click Add Candle to place it at the 3D cursor. You can also use Shift + A → Candle to browse all designs.
Create a Candle Cluster: Set the Cluster count from 2 to 12 and click Cluster. Each candle receives its own height, radius, burn level, and drip pattern.
3. Interface Overview
All tools are available in the Candle tab of the 3D Viewport sidebar.
Candle Forge
Browse designs using the category dropdown and thumbnail library.
View the selected candle's name and description.
Add individual candles, create clusters, or generate a One-Click Scene.
Choose the render engine and animation settings for the scene.
Active Candle
Appears when a Candle Forge candle or one of its parts is selected. It includes:
Candle name and Live Update toggle.
Regenerate and Randomize buttons.
Candle Type, Wax, Use Case, and Seed settings.
Customization panels for shape, melting, drips, wick, flame, materials, holders, animation, and quality.
Presets & Library
Save and delete custom presets.
Manage the Asset Browser library.
Bake textures.
Finalize completed candles.
The add-on also adds a Candle submenu to Shift + A, with designs organized by category and a shortcut to One-Click Scene.
4. Candle Design Library
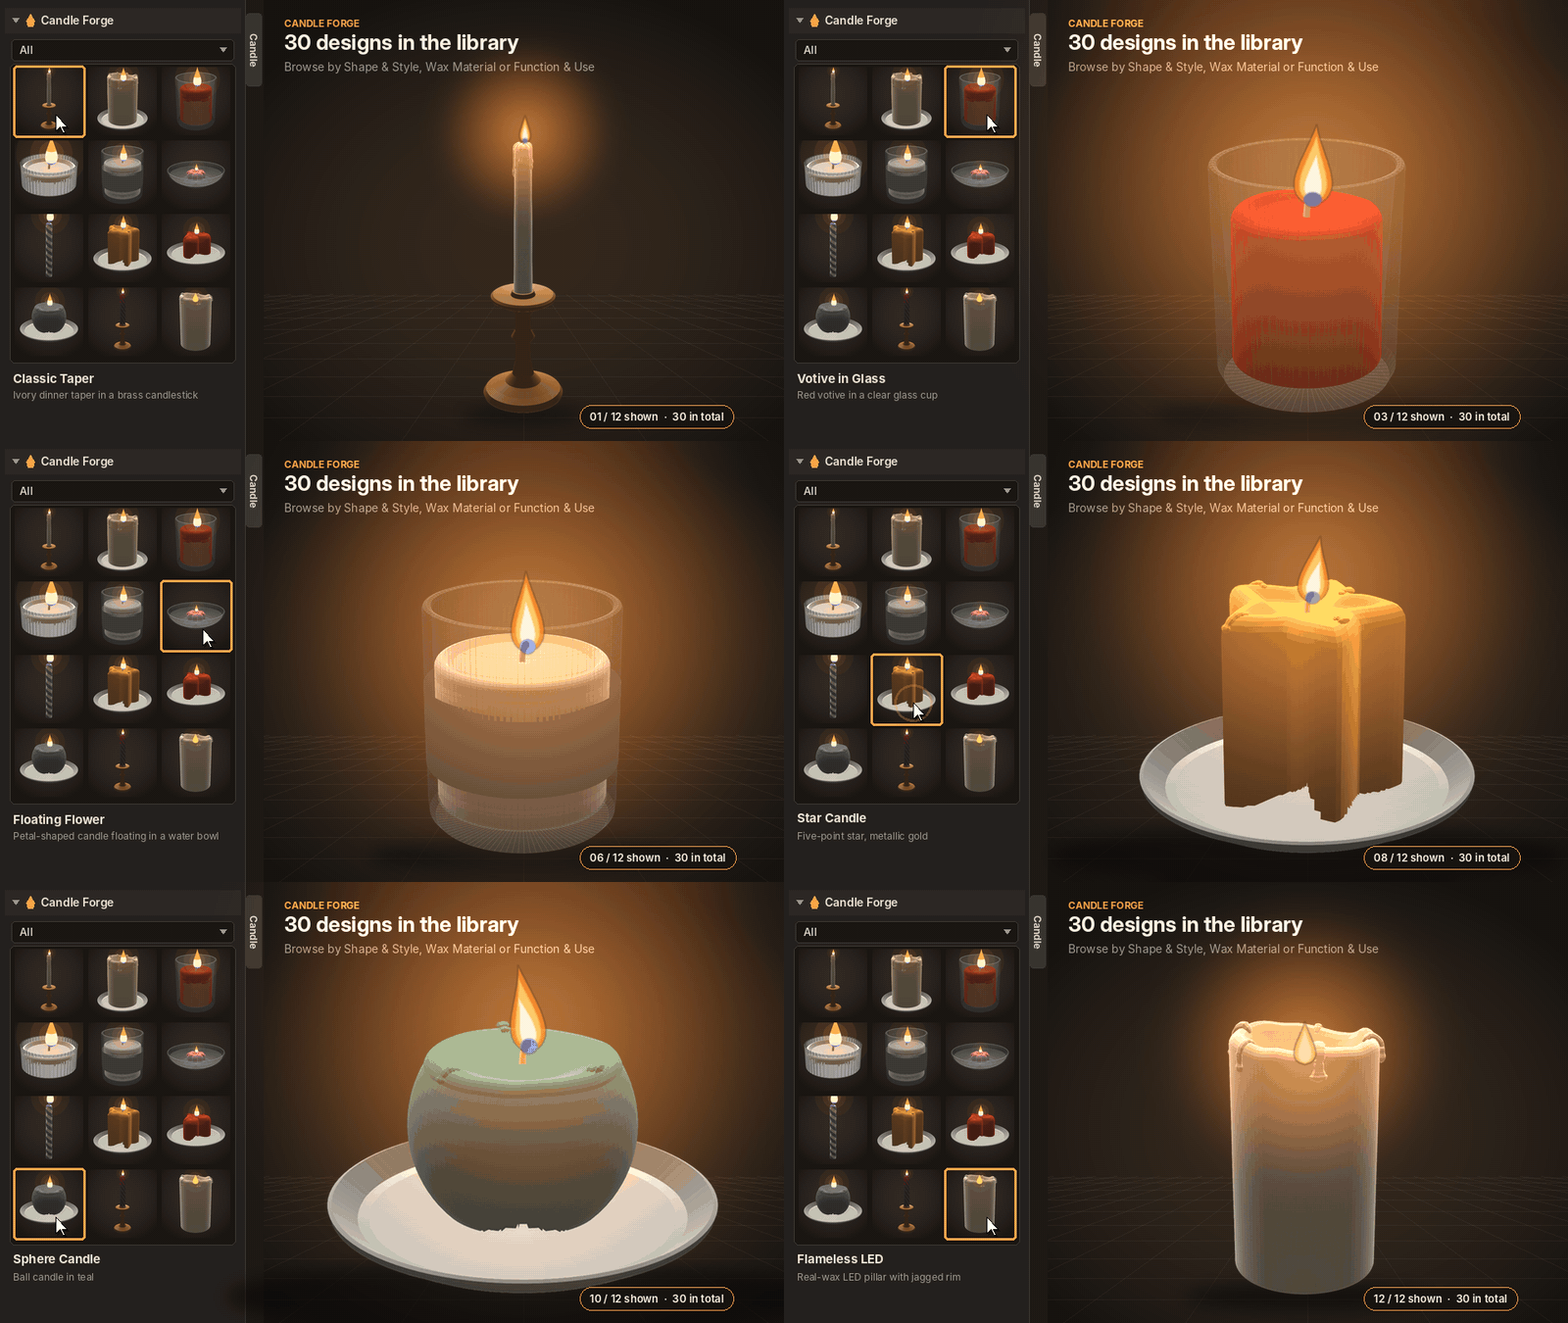
Candle Forge organizes its designs into three main categories.
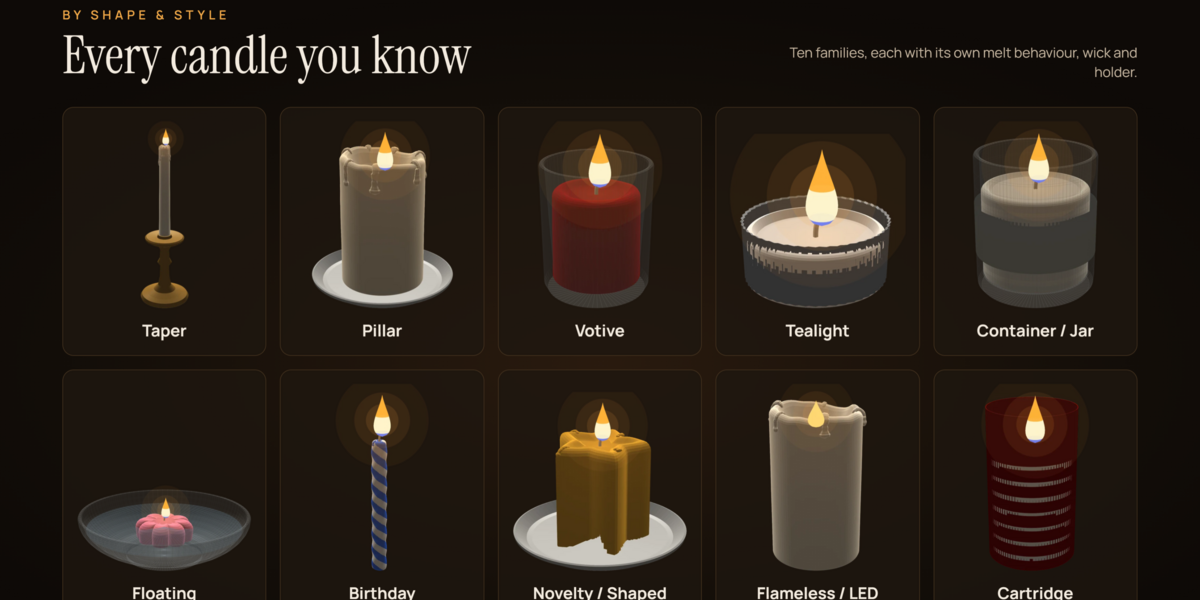
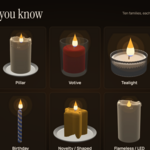
Shape & Style
Taper: Tall, slender dinner candle with a narrow base, soft lip, and long drips.
Pillar: Thick freestanding candle with a central burn well and jagged outer shell.
Votive: Small cylindrical candle in a clear glass cup.
Tealight: Wax disc in an aluminium cup with a metal wick clip.
Container / Jar: Candle poured into a clear jar with a label and sinking wax level.
Floating: Petal-shaped candle designed to sit in a bowl of water.
Birthday: Thin spiral candle with two-colour stripes.
Novelty / Shaped: Star, heart, sphere, twisted spiral, and geometric hexagon designs.
Flameless / LED: Real-wax shell with a recessed top and glowing plastic flame.
Cartridge: Refill insert inside a coloured sleeve.
Wax Material
Choose from eight wax styles:
Paraffin – Smooth, glossy, bright, and translucent.
Soy – Creamy, matte surface with natural-looking frosting.
Beeswax – Golden honey colour with an optional honeycomb sheet.
Palm – Crystalline feathered surface pattern.
Gel – Clear wax with suspended bubbles.
Coconut – Soft, white, creamy appearance.
Rapeseed / Canola – Pale butter-yellow with a matte finish.
Bayberry – Traditional sage-green colour with a lightly mottled surface.
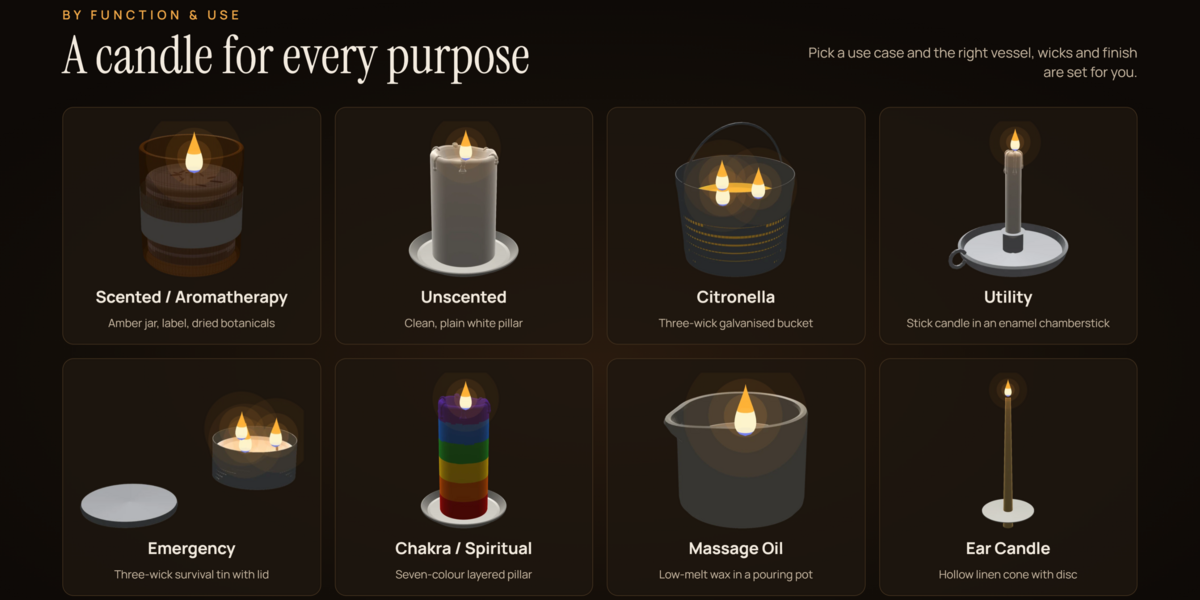
Function & Use
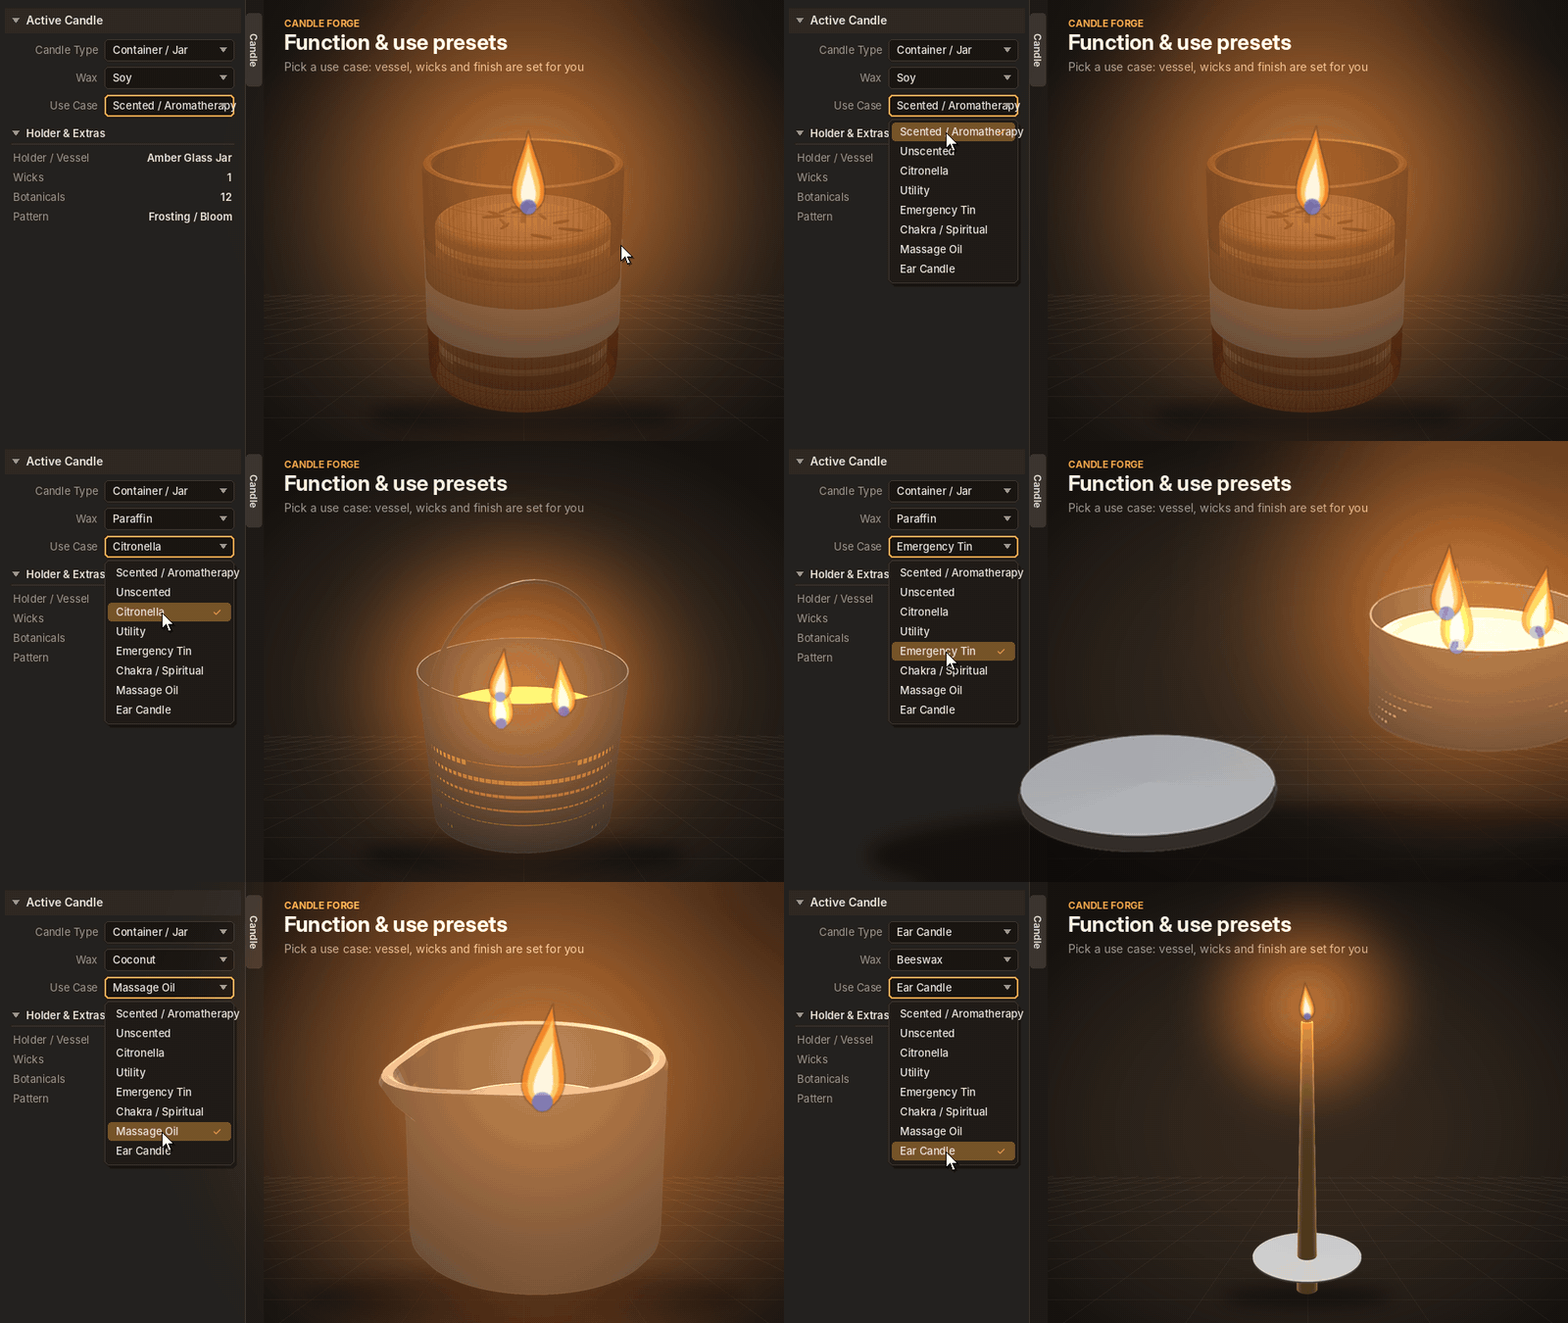
Create candles for different purposes:
Scented / Aromatherapy: Lavender soy candle in an amber jar with dried botanicals.
Unscented: Simple white pillar candle.
Citronella: Yellow three-wick candle in a galvanised bucket.
Utility: Household stick candle in an enamel chamberstick.
Emergency: Three-wick survival candle in a metal tin.
Chakra / Spiritual: Seven-layer candle using chakra colours.
Massage Oil: Low-melt candle in a ceramic pouring pot.
Ear Candle: Hollow beeswax-coated linen cone with a protective disc.
Changing Candle Type, Wax, or Use Case loads suitable defaults, while keeping every setting editable.
5. Candle Customization
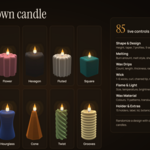
Every candle includes 85 live settings, organized into collapsible panels. With Live Update enabled, changes rebuild the candle automatically. Settings that do not apply to the selected design are hidden.
Shape & Design
Control the candle's overall geometry and silhouette.
Height & Radius: Set the candle's dimensions in metres.
Top Taper: Narrow or widen the upper section.
Profile: Choose linear, sphere, egg, hourglass, cone, bell, or dome.
Cross Section: Select round, square, hexagon, octagon, polygon, star, flower, fluted, or heart.
-
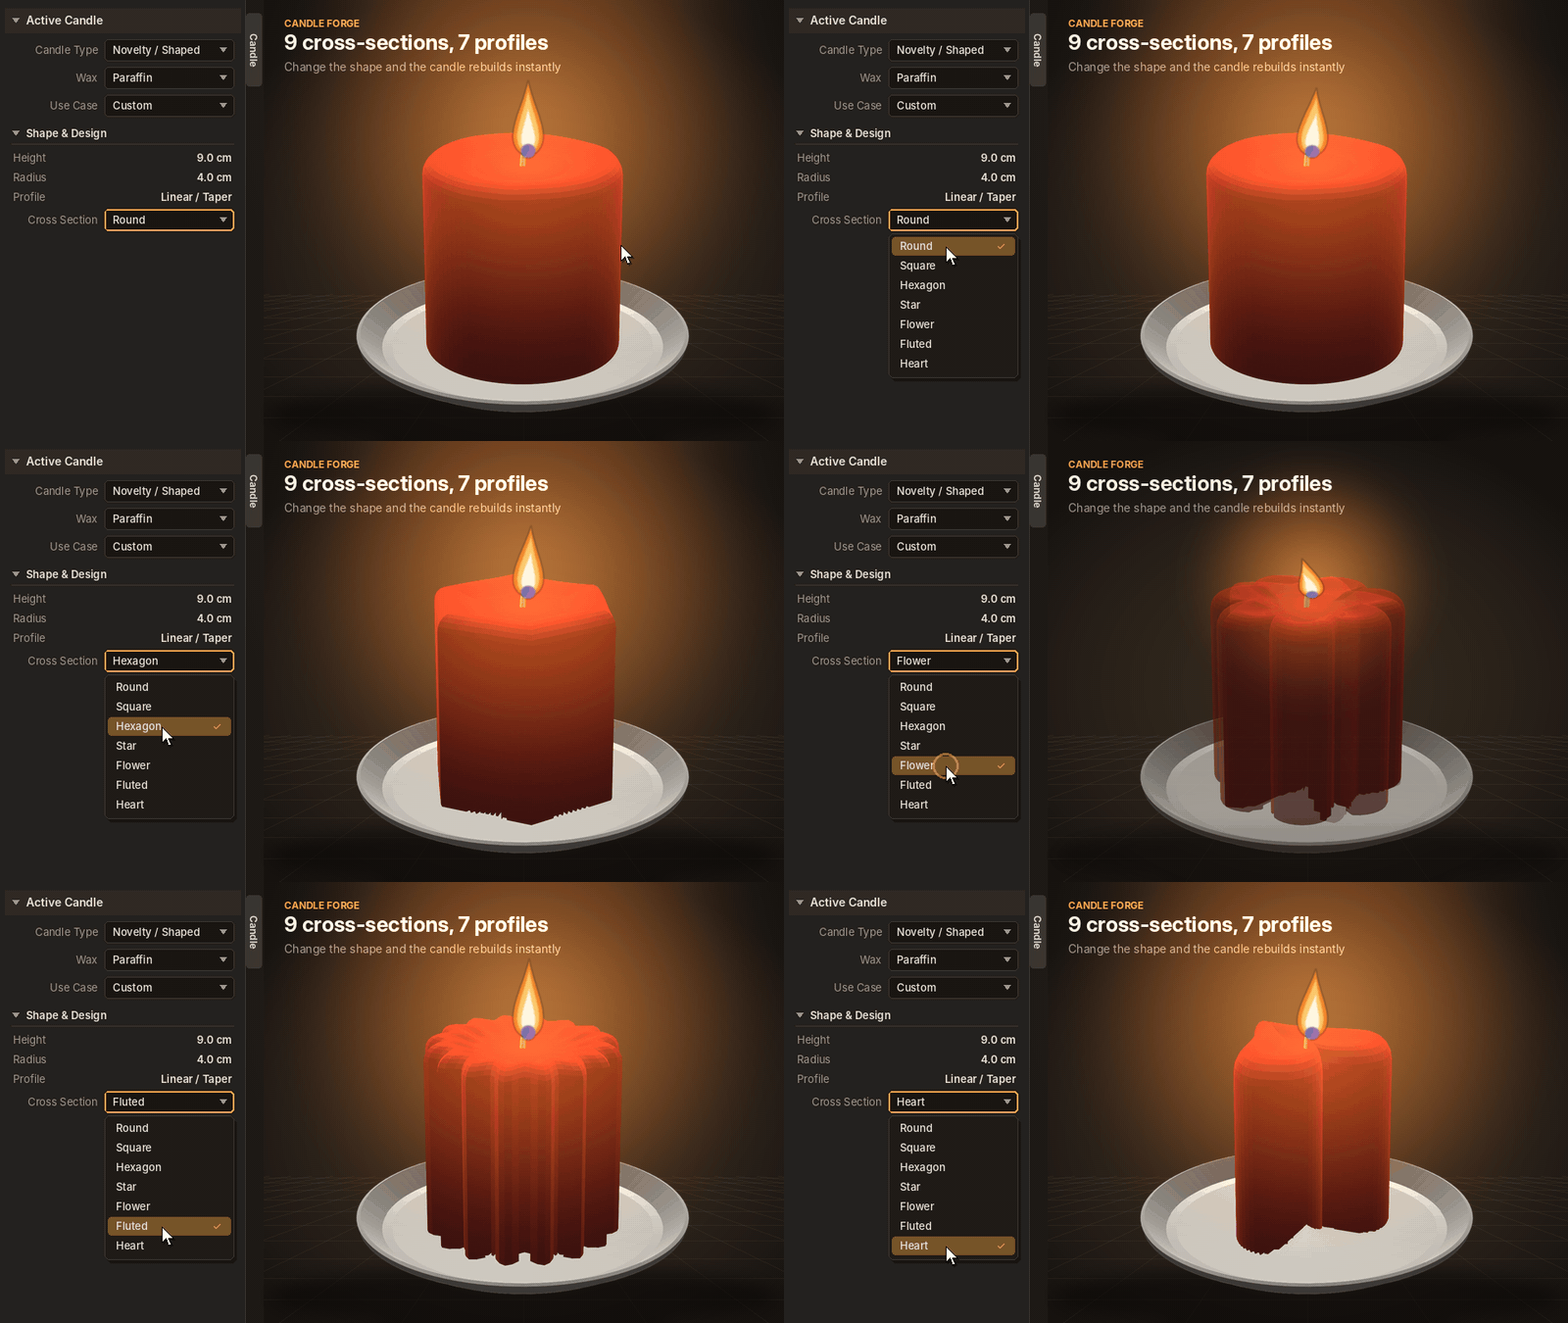
Points, Section Depth & Roundness: Refine supported cross-section shapes.
-
Twist: Rotate the shape along its height.
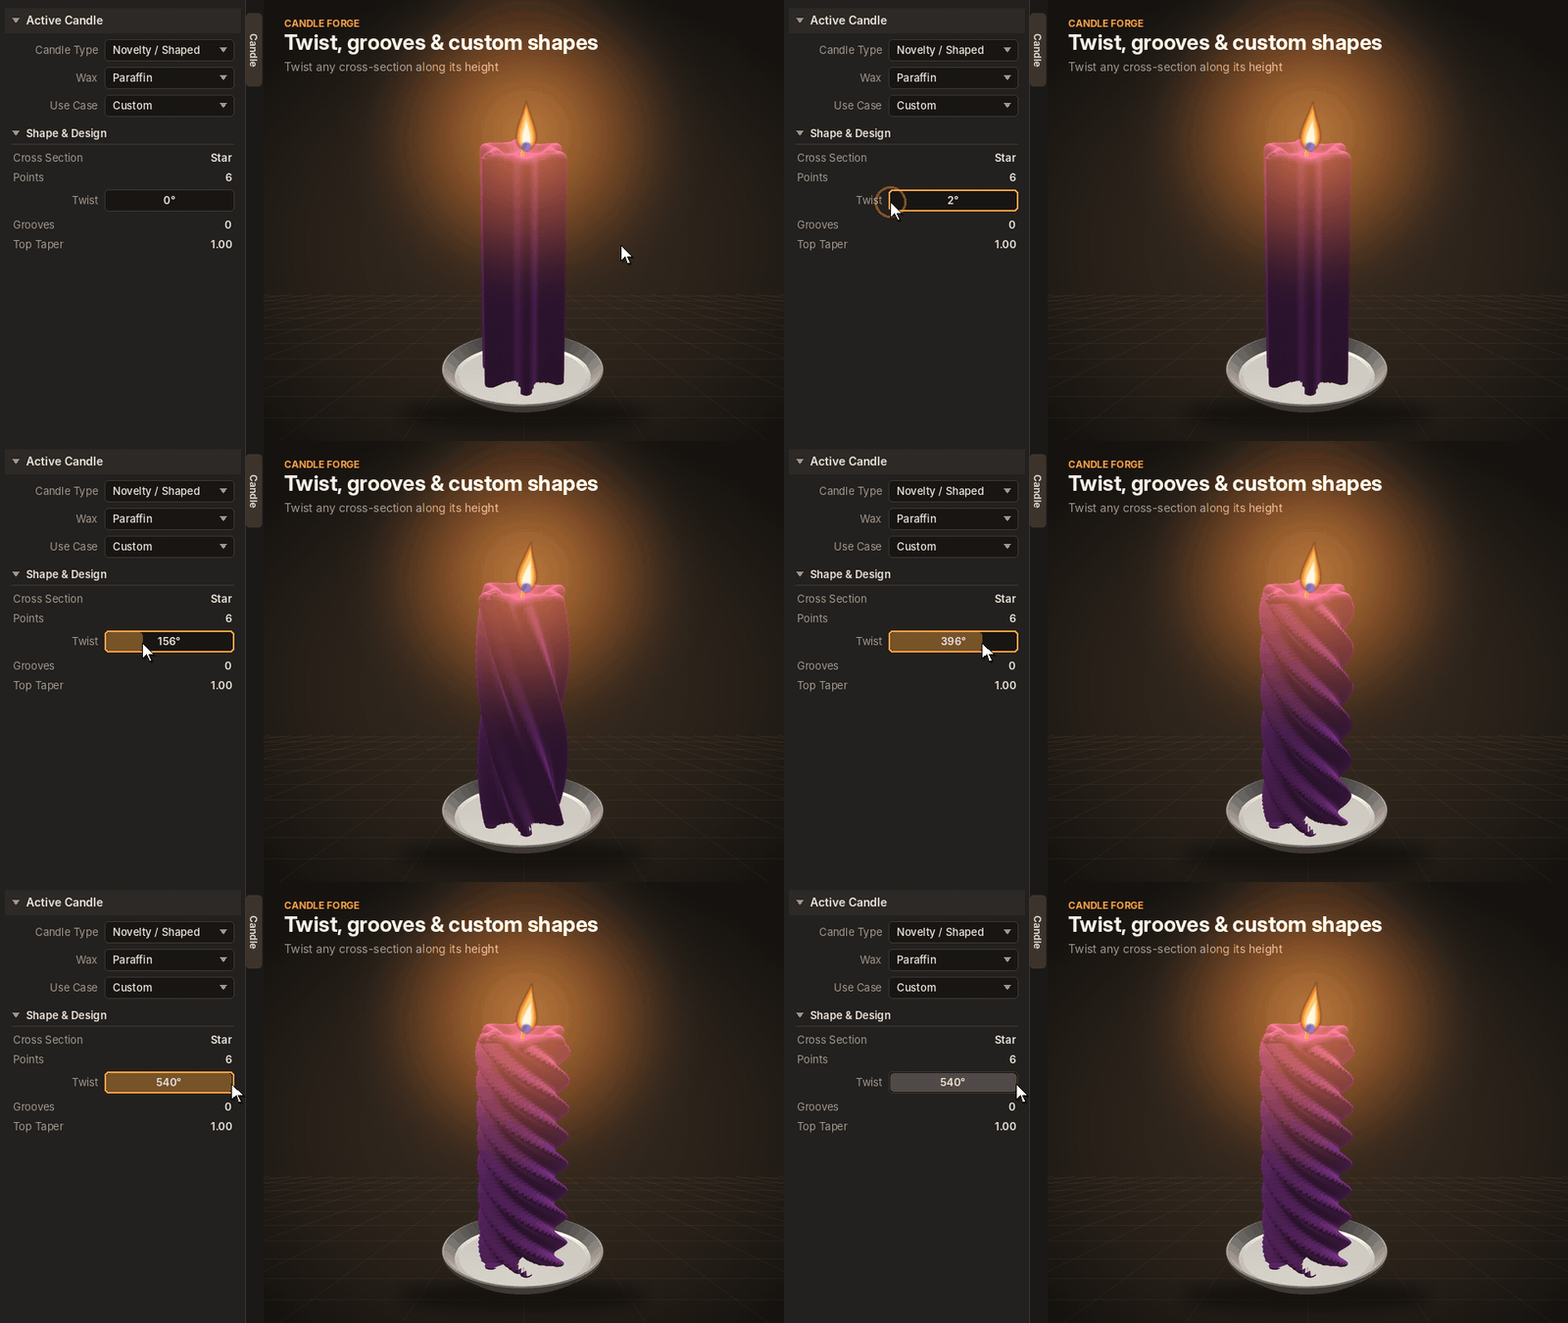
Grooves: Add horizontal rings or spiral ridges.
Socket Stub: Create a narrow base for candlesticks.
Top Rounding: Soften the top edge.
Hand-made Wobble: Add slight irregularities.
Hollow: Create the open core used by ear candles.
Melting
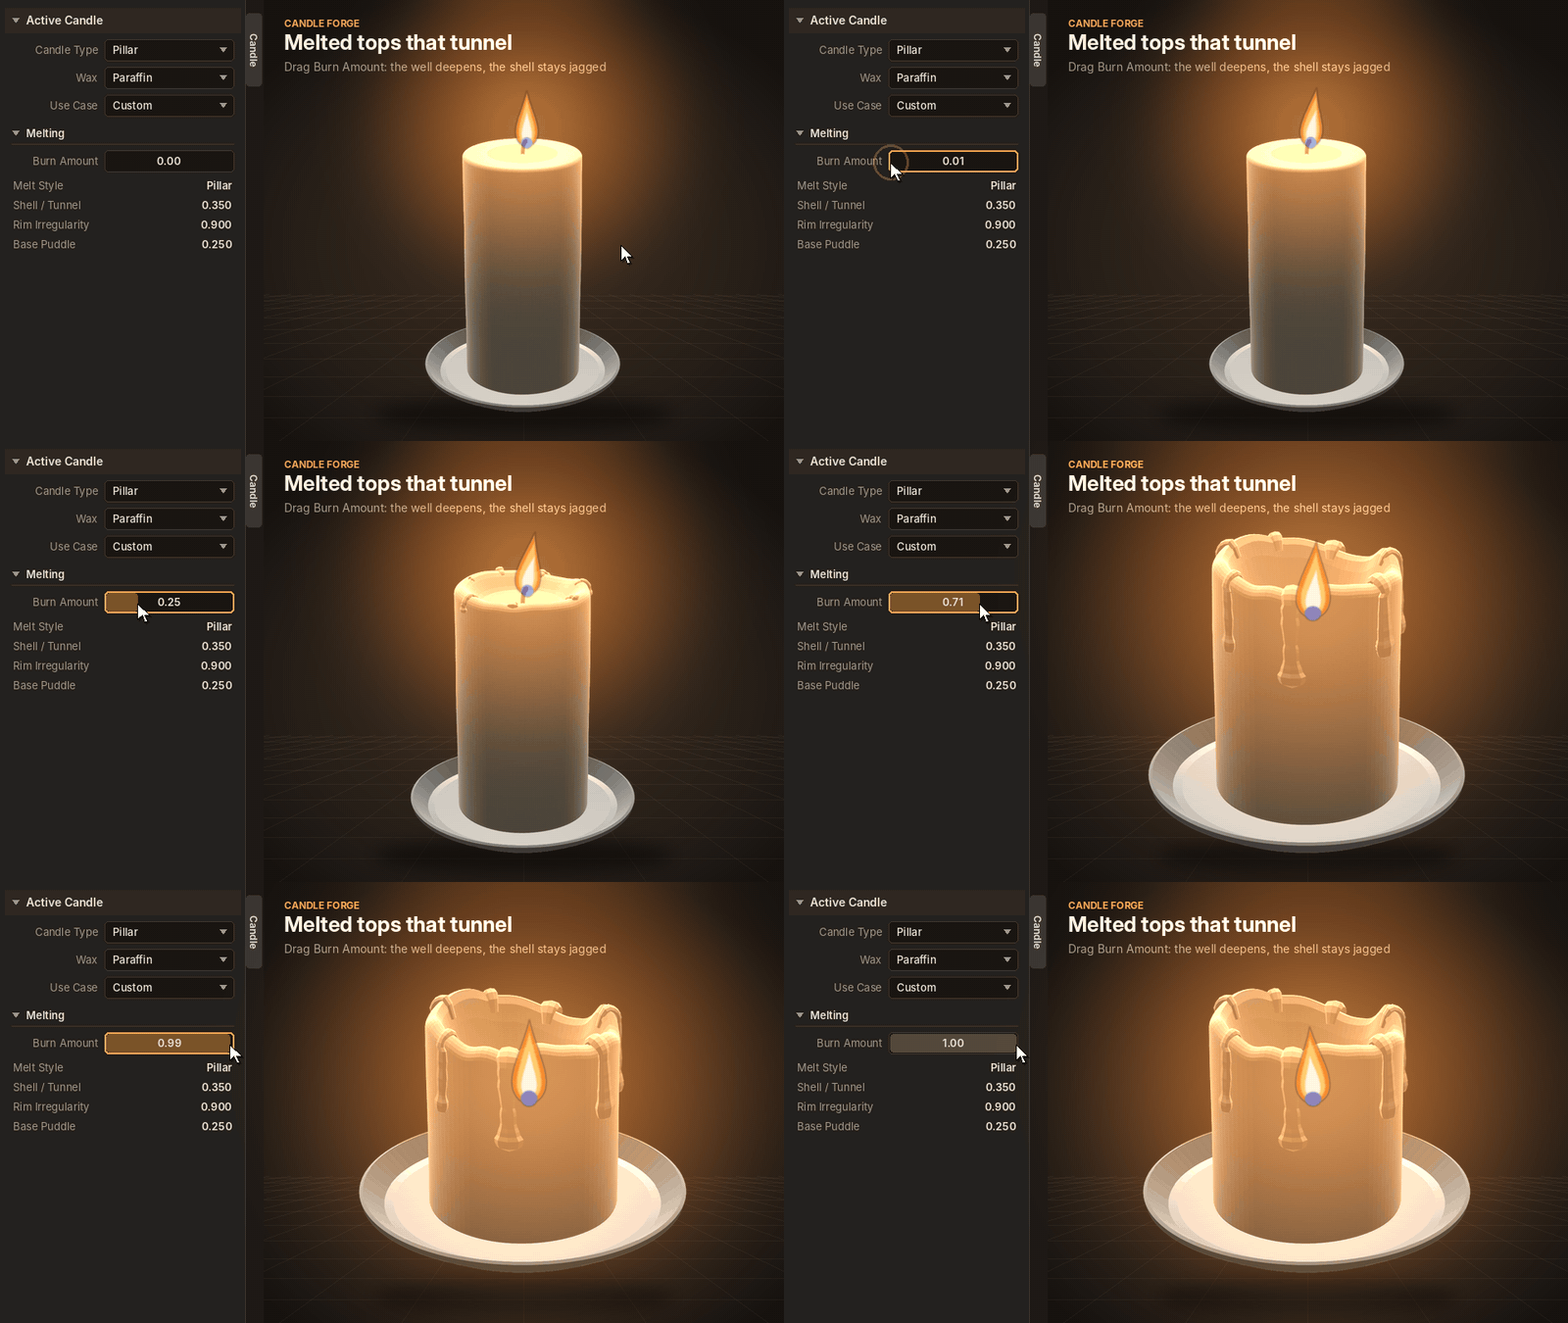
Control how the candle burns and how its top changes.
Burn Amount: Set the current burn level.
Max Burn Depth: Control the maximum height reduction.
Melt Style: Choose Taper, Pillar, Container, Ear Cone, or None (LED).
Shell / Tunnel: Adjust the outer wall on pillar candles.
Rim Lip & Rim Irregularity: Shape the melted edge.
Melt Rounding: Soften the rim.
Melt Pool Size: Set the width of the liquid wax pool.
Recess Depth: Control the recessed top of LED candles.
Base Puddle: Add spreading wax around the candle's base.
Wax Drips
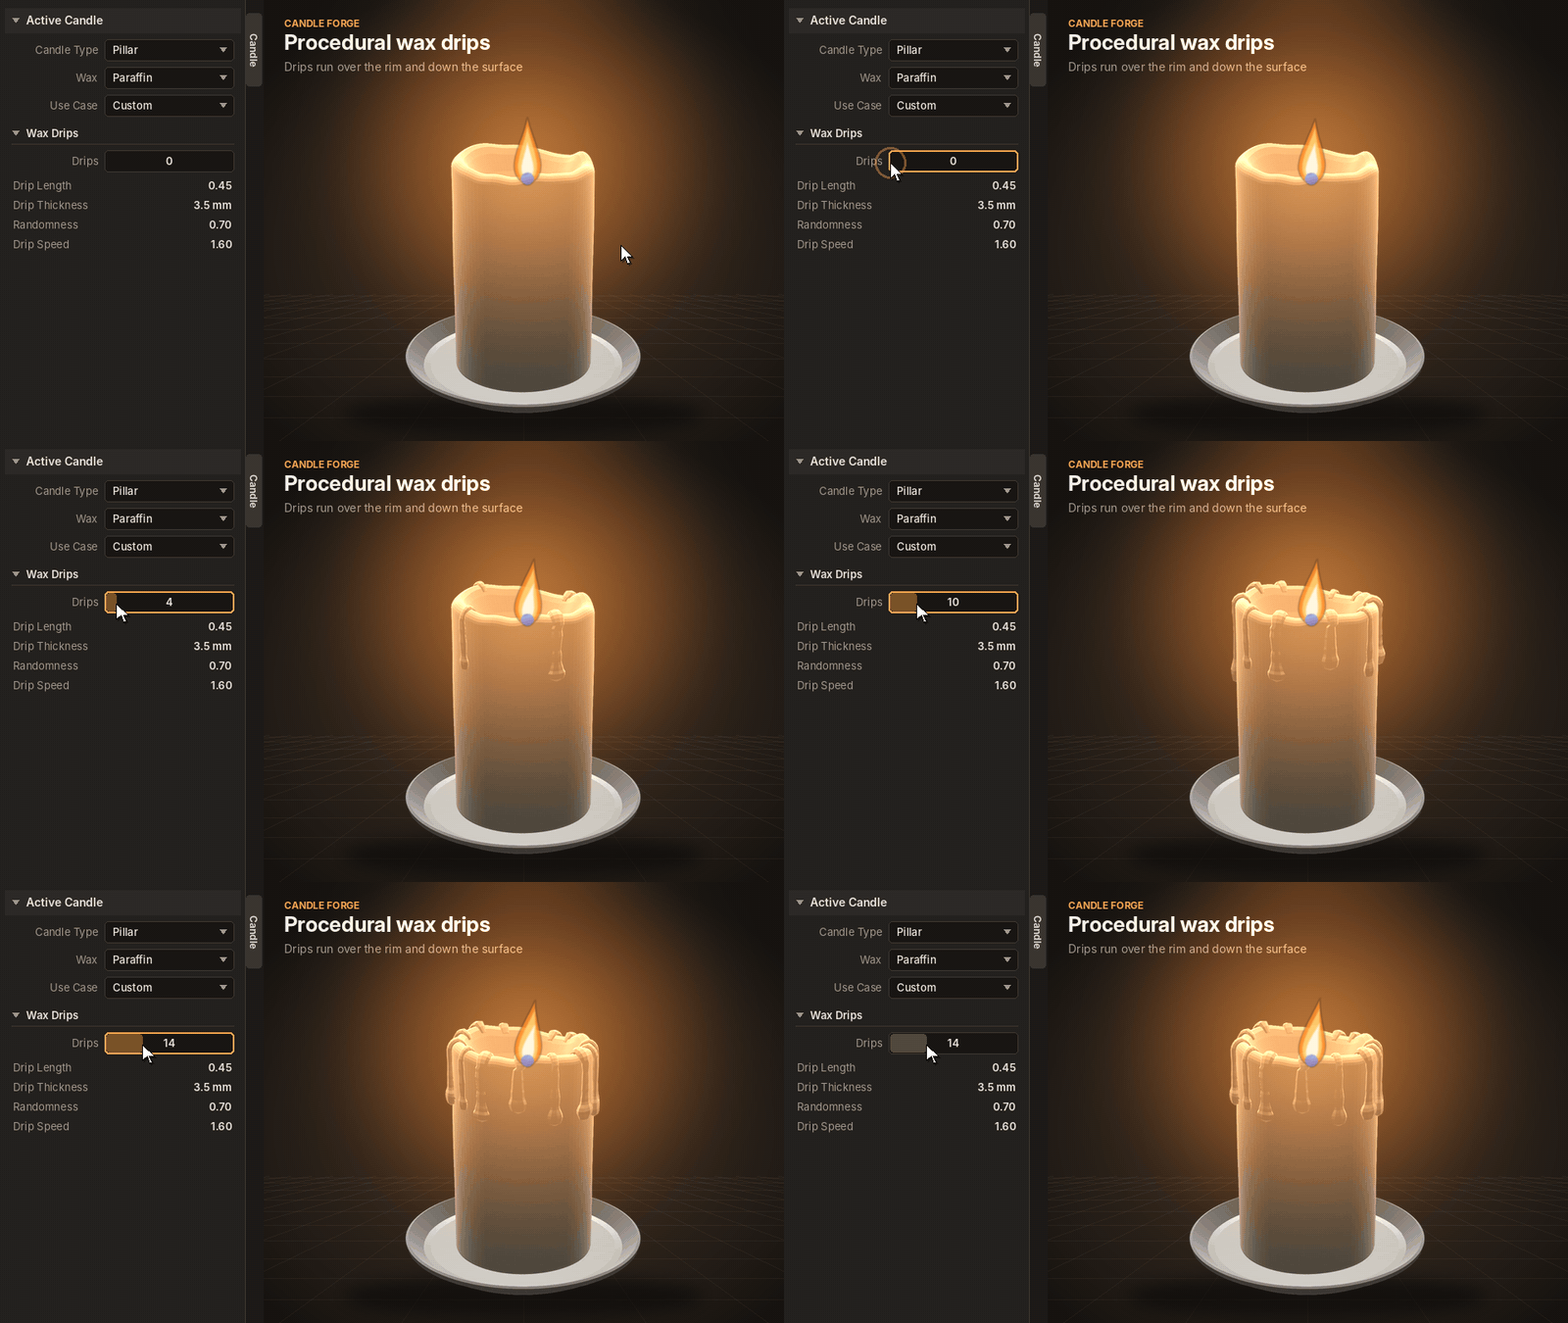
Create realistic wax flowing down the sides.
Drips: Set the number of drips, up to 48.
Drip Length & Thickness: Control their dimensions.
Randomness: Vary their appearance.
Drip Speed: Adjust how quickly they grow during burning.
Drip Seed: Generate a repeatable alternative arrangement.
Wick
Customize the candle's wick and its position.
Add up to six wicks.
Adjust Wick Spread, Thickness, and Height.
Control Wick Curl and Charred Tip.
Enable Wick Clip for the metal sustainer used in tealights and jars.
Flame & Light
Adjust the flame's appearance and illumination.
Flame Size: Set the flame dimensions.
Flame Temperature: Adjust its colour using Kelvin.
Flame Brightness: Control its intensity.
Cast Light: Add a point light around the flame.
Light Power & Softness: Adjust illumination and shadow edges.
Flicker, Flicker Speed & Draft / Sway: Animate natural flame movement.
Wax Material
Customize the candle's surface and colour.
Wax Colour & Secondary Colour: Choose the colour palette.
Surface Pattern: Select smooth, frosting, honeycomb, crystal feather, bubbles, mottled, layers, spiral stripes, ombre, marble, or linen.
Pattern Scale: Adjust pattern size.
Layers / Stripes: Control layered and striped designs.
Chakra Colours: Apply the seven chakra colours.
Translucency & Scatter Distance: Control the wax's inner glow.
Roughness, Gloss Coat & Transmission: Adjust surface appearance.
Surface Detail: Refine the wax texture.
Melt Pool Darkness & Soot / Aging: Add realistic wear.
Holder & Extras
Choose from 15 holder and vessel options:
None, brass candlestick, enamel chamberstick, pillar plate, votive glass, tealight cup, clear glass jar, amber glass jar, ceramic tumbler, metal tin, galvanised bucket, massage pouring pot, cartridge sleeve, water bowl, and protective disc.
Additional controls include:
Vessel Fill: Set wax height inside containers.
Submerged: Adjust floating candle depth in water.
Label & Lid: Add details to jars, tumblers, and tins.
Botanicals: Scatter lavender, rose petals, citrus slices, herb leaves, or a mixture.
Accessory Colour & Glass Tint: Customize holder and glass colours.
Quality
Choose the geometry resolution for your workflow.
Low: 32 segments for faster viewport performance.
Ultra: 128 segments for close-up detail.
Subdivision (Render): Smooths the candle at render time only.
Randomize & Seed
Use Randomize to generate a new variation of the current candle, including its seed, drip pattern, rim shape, and wobble. You can optionally vary the colour slightly.
Change Seed or Drip Seed manually whenever you need a repeatable variation.
6. Burning Animation
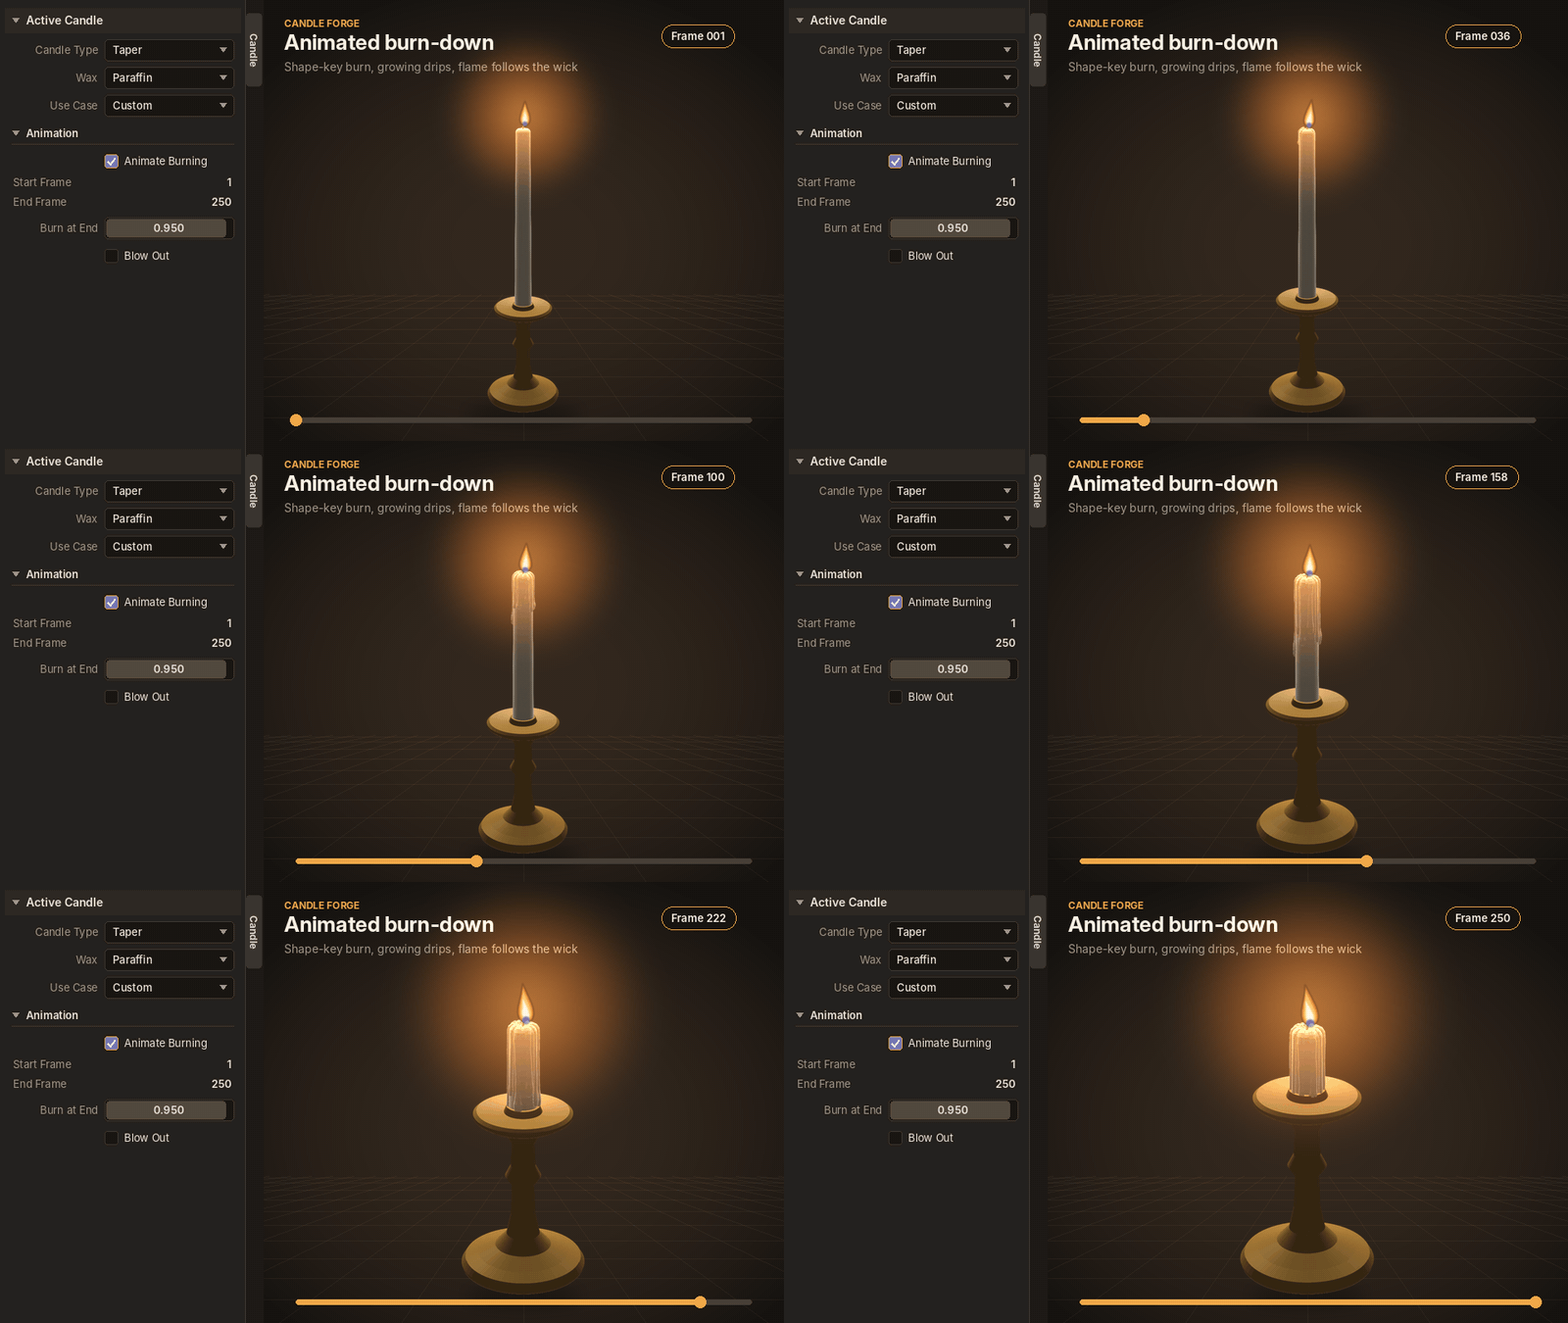
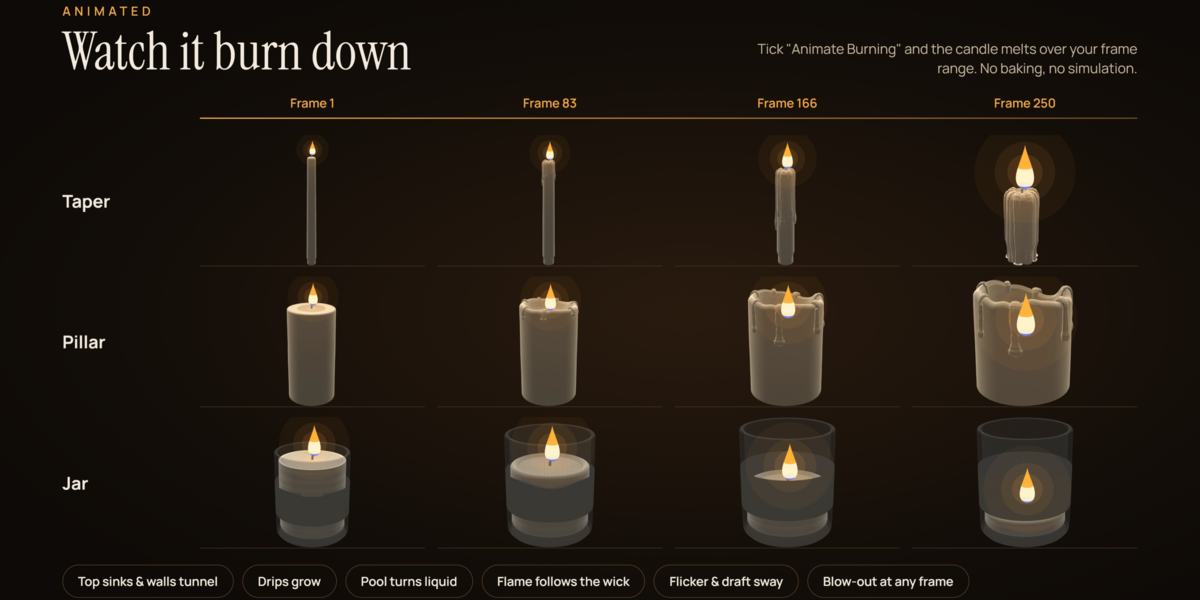
Candle Forge includes procedural burn-down animation without simulation or baking.
Enable Animate Burning in the Animation panel and set:
Start Frame: Beginning of the burn.
End Frame: End of the burn.
Burn at End: Final burn amount.
As the candle burns:
The top gradually sinks.
Pillar walls form tunnels.
Wax drips extend down the sides.
The base puddle spreads.
The melt pool changes from solid to liquid.
The flame and light automatically follow the wick.
The animation uses a Burn shape key and driver, so Python Auto Run does not need to be enabled.
Blow Out: Enable Blow Out and choose a Blow-out Frame. The flame shrinks, the light switches off, and the wick ember fades over 60 frames. The melt pool then solidifies.
Flame flicker, draft sway, and inner turbulence remain animated even when burn-down animation is disabled. LED candles use gentler flicker without sway.
You can also retime the burn manually by editing the Burn shape key in Object Data Properties and adjusting its keyframes in the Graph Editor.
7. One-Click Scene & Rendering
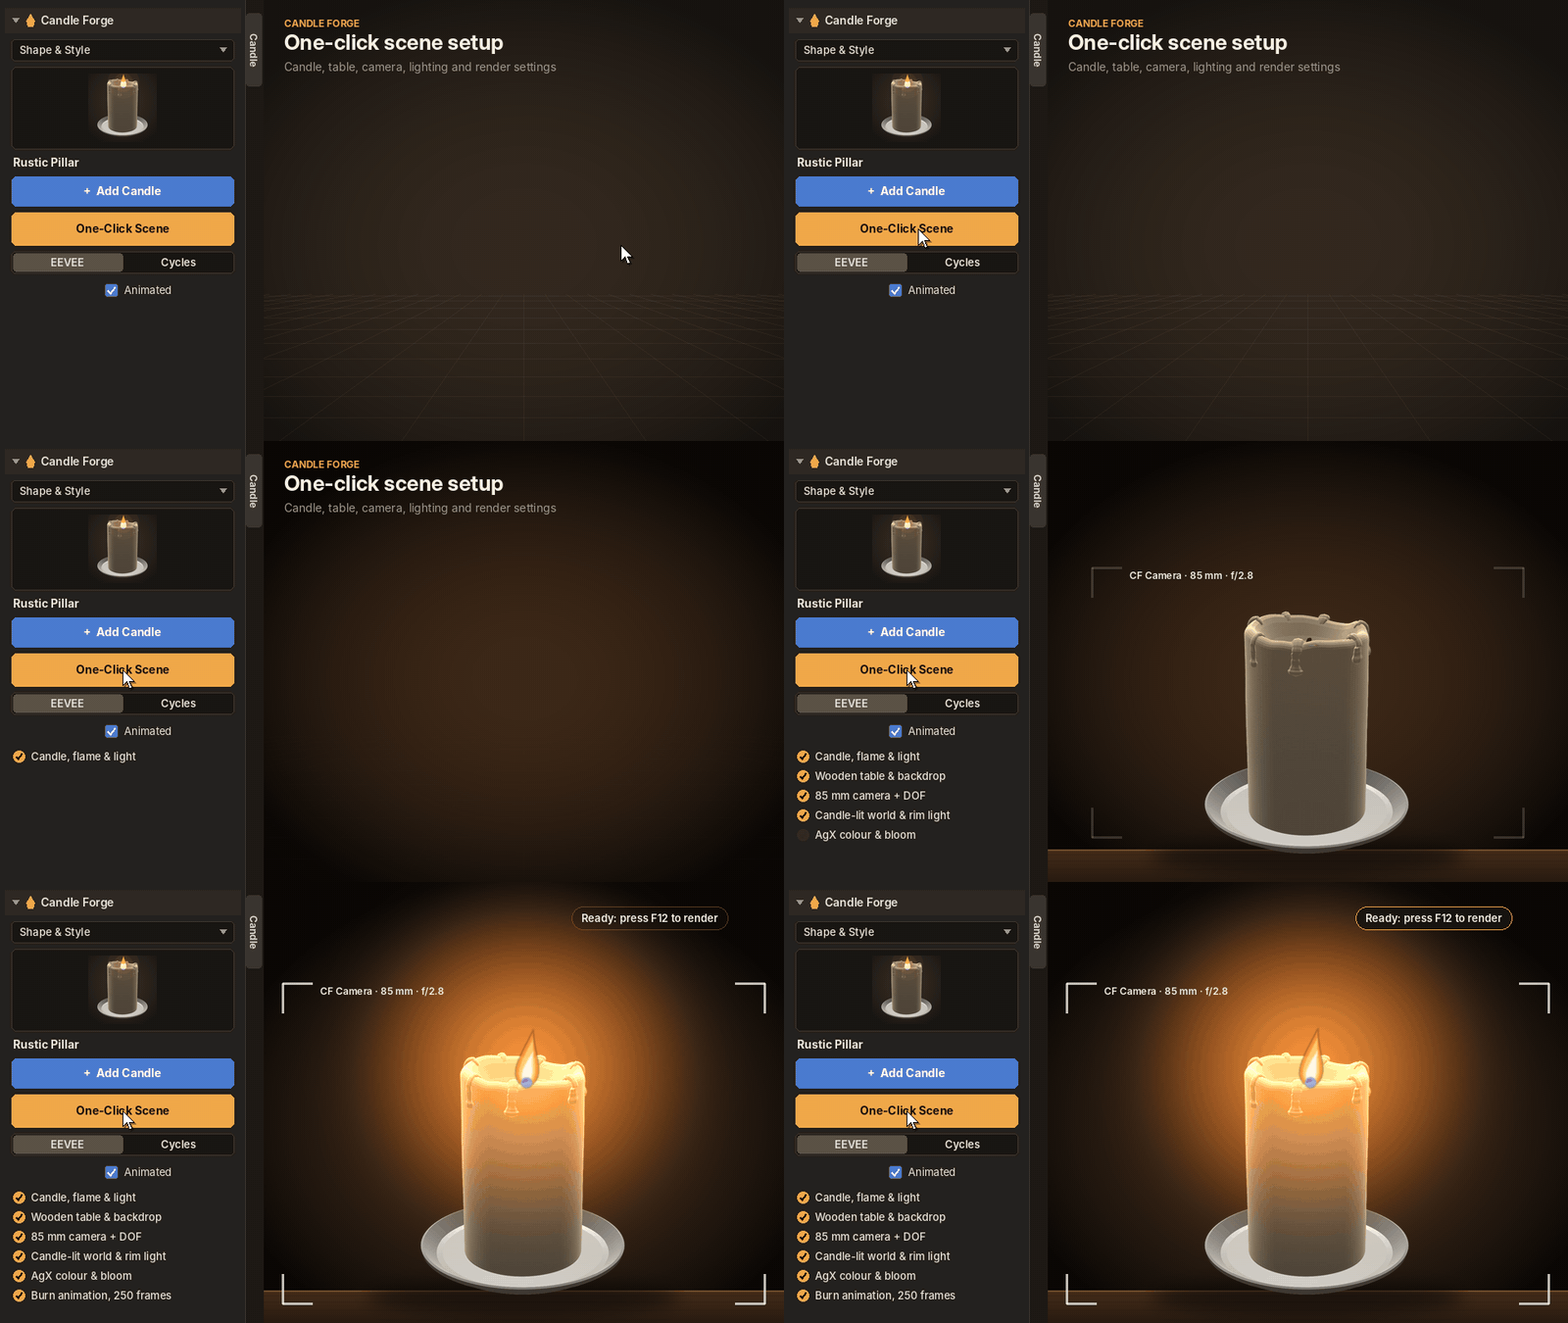
Create a complete render-ready setup with One-Click Scene.
The add-on creates a collection named Candle Scene, containing:
Candle with flame, light, and holder.
Wooden table surface and dark curved backdrop.
85 mm camera with depth of field set to f/2.8.
Dark, warm world lighting and a soft rear rim light.
AgX colour transform (Filmic on older Blender versions).
EEVEE bloom or Cycles rendering with 256 denoised samples and deep glass bounces.
When Animated is enabled, the candle starts almost unburnt and burns to 85% over the selected frame range.
Running One-Click Scene again reuses the existing table, backdrop, camera, and rim light to avoid duplicate scene objects. Delete the previous candle first if you want only the new design in the shot.
Rendering Recommendation: Use Cycles for the most realistic wax, subsurface scattering, and glass refraction. EEVEE is suitable for quick previews and animation tests.
8. Presets & Asset Browser
Candle Forge provides three ways to reuse your designs.
Built-in Design Library
Browse all 30 designs using the thumbnail browser and category filter.
To restyle an existing candle:
Select the candle.
Choose a design from the browser.
Click Apply Selected in Presets & Library.
The candle keeps its own seed, helping preserve its recognizable drip and rim arrangement.
Custom Presets
Save your customized candles for future projects.
Select a candle.
Click Save.
Enter a preset name.
Your preset appears under My Presets and can be added or applied in other projects.
Presets are stored as text files in Blender's configuration folder and remain available after add-on updates. To remove one, select it and click Delete User Preset.
Blender Asset Browser
Use Save Candle to Library to save the active candle under the My Candles catalog.
Click Build Full Library to generate all 30 built-in designs, organized into:
Shape & Style
Wax Material
Function & Use
Each asset includes a thumbnail and can be dragged into the viewport through Blender's Asset Browser.
The library is registered automatically under Preferences → File Paths → Asset Libraries. Candles remain editable while Candle Forge is enabled.
By default, the library is stored in Blender's user data folder. You can change its location using Asset Library Folder in the add-on preferences. Click Open Library Folder to view it in your file manager.
9. Materials & Textures
All materials are node-based and support both EEVEE and Cycles. Each candle receives its own wax material copies, so editing one candle does not change another.
Procedural Materials
Wax: Subsurface scattering, micro-surface bump, subtle colour variation, and optional soot.
Wax Pool: Blends solid wax into a darker, glossy liquid as the candle burns.
Wax Drips: Slightly glossier surface with subtle pour streaks.
Wick: Braided cotton tinted by the wax.
Wick Char: Blackened wick with a glowing ember that fades after blow-out.
Flame: Emissive shader with a blue base, bright core, and animated turbulence.
LED Flame: Solid glowing plastic appearance.
Holder materials include brass, aluminium, tin, galvanised steel, amber glass, wood, water, and paper. Additional per-candle materials support glass, ceramic, enamel, sleeves, and labels.
Bundled Textures
Six seamless greyscale textures are included in the add-on's textures folder:
Wax Surface – 2048 px
Pour Streaks – 1024 px
Soy Frosting – 1024 px
Honeycomb – 1024 px
Palm Crystal – 1024 px
Linen Weave – 1024 px
Textures use object-space projection, so UV unwrapping is not required for normal procedural use.
10. Texture Baking & Export
Bake candle textures for use in game engines or other 3D applications.
Open Presets & Library.
Choose a Bake Size from 1K to 8K.
Select a Bake Folder.
Click Bake Textures.
Candle Forge unwraps the candle onto a new UV layer named CF_Bake and saves these PNG maps:
Base Colour
Roughness
Normal
Ambient Occlusion (AO)
Baking uses Cycles and restores your previous render engine afterwards.
Important: Click Finalize after baking. This prevents later settings changes from rebuilding the mesh and discarding the bake UVs.