Procedural Clouds - Create Your Own Clouds & Sky
 Suzanne studio


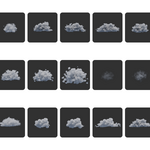
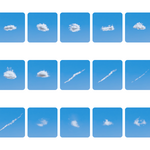
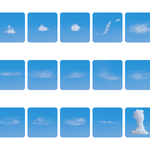
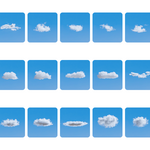
Important notes
Addon Preferences include options that can modify Blender scene settings during use.
Some features automatically adjust scene settings (such as volume bounces, step count, or clip distance) to ensure optimal results.
To keep your original scene settings unchanged, disable these options in the add-on Preferences or adjust them to your needs.
This add-on was created for the Blender 4.5 version due to its long-term support from the Blender developers. However, in Blender 5.0 the algorithm for Voronoi textures was changed, so presets may look slightly different in 5.0 compared to 4.5. It’s still the same cloud, just generated with a different seed.
Settings panel
Pin
The Pin locks the target object for the UI.
When pinned, all settings and panels operate on that object instead of the currently active one.
Pin Auto-Switch
This is a preference option and is enabled by default.
- ON: If Pin is active, the pinned object automatically switches to the currently selected supported object.
- OFF: The Pin stays locked to the original object, even when you select another supported object.
Solid Preview
To see clouds in Solid mode, Solid Preview must be turned on.
Auto Solid Preview
A global scene option. The add-on monitors viewport shading and switches Solid Preview automatically:
- Rendered → Solid Preview OFF
- Solid → Solid Preview ON
Make Unique
Creates an independent copy of the selected object, so changes won’t affect others.
Use it when:
- You duplicated an object and want it to be different
- Editing one object also changes others
Don’t use it when:
- You want multiple objects to stay linked and update together
-
In short:
Make Unique = this object becomes independent.
Clip Start – If the volume looks sliced or flickering in Solid Preview, increase this value (e.g. to 0.1 – 1).
Clip End – If the cloud is cut off in the distance (the viewport camera can’t see far enough), increase this value (e.g. to 10000).
**Also, make sure to set the Clip Start and Clip End values on your camera in the scene.
Scaling
Object Mode
- Changes the object’s size without affecting its internal settings. Effect parameters stay the same and the visual result remains unchanged.
Edit Mode
- Changes the actual volume/mesh size. You scale the existing content, but its internal settings and detail density remain the same.
- Use this when you like the current preset and only want to extend it (e.g. make the cloud wider, taller, or larger in a specific direction).
Tip
After extreme scaling, you may need to adjust Density.
Removing Boolean Empty
If you delete the Empty in the 3D Viewport, it may still remain in the scene.
To remove it completely, use one of these options:
- Remove it from the addon panel, or
- Delete it in the Outliner (press Delete or Right-click → Delete).
Procedural Clouds & Curve clouds
These controls affect how detailed the cloud looks and how heavy it is for your system.
Start with the cloud object at around 2 meters in size, then adjust its overall size in Object Mode.
Scaling in Object Mode lets you easily resize the cloud without changing its internal settings.
Point Density
Controls how full the cloud is.
Higher values = thicker, more detailed cloud.
Lower values = lighter cloud and faster performance.
Point Size Min / Max
Controls the size variation of the cloud shapes.
Higher values = softer, puffier clouds.
Lower values = finer, more detailed structure.
Volume Resolution
Controls the final detail of the cloud volume.
Higher values = sharper detail but slower performance.
Lower values = faster but softer result.
Main N-panel settings
-
$25
For personal/non-profit projects · Creator support · Future updates
-
$45
For commercial projects · Creator support · Future updates
-
$110
Multi-seat license · Creator support · Future updates · Custom features request
Have questions about this product?
Login to message