Procedural Detail
 Demiurge
Documentation
Complete guide to masks and how to use them.
Blender 4.3+ · Version 2.0.0 · Adam Kubecki · 19.01.2026
This product requires Blender 4.3 or newer. This is due to the Gabor texture node added in Blender 4.3.
| 01 License and Files |
| 02 Masks - full list |
| 03 Smart Mask Makers |
| 04 How to use - step by step |
Royalty Free License
This product is licensed under a Royalty Free license. You are free to use it for personal, educational and commercial purposes.
You may not resell, redistribute or repackage this product without explicit permission from the creator. Shader, material and texture products are exempt from logo and trademark restrictions.
superhivemarket.com/page/gpl-license
Grunge Masks
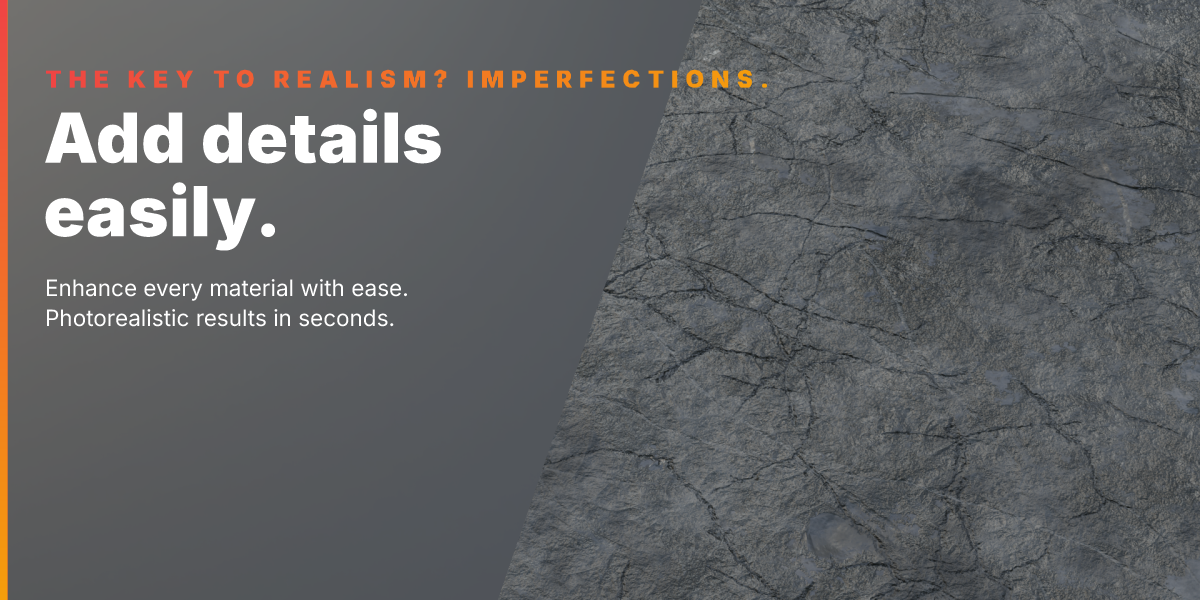
All fully procedural - no texture files, infinite resolution.

What are smart mask makers?
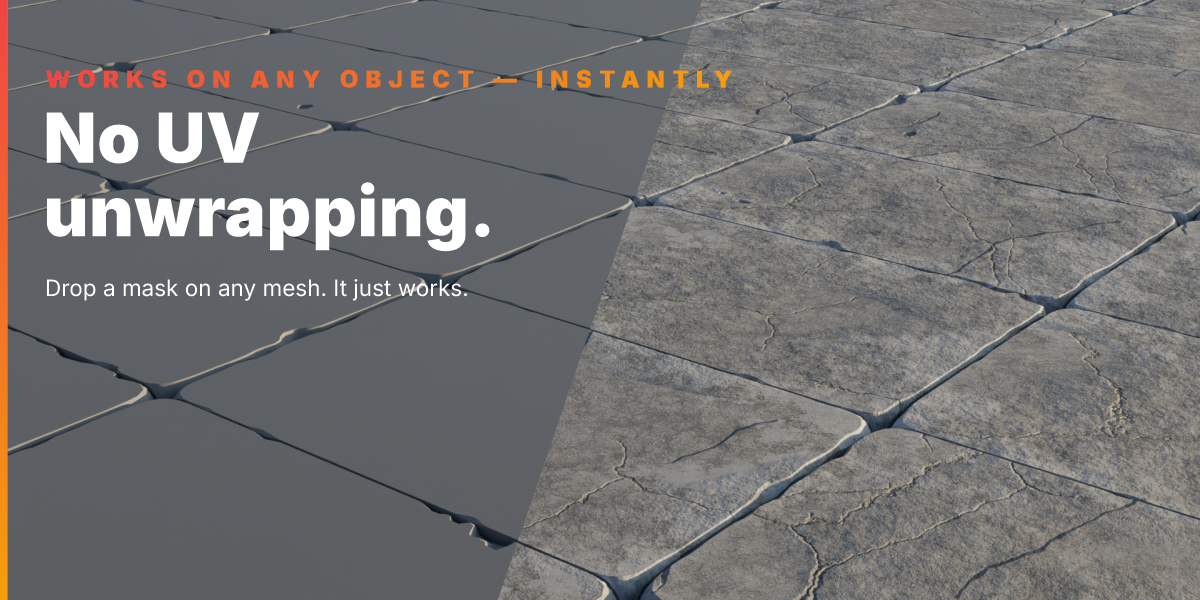
Smart mask makers generate a mask based on your mesh geometry - they adapt to any object automatically. You can use any grunge mask as the base texture.
|
Edgewear
Paint wear on edges and sharp corners. Great for metal, painted surfaces.
|
Ambient Occlusion
Darken crevices and recessed areas. Adds depth and realism to any mesh.
|
Slope
Simulate dust on horizontal surfaces. Great for top-facing areas accumulating dirt.
|
Gradient
Dirt accumulating at the bottom. Perfect for grime and ground stains.
|
Pick a smart mask maker - Pick a base grunge mask - The smart mask uses the grunge as a texture source and adapts to your mesh.

How to use masks to enhance textures?
|
1
|
Open the shader editor
Select your object, go to the Shader Editor and make sure you are editing the material you want to add the grunge to.
|
|
2
|
Add grunge mask
In the Asset Browser, find the mask you want and drag it into the Shader Editor. A node group is added automatically. You can also add it by appending product files or by simply pasting node group in.
|
|
3
|
Add color ramp
Color ramp is a useful node for adjusting masks especially when it comes to changing the values.
|
|
4
|
Combine
You can combine mask with existing texture. For example you can use math node to multiply mask by roughness or metallic map. For color you need to use mix node. For little bumps you can use bump or displacement node.
|
|
5
|
Add more!
Stack multiple masks to create more complex, realistic materials.
|
How to set up asset library?
|
1
|
Open Preferences
In Blender go to Edit - Preferences - File Paths. Find the Asset Libraries section.
Preferences > File Paths
Asset Libraries
No libraries added yet
+ Add Library
|
|
2
|
Add the Procedural Detail library
Click the + button next to Asset Libraries to add a new entry. In the Path field, navigate to the folder where you saved procedural_detail.blend.
|
|
3
|
Open the Asset Browser in Blender
In your workspace, change one of the editor panels to Asset Browser. Click the editor type icon (top left of the panel) and select Asset Browser.
Editor Type
📂 Asset Browser
|
|
4
|
Select the Procedural Detail library
In the Asset Browser top bar, click the library dropdown and select Procedural Detail. All masks and smart mask makers will appear as thumbnails.
Asset Browser
Procedural Detail ▼
Stains
Cracks
Brush
...
|
|
5
|
Drag and drop into the Shader Editor
Open the Shader Editor, select your object and make sure you are editing the right material. Drag any mask from the Asset Browser directly into the node tree.
|
To have assets automatically organized you need to have the test file you can download from superhive in the file with procedural detail blender file. If the thumbnails don't appear you can download them from documentation tab in my product website on superhive.
If asset browser images are not added automatically for you and you would like to have them you can download them here:
📁 Google Drive — Download thumbnailsFor questions use the Contact creator button on the product page.
superhivemarket.com · Procedural Detail 2.0 · Adam Kubecki
Have questions about this product?
Login to message
| Sales | 70+ |
| Rating | 1 ratings |
| Published | 11 months ago |
| Blender Version | 4.3 - 5.2 |
| Render Engine Used | Cycles, Eevee |
| License | Royalty Free |
Discover more products like this
scratches grunge detail mask pack imperfection textures alpha mask