 Mrs Eliza
1. Introduction
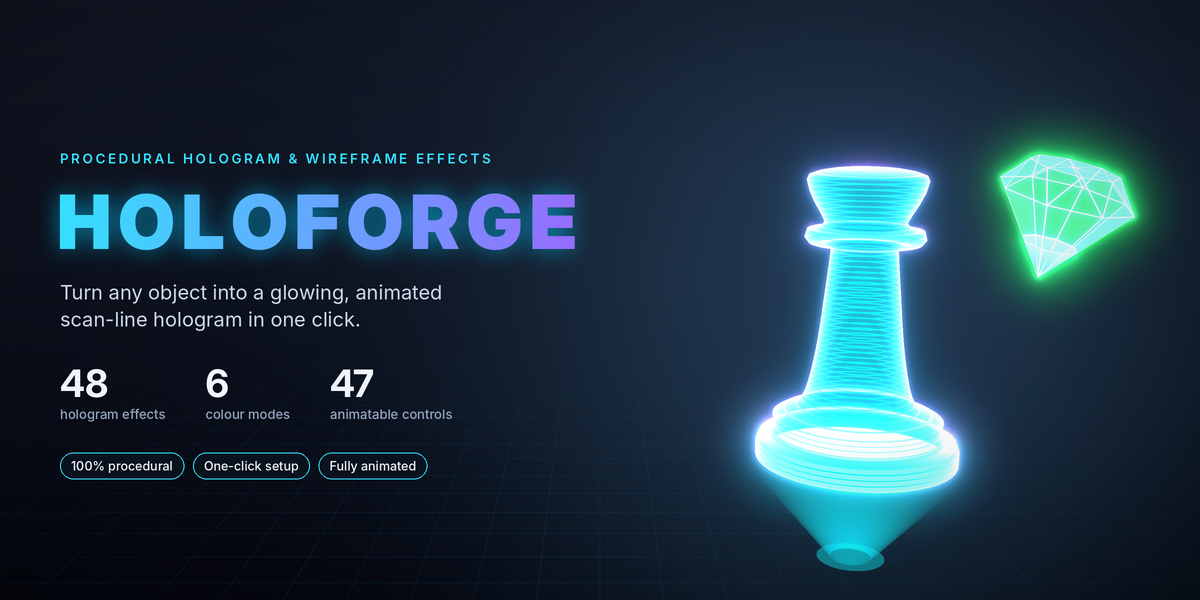
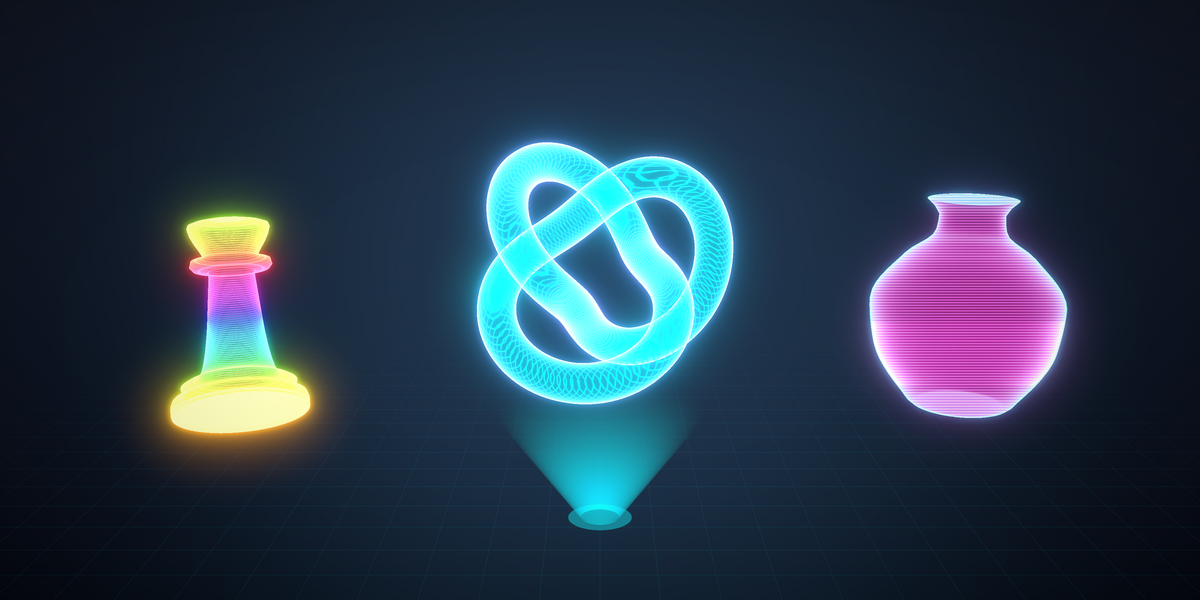
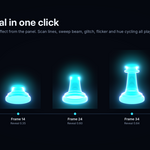
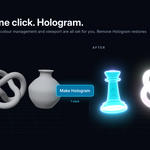
HoloForge transforms almost any object in Blender into a glowing, animated hologram with a single click. Create futuristic holographic effects featuring scan lines, sweeping beams, neon colours, flickering, distortion, and digital glitches.
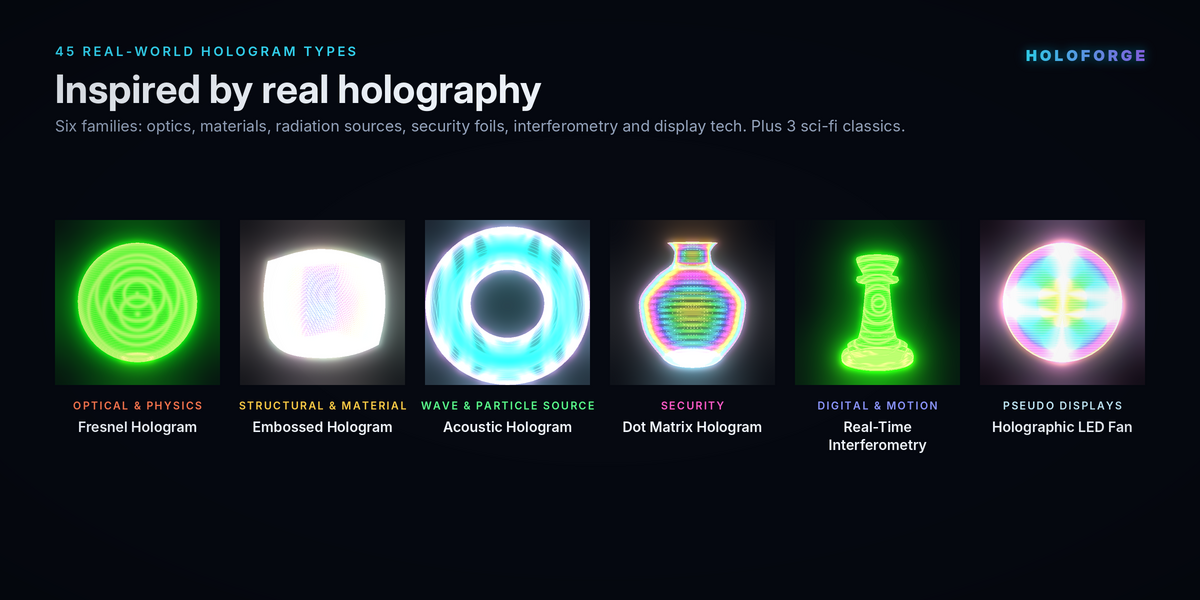
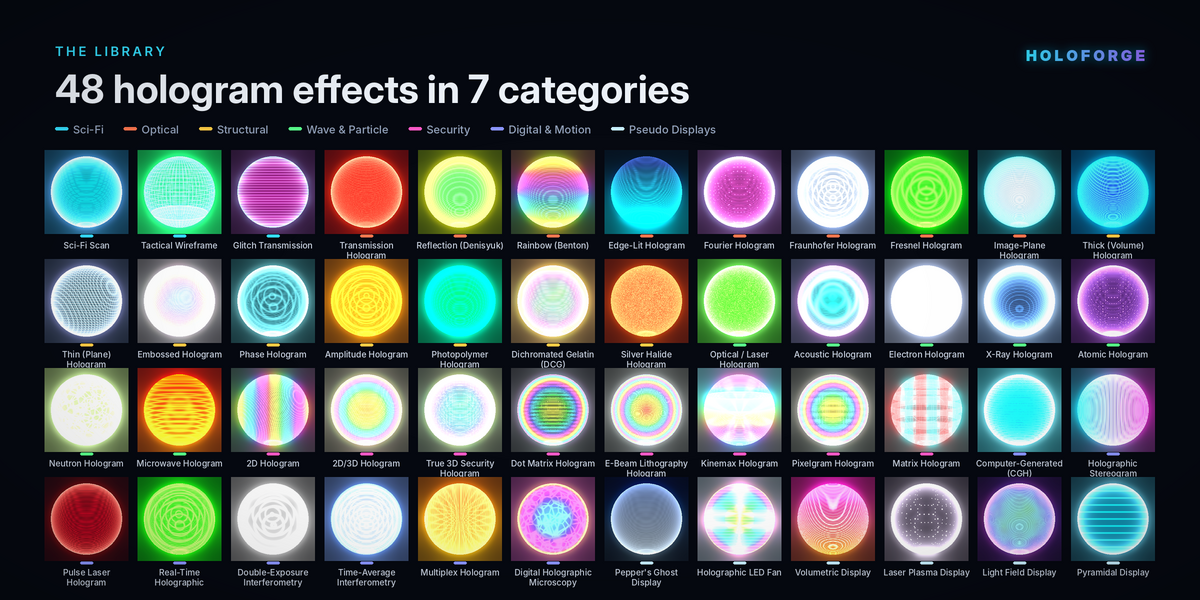
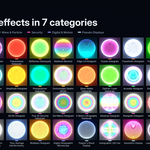
The add-on includes 48 ready-made hologram effects, all fully procedural, animated, and customizable. Its library covers 45 hologram-inspired styles across six technical families, along with three signature sci-fi effects.
HoloForge is designed for motion designers, game artists, product visualizers, and anyone who wants to create futuristic visuals quickly.
You can apply a ready-made effect with one click or customize individual parameters to build your own holographic appearance.
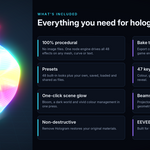
What's Included
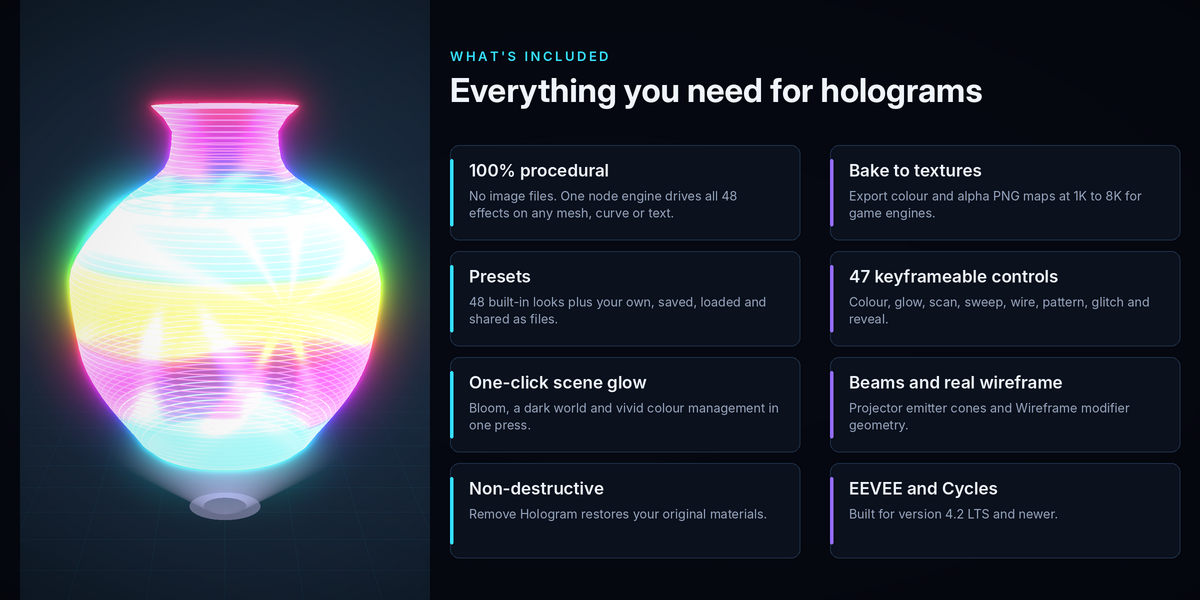
48 Ready-Made Effects covering a wide range of hologram styles.
6 Hologram Families covering optical, structural, wave-based, security, digital, and display-inspired effects.
3 Signature Sci-Fi Looks including a classic movie hologram, military wireframe, and glitch transmission.
Fully Procedural Materials generated entirely with Blender shader nodes.
Animated Effects including scrolling scan lines, scanning beams, flickering, glitches, and colour cycling.
Custom Presets for saving, loading, importing, and sharing your own looks.
Texture Baking for exporting hologram colour and transparency maps.
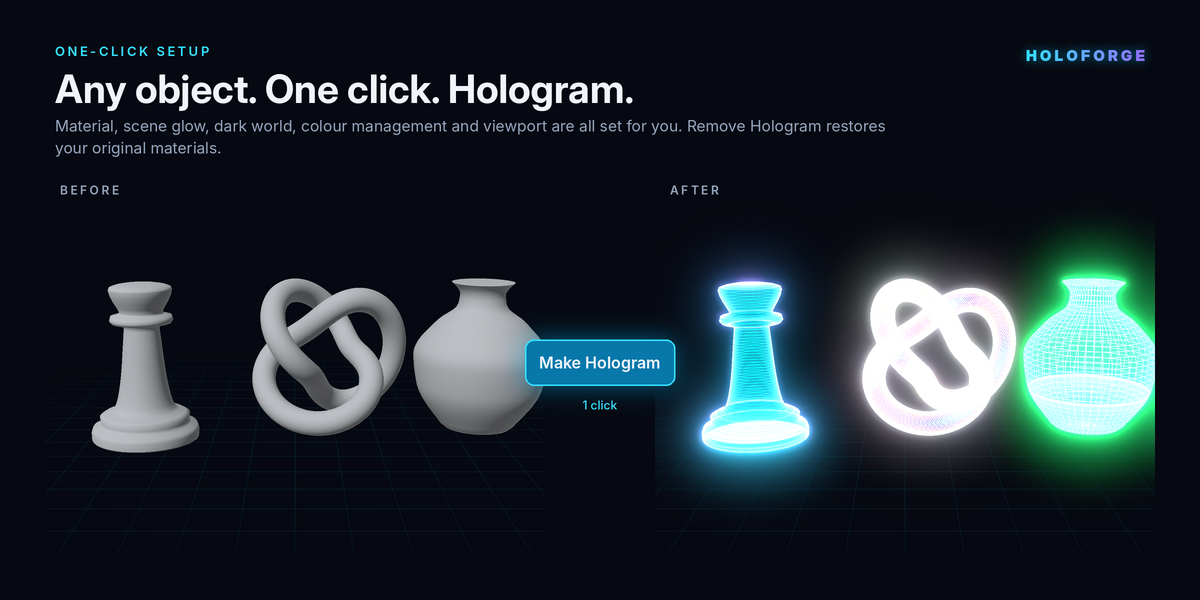
One-Click Setup for automatically creating materials and configuring the scene.
2. Key Features
HoloForge combines procedural materials, animation, presets, and scene tools in one workflow.
Fully Procedural
Every hologram effect is generated using Blender shader nodes. No external image textures or additional texture files are required.
The shared HoloForge Engine node group powers all 48 effects and works with:
Mesh objects
Curve objects
Surface objects
Metaballs
Text objects
Because the effects are procedural, they remain editable and are not limited by image resolution.
High-Quality Procedural Detail
Hologram patterns and surface details are generated mathematically, keeping them sharp at different camera distances and render resolutions.
The Noise Detail setting controls the fineness of procedural noise.
When image textures are needed, use Bake Textures to export colour and transparency maps as PNG files at:
1K
2K
4K
8K
These maps can be used in game engines and other 3D applications.
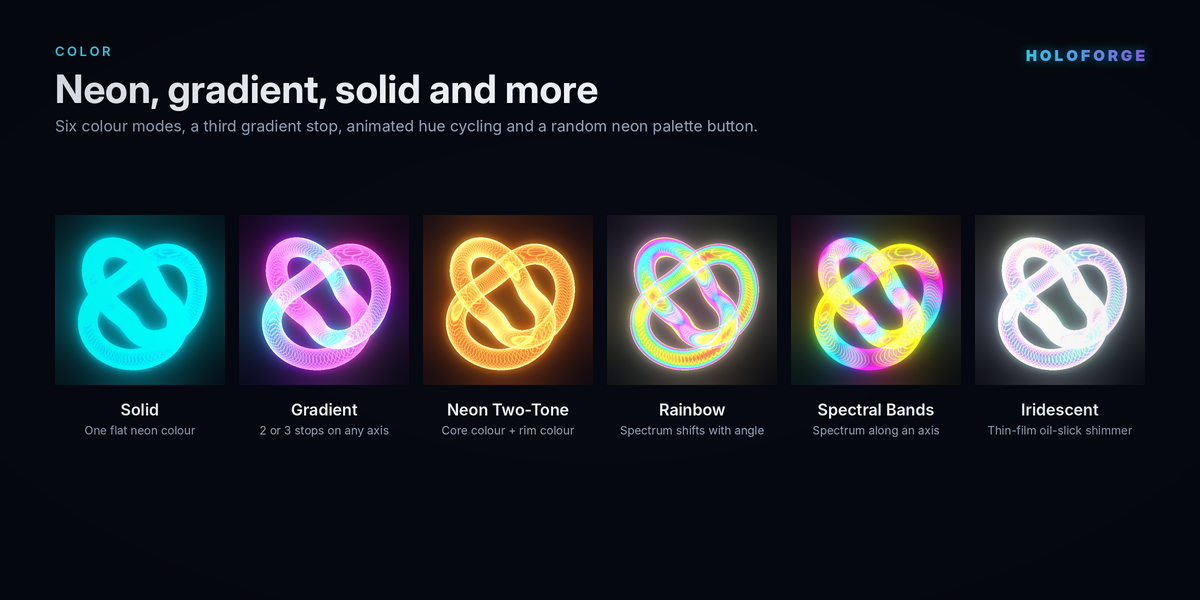
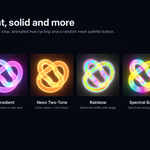
Six Colour Modes
Choose from six different colour styles to create the desired holographic appearance.
Solid: Uses one consistent neon colour.
Gradient: Blends two or three colours along a selected axis or viewing angle.
Neon Two-Tone: Combines a coloured core with a different rim colour.
Rainbow: Shifts through the colour spectrum according to the viewing angle.
Spectral Bands: Creates repeating rainbow bands along an axis.
Iridescent: Produces a thin-film, oil-slick shimmer tinted by the main colour.
Use Random Neon Palette to generate a harmonious combination of three colours automatically.
Ready-Made Presets
All 48 library effects can be used as built-in presets.
You can also save your own hologram appearances, load them onto other objects, delete saved presets, and import preset files shared by other artists.
Animated Effects
HoloForge includes multiple animated elements that work directly with Blender's timeline.
Create effects such as:
Scrolling scan lines
Sweeping scanning beams
Random flickering
Digital glitches and horizontal distortion
Moving procedural patterns
Animated colour cycling
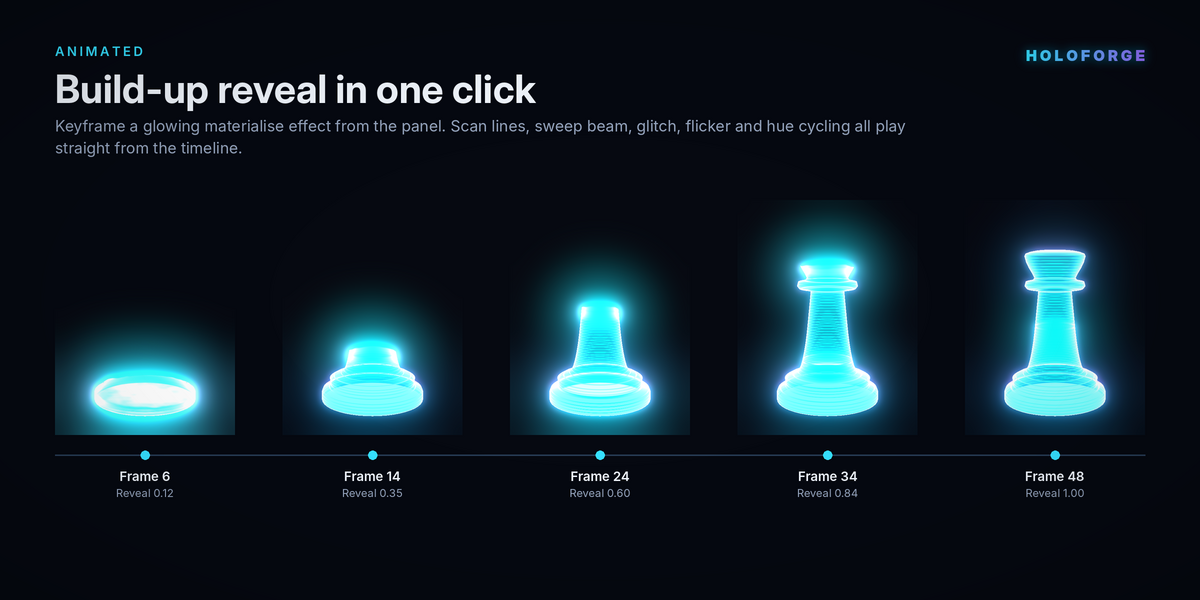
The Build-Up tool also creates a glowing reveal animation, making the hologram materialize in front of the camera.
One-Click Setup
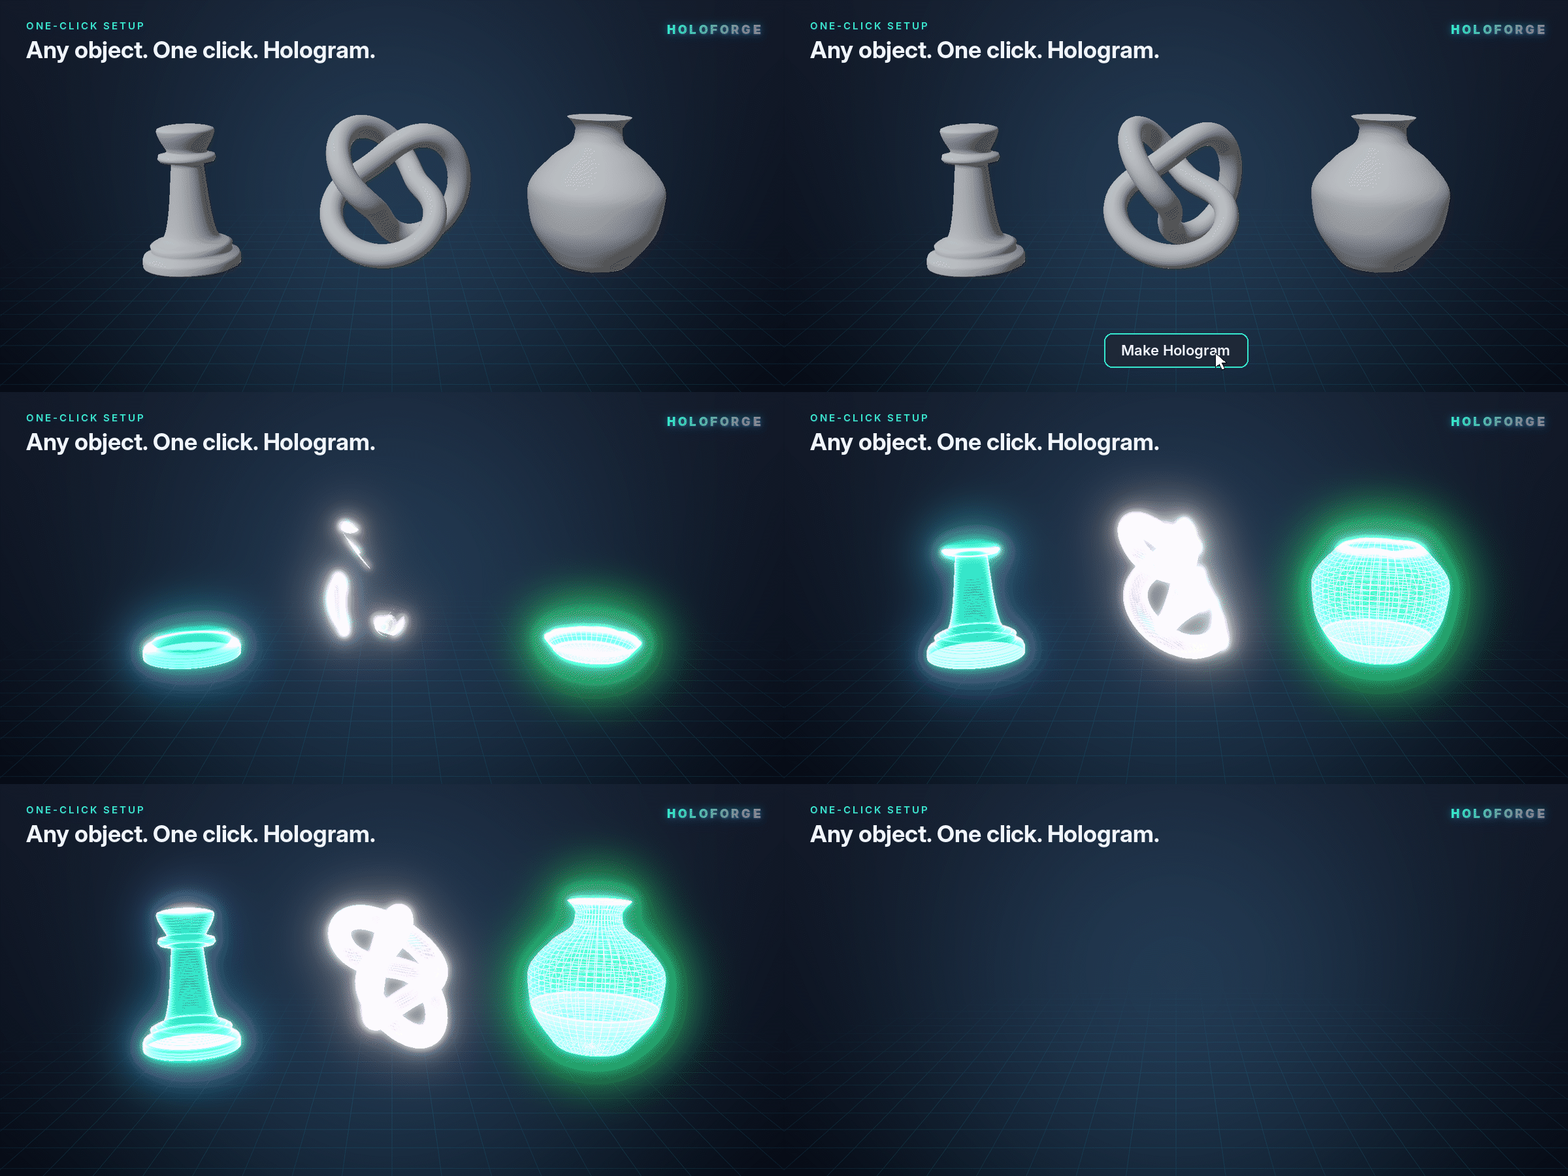
Click Make Hologram to automatically:
Create and assign the hologram material.
Add scene glow effects.
Set a dark background.
Configure vivid colour management.
Switch the viewport to display the result.
Fully Customizable
HoloForge provides around 50 adjustable parameters organized into convenient sidebar panels.
Every parameter can be animated using keyframes. Advanced users can also open the HoloForge Engine node group and extend its functionality.
3. Requirements & Installation
Requirements
Blender 4.2 or newer.
Supports EEVEE and Cycles.
Compatible with Windows, macOS, and Linux.
No additional software or Python packages required.
Installation Steps
Download
holoforge_v1.0.0.zip. Keep the file zipped.Open Blender and go to Edit → Preferences → Get Extensions.
Click the small arrow in the upper-right corner.
Select Install from Disk.
Choose the ZIP file and confirm installation.
Close Preferences.
Open the 3D Viewport, press N, and select the HoloForge tab.
First-Time Loading: When the panel opens for the first time, HoloForge generates its gallery thumbnails in the background. This may take a moment, but it does not freeze Blender.
Updating: Install the newer ZIP file using the same installation method.
Uninstalling: Find HoloForge in Blender's Extensions list and click Uninstall.
4. Quick Start – Create Your First Hologram
You can create your first hologram in just three steps.
Step 1 – Select an Object
Select one or more objects in the 3D Viewport.
If nothing is selected, HoloForge can automatically create a smooth Suzanne monkey object for testing.
Step 2 – Choose an Effect
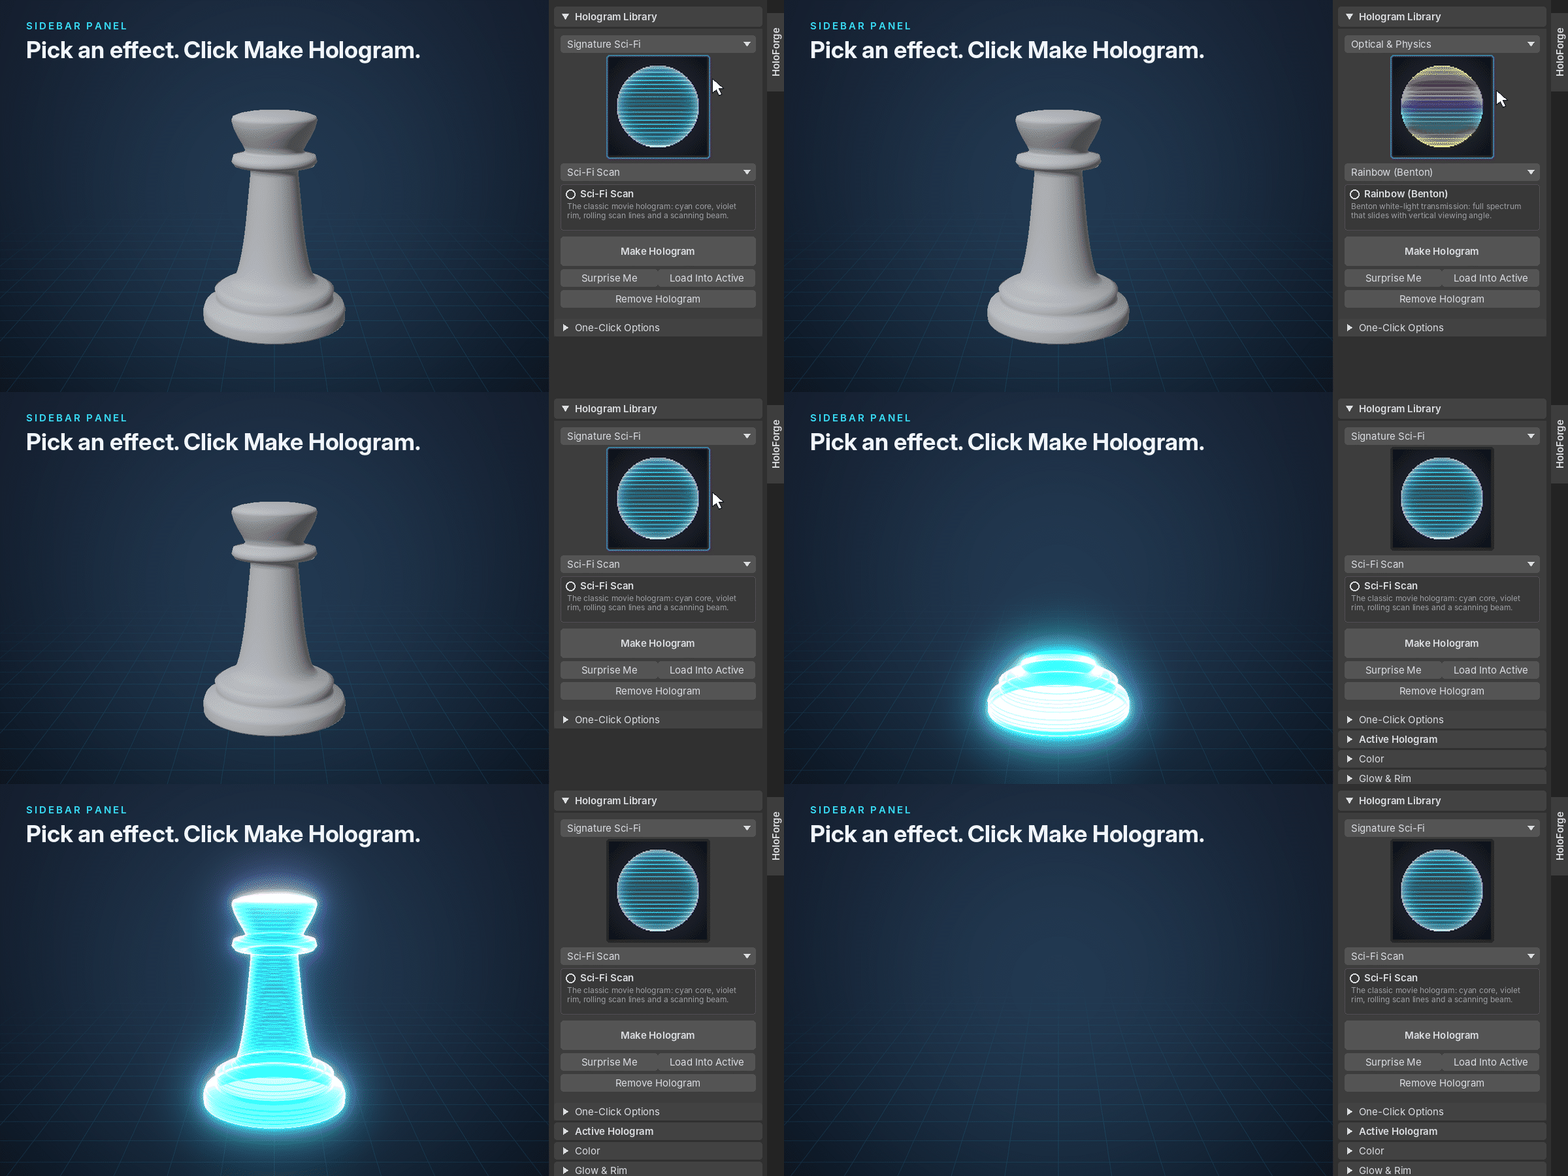
Open the Hologram Library panel.
Choose a category and click an effect in the gallery. A short description of the selected effect appears below the gallery.
Step 3 – Apply the Hologram
Click Make Hologram.
HoloForge creates the procedural material and applies it to your selected objects.
Press Play on the timeline to watch the scan lines move, the scanning beam sweep, and other effects animate.
Original Materials Are Preserved: HoloForge saves your original materials before applying the hologram. Click Remove Hologram to restore the previous materials.
Additional Library Controls
Surprise Me
Automatically selects and applies a random effect from the entire library.
Load Into Active
Replaces the current library effect on your active hologram while keeping its existing material, reveal settings, and time offset.
5. One-Click Options
The One-Click Options sub-panel controls the additional scene changes made by the Make Hologram button.
Scene Glow
Enabled by default.
Automatically configures the scene for a glowing hologram appearance:
Switches the scene to EEVEE.
Adds a Bloom Glare node to the compositor.
Sets a near-black world named HF Void.
Uses the Standard view transform to maintain vivid neon colours.
Note: Blender 4.2 and newer versions do not have the old EEVEE bloom checkbox. HoloForge uses compositor glare to create the glow effect.
Material Preview
Enabled by default.
Switches the 3D Viewport to Material Preview and enables the viewport compositor so you can see the hologram glow while working.
Unique Material per Object
Creates a separate material for every selected object, allowing each hologram to be edited independently.
When enabled, Desync Animation gives each object a random time offset so multiple holograms do not flicker or animate in perfect synchronization.
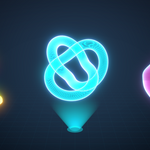
Projector Beam
Adds a glowing emitter disc and a soft cone of light beneath each selected object.
Both elements are parented to the object, so they follow it when it moves.
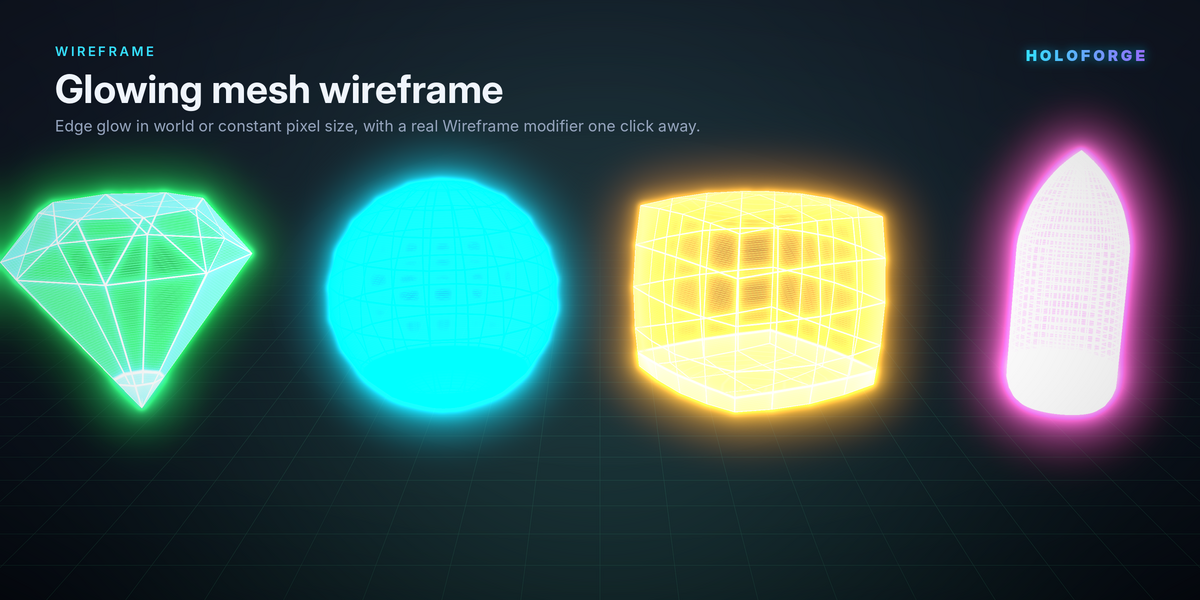
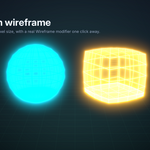
Mesh Wireframe
Adds a real Wireframe Modifier, converting mesh edges into actual geometry.
Available options include:
Wire Thickness: Controls the thickness of the wireframe tubes.
Keep Surface: Determines whether the original faces remain visible alongside the wires.
Create Demo Object If Nothing Selected
Controls whether HoloForge creates the Suzanne monkey object when you click Make Hologram without selecting anything.
Category Showcase & Whole Library
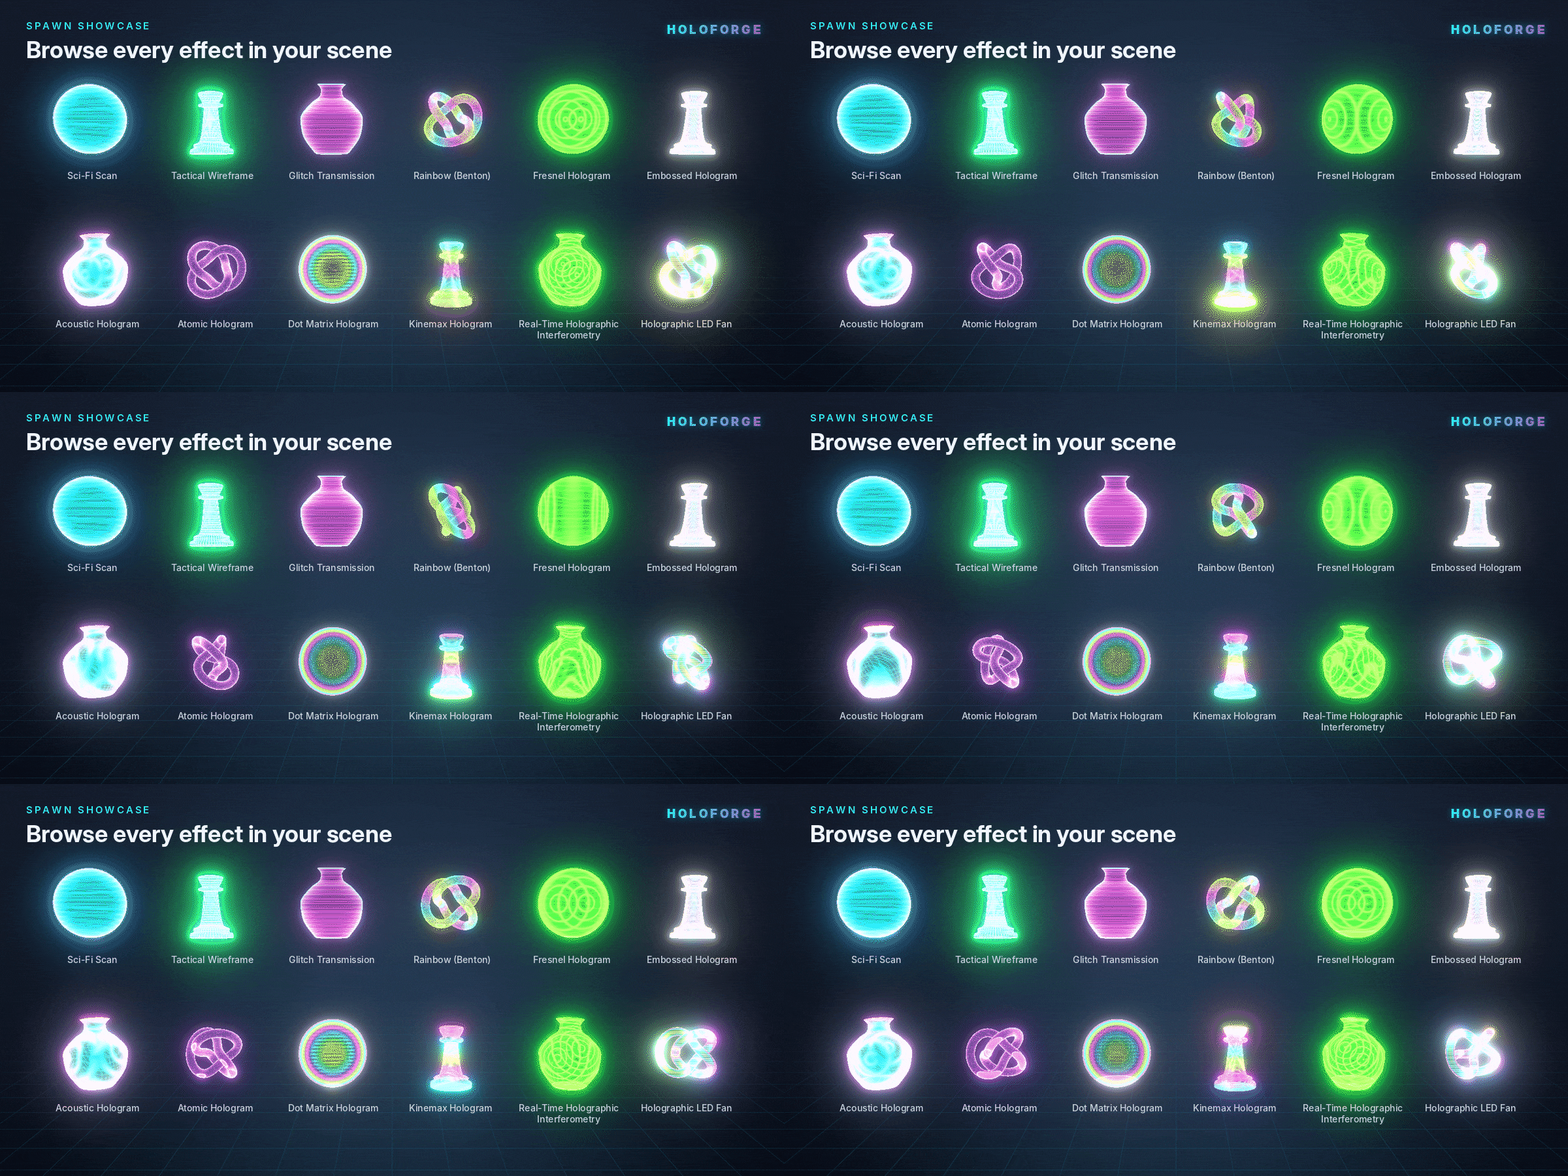
Use these tools to compare hologram styles directly inside Blender.
Category Showcase: Creates a labelled grid containing every effect in the selected category.
Whole Library: Creates all 48 hologram effects at once.
Each hologram is displayed above its name, making it easy to compare different styles under your own lighting and camera setup.
6. The Hologram Effect Library
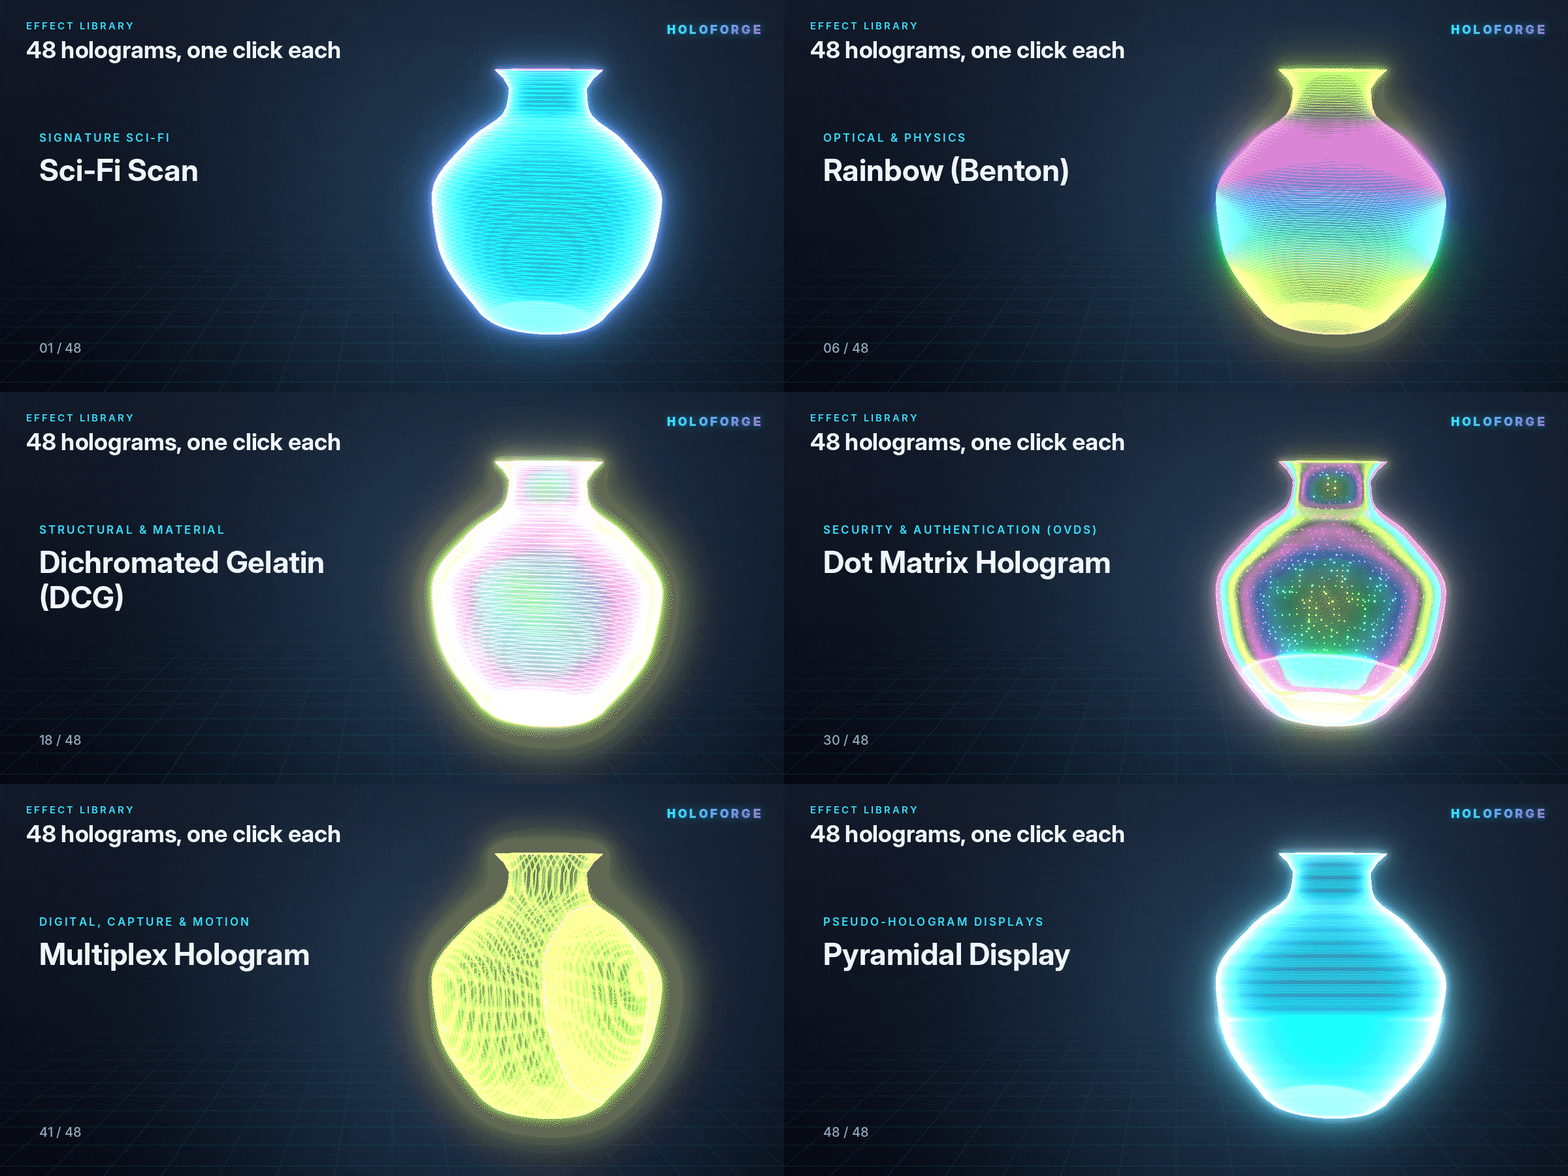
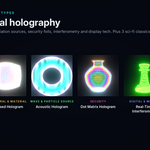
HoloForge includes 48 effects organized into seven categories.
The physics-named effects are artistic interpretations of the defining visual characteristics of different hologram technologies. They recreate their appearance using stylized, animated shaders rather than performing actual optical simulations.
6.1 Signature Sci-Fi
Three distinctive futuristic styles inspired by science-fiction visuals.
Sci-Fi Scan
Creates the classic movie hologram appearance with a cyan core, violet rim, rolling scan lines, and a moving scanning beam.
Tactical Wireframe
Produces a military HUD-style hologram with a glowing green mesh wireframe and a fast scanning effect.
Glitch Transmission
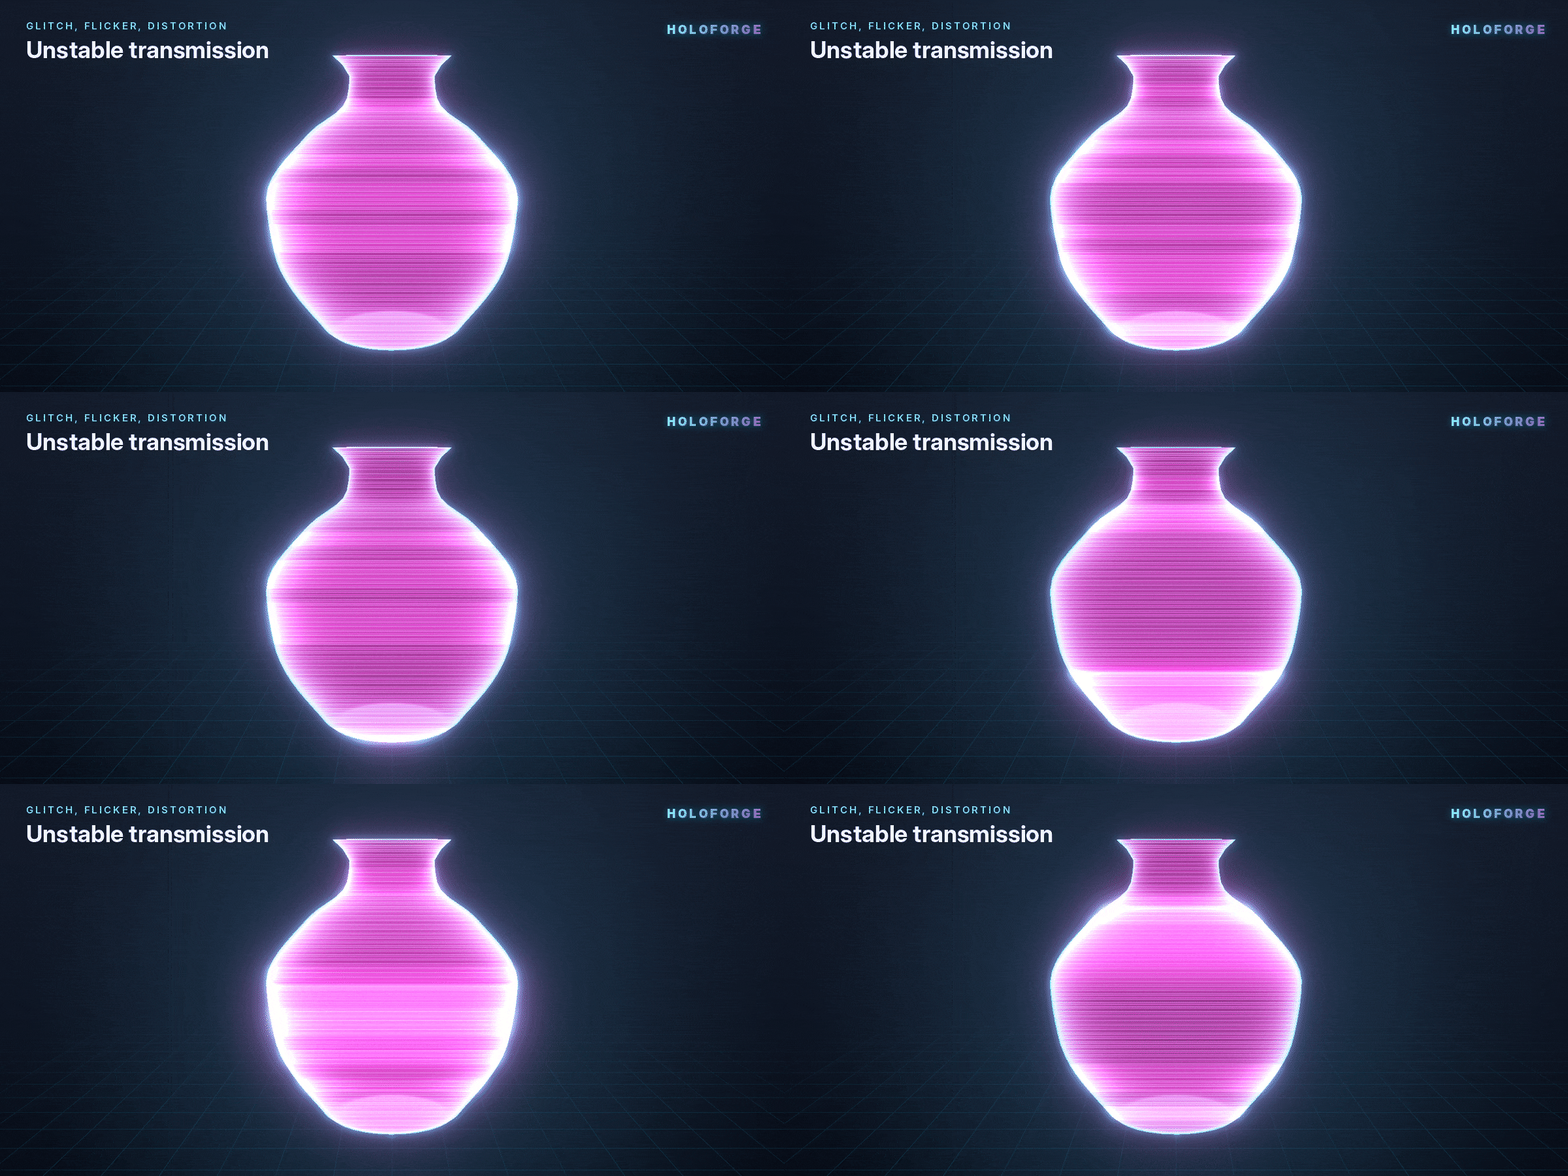
Creates the appearance of an unstable incoming transmission using magenta and cyan colour splitting, screen-space lines, and strong glitch distortion.
6.2 Optical & Physics Holograms
These effects recreate visual characteristics associated with different optical hologram techniques.
Transmission Hologram: Laser-illuminated appearance with monochrome helium-neon red and fine interference fringes.
Reflection (Denisyuk): Golden-green holographic colours that become brighter depending on the viewing angle.
Rainbow (Benton): Full-spectrum rainbow colours that shift as the viewing position changes.
Edge-Lit Hologram: Simulates illumination through the edge of a plate, with light rising from the bottom and fading towards the top.
Fourier Hologram: Creates a frequency-domain appearance using spectral spots arranged around a bright centre.
Fraunhofer Hologram: Produces far-field diffraction patterns with crisp Airy rings expanding from the centre.
Fresnel Hologram: Creates near-field zone-plate rings in laser green.
Image-Plane Hologram: Produces a bright, solid, sharp appearance with minimal scanning artefacts.
6.3 Structural & Material Holograms
These effects focus on hologram structures, materials, and surface appearances.
Thick (Volume) Hologram: Displays dense, stacked Bragg layers throughout the object in deep blue.
Thin (Plane) Hologram: Creates a thin, faint surface effect with subtle diffraction orders.
Embossed Hologram: Recreates credit-card security foil with a silver base and rainbow diffraction that changes as the object rotates.
Phase Hologram: Creates a transparent relief with a glassy cyan appearance and refraction-like distortion.
Amplitude Hologram: Uses high-contrast dark and bright absorption fringes in warm amber.
Photopolymer Hologram: Produces a bright, clean emerald-to-teal appearance.
Dichromated Gelatin (DCG): Creates luminous gold-green iridescence.
Silver Halide Hologram: Recreates the appearance of classic photographic emulsion using a warm red-sepia image and visible grain.
6.4 Wave & Particle Source Holograms
A collection of effects inspired by different wave and particle-based imaging techniques.
Optical / Laser Hologram: Creates shimmering laser speckles with a green glow.
Acoustic Hologram: Displays animated sound-pressure waves rippling outward in teal and magenta.
Electron Hologram: Produces fine parallel interference fringes in cool micrograph blue-white.
X-Ray Hologram: Creates bright cyan-white edges over a dark, transparent-looking body.
Atomic Hologram: Displays ordered violet dots arranged on a crystal grid.
Neutron Hologram: Creates pale crystalline cells with a soft lime glow.
Microwave Hologram: Imitates long-wavelength radar imaging with coarse bands and large radar-orange rings.
6.5 Security & Authentication Holograms
Inspired by security foils, authentication labels, and holographic printing techniques.
2D Hologram: Creates stacked flat layers that change colour as the object tilts.
2D/3D Hologram: Adds an apparent depth effect using spectral bands and strong edge depth.
True 3D Security Hologram: Produces deep green-silver iridescence with a fine grid pattern.
Dot Matrix Hologram: Creates individual dots that behave like tiny diffraction gratings, each flashing its own colour.
E-Beam Lithography Hologram: Displays ultra-fine, sharp rainbow micro-lines.
Kinemax Hologram: Creates a kinetic security-foil appearance with bold animated motion and flowing colours.
Pixelgram Hologram: Uses blocky cells, each reflecting a different hue.
Matrix Hologram: Produces a crisp grid of spectral tiles.
6.6 Digital, Capture & Motion Holograms
Effects inspired by computer-generated holograms, digital capture, and interferometry.
Computer-Generated (CGH): Creates a computed phase-map appearance using quantized pixels and noisy cyan interference.
Holographic Stereogram: Uses vertical parallax slits that sweep sideways to represent multiple 2D views.
Pulse Laser Hologram: Recreates a nanosecond ruby-laser flash using deep red colours and strobing pulses.
Real-Time Holographic Interferometry: Displays animated interference fringes moving across the surface.
Double-Exposure Interferometry: Creates a static deformation map using black-and-white contour fringes.
Time-Average Interferometry: Produces vibration-mode fringes with a bright nodal zone and slowly breathing rings.
Multiplex Hologram: Creates a cylindrical integral hologram using warm vertical film strips rotating around the subject.
Digital Holographic Microscopy: Produces a false-colour phase image over a cellular structure.
6.7 Pseudo-Hologram Displays
These styles recreate the appearance of different holographic display technologies.
Pepper's Ghost Display: Simulates a reflection on angled glass with a soft, transparent, ghostly appearance and gentle movement.
Holographic LED Fan: Creates spinning radial pixel blades with bright RGB colours and transparent gaps.
Volumetric Display: Produces dense glowing slices stacked throughout the object.
Laser Plasma Display: Creates crackling white-violet points of light suspended in space.
Light Field Display: Produces a smooth, solid appearance with subtle angle-dependent colour changes.
Pyramidal Display: Recreates the phone-pyramid hologram effect with cyan glow, screen scan lines, and crisp edges.
7. Customizing an Active Hologram
Select a hologram object to access the Active Hologram panel.
The panel displays the assigned material, its original library effect, and several editing tools.
Main Editing Tools
Reset to Effect
Restores all parameters to the original appearance of the selected library effect.
Random Palette
Generates a new neon colour combination.
Make Unique
Creates an independent copy of the active material so it can be edited without affecting other objects sharing it.
Copy to Selected
Copies the active hologram's settings to other selected objects.
Show Back Faces
Controls whether the inside and back surfaces of the object also display the hologram effect.
The following sections provide detailed control over the hologram's appearance and animation.
7.1 Color
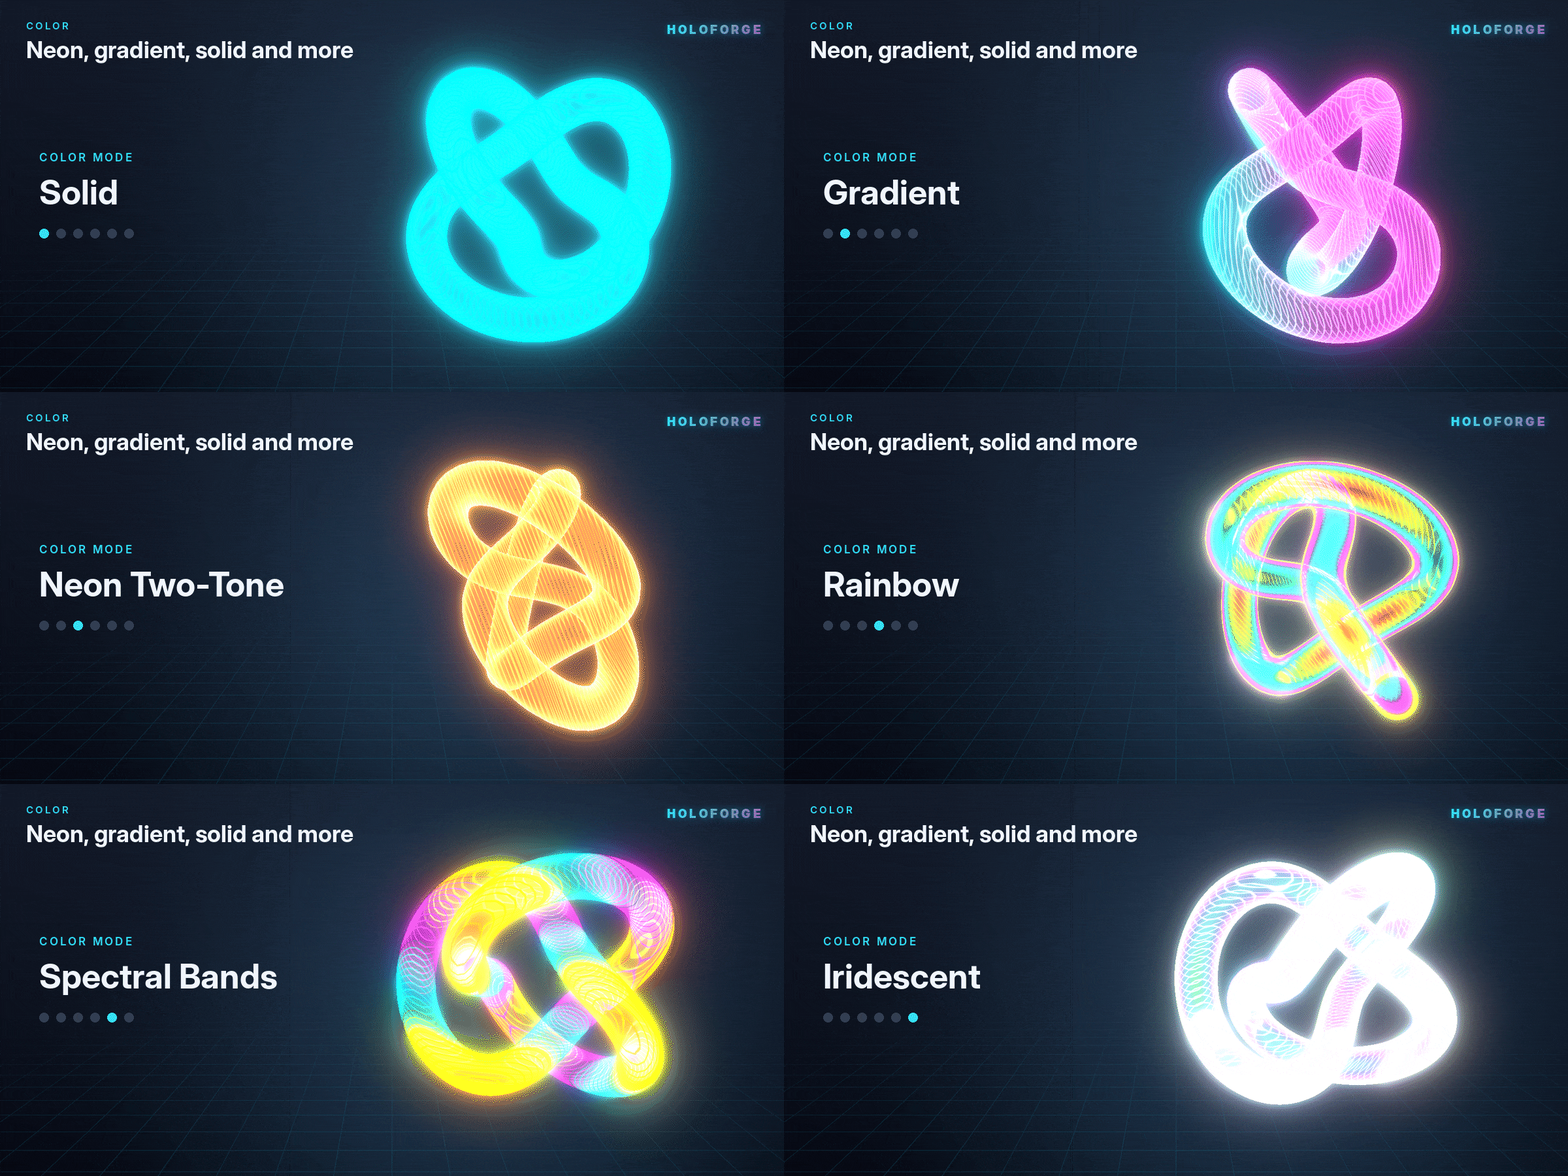
Control the hologram's colours, gradients, and colour animation.
Color Mode: Selects one of the six available colour styles.
Color A: Sets the main or core colour.
Color B: Sets the secondary or rim colour.
Color C: Provides an optional third gradient colour when Use Color C is enabled.
Gradient Axis: Sets the direction of gradients and spectral bands using X, Y, Z, or View Angle.
Gradient Scale: Controls how stretched the gradient appears.
Gradient Offset: Moves the gradient along its direction.
Spectrum Bands: Controls the number of repeating rainbow bands.
Saturation: Adjusts colour intensity.
Hue Cycle Speed: Controls how quickly the colours rotate over time.
7.2 Glow & Rim
Adjust the brightness, transparency, and edge illumination.
Emission Strength: Controls the overall hologram brightness.
Opacity: Determines how much the hologram hides objects behind it.
Body Fill: Controls the base glow across the object's surface.
Rim Strength: Adjusts the brightness of the Fresnel edge glow.
Rim Tightness: Controls the thickness of the glowing rim.
7.3 Scan Lines
Create and customize the classic holographic scan-line effect.
Scan Strength: Controls line brightness.
Scan Density: Determines how many scan lines appear.
Line Width: Adjusts line thickness.
Scroll Speed: Controls how quickly lines move. Negative values reverse their direction.
Scan Axis: Sets the direction using X, Y, Z, or Screen.
Screen: Creates camera-space lines similar to an old CRT display or projector.
Line Masking: Makes the hologram body visible mainly through the scan lines, producing an interlaced appearance.
7.4 Scan Sweep
The scanning beam travels across the object and leaves a fading trail behind it.
Sweep Strength: Controls beam brightness.
Sweep Trail: Adjusts the length of the fading trail.
Sweep Speed: Controls how many scanning passes occur per second.
7.5 Wireframe
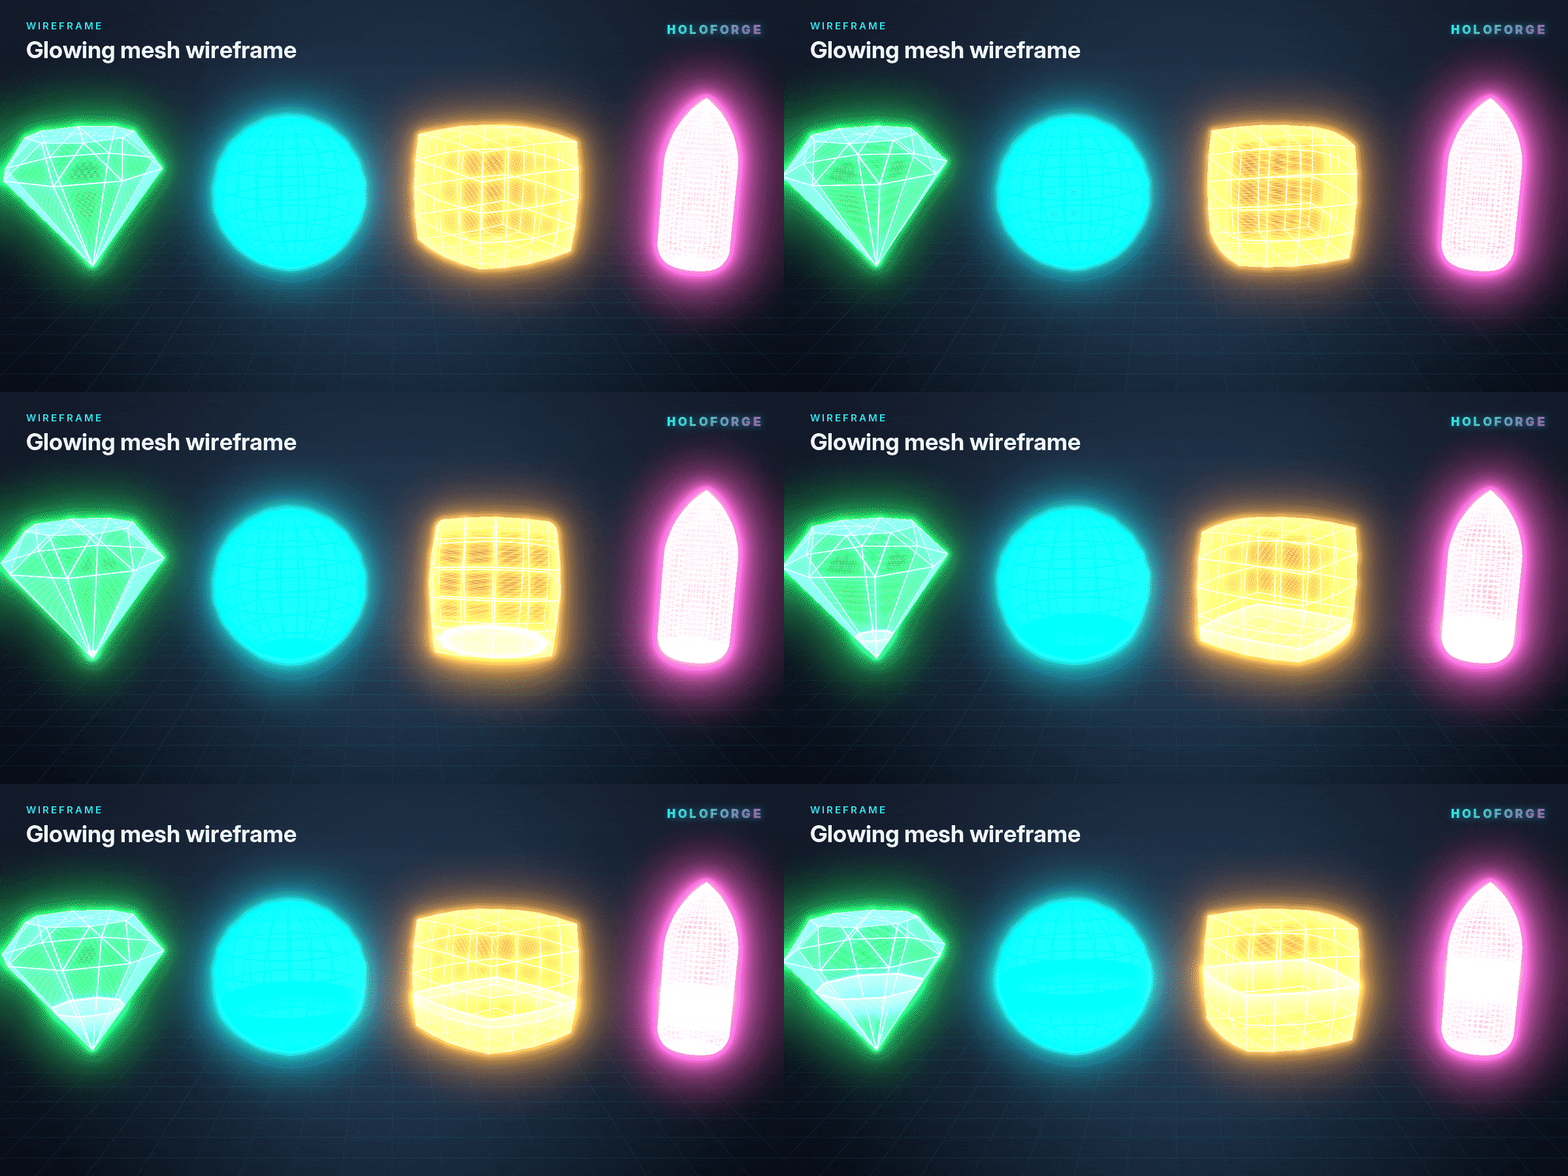
Customize the glowing wireframe appearance.
Wire Strength: Controls the brightness of the mesh edges.
Wire Size: Adjusts wire thickness.
Pixel-Size Wire: Maintains a consistent on-screen line width regardless of camera distance.
Add / Remove Wireframe Modifier: Adds or removes actual geometric wire tubes using a real Wireframe Modifier.
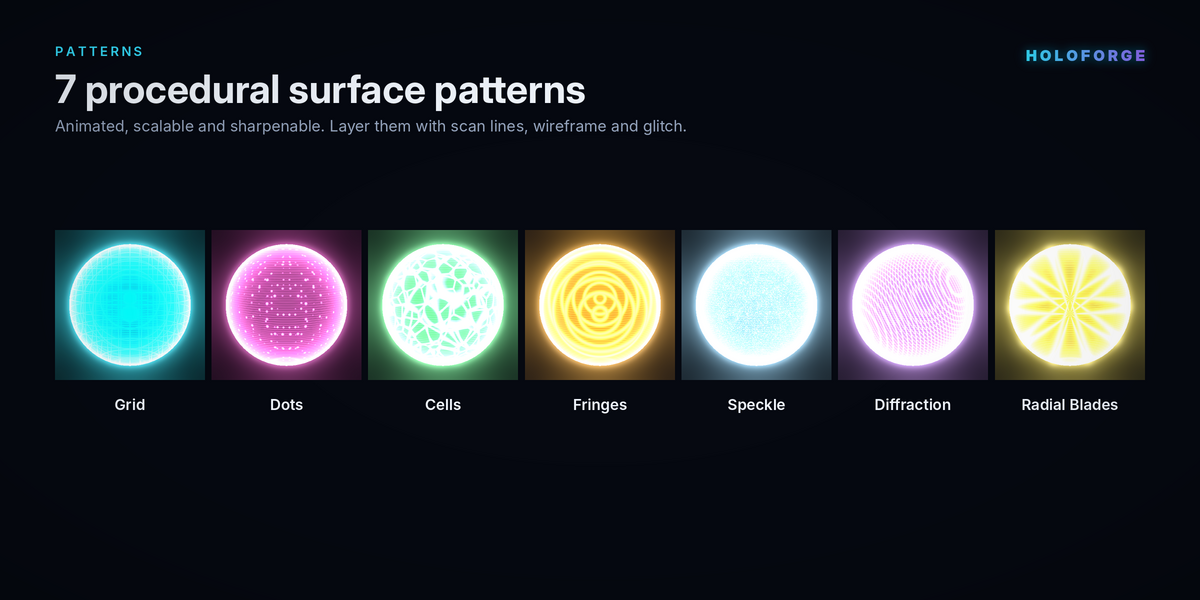
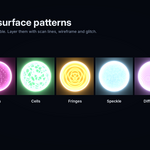
7.6 Pattern
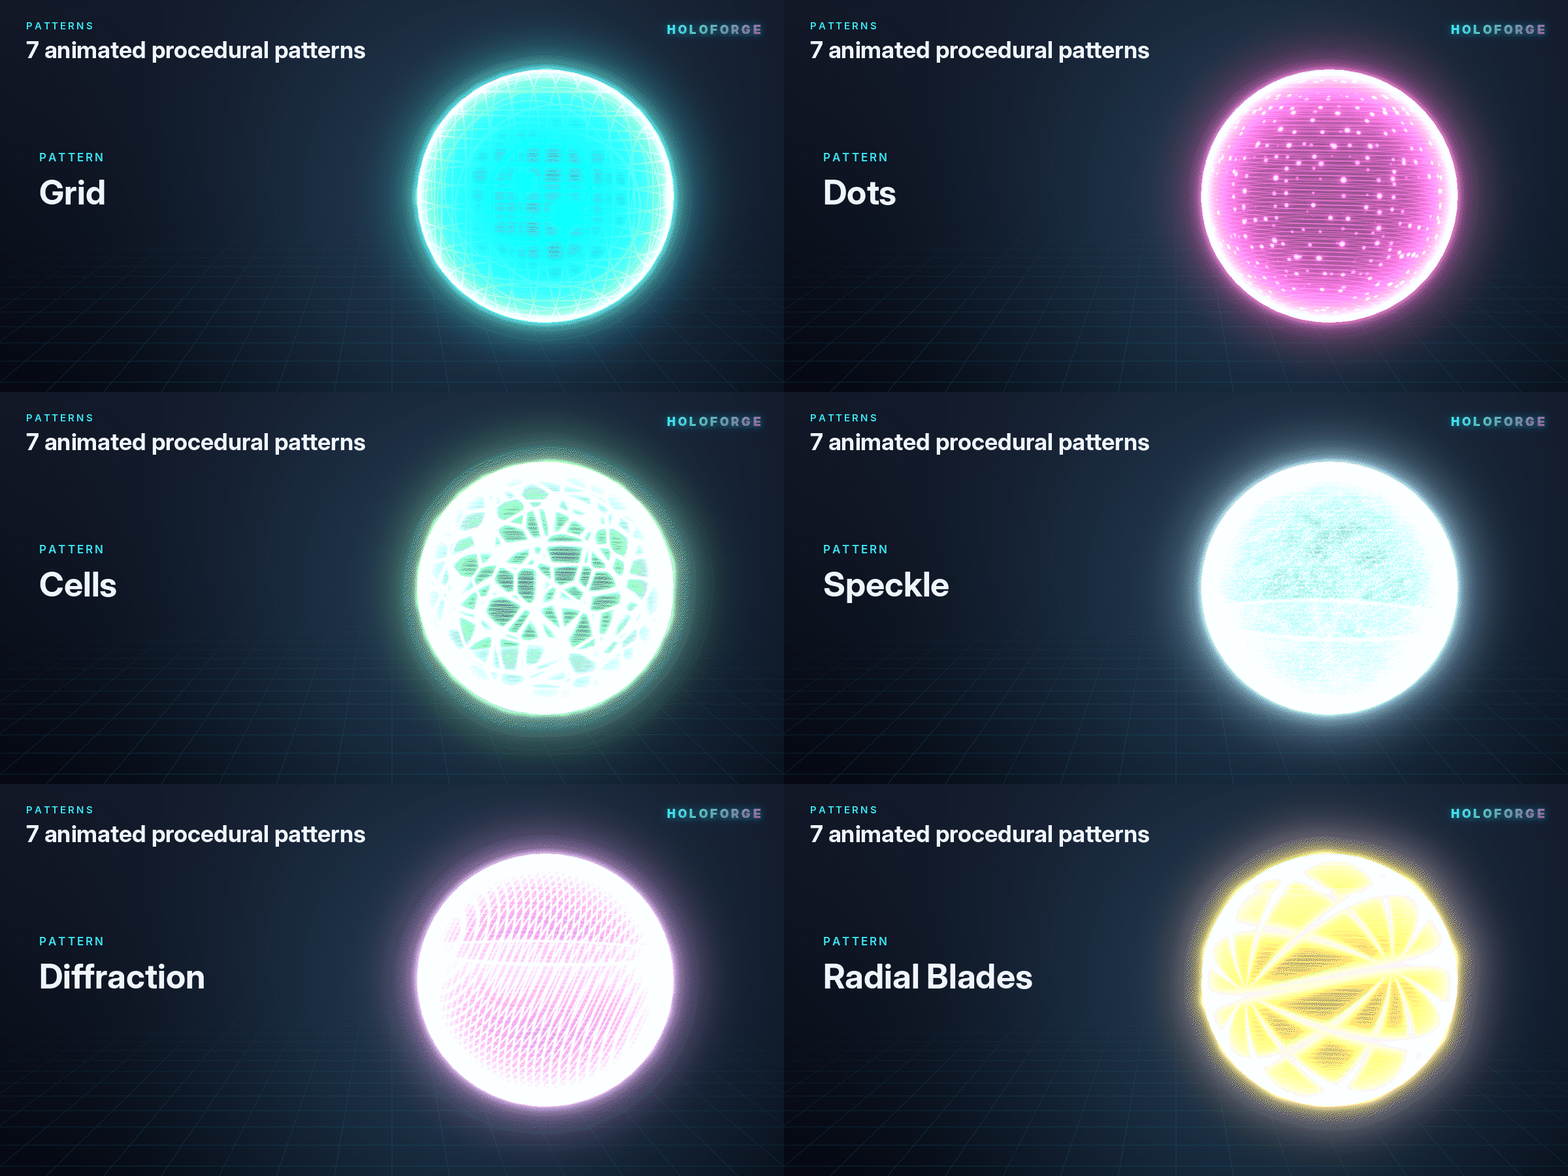
Add procedural surface patterns to your hologram.
Available pattern types include:
None
Grid
Dots
Cells
Fringes
Speckle
Diffraction
Radial Blades
Additional controls include:
Pattern Strength: Controls pattern brightness.
Pattern Scale: Adjusts pattern frequency.
Pattern Speed: Animates the pattern.
Pattern Sharpness: Changes the pattern from soft to crisp.
7.7 Distortion & Glitch
Create unstable digital transmission effects and animated surface distortion.
Noise Distortion: Uses animated noise to create movement across the patterns.
Glitch: Tears random horizontal bands sideways and flashes them brighter.
Glitch Speed: Controls how frequently glitch effects occur.
Flicker: Introduces unpredictable brightness changes.
Flicker Speed: Adjusts the flickering rate.
Pixelate: Breaks colours and scan lines into blocky voxel-like cells while patterns continue between the blocks.
7.8 Reveal & Build-Up
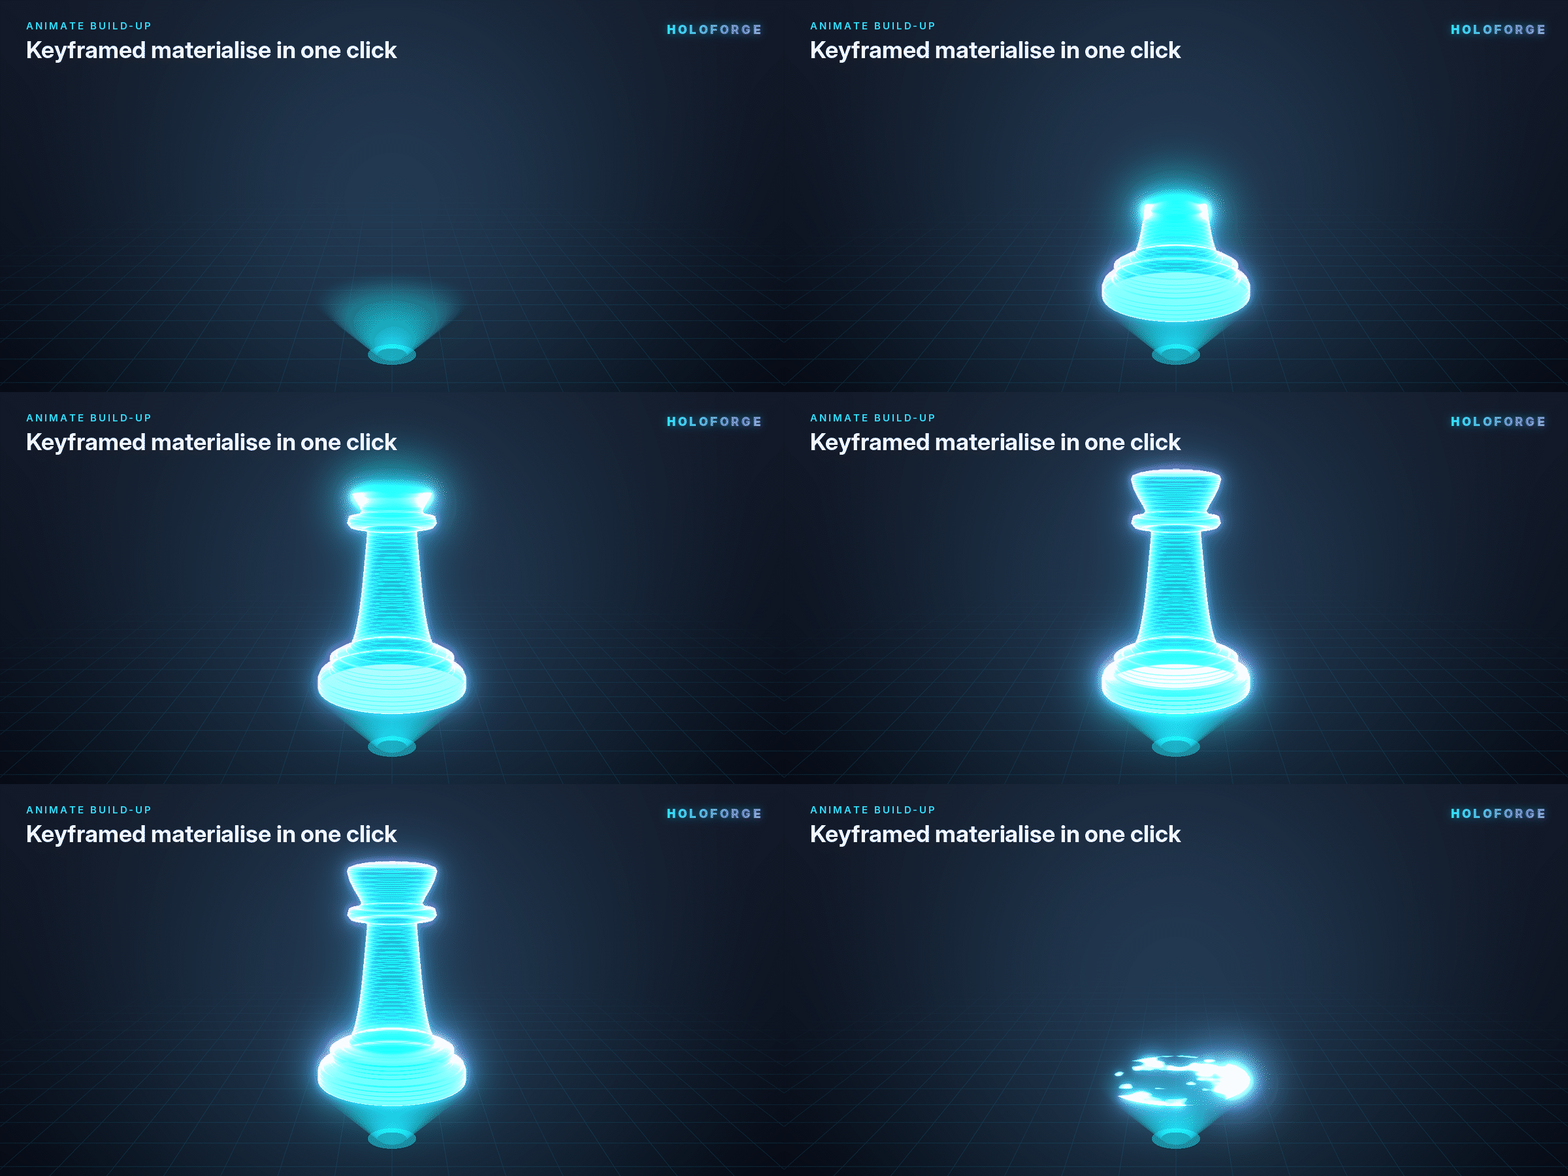
Control how the hologram appears or disappears.
Reveal: Controls the build level from 0 (fully hidden) to 1 (fully visible).
Reveal Axis: Sets the direction of the reveal.
Invert Reveal: Reverses the reveal direction.
Edge Width: Controls the width of the moving reveal edge.
Edge Glow: Adjusts the brightness of the glowing edge as the hologram materializes.
7.9 Animation & Quality
Adjust the overall animation speed and procedural detail.
Global Speed: Multiplies the speed of all hologram animations. Set it to 0 to freeze the effect.
Time Offset: Shifts the animation timing of an individual hologram.
Noise Detail: Controls the number of procedural noise layers. Higher values create finer detail but may increase render time.
8. Animation & Keyframes
HoloForge animations work directly with Blender's timeline.
Press Play to see the scan lines scroll, beams sweep, colours change, and other effects animate. Scrubbing the timeline displays the corresponding animation frame.
All animated elements are tied to the timeline, so they render consistently without requiring additional setup.
No playback scripts are required. HoloForge does not run Python scripts during animation playback, so timeline animation also works when automatic script execution is disabled.
Animate Individual Parameters
Every adjustable parameter includes a keyframe button.
You can animate individual settings to create effects such as:
Changing hologram colours over time.
Triggering a glitch burst at a specific frame.
Making flickering gradually calm down.
Increasing emission brightness when the hologram activates.
Animate Build-Up
Use the Reveal / Build-Up section to create a materialization animation.
Set the desired Duration in frames.
Click Animate Build-Up.
HoloForge creates keyframes that reveal the hologram from hidden to fully visible, starting at the current frame.
Enable Out to hold the hologram and then dissolve it away again.
Click Clear Build-Up to remove the generated keyframes and display the hologram fully.
9. Custom Presets
Save your favorite hologram appearances and reuse them in other projects.
Open the My Presets panel and enter a name for your current hologram settings. Save the preset to add it to the dropdown list.
You can then:
Load a saved preset onto any hologram.
Delete presets you no longer need.
Import preset files shared by other artists.
Presets are stored as small JSON files in your Blender user folder, making them easy to share with other HoloForge users.
10. Scene Tools
The Scene & Export panel provides two additional one-click tools that can be used whenever needed.
Set Up Scene Glow
Automatically configures the scene for a glowing hologram appearance.
It adds compositor bloom, a dark world, and vivid colour management.
Note: HoloForge checks for an existing glare node and does not add another one if one is already present.
Add Projector Beam
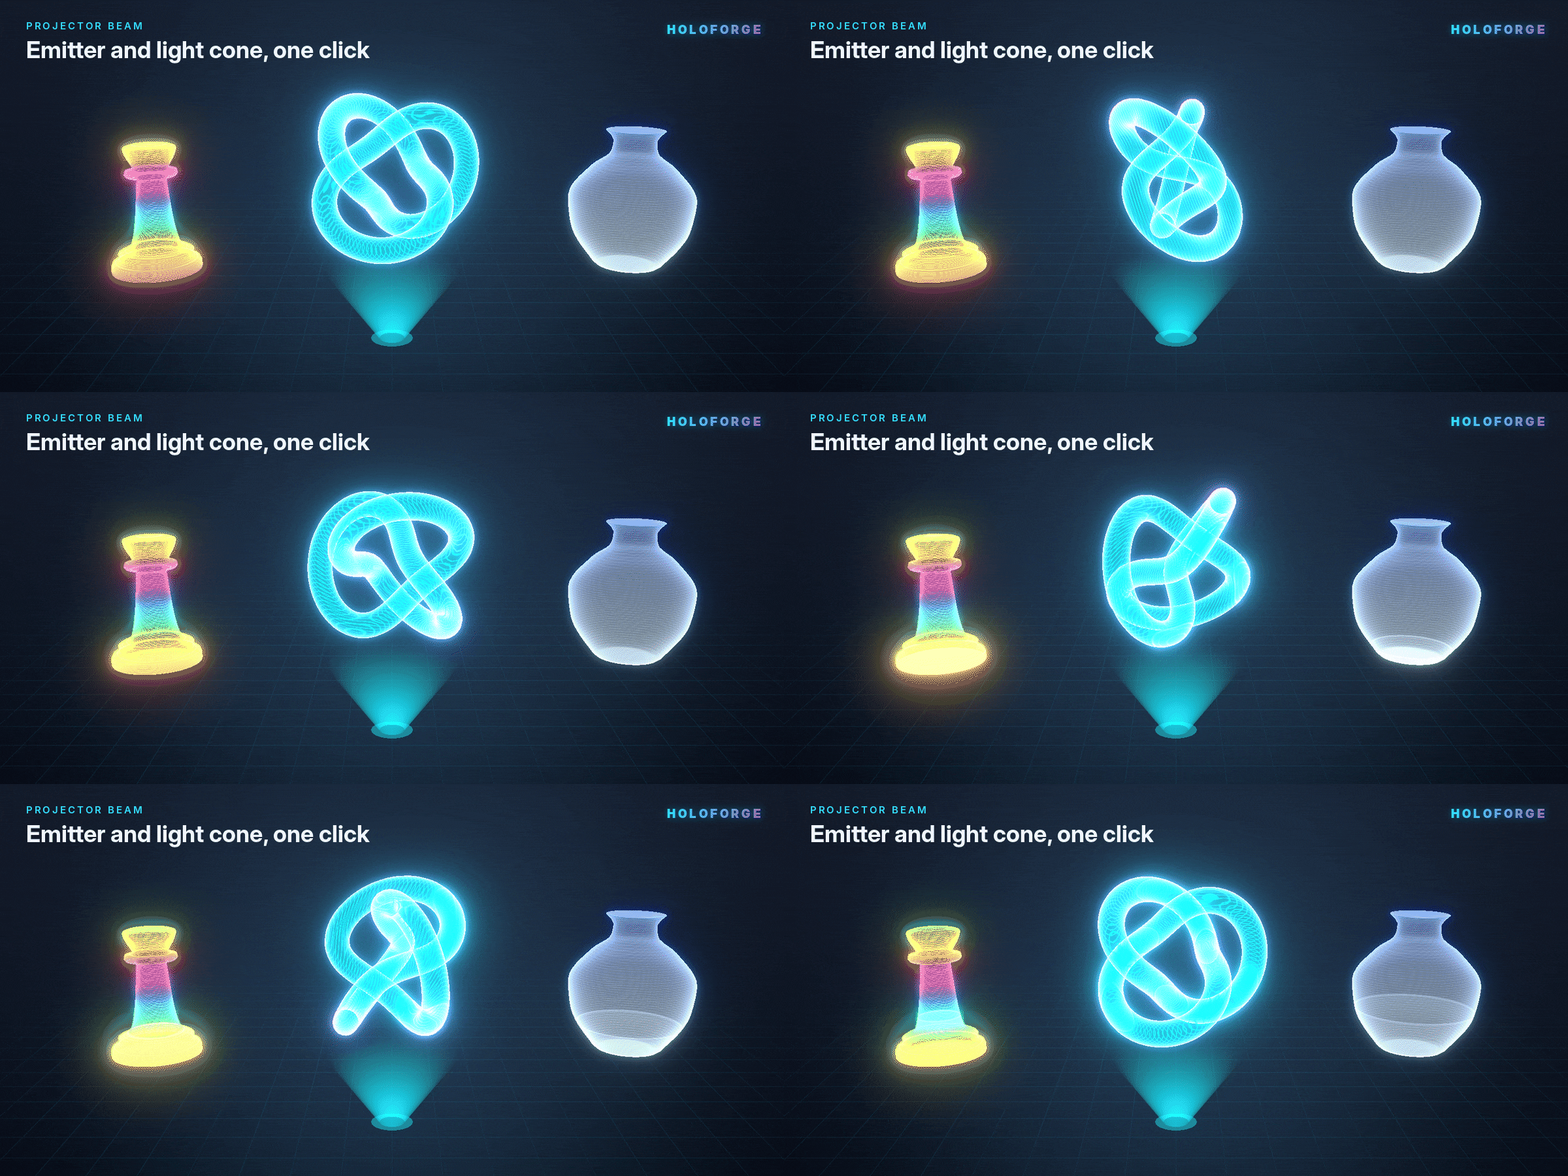
Adds a glowing emitter disc and a soft light cone beneath each selected object.
The projector beam uses the hologram's main colour to match the effect.
11. Baking Holograms to Image Textures
The Bake Textures tool converts your procedural hologram appearance into standard PNG image textures.
This is useful when you want to transfer hologram materials to game engines or other applications that cannot use Blender's procedural node setup.
Baking Options
Before baking, configure:
Resolution: Choose 1K, 2K, 4K, or 8K.
Output Folder: Select where the exported textures will be saved.
Alpha Map: Choose whether to include a transparency map.
Baking Process
When you start baking, HoloForge:
Temporarily switches the render engine to Cycles.
Automatically creates UVs if the mesh does not already have them.
Bakes the colour map.
Bakes the alpha map when enabled.
Restores your previous scene settings.
Important: Baked textures capture the hologram's appearance at the current timeline frame. They do not preserve the full procedural animation.
Using Baked Textures in a Game Engine
To recreate the baked hologram appearance:
Connect the Colour Map to the material's emission input.
Multiply the colour map by your preferred emission strength.
Use the Alpha Map to control transparency.
This allows you to reuse your HoloForge appearance in other 3D applications and real-time projects.