 blenderVfxMaster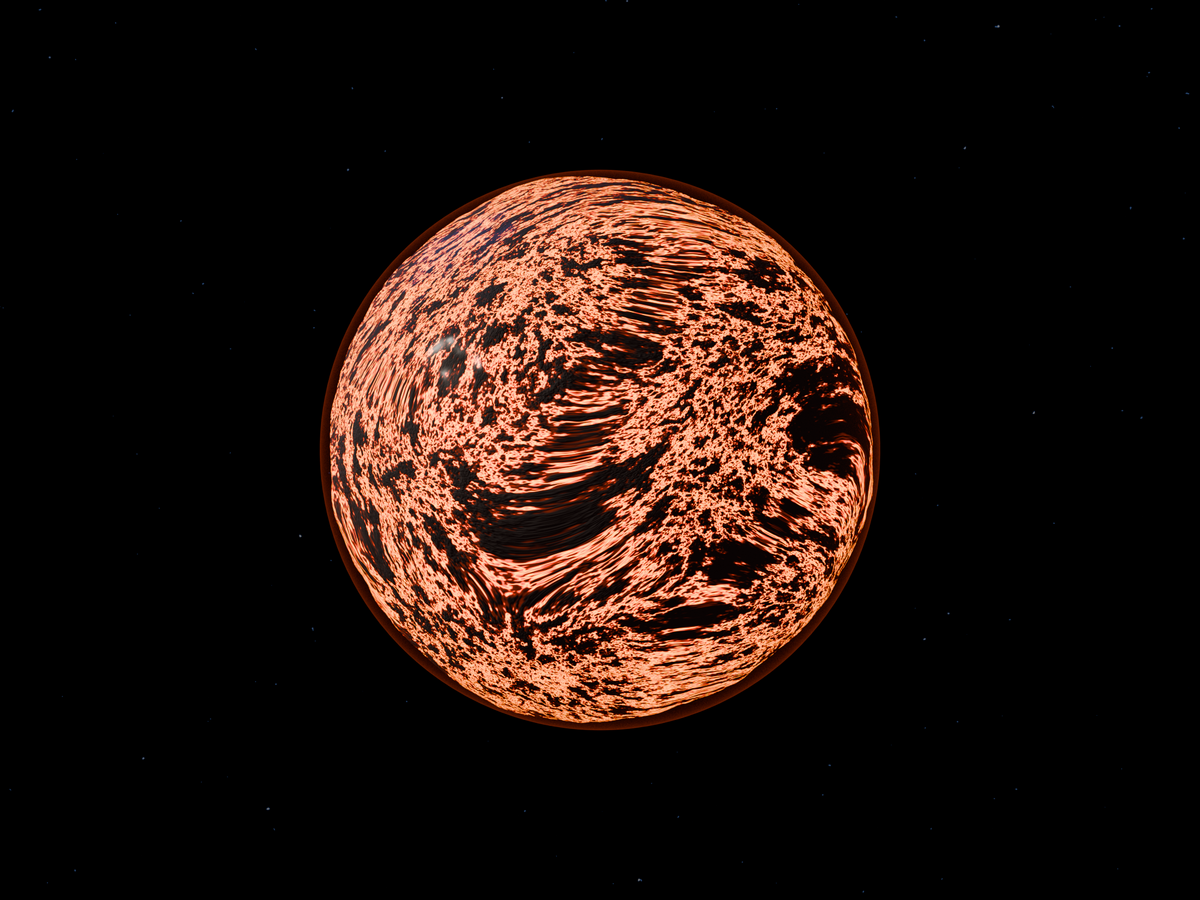
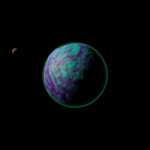
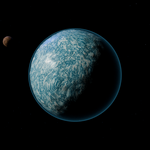
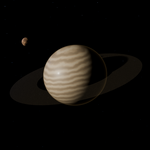
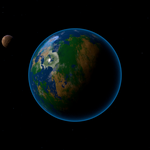
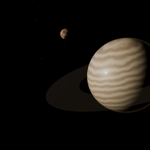
Planet Generator
Pick a world type, try a seed, and start shaping your planet. Add the layers that fit it—oceans, clouds, atmosphere, rings or moons—then work on the camera and lighting in Blender. Below you can see all seven world styles and the controls used to shape them.
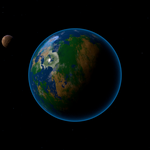
Cover illustration. The screenshots and previews below are labelled separately.
Seven worlds to start from
All seven planet styles are shown here, with their Blender controls further down.
RESULT · View full size ↗
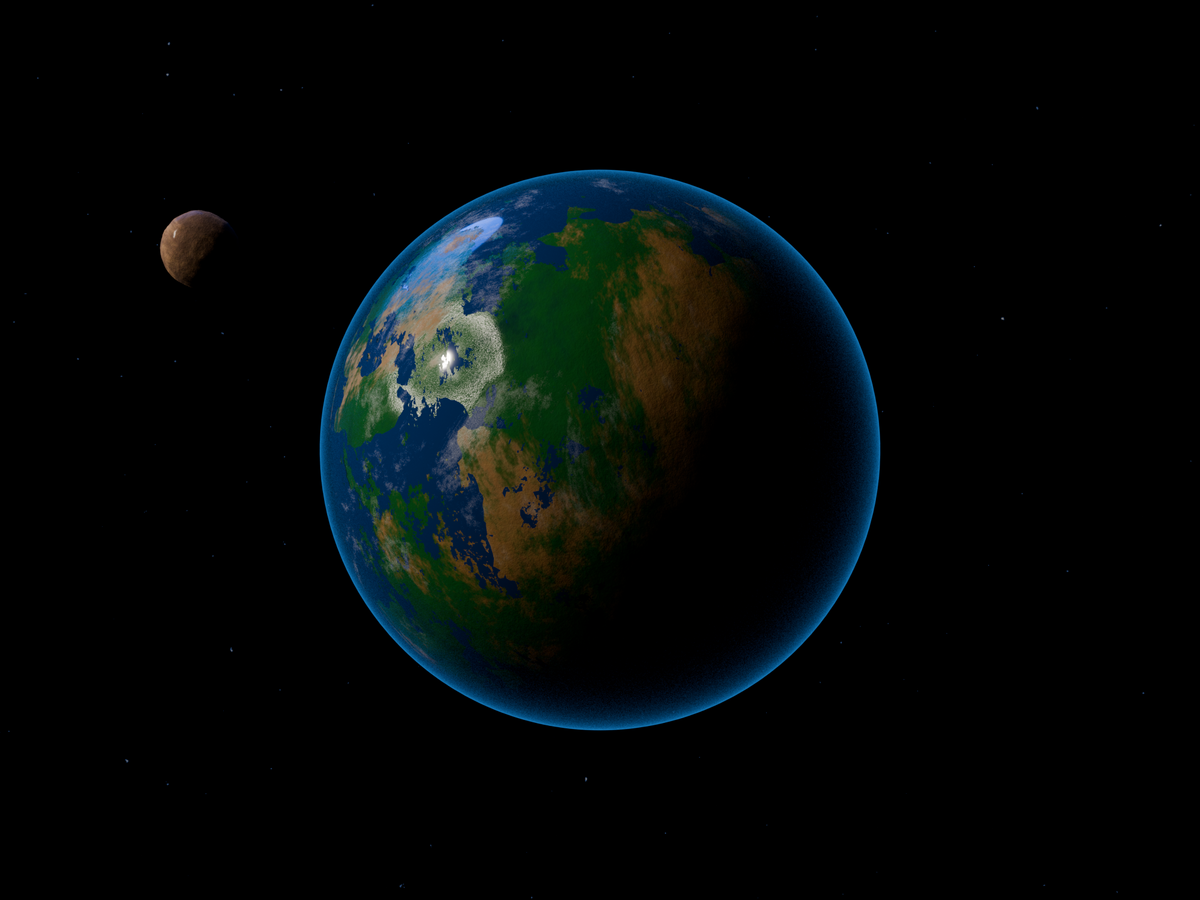
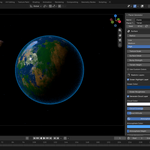
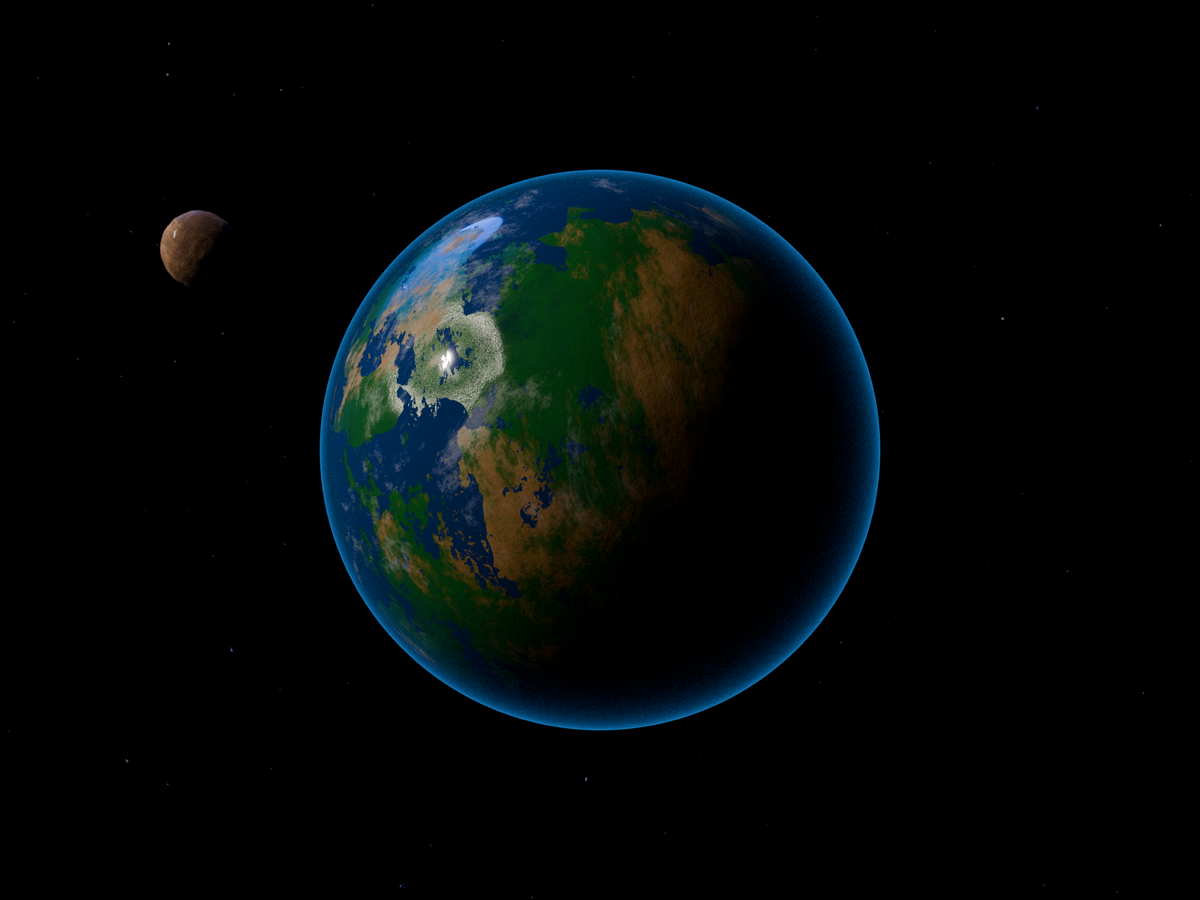
Terran — Elysia
Land, water, clouds and a blue atmospheric edge. This example uses seed 8742, surface scale 4.20 and cloud coverage 46%.
RESULT · View full size ↗
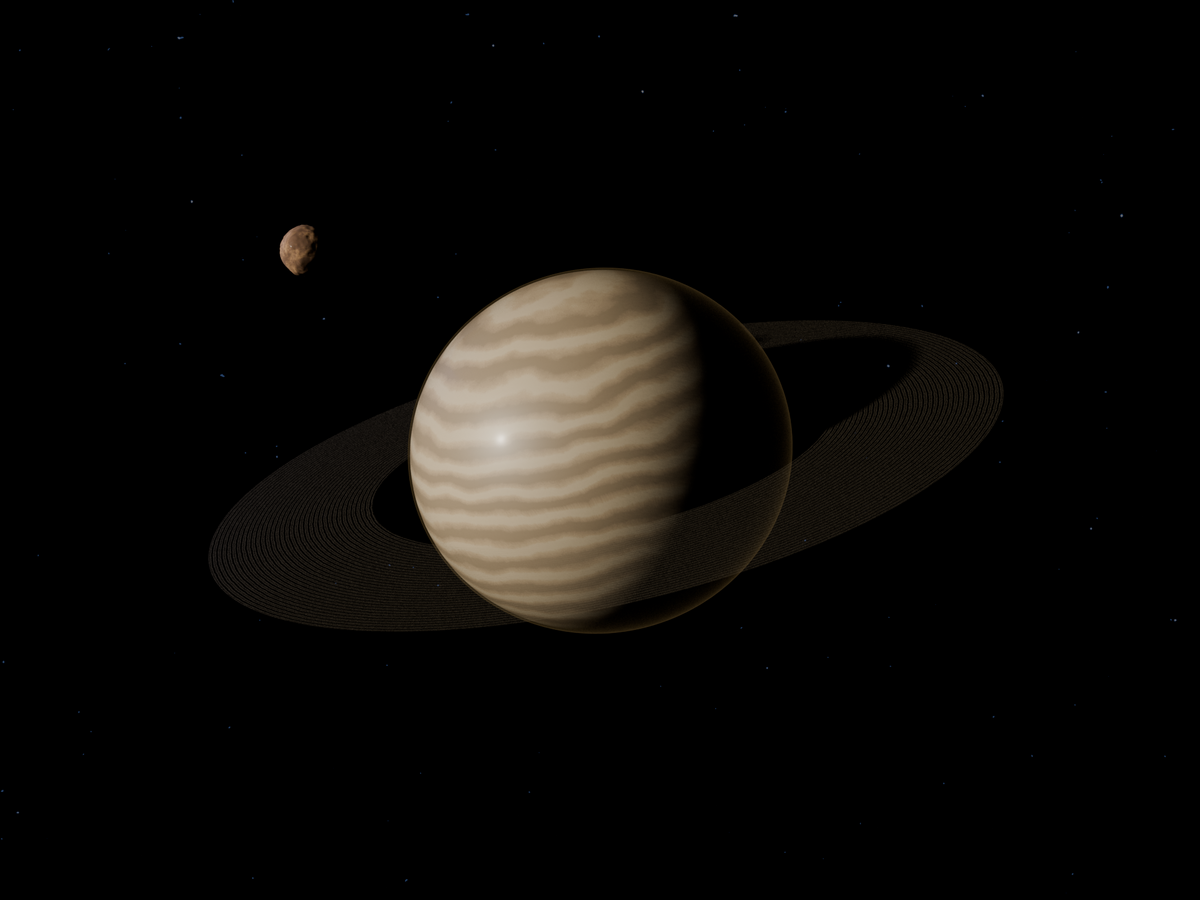
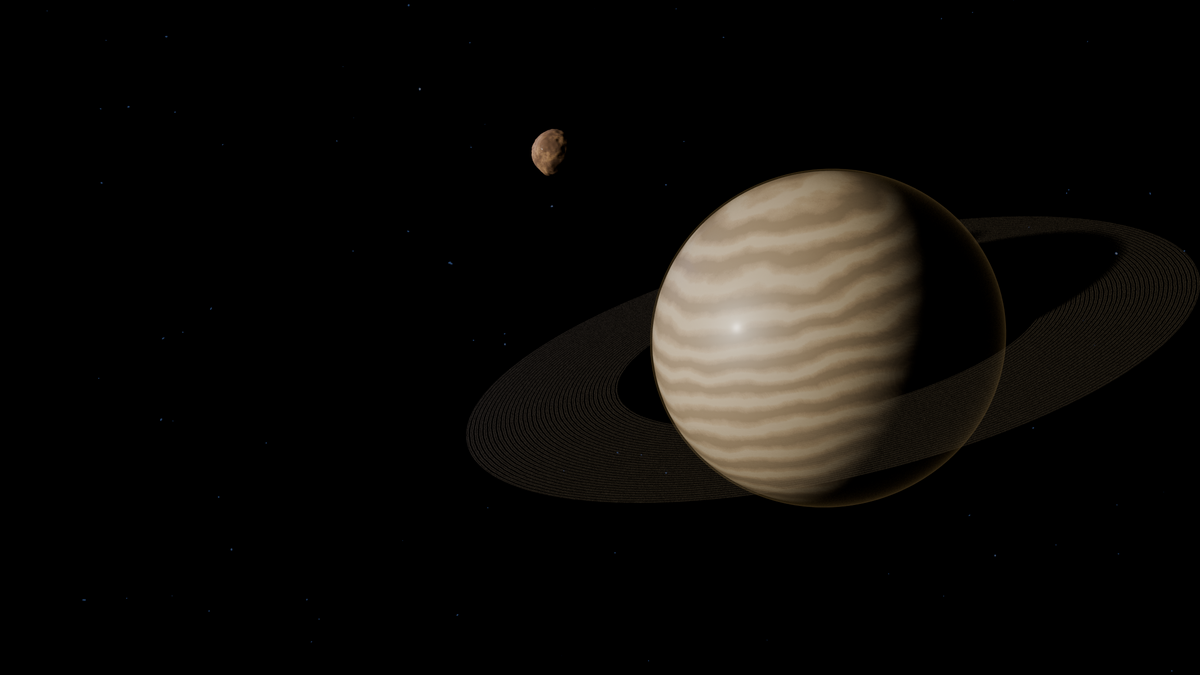
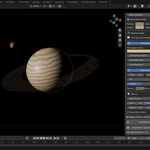
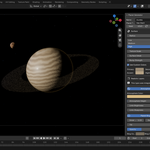
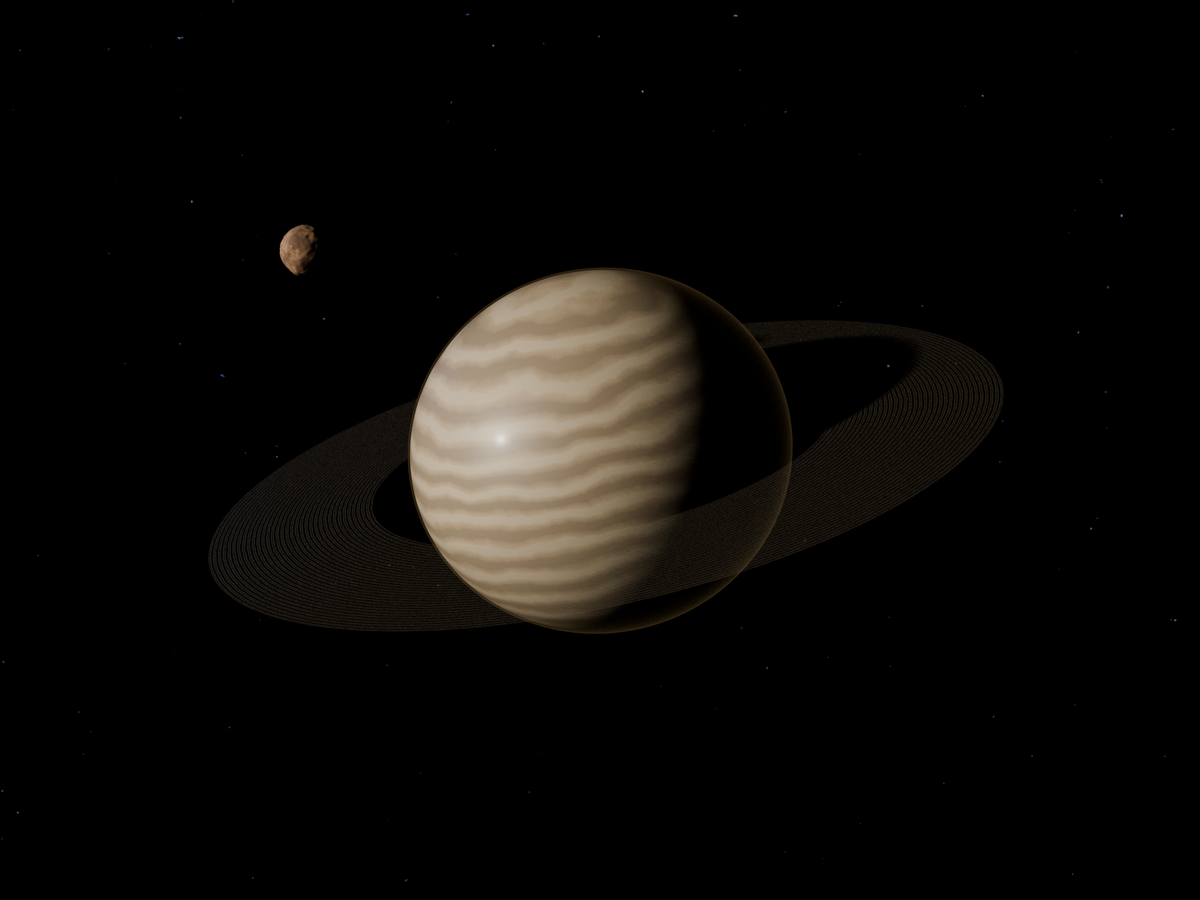
Gas Giant — Aurelia
A custom palette with rings and a moon, using seed 6363. Camera and lighting were adjusted for the shot.
RESULT · View full size ↗
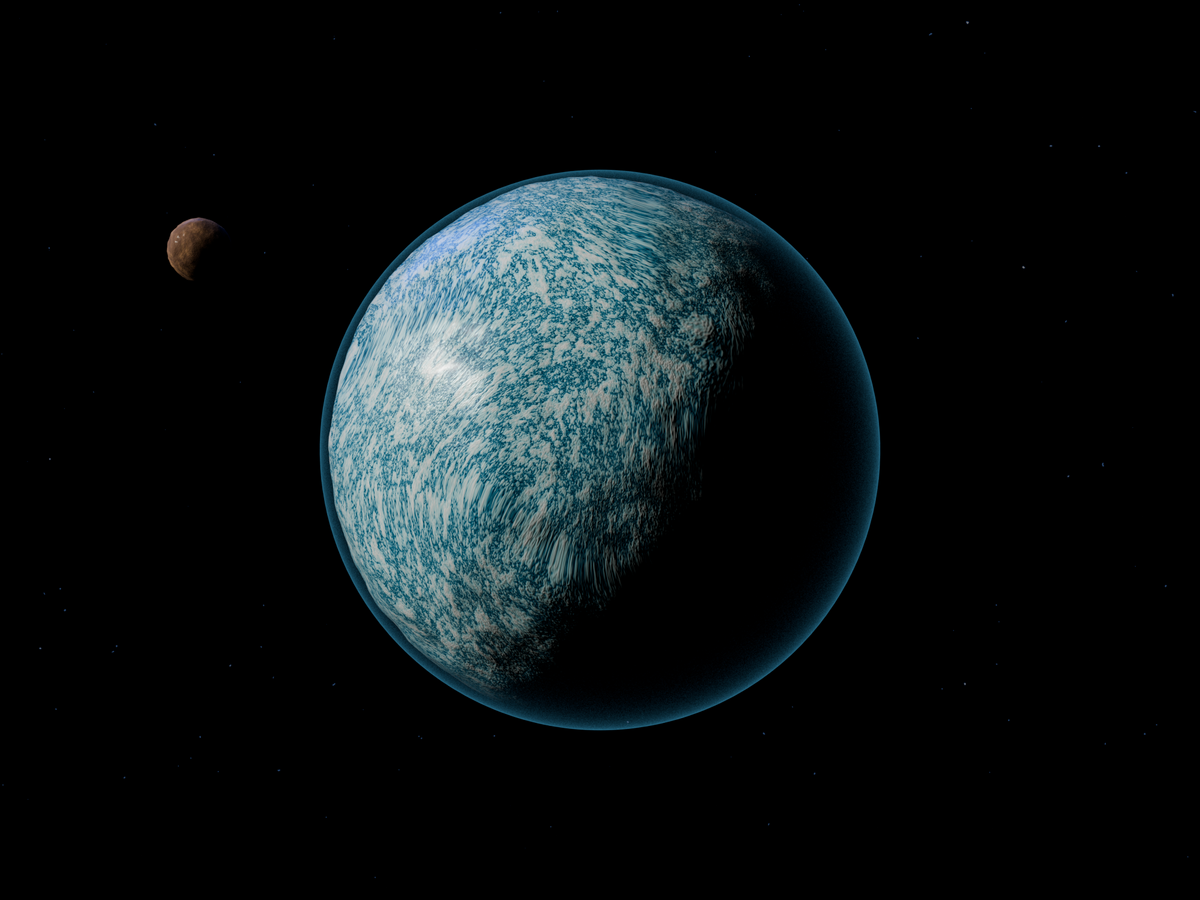
Ice — Niveus
Frozen terrain and crater detail, using seed 2341.
RESULT · View full size ↗
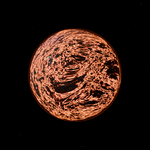
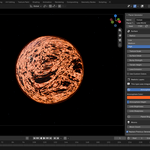
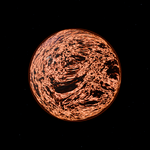
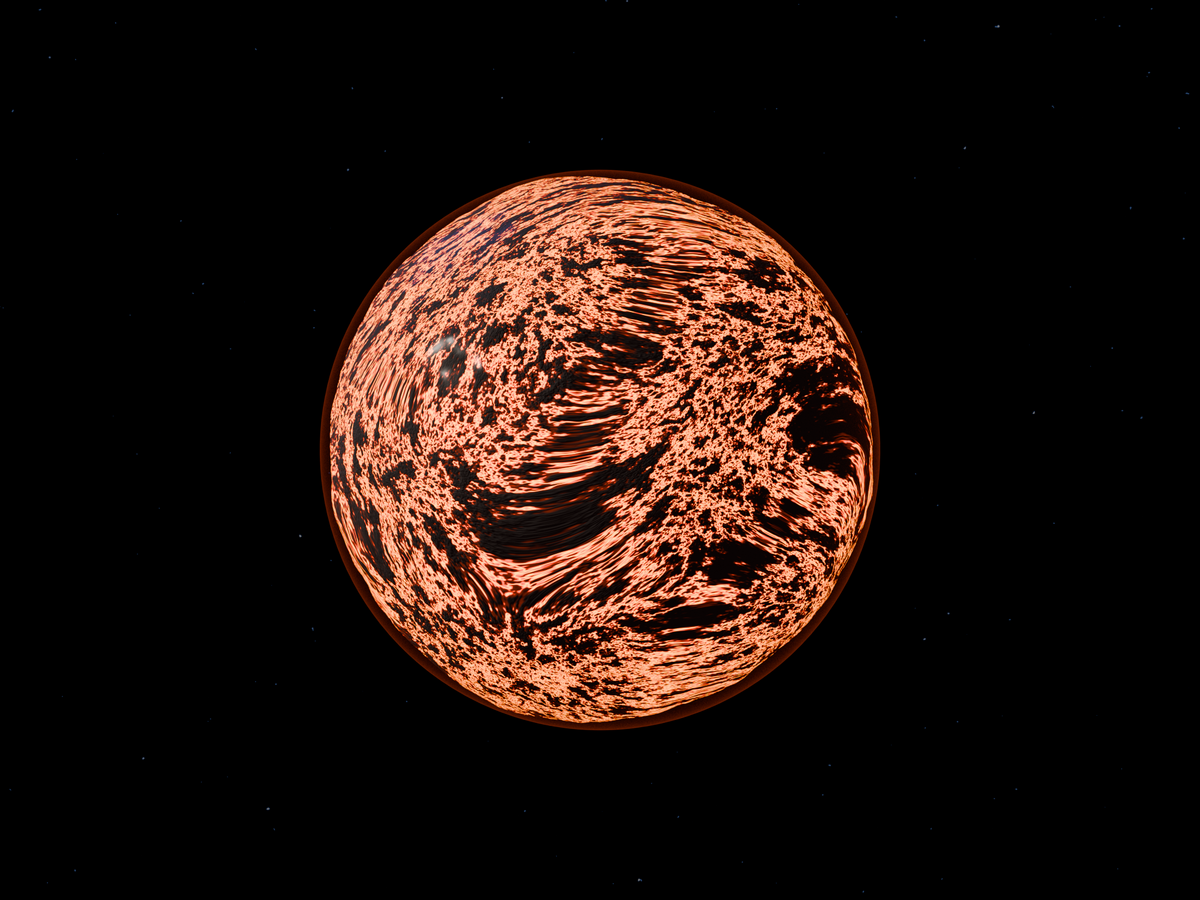
Lava — Vulcan
Volcanic surface patterns with emission, using seed 7789.
RESULT · View full size ↗
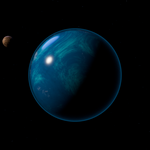
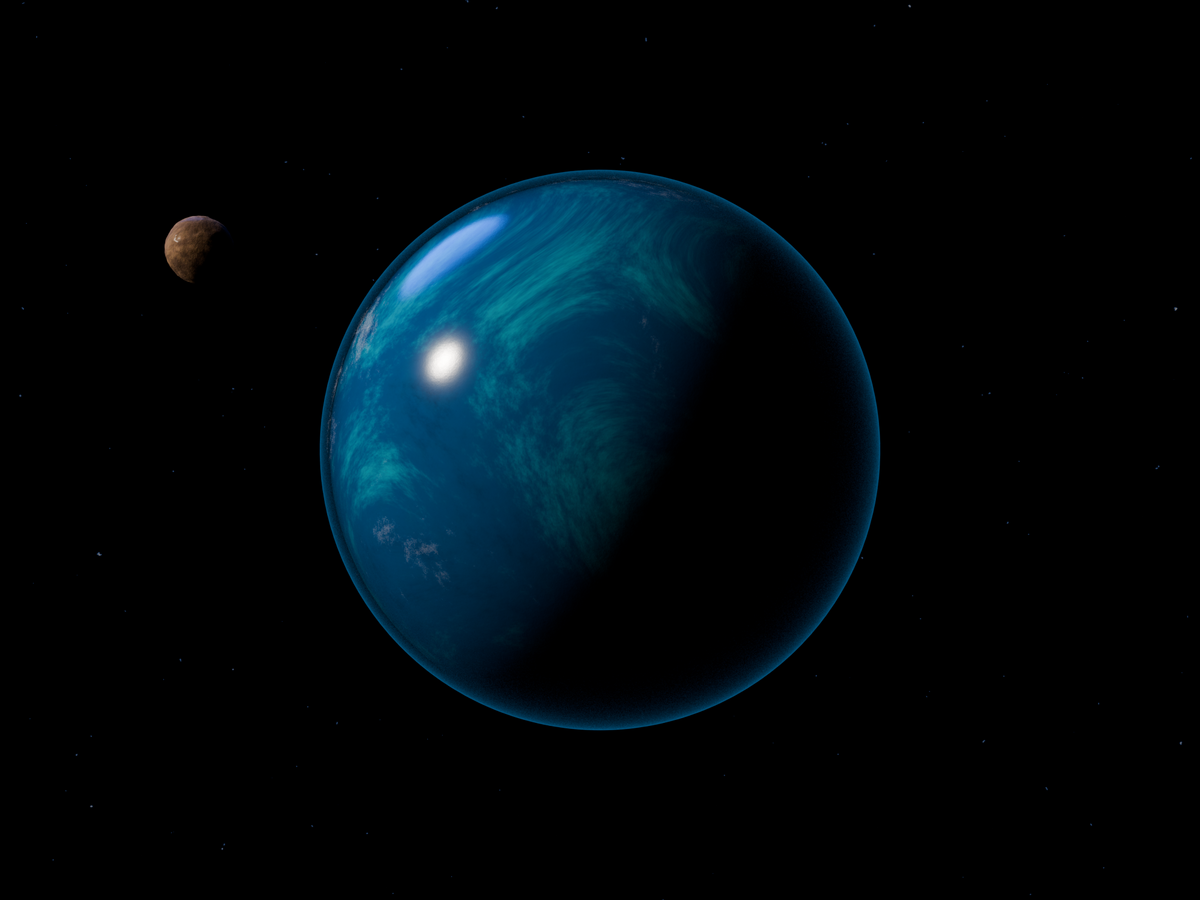
Ocean — Pelagos
A water-led world with cloud layers, using seed 5728.
RESULT · View full size ↗
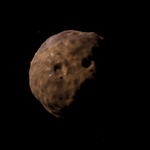
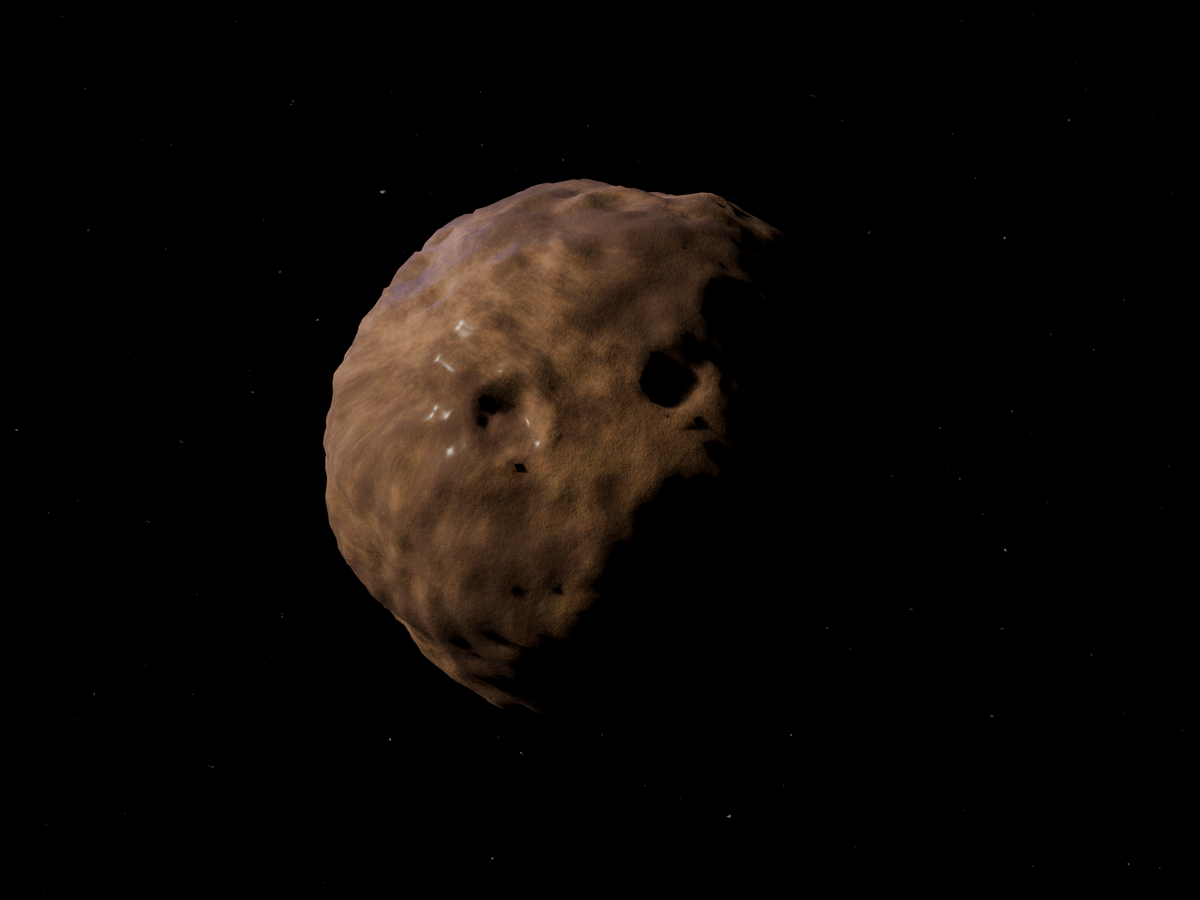
Barren — Cinder
Rock and craters without a living surface, using seed 8163.
RESULT · View full size ↗
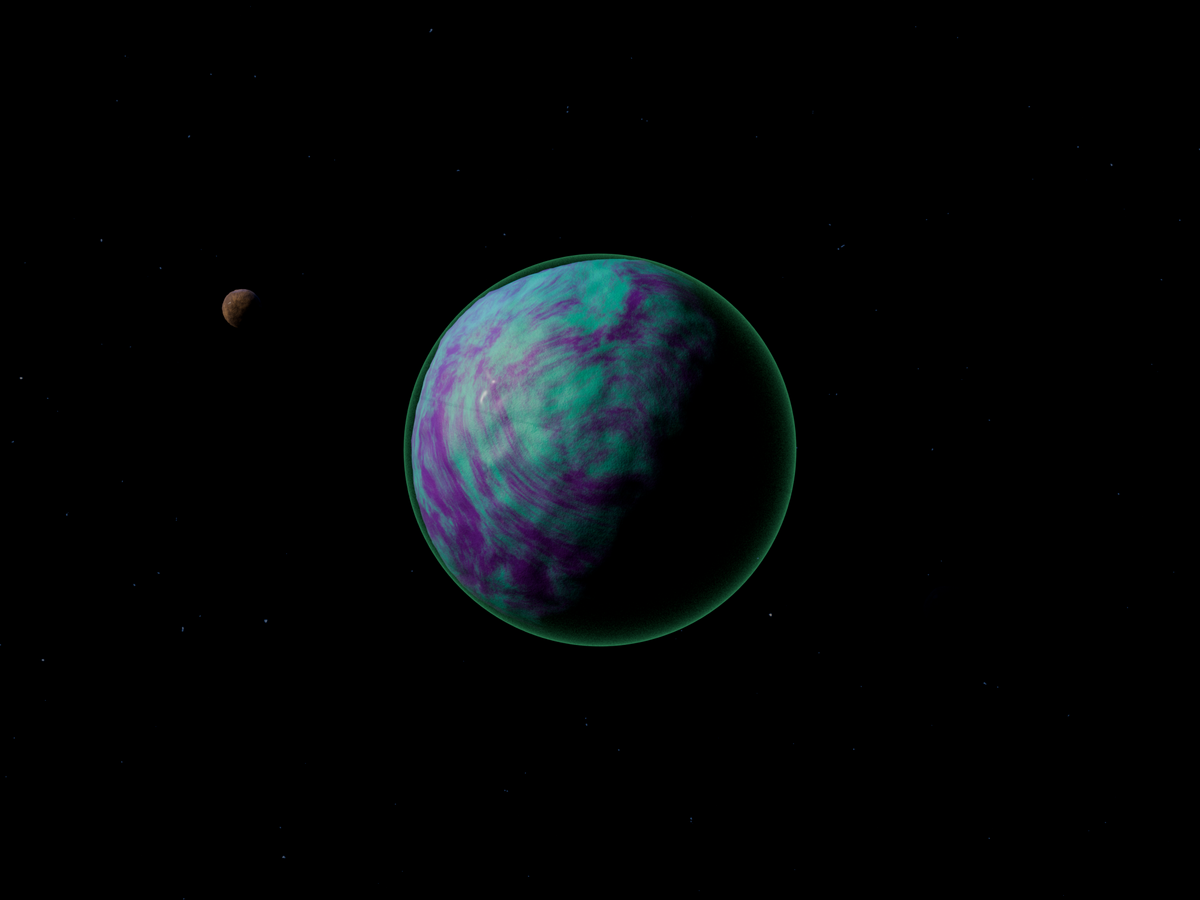
Alien — Vesper
Unfamiliar colours and cloud layers, using seed 4532.
Ways to shape your planet
Here’s what you can do with it.
Pick one of seven world types
Start with Terran, Gas Giant, Ice, Lava, Ocean, Barren or Alien. They have different surface characteristics and controls, rather than being the same planet with seven colour filters.
Try a seed, then change the surface
Use a repeatable seed to revisit a direction. Adjust the available scale and detail settings, choose the colours, and see how they look under your scene lighting.
Add water and clouds
Use the ocean and cloud layers available for your chosen style. Water highlights and cloud cover can make a big difference to how the surface reads from orbit.
Shape the atmospheric edge
Adjust the available height, brightness and limb-sharpness controls to change the rim around the planet.
Build a small planetary system
Set ring dimensions, tilt, colour and opacity. Add moons and adjust their count and scale to build out the shot around the planet.
Use the controls for that world
Gas giants have palette controls, lava worlds have emission settings, ice worlds have terrain/crater settings, and alien worlds have colour/cloud options. The screenshots show these in Blender.
Keep working on the scene
The generated meshes and materials remain editable Blender data. You can keep adjusting the camera, lights and scene after creating the planet.
The controls in Blender
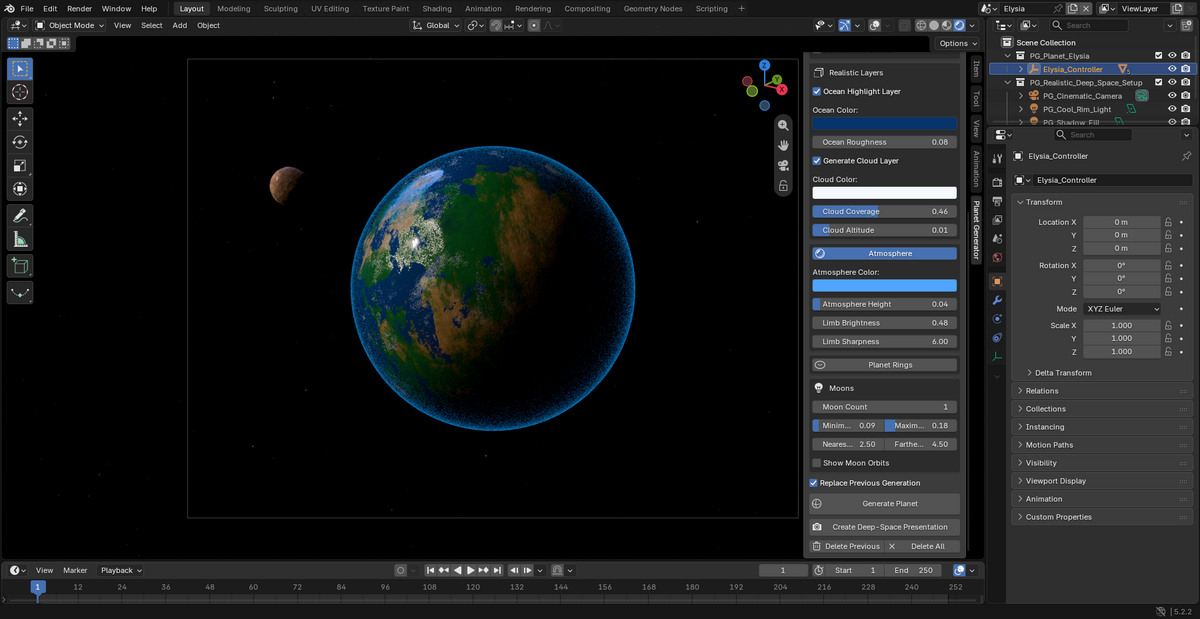
CONTROLS · View full size ↗
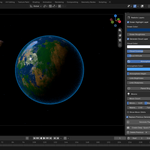
Set up a Terran planet
The surface and ocean settings are beside the planet in the Blender sidebar.
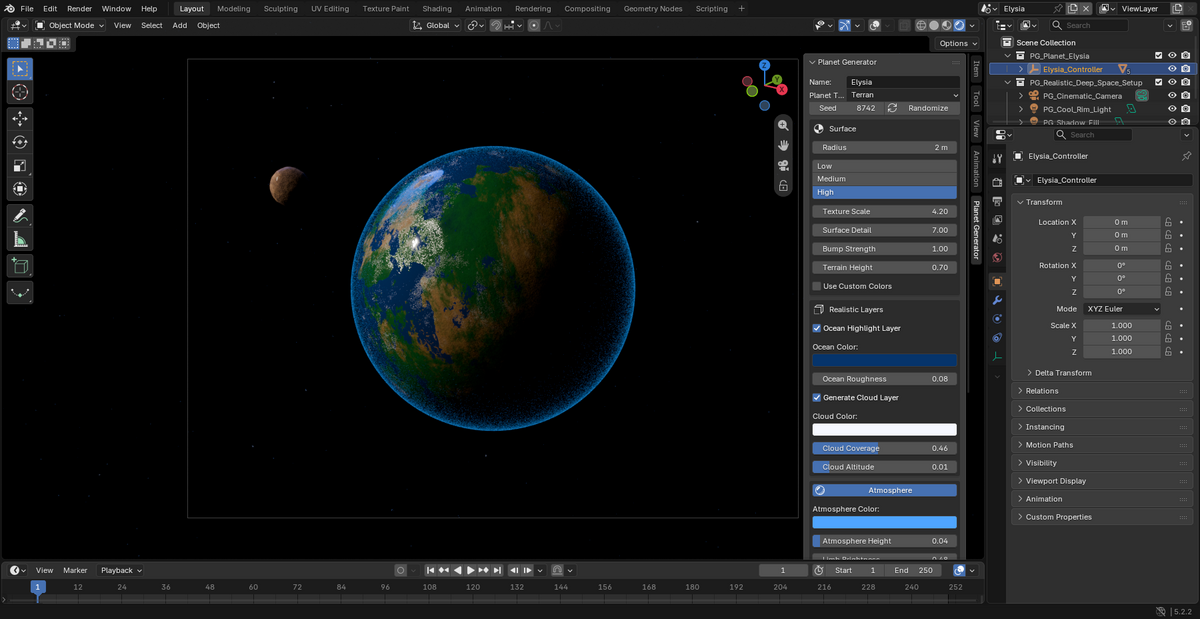
CONTROLS · View full size ↗
Adjust clouds and atmosphere
These layer controls shape the cloud cover and the bright edge around the planet.
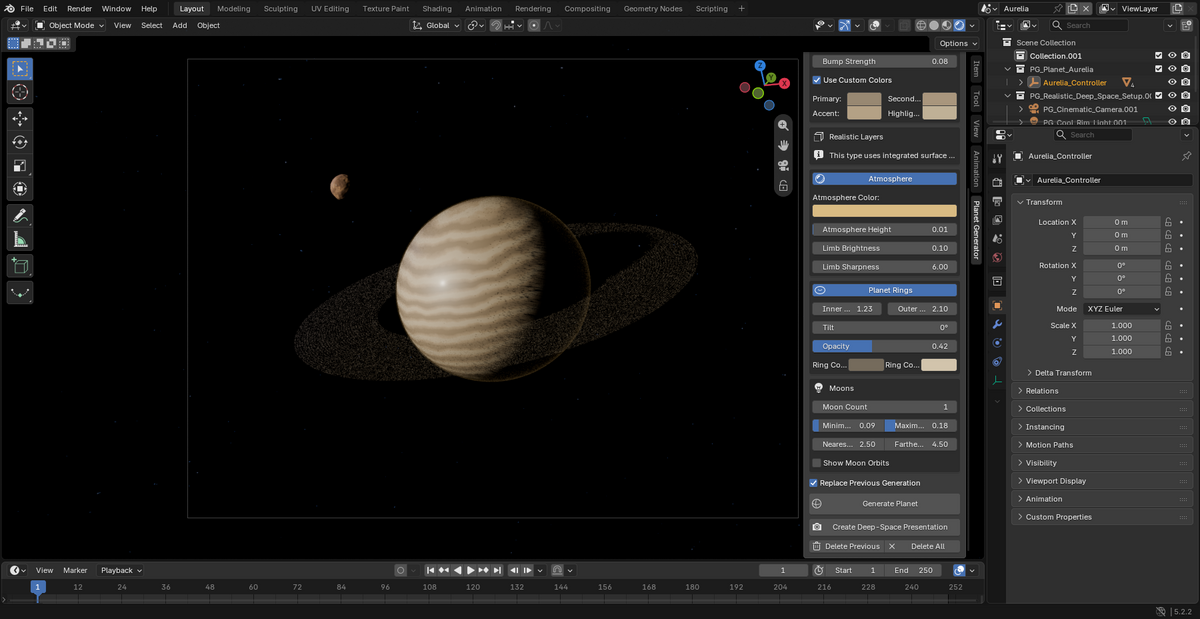
CONTROLS · View full size ↗
Change the gas giant’s palette
The colour controls are shown beside the gas-giant result, so you can see what they’re changing.
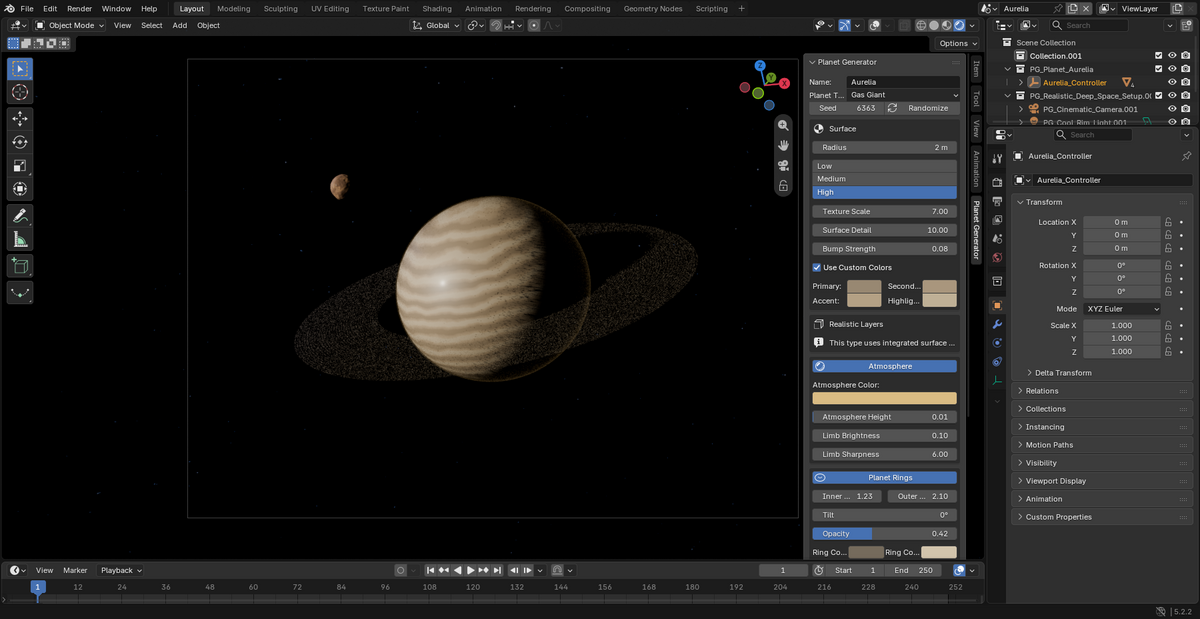
CONTROLS · View full size ↗
Adjust rings and moons
Set the dimensions and tilt of the rings, then work on the moons around the planet.
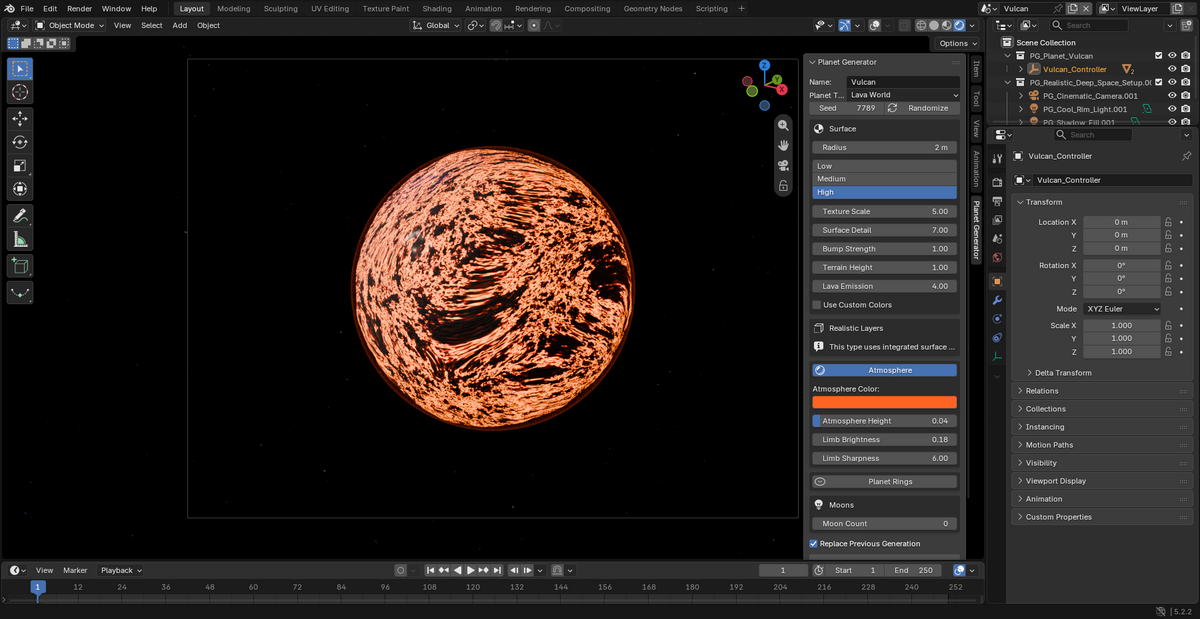
CONTROLS · View full size ↗
Set up the lava world
The volcanic example is shown with its surface and emission settings.
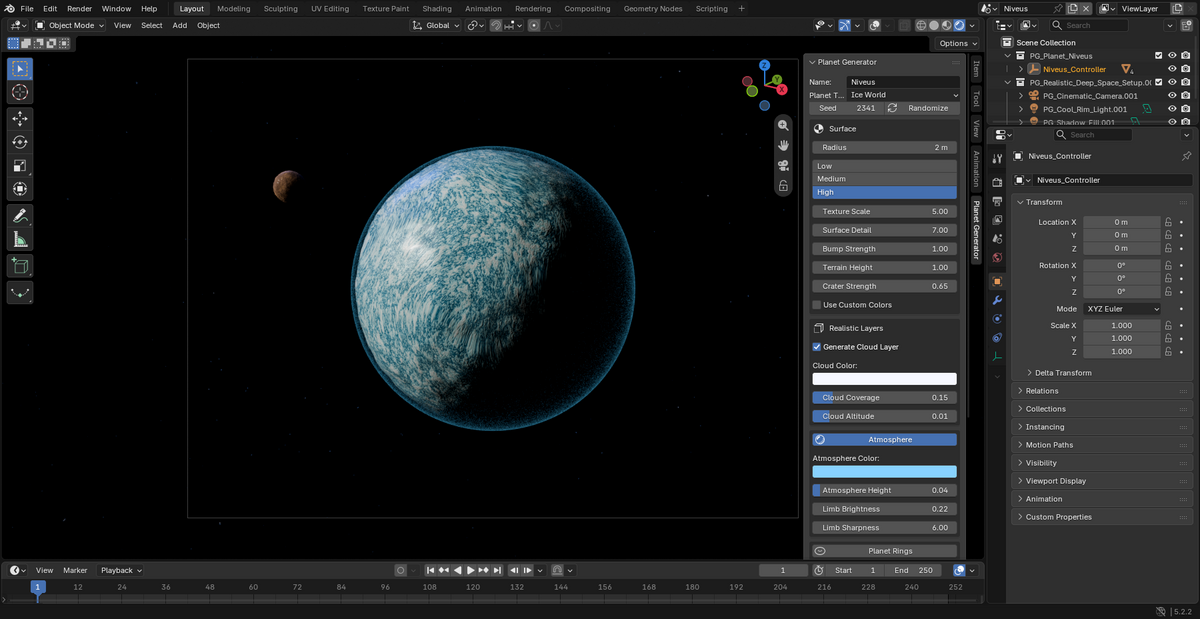
CONTROLS · View full size ↗
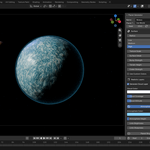
Shape the ice world
The frozen planet is shown alongside its terrain and crater controls.
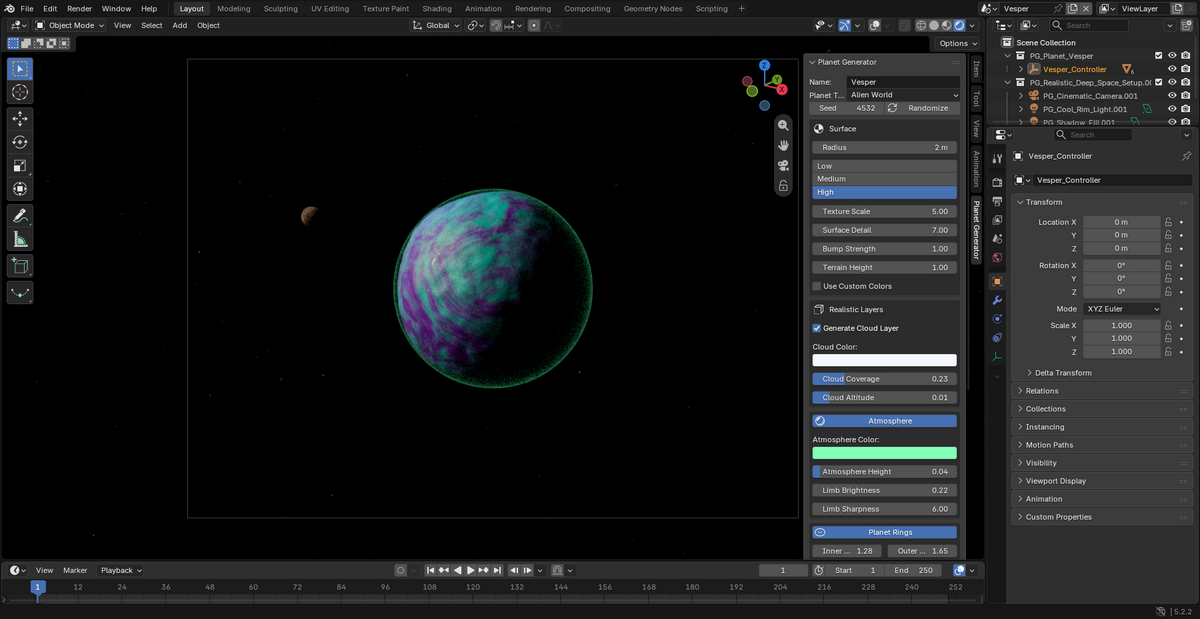
CONTROLS · View full size ↗
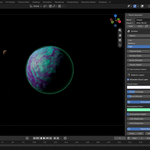
Work on an alien world
The colour and cloud settings sit beside the alien planet in the viewport.
Build your first planet
-
01
Choose a world type and seed.
-
02
Adjust the surface and colours.
-
03
Add or refine the water, clouds and atmosphere available for that style.
-
04
Set up rings or moons, then frame and light the shot.
-
05
Render it, or keep working with the generated Blender scene.
Before you start
- Blender 4.2 or newer on Windows, macOS or Linux.
- Cycles and EEVEE are supported.
- The seven-world examples use version 2.0.1 in Blender 5.2.2, rendered with EEVEE.
- Available controls vary by world type. The cover is an illustration, not an add-on render.
Which world types can I make?
Terran, Gas Giant, Ice, Lava, Ocean, Barren and Alien.
Were these planets made with the add-on?
Yes—the examples below the cover are Blender renders. The camera, lighting and style settings were adjusted for each shot.