Procedural Skin Shader
 Sporemind
SPOREMIND · USER MANUAL
Procedural Skin Shader
The supplied procedural_skin-v103.blend contains the skin_103 material and its skin_shader node group. This is a material, not an addon; there is nothing to enable in Preferences. Append and Cycles/EEVEE renders have been verified on Windows with Blender 4.2.23, 5.0.1 and 5.2.2 LTS. Older releases and other operating systems have not been verified in this revision.
Add the material
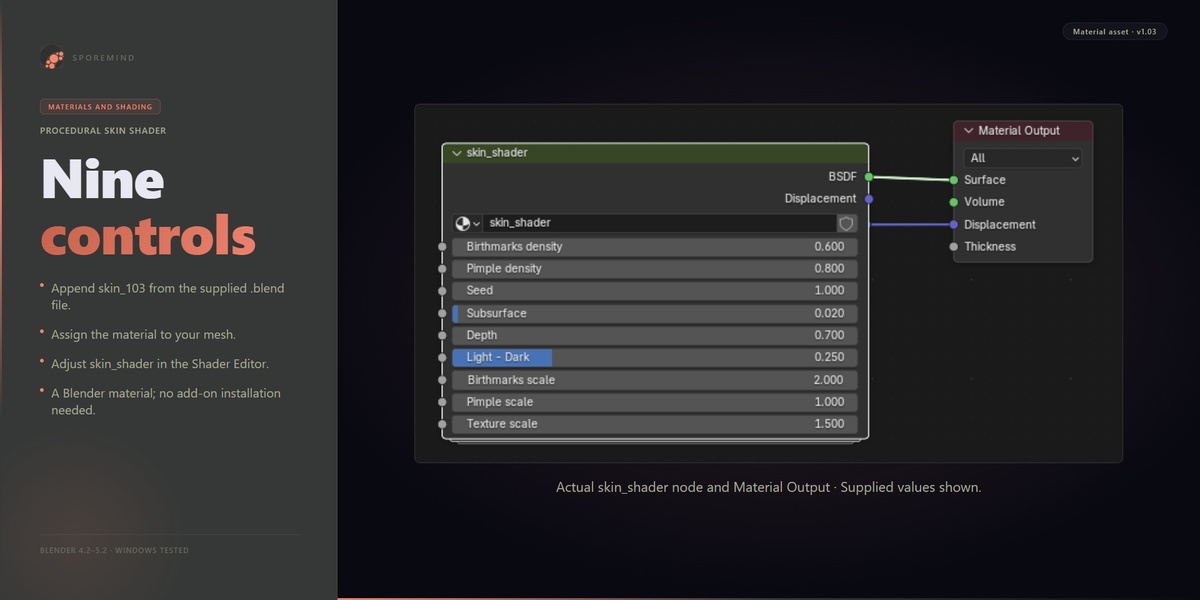
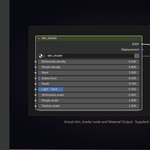
Use File → Append, browse into procedural_skin-v103.blend, open Material and append skin_103. Select your mesh and assign skin_103 from Material Properties. Open the Shader Editor and select its skin_shader group node (named Group in the material). The nine inputs are on that node, not a custom addon panel.
The material uses Generated coordinates by default. A UV unwrap is not required for this default mapping. The procedural pattern follows the generated bounding-box coordinates; adjust Texture scale for your model and shot. Editing the mapping inside the node group is an advanced change, not an installation requirement.
Controls and supplied values
| Exact input name | Value in the supplied material | Purpose |
|---|---|---|
| Birthmarks density | 0.60 | Adjust the birthmark pattern |
| Pimple density | 0.80 | Adjust the blemish pattern |
| Seed | 1.00 | Vary the procedural pattern; this does not change face geometry |
| Subsurface | 0.02 | Adjust the material's subsurface response |
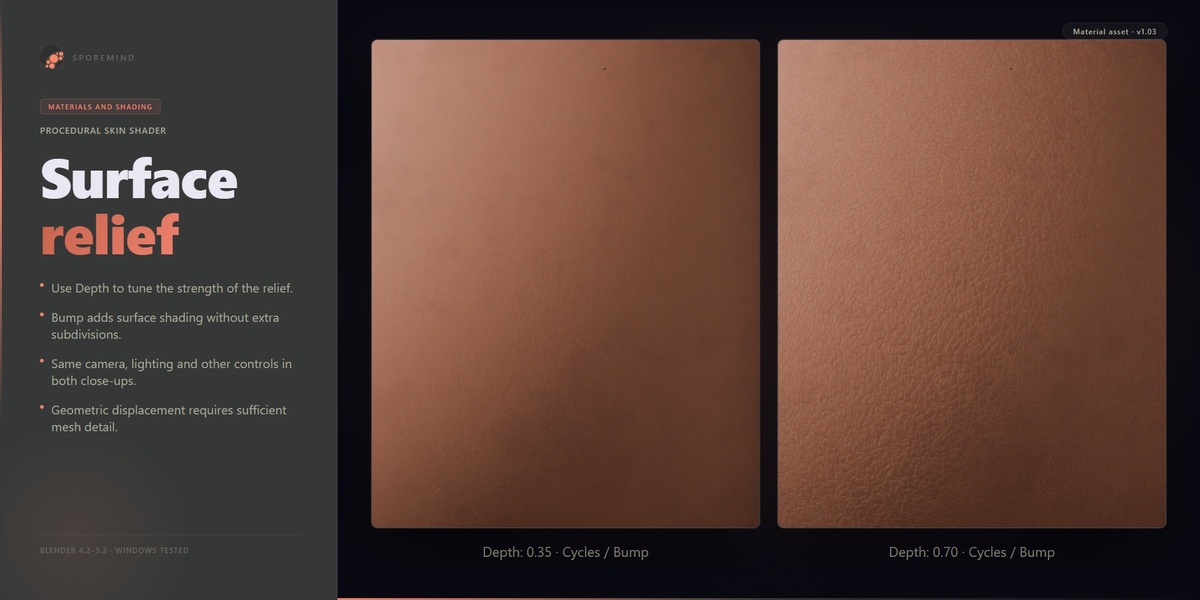
| Depth | 0.70 | Adjust the relief/displacement signal |
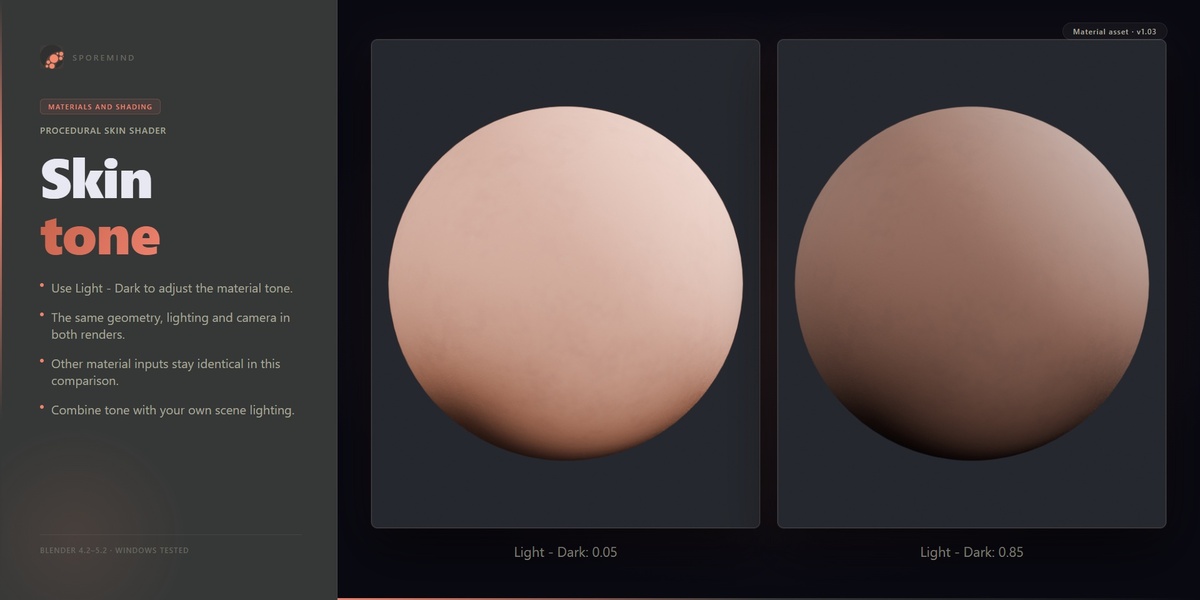
| Light - Dark | 0.25 | Adjust the skin colour variation |
| Birthmarks scale | 2.00 | Adjust the birthmark pattern scale |
| Pimple scale | 1.00 | Adjust the blemish pattern scale |
| Texture scale | 1.50 | Adjust the overall procedural mapping scale |
These are the values in the delivered material. Duplicate it for independently editable settings on different objects; objects sharing one material share its controls.
Render and relief
Use Material Preview or Rendered shading to inspect the material. Final appearance depends on lighting, scale, geometry, colour management and render settings. Cycles and EEVEE can differ; judge the result in your chosen engine.
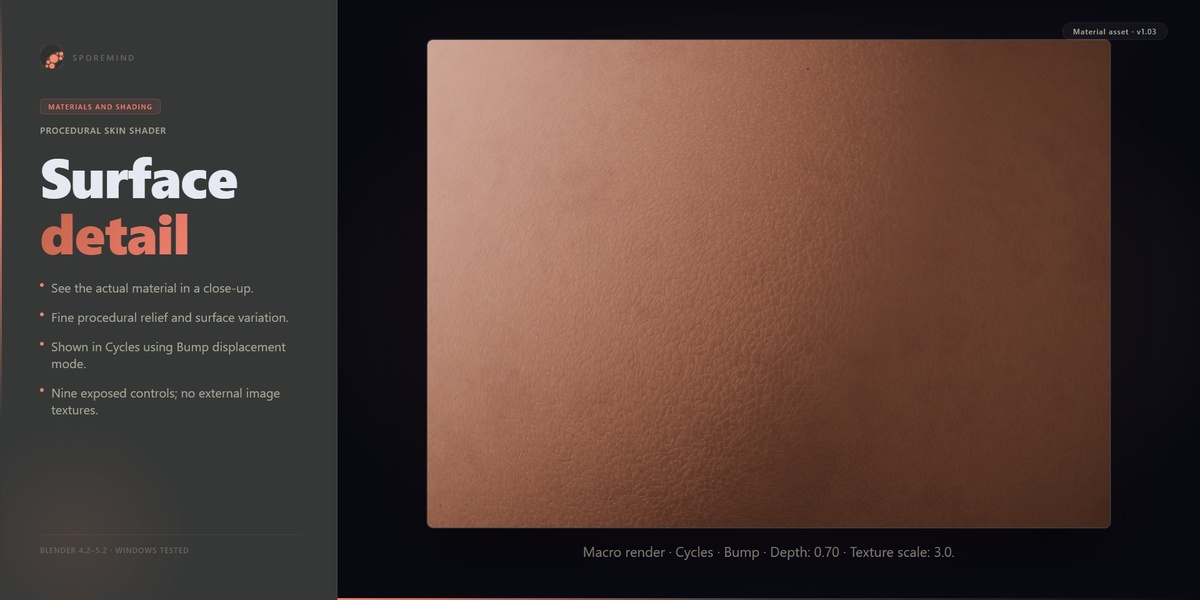
The material already connects its displacement output to Material Output. Bump changes shading; geometric displacement needs a supported displacement method and enough mesh detail. In Material Settings, review Displacement and choose the appropriate mode for your engine. Start with the lowest subdivision/detail needed for your shot and increase only if a close-up needs it. There is no universal requirement for 4–6 subdivision levels. Adaptive subdivision is an advanced Cycles workflow and is not required to append this material.
No external image textures are needed. The nodes and material still occupy storage, and shading/rendering still use resources. Procedural detail has no fixed image-texture resolution, but this does not guarantee unlimited visible detail or zero render cost.
Troubleshooting and support
If the material does not appear, check that skin_103 is assigned and that you are viewing materials rather than Solid shading. If controls are missing, select the skin_shader group node in the Shader Editor. If scale or repetition is unsuitable, adjust Texture scale and inspect the Generated mapping; UV overlap does not control this default material. If relief is weak, review Depth, lighting, displacement mode and mesh detail.
Contact Sporemind through the product page and include Blender version, render engine, operating system, relevant settings and a small reproduction example.
Procedural Skin — three starting recipes
These recipes use the existing nine controls of skin_103. Start with a recipe and adjust it for your model, lighting and camera distance. The original 1.03 material remains unchanged.
Use the ready-made materials
In Blender 5.0 or later, choose File > Append, open skin_recipes_1.03_blender5.blend, open Material, and select one or more of:
- Skin - Soft Detail: subtle surface detail with fewer visible marks.
- Skin - Warm Detail: stronger microdetail and a warmer starting tone.
- Skin - Dark Contrast: a darker starting tone with more visible marks.
Assign the appended material to your mesh. In the Shader Editor, select its skin shader group and adjust the nine inputs. Use material copies if you want independent settings on several objects.
The library was authored with Blender 5.0.1 and Append/render tested with 5.0.1 and 5.2.2 LTS on Windows. For older versions, use the original commercial .blend and enter the values below manually; the new library is not a Blender 4.2 delivery.
Reproduce with the original material
Append skin_103 from the original product, make a separate copy of the material, and enter every value in the matching column. Set the material displacement method to Bump Only. Do not edit the shared shader group's internal nodes to apply these recipes.
| Group input | Soft Detail | Warm Detail | Dark Contrast |
|---|---|---|---|
| Birthmarks density | 0.08 | 0.18 | 0.35 |
| Pimple density | 0.16 | 0.32 | 0.35 |
| Seed | 1 | 4 | 7 |
| Subsurface | 0.02 | 0.02 | 0.02 |
| Depth | 0.35 | 0.8 | 0.7 |
| Light - Dark | 0.12 | 0.28 | 0.65 |
| Birthmarks scale | 2 | 2 | 2 |
| Pimple scale | 1 | 1 | 1 |
| Texture scale | 2.5 | 2.5 | 2.5 |
Compare the samples
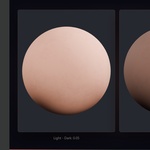
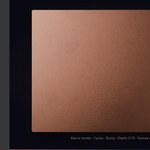
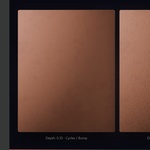
The images in media/ use the same curved sample, camera and studio lights. Cycles and EEVEE versions are included. Bump Only changes the shading, without adding geometric displacement. Generated coordinates are retained; surface detail varies with the model's bounds and proportions.
| Recipe | Cycles sample | EEVEE sample |
|---|---|---|
| Soft Detail | media/soft_detail_cycles.png |
media/soft_detail_eevee.png |
| Warm Detail | media/warm_detail_cycles.png |
media/warm_detail_eevee.png |
| Dark Contrast | media/dark_contrast_cycles.png |
media/dark_contrast_eevee.png |
Use a close view and soft raking light when checking pores. For a distant shot, reduce detail that becomes visually noisy. These samples were tested on a curved material swatch; a full character and geometric displacement remain separate checks.
Have questions about this product?
Login to message
| Sales | 200+ |
| Dev Fund Contributor | |
| Published | about 4 years ago |
| Blender Version | 4.2 - 5.2 |
| Render Engine Used | Cycles, Eevee |
| License | Royalty Free |