 Mrs Eliza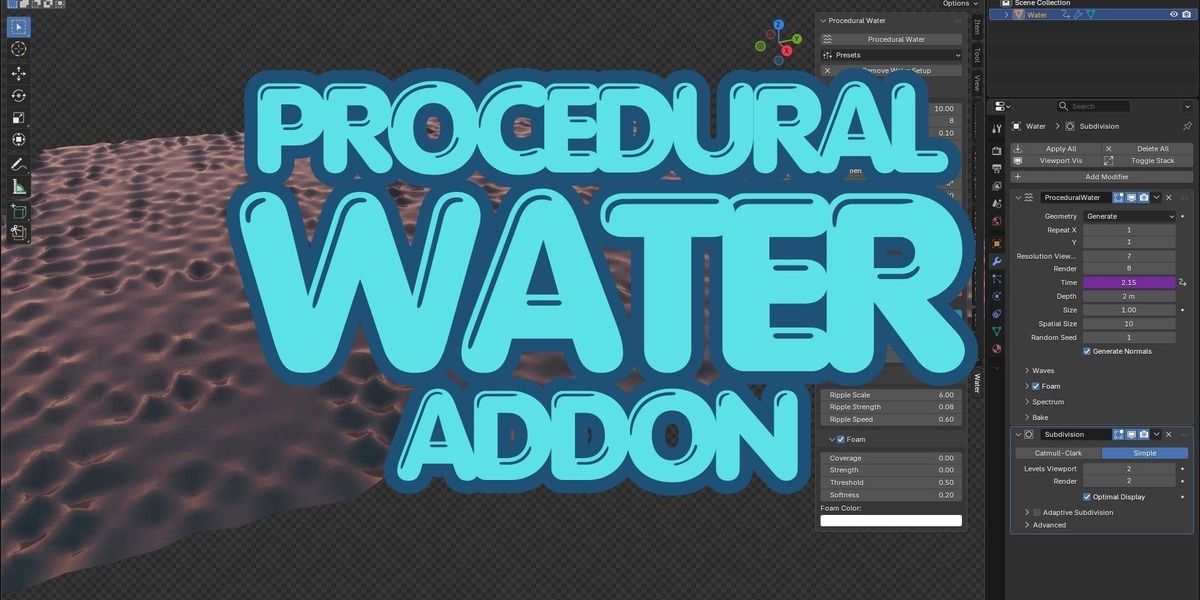
Procedural Water: Complete User Guide
1. Overview
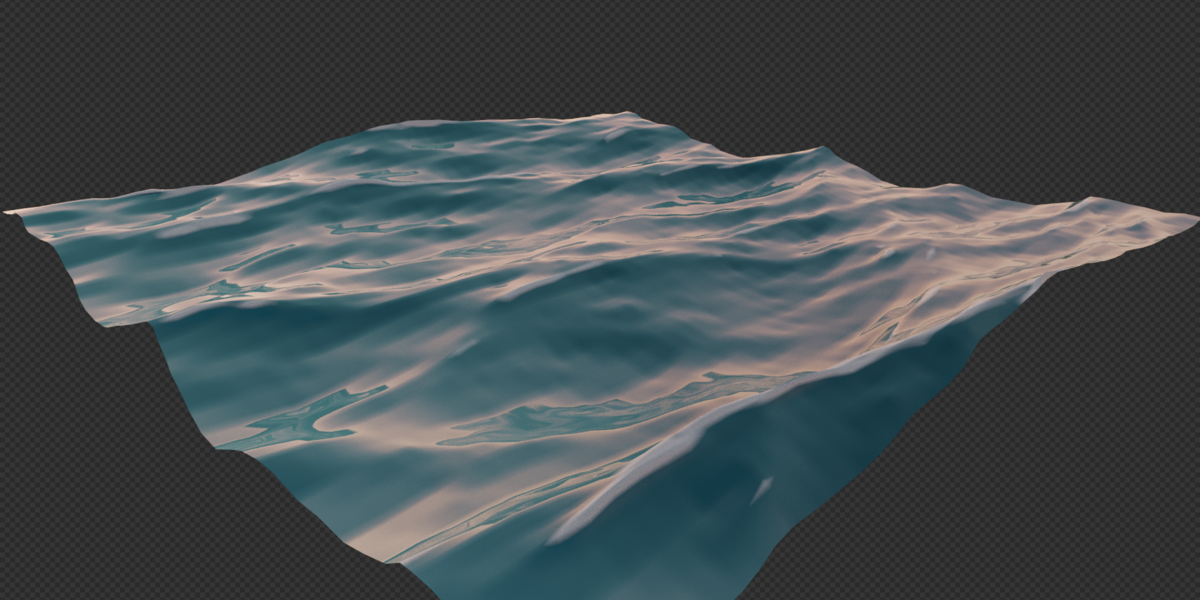
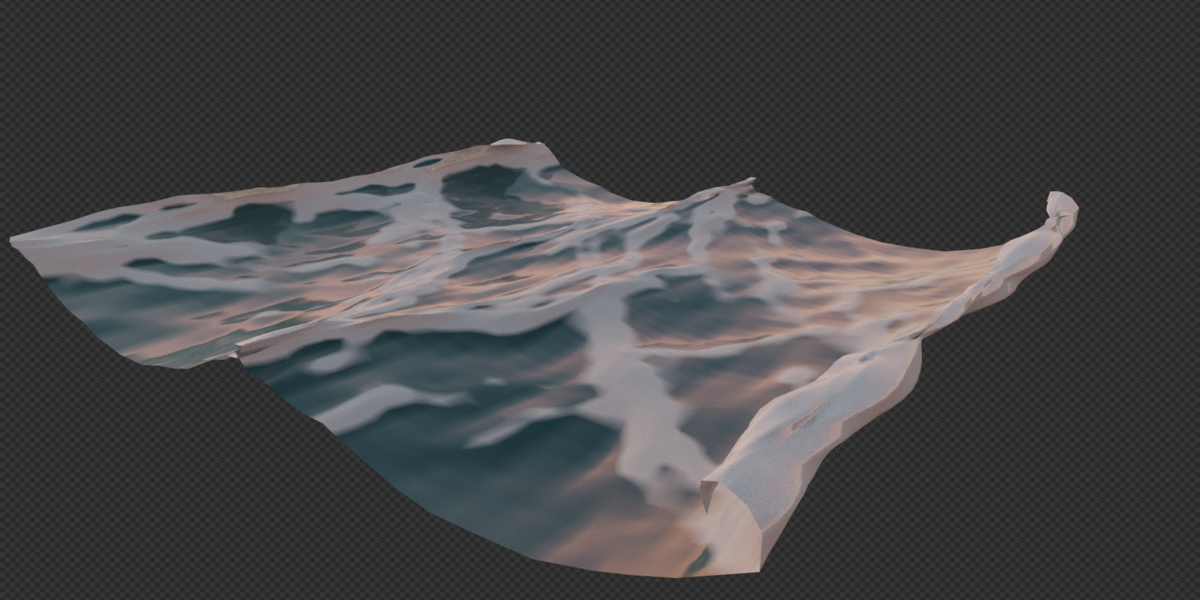
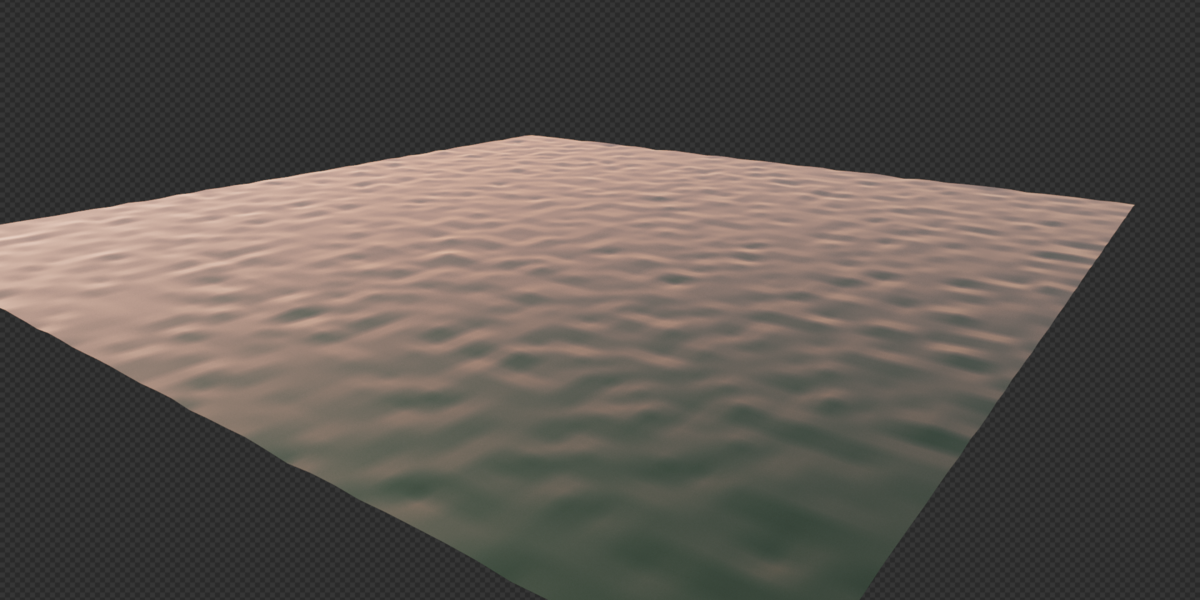
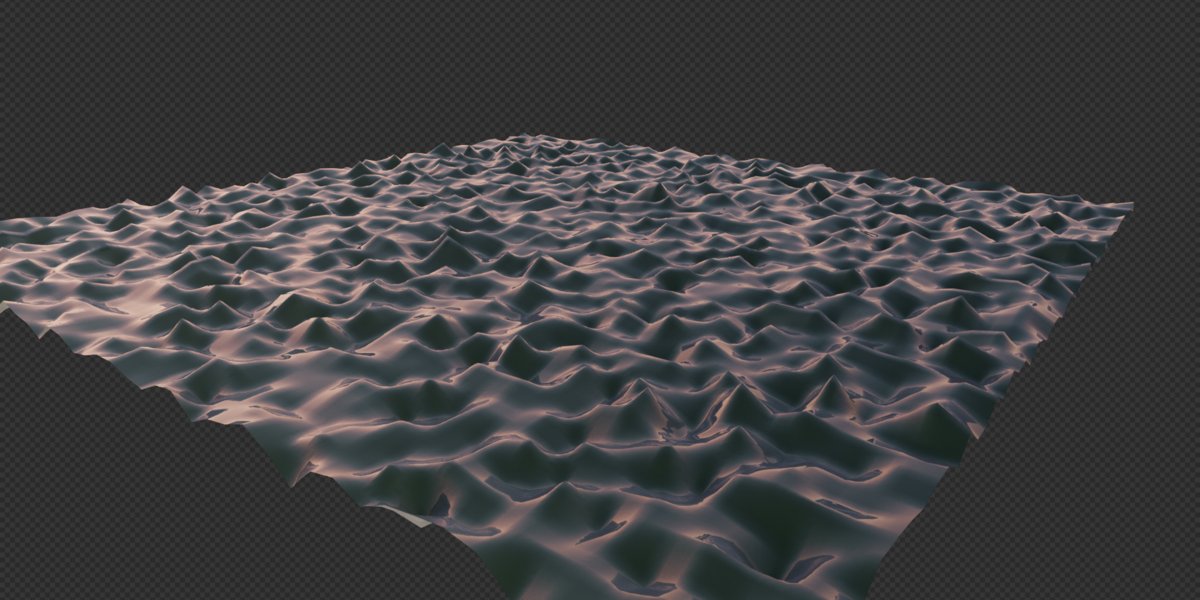
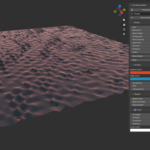
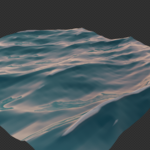
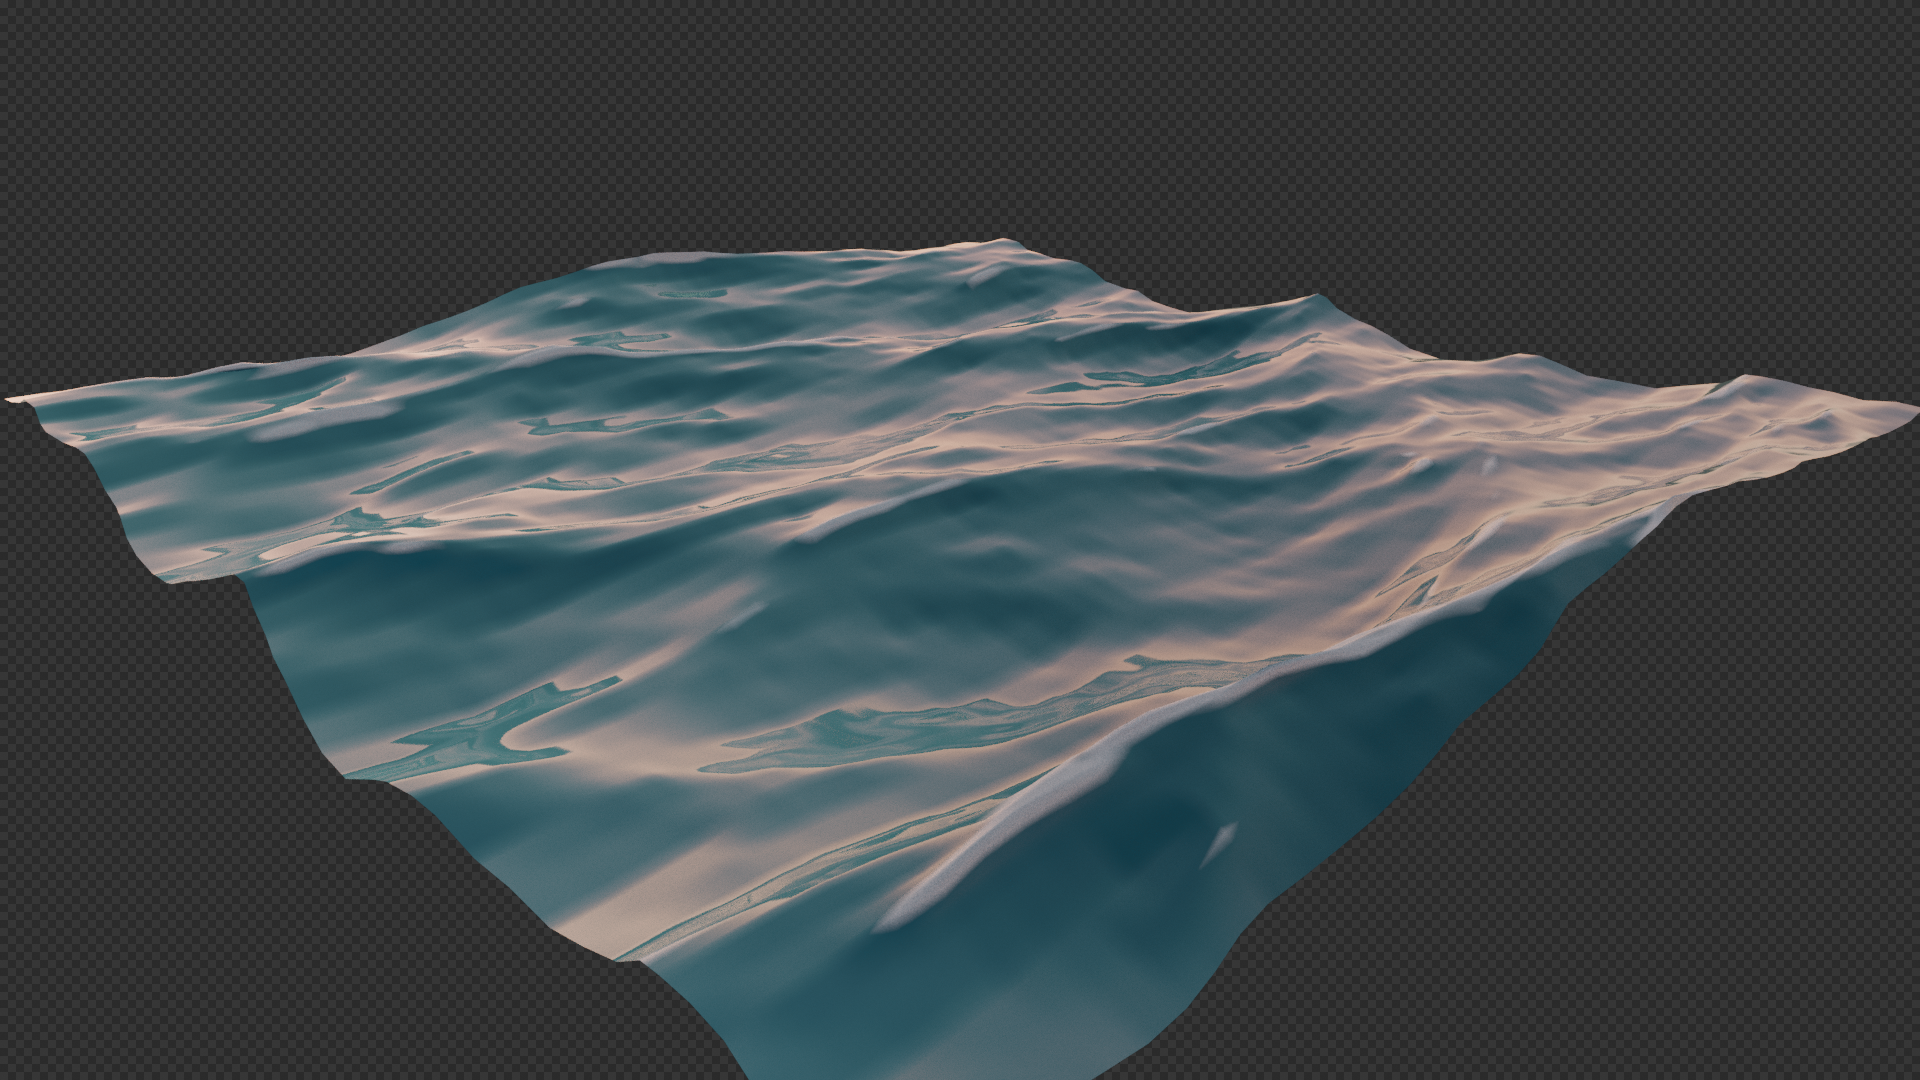
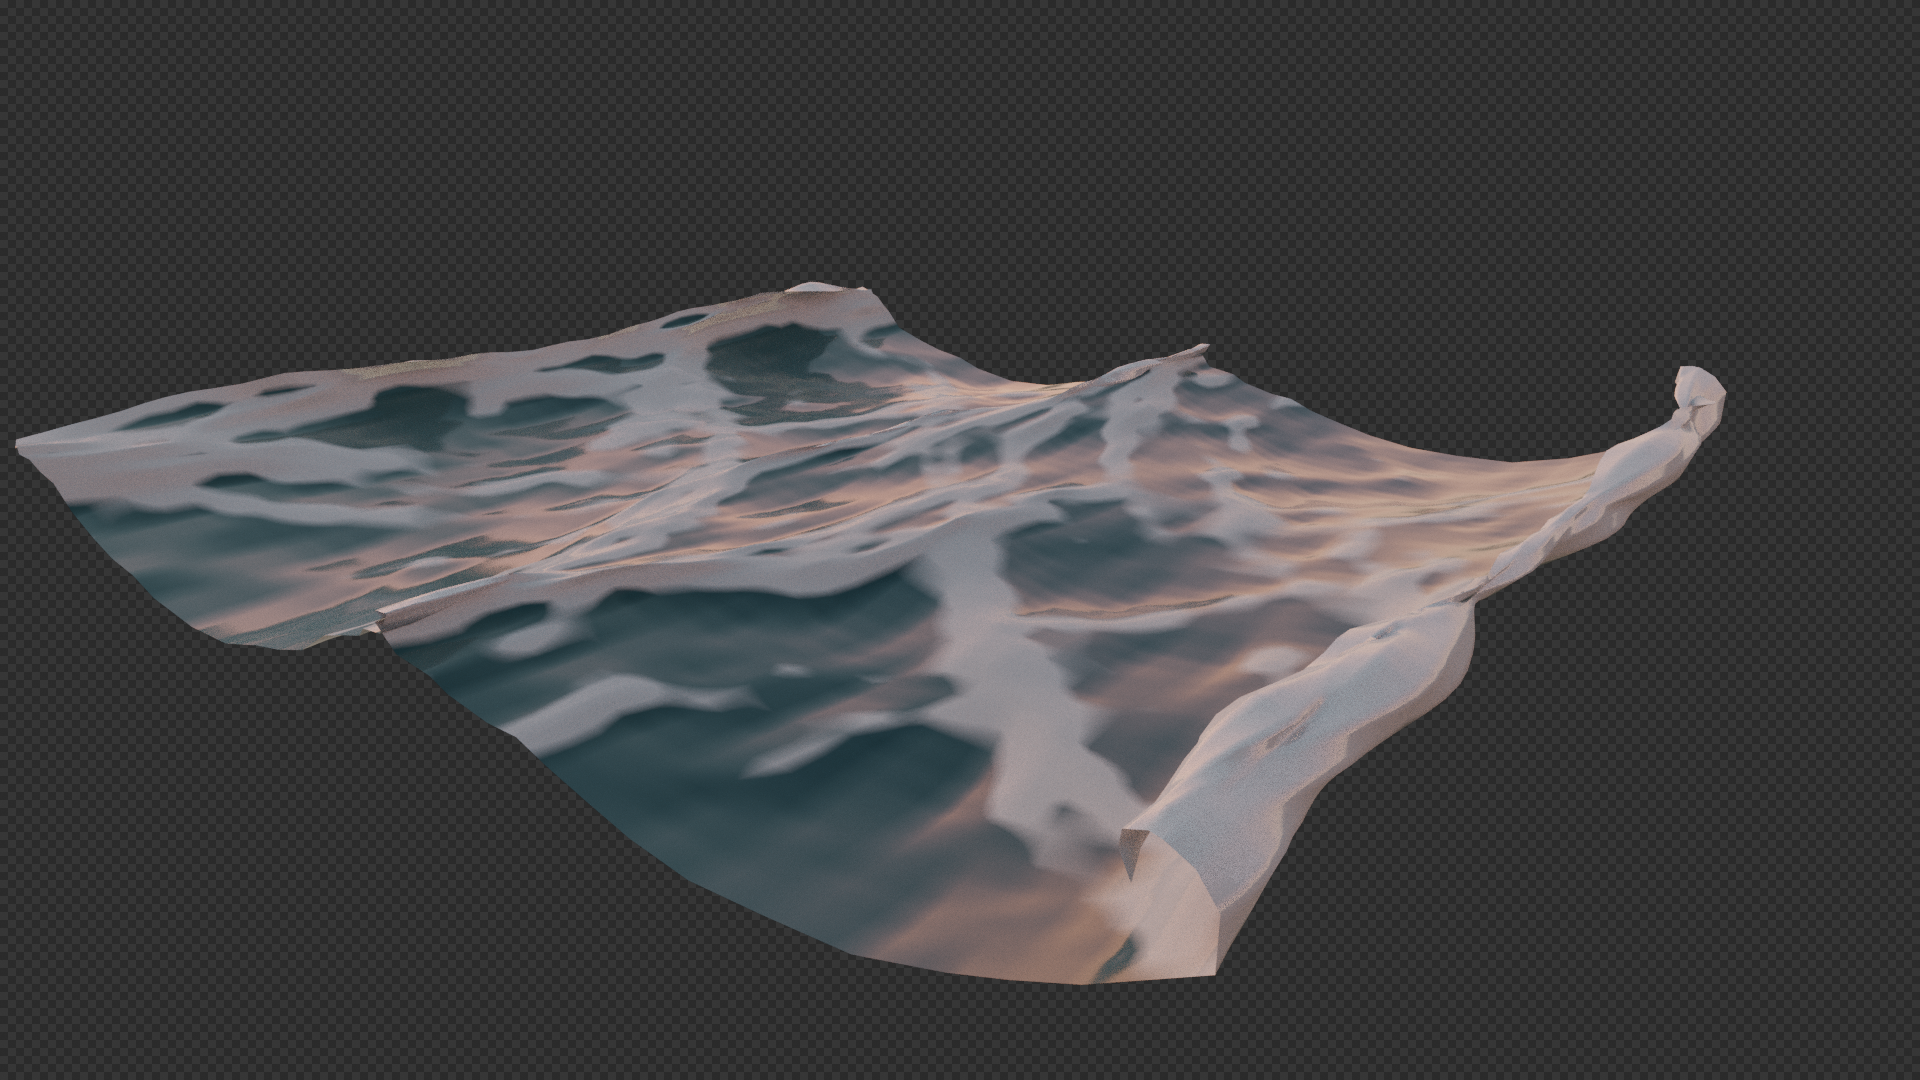
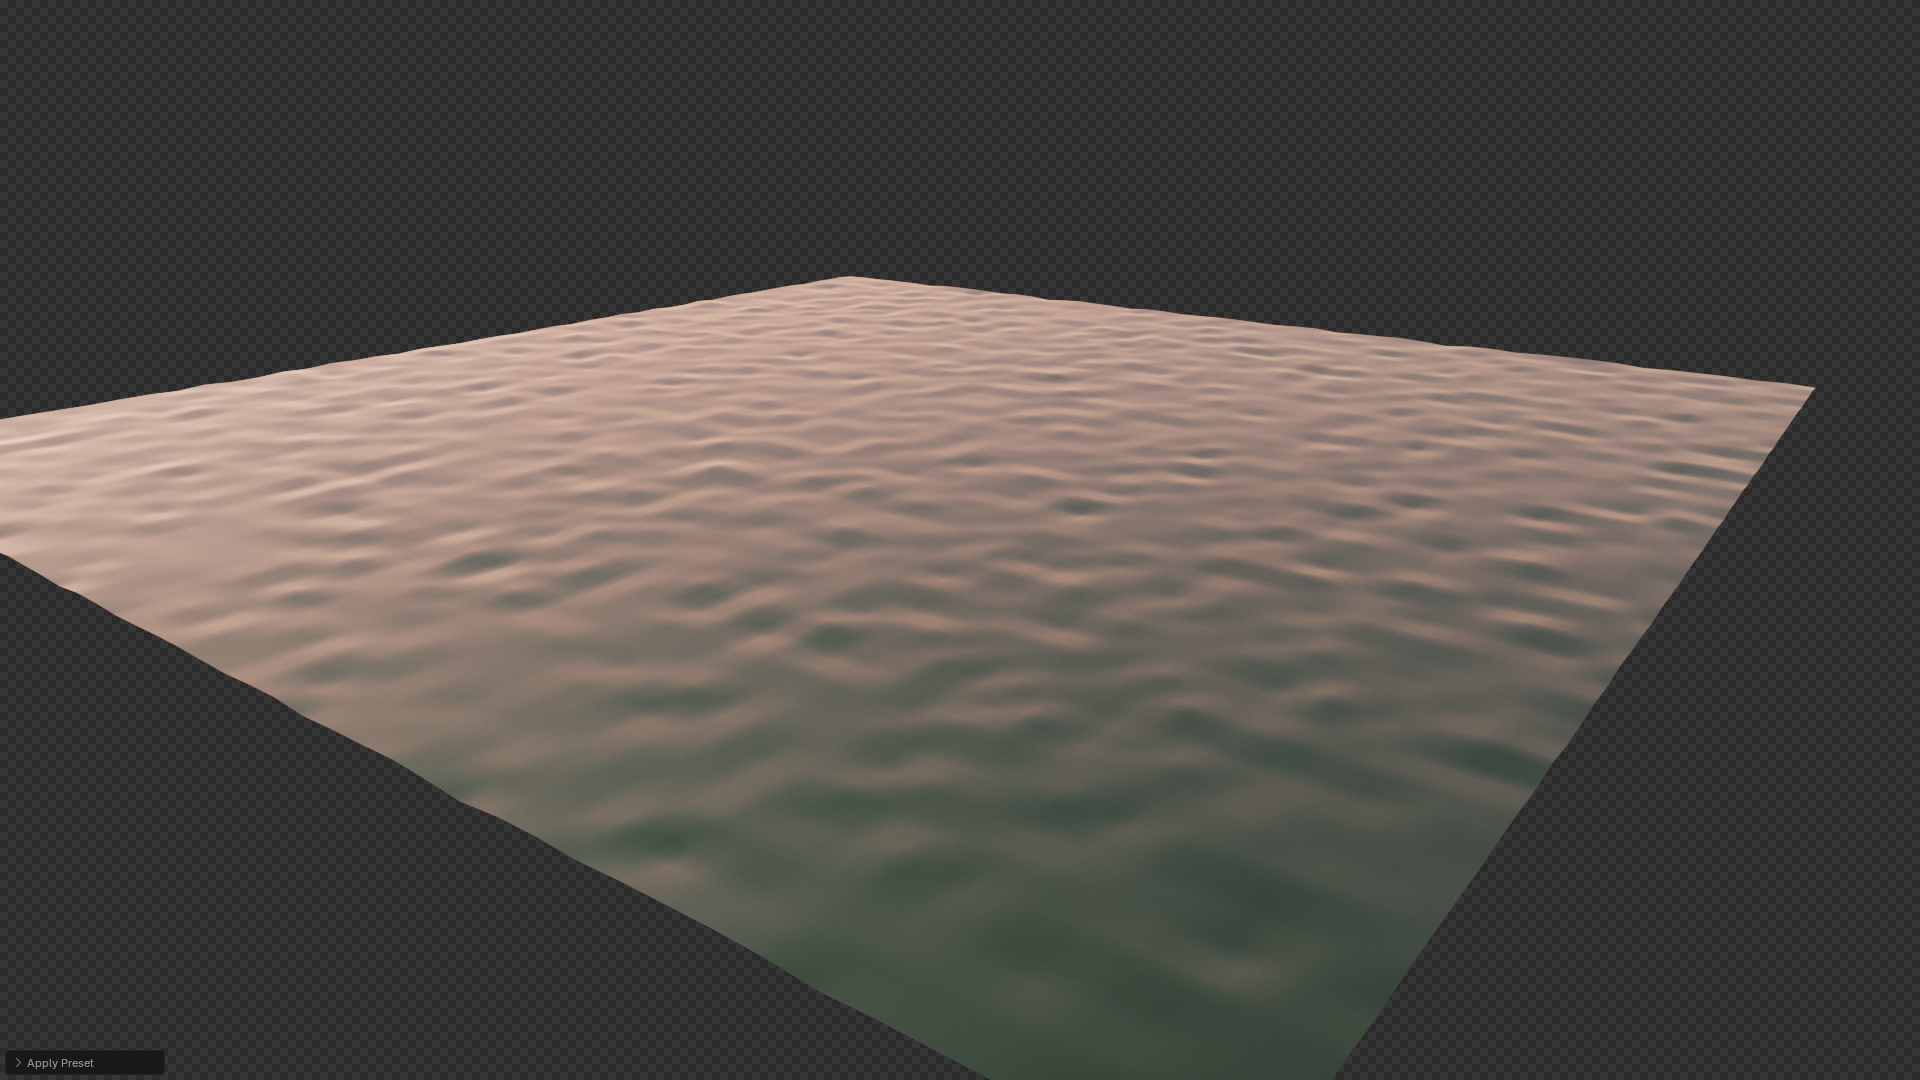
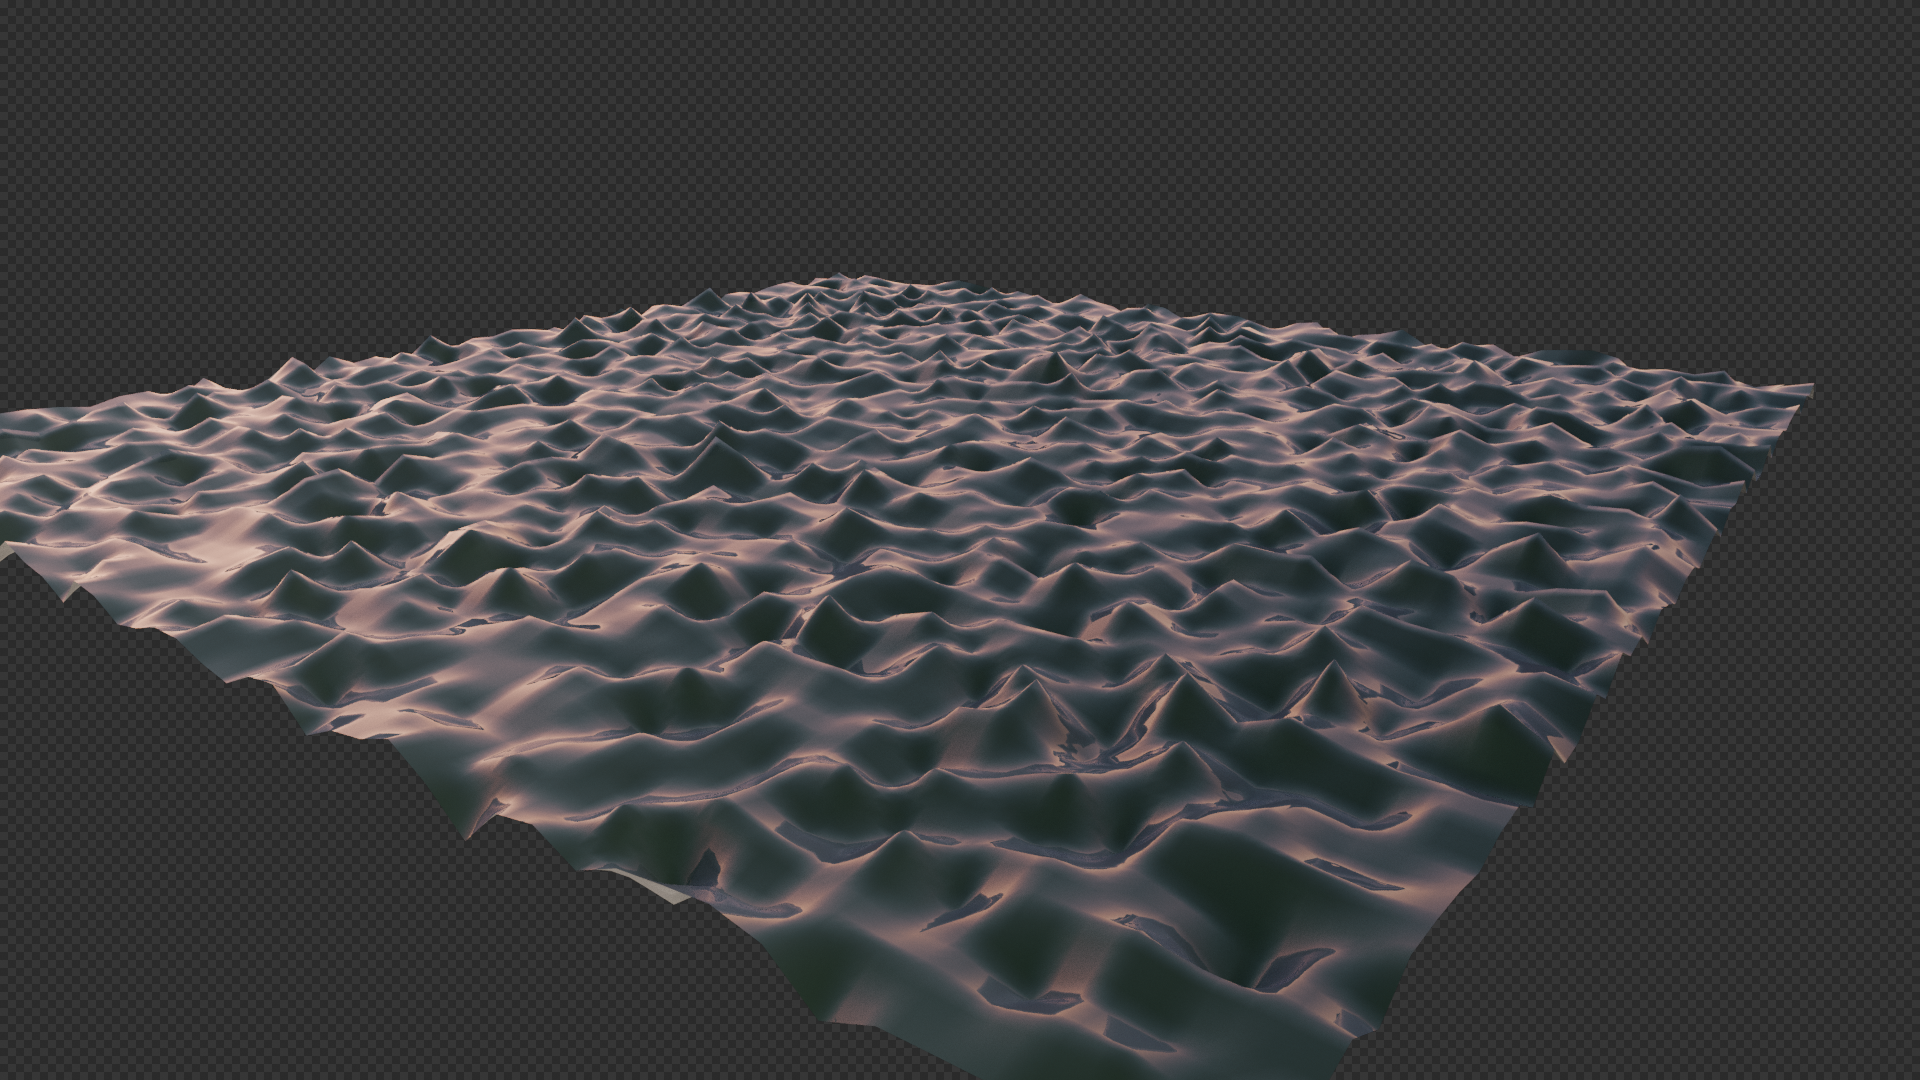
Procedural Water adds an animated, fully procedural water surface to Blender in one click, with a sidebar panel to control every part of it. It needs no textures, no imported meshes and no baking.
Each water object is built from three parts that the add-on creates and keeps in sync:
- Wave geometry: Blender's Ocean modifier generates the surface and the waves. The add-on's sliders drive it.
- Water shader: a node-based material gives depth colour, transparency, reflections, ripples and foam.
- Animation: two drivers read the timeline, so waves and ripples move when you play the animation. There is nothing to bake.
Every water object stores its own settings. You can put an ocean, a pond and a pool in the same scene and edit them independently.
What you get
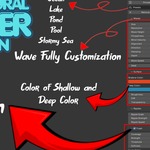
- 5 presets: Ocean, Lake, Pond, Pool and Stormy Sea
- 11 wave controls, 5 surface controls, 3 ripple controls and 6 foam controls
- Operators to add, apply a preset, randomize the seed and remove the water setup
2. Requirements and installation
The add-on is one file, procedural_water.py, and runs on Blender 3.6 or newer, including 4.x. Cycles gives the best-looking result; EEVEE works with some settings (see section 8).
Install
- Open Blender and go to Edit > Preferences > Add-ons.
- Click Install from Disk. In Blender 4.2 and newer it is in the small dropdown arrow at the top right. In older versions it is the Install button.
- Select
procedural_water.pyand confirm. - Tick the checkbox next to Add Mesh: Procedural Water to enable it.
Check that it worked
- In the 3D Viewport, open Add > Mesh. You should see Procedural Water with a wave icon.
- Press N to open the sidebar. A tab named Water should appear on the right edge.
Update or remove
- To update, install the newer file the same way. Blender replaces the old version.
- To remove, untick the add-on in Preferences and click Remove. Water objects already in your scene keep their modifier and material but lose the control panel.
3. Quick start
You can have moving water in about a minute. These steps use the default Ocean preset.
- Add the water. In the 3D Viewport choose Add > Mesh > Procedural Water. A flat plane named Water appears at the 3D cursor, and waves start generating immediately. The plane itself is only a carrier; the Ocean modifier creates the real surface.
- Open the panel. Press N and click the Water tab. Make sure the Water object is selected and active, because the settings only show for an active water object.
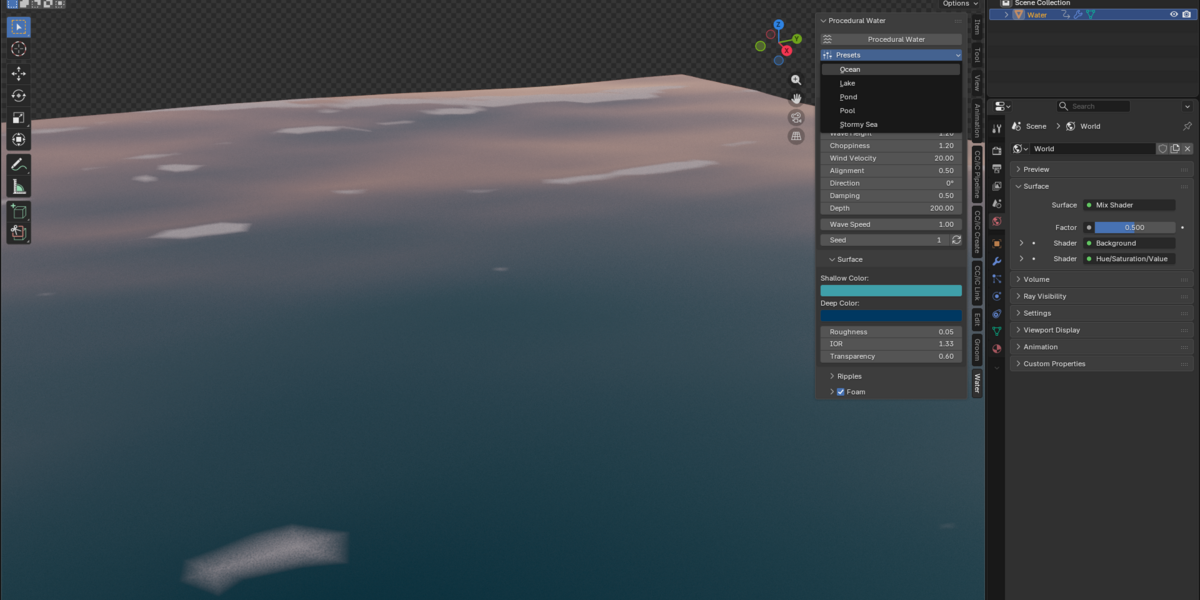
- Pick a look. Click Presets and choose one, for example Lake.
- Fine-tune. Open the Waves, Surface, Ripples and Foam sub-panels and move the sliders. Changes apply live.
- Preview the motion. Press Space to play the timeline. Waves and ripples move with the frame number.
To see the shader, switch the viewport to Material Preview (or Rendered with Cycles) using the shading buttons at the top right of the viewport.
Tip: after adding the water, open the small Adjust Last Operation panel in the bottom-left corner of the viewport. It lets you choose a different starting preset without using the sidebar.
4. The interface
Everything lives in one place: the Water tab of the 3D Viewport sidebar (press N). The main panel is always visible; the sub-panels appear only when the active object is a water object.
-
Procedural Water (main panel): open by default.
- Holds the Add button, the Presets menu and the Remove button.
-
Waves: open by default.
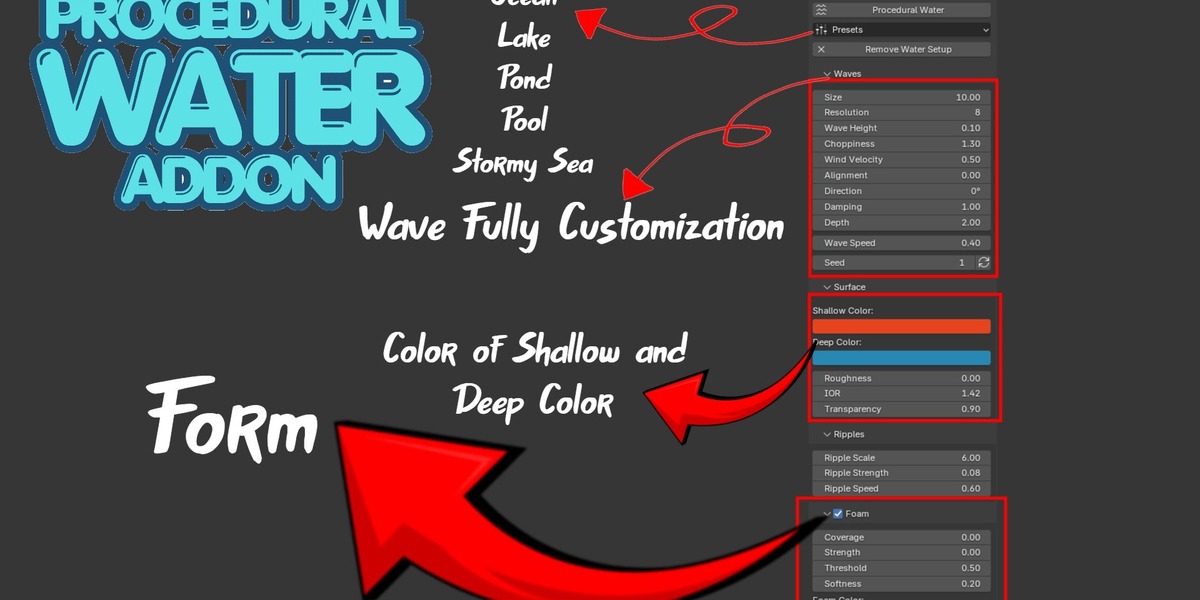
- Size, resolution, wave height, choppiness, wind velocity, alignment, direction, damping, depth, wave speed and seed.
-
Surface: open by default.
- Shallow colour, deep colour, roughness, IOR and transparency.
-
Ripples: closed by default.
- Ripple scale, strength and speed.
-
Foam: closed by default.
- An on/off checkbox in the header, then coverage, strength, threshold, softness and colour.
Main panel buttons
- Procedural Water: adds a new water object at the 3D cursor.
- Presets: a dropdown that applies one of the 5 presets to the active water object.
- Remove: strips the water setup from the active object (see section 8).
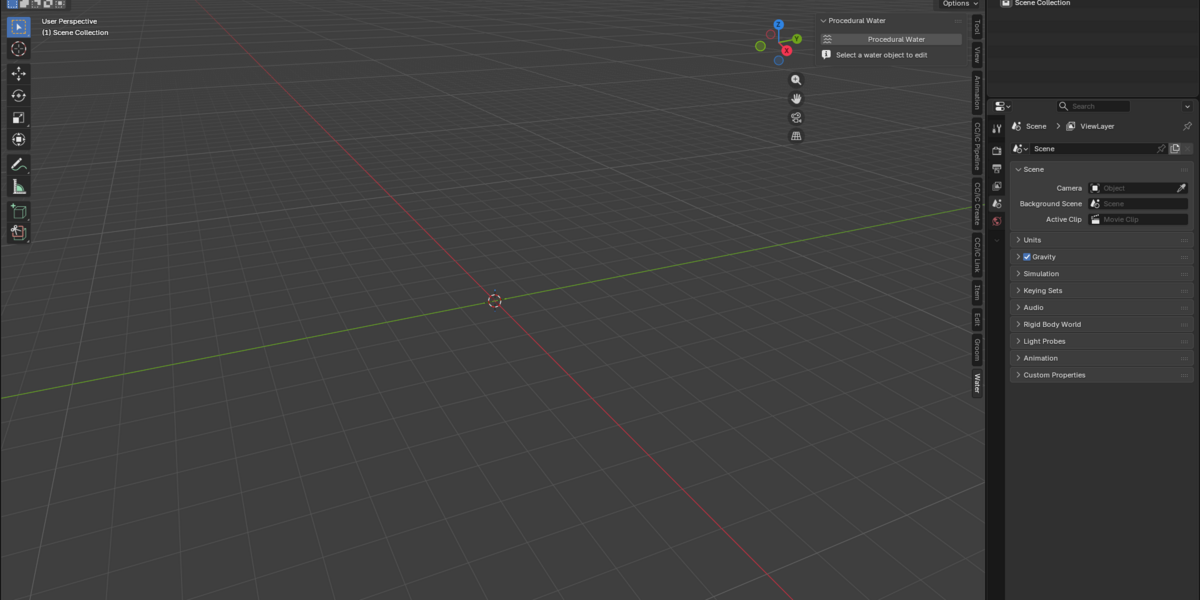
If you select any other object, the panel shows "Select a water object to edit" and the sub-panels disappear. Select the water object again to bring them back.
Where the settings are stored. The values are saved on the water object itself, so they travel with the .blend file and each water object has its own set.
5. Presets
Presets are complete starting points: pick one, then adjust. Applying a preset overwrites the wave, surface, ripple and foam values below. It does not change Direction, Seed, Foam Softness or Foam Color, so your direction and seed survive a preset change.
-
Ocean: open sea with whitecaps.
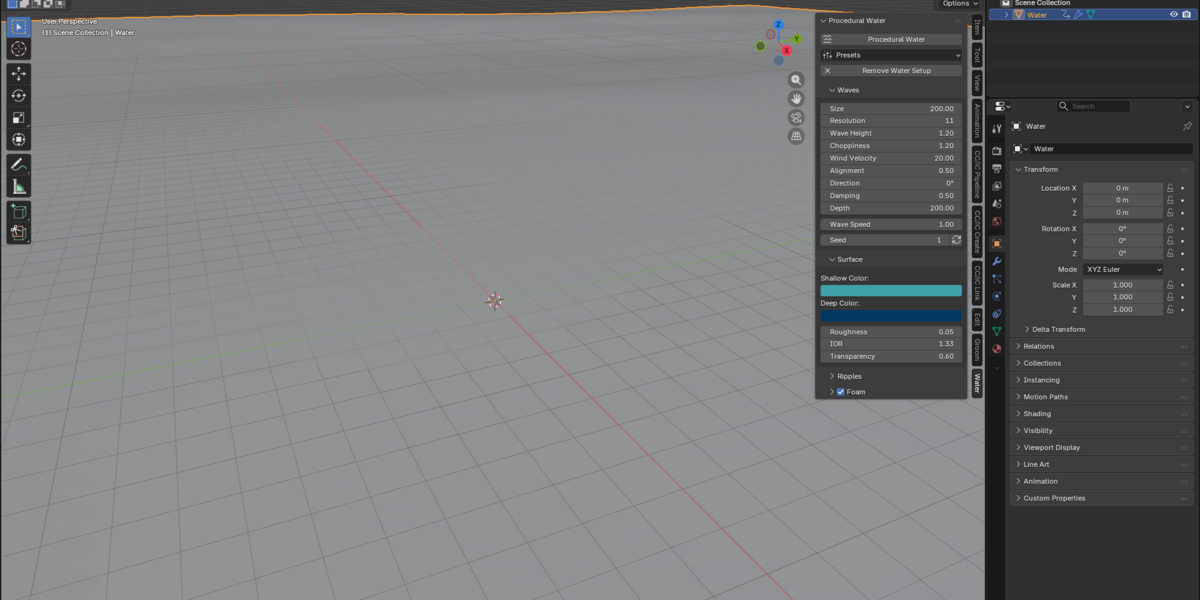
- Size 200 m, wave height 1.2, choppiness 1.2, wind 20.
- Foam on, coverage 0.1.
-
Lake: calm, large inland water.
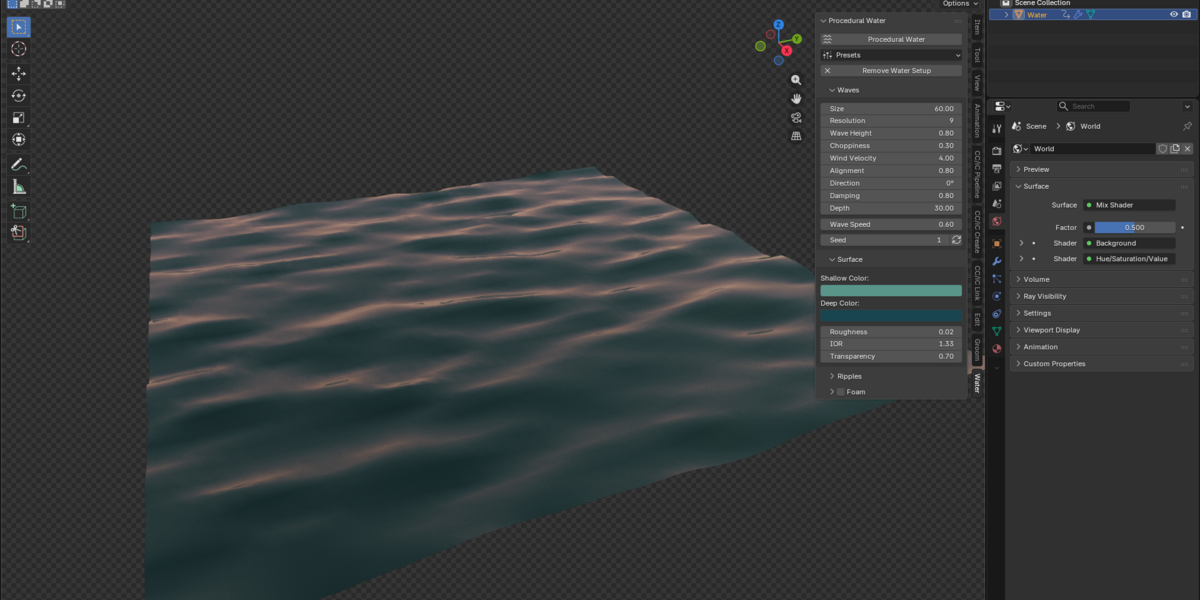
- Size 60 m, wave height 0.15, choppiness 0.3, wind 4.
- Foam off.
-
Pond: small, nearly still water.
- Size 15 m, wave height 0.03, choppiness 0, wind 1.
- Foam off.
-
Pool: clean blue pool water.
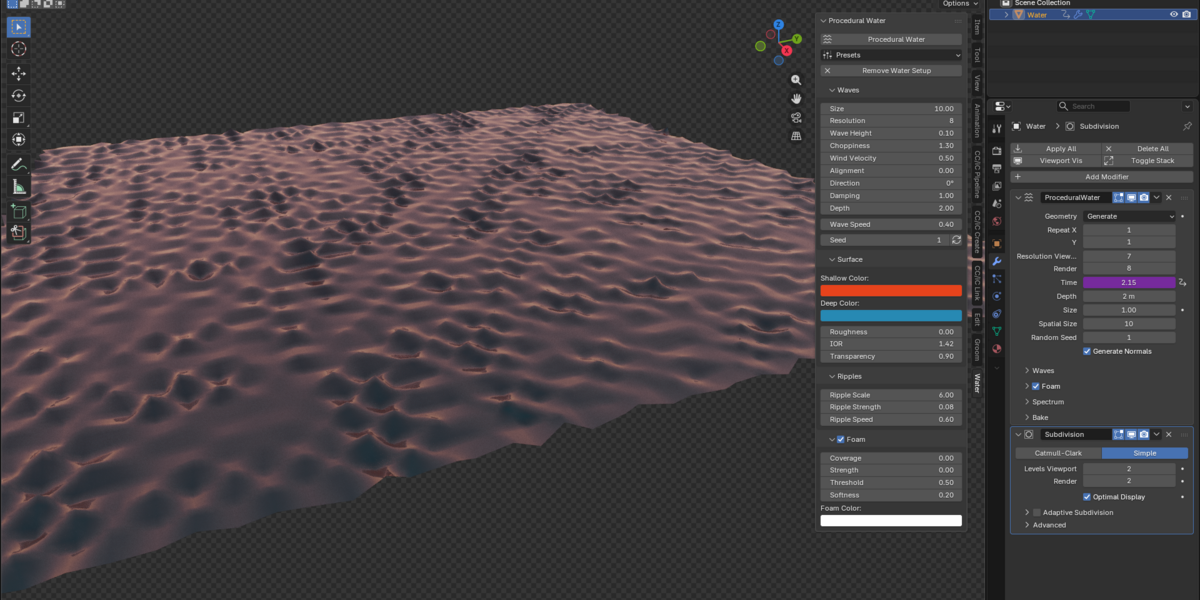
- Size 10 m, wave height 0.02, choppiness 0, wind 0.5.
- Foam off.
-
Stormy Sea: rough, foamy sea.
- Size 300 m, wave height 3.5, choppiness 2.0, wind 45.
- Foam on, coverage 0.35.
Colour and shader feel
- Ocean: teal shallow colour, very dark blue deep colour, transparency 0.6.
- Lake: green-blue, transparency 0.7.
- Pond: murky green, transparency 0.4, so you see little below the surface.
- Pool: bright cyan, roughness 0, transparency 0.9.
- Stormy Sea: dark grey-green, lower transparency 0.3, stronger ripples.
Two ways to apply a preset
- When adding: after Add > Mesh > Procedural Water, open the Adjust Last Operation panel and change Preset.
- Later: in the sidebar, use Presets with the water object active.
6. Waves settings
These 11 controls shape the geometry and motion of the surface. They are in the Waves sub-panel.
-
Size (1 to 2000 m)
- What it does: sets the width and length of the generated water surface.
- Advice: make it larger than your camera view. Large sizes with low Resolution look blocky.
-
Resolution (2 to 16)
- What it does: sets the mesh density of the surface.
- Advice: higher gives finer wave detail but slows the viewport a lot. Start at 8 to 10 and raise it only for final renders.
-
Wave Height (0 to 20)
- What it does: sets the overall height of the waves.
- Advice: at 0 the surface is flat. Raise it gently; 0.1 to 1.5 covers most scenes.
-
Choppiness (0 to 4)
- What it does: pushes wave crests sharper and makes them lean.
- Advice: low values give smooth rolling swells; high values give sharp, stormy crests and more foam.
-
Wind Velocity (0 to 100)
- What it does: sets the strength of the wind that builds the waves.
- Advice: higher wind produces longer, bigger waves. Combine it with Wave Height for control.
-
Alignment (0 to 1)
- What it does: sets how strongly waves line up with the wind direction.
- Advice: 0 is chaotic in all directions; 1 is long parallel swells.
-
Direction (angle)
- What it does: sets the direction the wind blows, in degrees.
- Advice: rotate it to change which way the swells travel.
-
Damping (0 to 1)
- What it does: reduces waves that travel against the wind.
- Advice: higher values make cleaner, more uniform waves.
-
Depth (0 to 1000 m)
- What it does: sets the water depth used by the wave simulation.
- Advice: deep water gives the classic ocean look. Small values (2 to 30) give shallow-water behaviour.
-
Wave Speed (0 to 10)
- What it does: sets the playback speed multiplier for the animation.
- Advice: 1 is normal speed, 0 freezes the water, 2 is double speed.
-
Seed (0 to 100000)
- What it does: sets the random starting pattern of the waves.
- Advice: change it, or click the refresh button next to it, to get a different wave pattern with the same settings.
How the settings work together
- Size and Resolution decide how much detail you get per metre. A 200 m surface at Resolution 10 has far less detail per metre than a 15 m pond at the same Resolution.
- Wave Height, Wind Velocity and Choppiness all make waves rougher. Change one at a time to see its effect.
- Wave Speed only affects playback. It does not change the shape of the waves.
Note: the size is rounded to a whole number of metres because the Ocean modifier only accepts whole sizes.
7. Surface, Ripples and Foam settings
These controls change how the water looks, not how it moves. They drive the material that the add-on built, so you see changes in Material Preview or Rendered view.
Surface
-
Shallow Color (colour)
- What it does: sets the colour seen mostly at glancing view angles.
- Advice: use lighter, brighter tones such as turquoise or green.
-
Deep Color (colour)
- What it does: sets the colour seen mostly when you look straight down.
- Advice: use darker tones such as navy or deep green.
-
Roughness (0 to 1)
- What it does: sets the sharpness of reflections.
- Advice: 0 to 0.05 gives mirror-like water. Raise it for a hazy or windy look.
-
IOR (1 to 2.5)
- What it does: sets the index of refraction, which controls how strongly the surface reflects and bends light.
- Advice: keep 1.333 for real water.
-
Transparency (0 to 1)
- What it does: sets how much light passes through the surface.
- Advice: 0 is opaque and 1 is nearly clear. Murky ponds suit 0.3 to 0.5; pools suit 0.8 to 0.9.
The two colours blend smoothly depending on the camera angle. This fakes the look of water getting darker with depth, without needing a volume.
Ripples
Ripples are fine surface detail added to the shading only. They do not change the geometry, so they cost almost nothing to render.
-
Ripple Scale (0.01 to 50)
- What it does: sets the size of the ripple pattern. Higher values give smaller, finer ripples.
- Advice: use 1 to 3 for open water and 5 or more for ponds and pools.
-
Ripple Strength (0 to 2)
- What it does: sets how strongly ripples bend reflections.
- Advice: 0.05 to 0.15 is subtle and realistic. Above 0.5 looks stormy or stylised.
-
Ripple Speed (0 to 10)
- What it does: sets how fast the ripple pattern evolves over time.
- Advice: 0 freezes the ripples while the waves keep moving.
Foam
Tick the checkbox in the Foam panel header to turn foam on. The remaining controls are greyed out while foam is off.
-
Coverage (-1 to 1)
- What it does: sets how much foam the Ocean modifier generates on wave crests.
- Advice: raise it for more foam. Negative values give less.
-
Strength (0 to 1)
- What it does: sets how visible the foam is, from invisible to fully white.
- Advice: lower it to make foam thinner and more transparent.
-
Threshold (0 to 1)
- What it does: sets how much foam data is needed before foam shows.
- Advice: lower it for more foam; raise it so only the sharpest crests get foam.
-
Softness (0 to 1)
- What it does: sets the width of the fade between no foam and full foam.
- Advice: low is a hard-edged foam; high is soft and misty.
-
Foam Color (colour)
- What it does: sets the colour of the foam.
- Advice: white by default; try a slight cream tint for a more natural look.
Getting foam to appear. Foam forms on sharp crests, so it needs enough Wave Height and Choppiness. If you see none, raise Choppiness first, then Coverage, then lower Threshold.
8. Animation, rendering and operators
The water animates automatically from the timeline, and the operators below manage each water object's setup.
Animation
- The wave time is driven by the current frame divided by 24, multiplied by Wave Speed. The ripple pattern uses the same formula with Ripple Speed.
- The 24 is fixed. If your scene runs at 30 or 60 fps, the water moves slightly faster or slower in real time. Compensate with Wave Speed (for example 0.8 at 30 fps).
- The drivers use simple expressions, so they work without enabling auto-run Python scripts.
- Water at frame 1 looks the same every time you open the file, because the pattern depends only on the frame and the seed.
- You can keyframe most other sliders (hover over a slider and press I). For example, key Wave Height and Wind Velocity to build a storm over time.
- Avoid keyframing Wave Speed itself. Because time is calculated from the absolute frame number, changing speed mid-animation makes the waves jump.
Rendering
- Cycles (recommended). Water looks best here. Use a Sun light plus an HDRI or sky, enable a denoiser, and raise Transmission bounces under Light Paths if the water looks too dark.
- EEVEE. Turn on reflections and refraction in the render settings (in Blender 3.x to 4.1 also tick Screen Space Refraction in the material settings; in 4.2 and newer, enable ray tracing). The add-on sets the material's render method for newer Blender versions automatically.
- Viewport speed. If the viewport is slow, lower Resolution while you work and raise it only for the final render.
Operators
-
Procedural Water
- Where: Add > Mesh, or the Add button in the Water tab.
- What it does: creates a plane named Water at the 3D cursor with the modifier, material and settings, using the Ocean preset by default.
-
Apply Preset
- Where: the Presets dropdown in the Water tab.
- What it does: overwrites wave, surface, ripple and foam values with a preset. Needs an active water object.
-
Randomize Seed
- Where: the refresh button next to Seed.
- What it does: picks a new random seed for a different wave pattern.
-
Remove Water Setup
- Where: the Remove button in the Water tab.
- What it does: deletes the Ocean modifier and the water material and clears the water flag. The plane object stays in the scene.
Editing things by hand
You can still open the Modifiers tab (the modifier is called ProceduralWater) or the Shader Editor to adjust settings the panel does not expose, such as the Ocean modifier's Repeat X and Y. Be aware that moving a panel slider re-applies its value to the same setting, so a manual change to a panel-controlled setting can be overwritten.
Making a second body of water. Use Add > Mesh > Procedural Water again instead of duplicating with Shift+D. A duplicate shares the original's material and drivers, which can make both objects affect each other.
9. Recipes
Each recipe starts from a preset and then changes a few settings. Treat the numbers as starting points and adjust to taste.
-
Tropical lagoon
- Start with: Lake.
- Changes: Shallow Color bright turquoise, Transparency 0.85, Roughness 0, Wave Height 0.1, Ripple Strength 0.08.
-
Realistic open ocean
- Start with: Ocean.
- Changes: Wave Height 1.5, Wind Velocity 25, Alignment 0.7, Choppiness 1.0, Foam Coverage 0.15. Rotate Direction so swells run across the camera view.
-
Storm at sea
- Start with: Stormy Sea.
- Changes: Foam Threshold 0.15, Ripple Strength 0.3. Keyframe Wind Velocity from 20 up to 45 across the shot.
-
Swimming pool
- Start with: Pool.
- Changes: Ripple Scale 8, Ripple Strength 0.1, Wave Height 0.03.
-
Muddy pond or river
- Start with: Pond.
- Changes: Shallow Color brown-green, Deep Color dark brown, Transparency 0.2.
-
Frozen moment
- Start with: any preset.
- Changes: Wave Speed 0 and Ripple Speed 0.
-
Slow motion
- Start with: any preset.
- Changes: Wave Speed 0.3 and Ripple Speed 0.15.
Making water look believable
- Lighting matters most. Use a Sun light at a low angle plus an HDRI or sky. Water mostly shows reflections, so a flat grey world makes it look dull.
- Hide the edges. Make Size large enough that the edge of the surface is outside the camera view, or hide it behind objects and a horizon.
- Keep the scale honest. A real lake rarely has waves taller than 0.3 m. Smaller Wave Height with finer ripples usually looks more realistic than big waves.
- Add something for scale. A boat, rocks or a pier help the water feel real.
- Use different seeds when you put several water objects near each other so the patterns do not match.
10. Troubleshooting, limitations and FAQ
Most problems come from the wrong object being selected, a setting at zero, or the viewport shading mode. Check these first.
Troubleshooting
-
No Water tab in the sidebar
- Likely cause: the add-on is not enabled, or the sidebar is hidden.
- Fix: enable it in Preferences > Add-ons, then press N with the mouse over the 3D Viewport.
-
Panel says "Select a water object to edit"
- Likely cause: a different object is active.
- Fix: click the water object in the viewport or Outliner. Objects not created by the add-on have no water setup.
-
Surface is flat
- Likely cause: Wave Height or Wind Velocity is 0.
- Fix: raise Wave Height and Wind Velocity, or apply the Ocean preset.
-
Water does not move
- Likely cause: the timeline is not playing, or Wave Speed is 0.
- Fix: press Space and check Wave Speed. Waves also look the same if you stay on one frame.
-
Water looks opaque or grey
- Likely cause: Solid shading mode.
- Fix: switch to Material Preview or Rendered view.
-
Water looks black in a render
- Likely cause: no light or reflections to see.
- Fix: add a Sun and an HDRI or sky, and raise Transmission bounces in Cycles.
-
No foam
- Likely cause: foam is off or the settings are too low.
- Fix: tick the Foam checkbox, then raise Choppiness and Coverage and lower Threshold.
-
Viewport is slow
- Likely cause: Resolution is too high.
- Fix: lower Resolution while working, and lower Size if you do not need it.
-
Waves look blocky or low detail
- Likely cause: Resolution is too low for the Size.
- Fix: raise Resolution or reduce Size.
-
Error when enabling the add-on
- Likely cause: Blender is older than 3.6, or the file is damaged.
- Fix: update Blender, reinstall the file, and open the system console (Window > Toggle System Console on Windows) to read the message.
Limitations
- Depth colour is faked. The shader blends two colours by view angle. There is no real underwater volume, no depth-based absorption and no seabed.
- No object interaction. There are no wakes, no shoreline foam and no splashes where water meets objects.
- Square surface. The generated surface is a square patch. Hide its edges with terrain, the horizon or a larger Size.
- Statistical waves. The Ocean modifier makes natural-looking waves from the settings, so you cannot place or sculpt individual waves.
- Fixed 24 fps timing. See the Animation section for how to compensate.
- Whole-metre size. The Ocean modifier only takes whole-number sizes.
- Version coverage. The add-on is written for the Blender 3.6 and 4.x Python API, but has not yet been tested in every version. If you hit an error, send the console message so it can be fixed.
FAQ
Can I use my own mesh as the water? Not directly. The Ocean modifier generates its own surface and ignores the shape of the base mesh, so the add-on always creates its own plane.
Can I export the water to a game engine? The shader and drivers do not export. To export the geometry, apply the Ocean modifier at the frame you want (the modifier's dropdown menu > Apply), then export the resulting mesh.
Can I have several waters in one scene? Yes. Each one added from the menu has its own settings and material.
Will my settings survive saving and reopening? Yes. They are stored in the .blend file on the water object.