 Sonneblom Digitaal
What it does
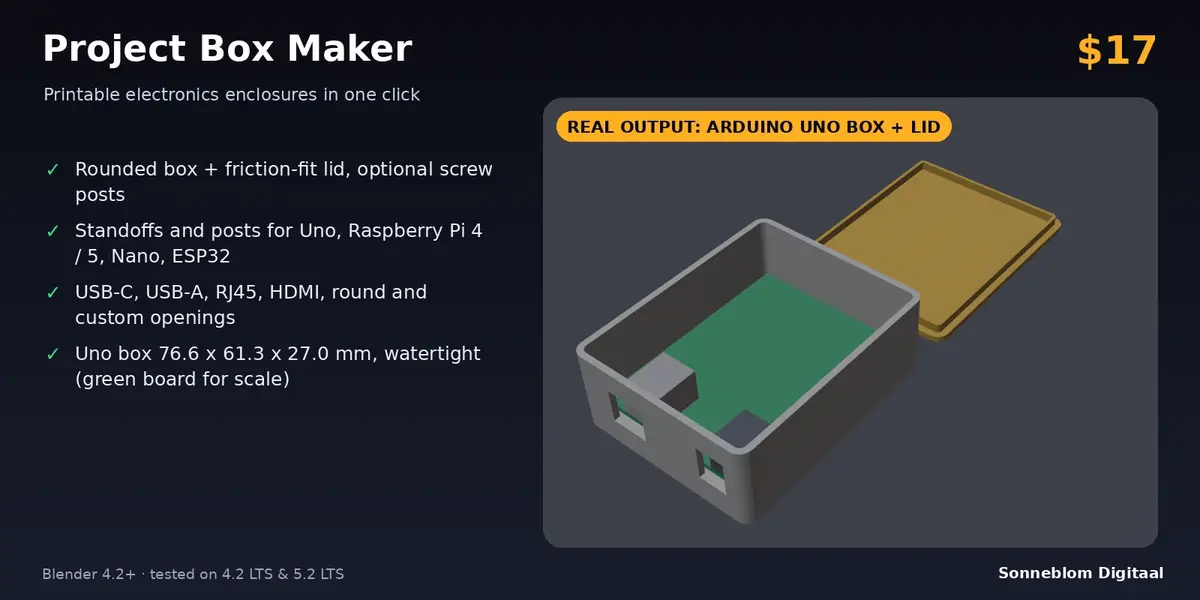
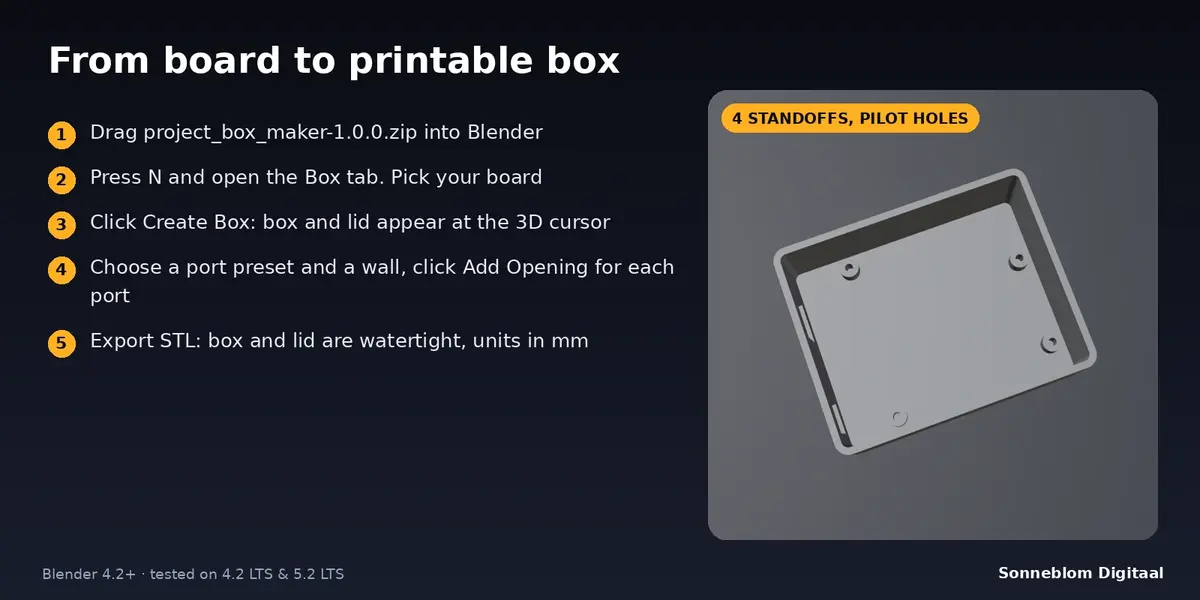
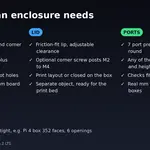
Project Box Maker builds a printable enclosure for your electronics project in one click: a rounded box with wall and floor, a lid with a friction-fit lip (optionally held by corner screw posts), standoffs placed from presets for the Arduino Uno, Raspberry Pi 4 and 5, Arduino Nano and ESP32 DevKitC, and port openings (rectangular or round) on any wall. Everything is real geometry in millimetres: the box and the lid are separate, closed (watertight) meshes that you can export as STL or 3MF straight away.
Who it's for
Makers who design their own cases for Arduino, Raspberry Pi and ESP32 projects, sensor nodes, controllers and small gadgets, and who would rather not open a CAD program for a simple box. Also useful for anyone who needs a quick, correctly sized housing with screw posts and cutouts for a lab, a classroom or a product prototype.
Key features
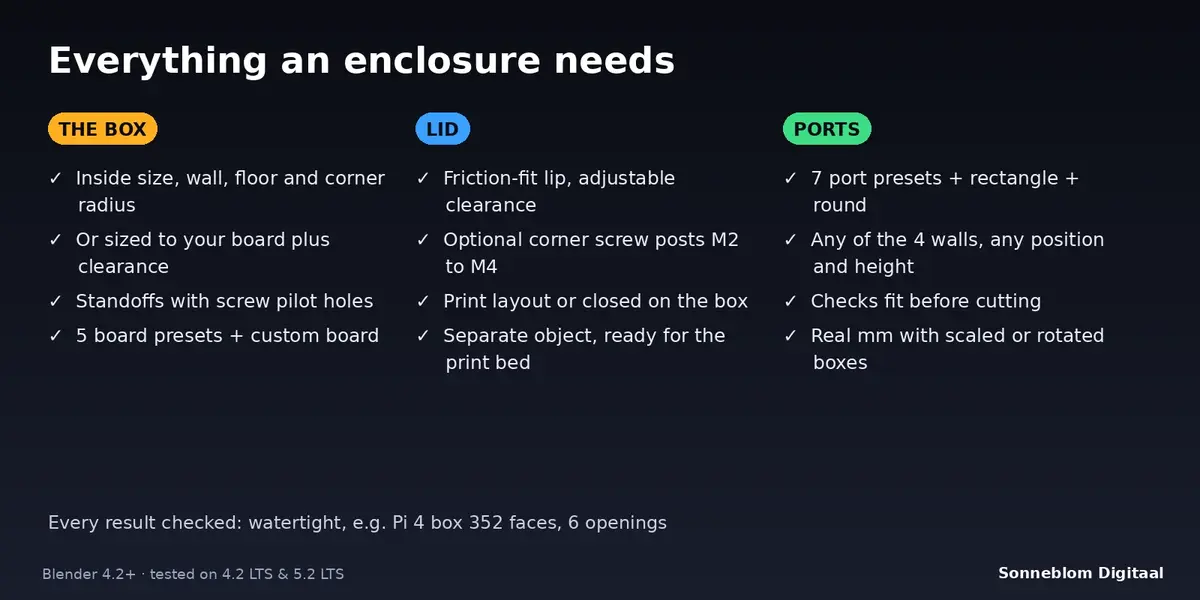
- Rounded box: inside length, width and height, wall, floor, corner radius and corner smoothness are all settings. The box sits on the 3D cursor with its underside at z = 0.
- Board presets: Arduino Uno R3 (four M3 standoffs), Raspberry Pi 4 and 5 (four M2.5 standoffs on the 58 x 49 mm pattern), Arduino Nano and ESP32 DevKitC (these boards have no mounting holes, so you get four plain support posts under the corners) and a custom board with your own size and corner holes. The box can be sized to the board plus a clearance you choose, or you set the inside size and the board is centred.
- Standoffs with pilot holes for M2, M2.5, M3 or M4 self-tapping screws, with adjustable height.
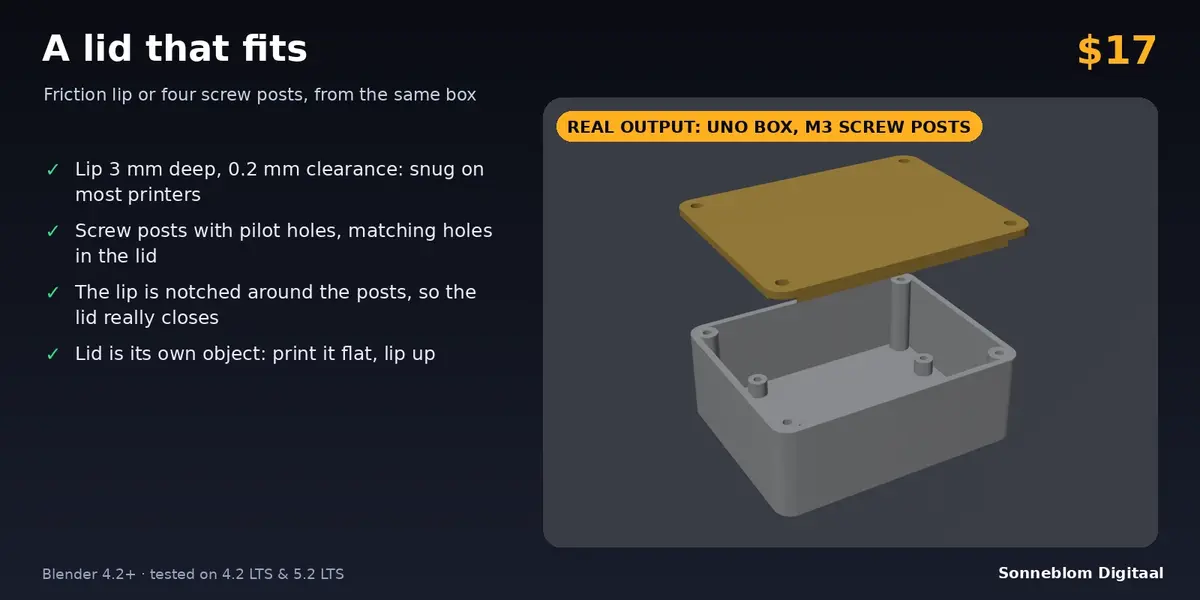
- Lid with friction lip: lid thickness, lip height, lip thickness and the lip clearance (default 0.2 mm) are settings. The lid is its own object, either beside the box for printing (flat side down, lip up) or turned over on the box.
- Screw posts: four corner posts with pilot holes, matching clearance holes in the lid and notches in the lip around them.
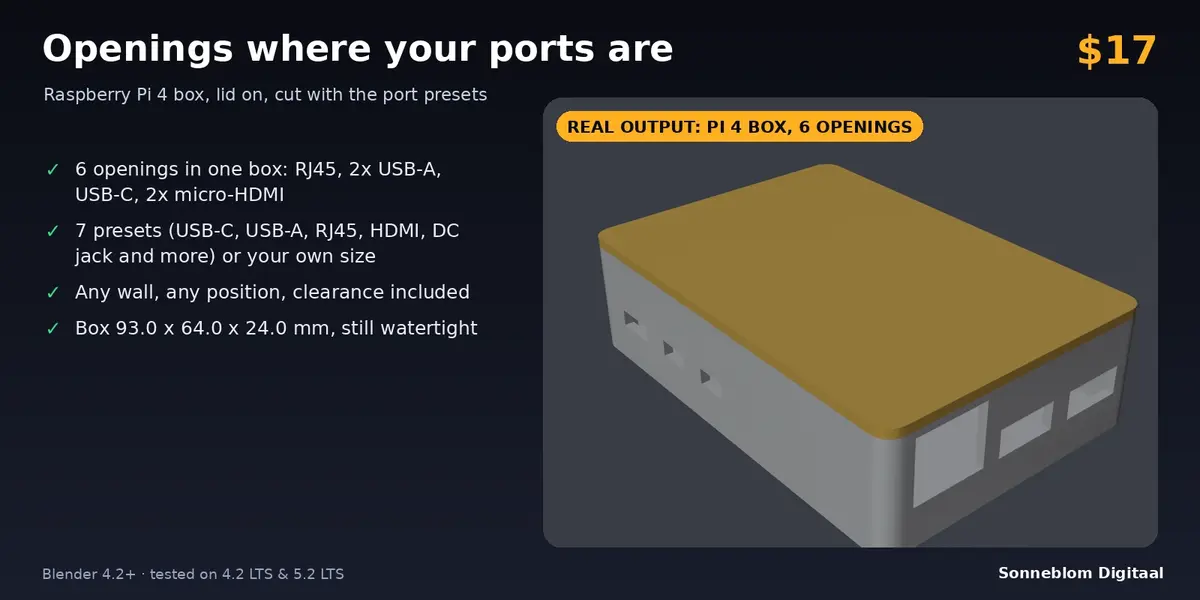
- Port openings: presets for USB-C, Micro-USB, USB-A, Ethernet RJ45, HDMI, Micro-HDMI and a DC barrel jack, plus your own rectangle or round opening. Choose the wall, the position along it and the height above the floor. Add as many as you need, one after the other.
- Checks before cutting: an opening that would not fit on the wall, would cut into the floor or the rim, screw posts that collide with standoffs, or a board that does not fit are refused with a clear message.
- Units you can trust: works with Scene Units or a fixed 1 mm, 1 cm, 1 m or 1 inch per Blender unit, and openings keep their size in millimetres even on an object with unapplied scale or rotation.
- Undo (Ctrl+Z) and a short report with the sizes after every action.
How to use
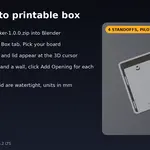
- Install the zip, press N in the 3D Viewport and open the Box tab. Set 1 Blender unit = to 1 mm if your scene is not already in millimetres.
- Pick your Board (or No board and type the inside size), then set wall, lid and screw posts if you want them.
- Click Create Box. The box and the lid appear at the 3D cursor.
- With the box active, choose a wall and a port preset (or your own size), set the position and height, and click Add Opening. Repeat for every port.
- Select the box and the lid and export STL or 3MF for your slicer.
Compatibility
Blender 4.2 LTS or newer, tested on 4.2 LTS and 5.2 LTS. It installs as a Blender extension (Get Extensions > Install from Disk), and a legacy add-on zip is included.
Good to know
- The board presets use the published outline and hole positions of each board. The add-on does not know where the connectors of your particular board sit, so you set the position and height of every opening yourself; the panel shows the height of the board's top surface.
- The Arduino Nano and ESP32 DevKitC presets give four plain support posts, not pins or screw holes: these boards have no mounting holes. Many ESP32 boards differ in size, so check yours or use the custom board.
- The board itself is not modelled. Openings can be added to boxes made with Create Box only (they carry their size as custom properties); the lid does not get openings.
- Openings must lie on the straight part of a wall, above the floor and at least 0.8 mm below the rim. Rounded corners are not cut into.
- Fit depends on your printer: 0.2 mm lip clearance is a snug fit on a well-tuned FDM printer; raise it if the lid is too tight. Always print a small test first.
- Sizes are set in millimetres in the panel whatever the scene units are. In Blender's default scene (1 unit = 1 metre) a 74 mm box is 0.074 units wide; set 1 Blender unit = to 1 mm to work in plain numbers.
Support
Questions or a bug? Use the Superhive product page messages and we reply within a day.