Project Box Maker
 Sonneblom Digitaal
Project Box Maker 1.0.0
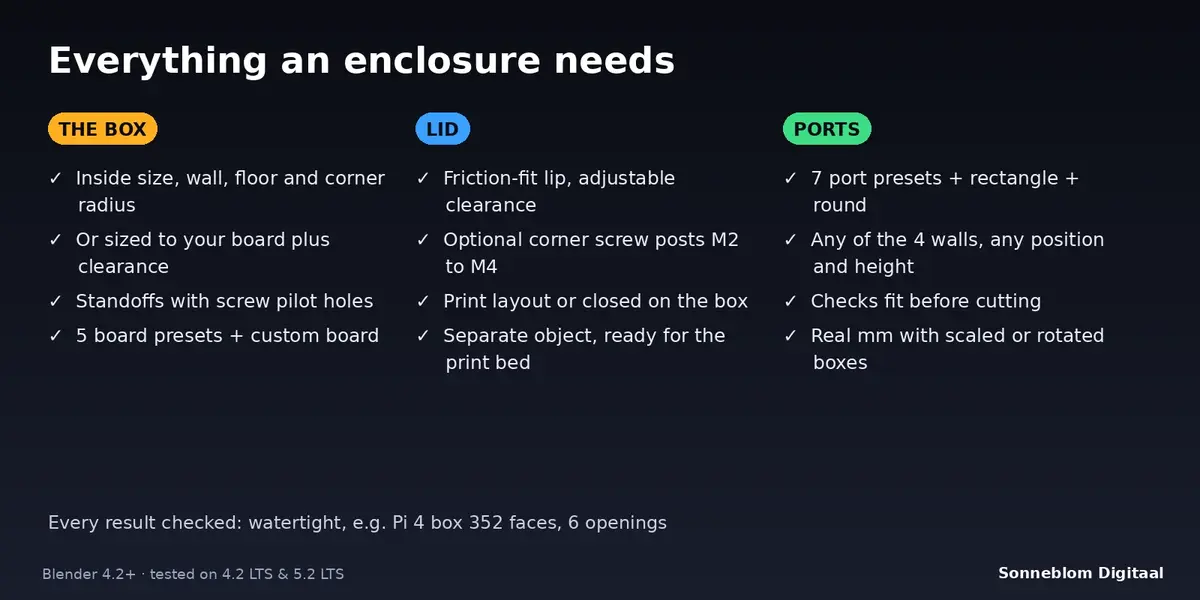
Create a printable enclosure with a lid, PCB standoffs and port openings for Arduino, Raspberry Pi and ESP32 projects. Blender 4.2 LTS or newer, tested on 4.2 LTS and 5.2 LTS.
Install
-
Extension zip (recommended):
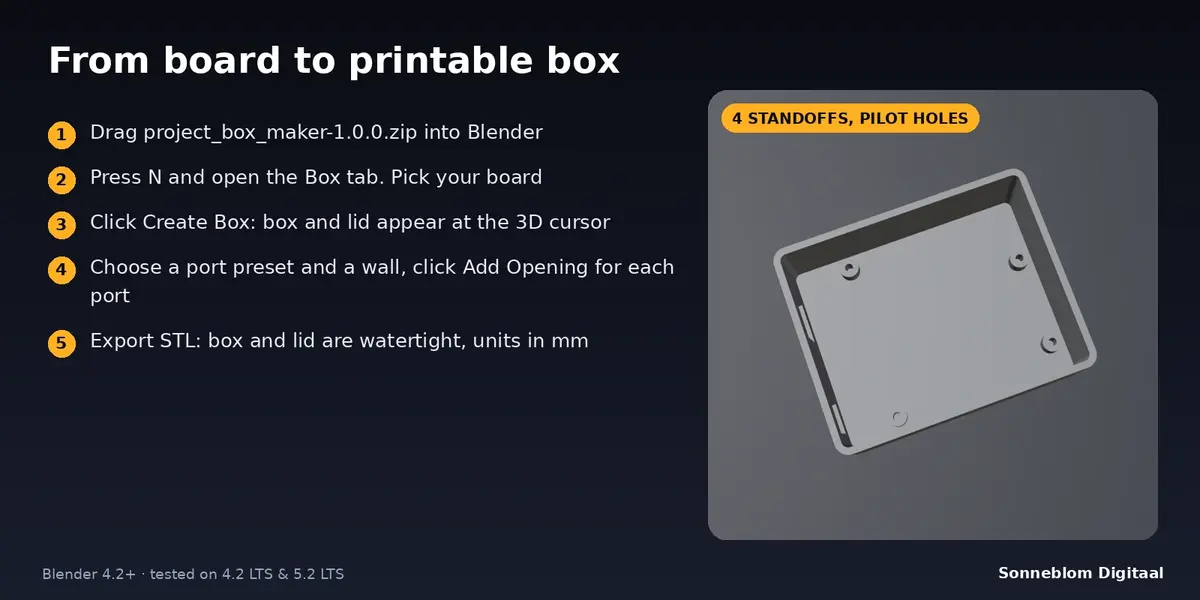
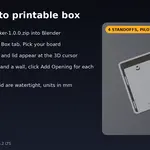
project_box_maker-1.0.0.zip. Drag it into Blender, or go to Edit > Preferences > Get Extensions, open the drop-down at the top right and choose Install from Disk. -
Legacy zip:
project_box_maker-1.0.0-legacy.zip. Go to Edit > Preferences > Add-ons > Install from Disk, then tick Project Box Maker.
The panel is in the 3D Viewport sidebar. Press N and open the Box tab.
Make a box, step by step
- Set 1 Blender unit =. Blender's default scene counts 1 unit as 1 metre, so a 74 mm box would be 0.074 units wide. Choose 1 mm to work in millimetres, or set Scene > Units > Unit Scale to 0.001. The line under it shows how many millimetres one unit is.
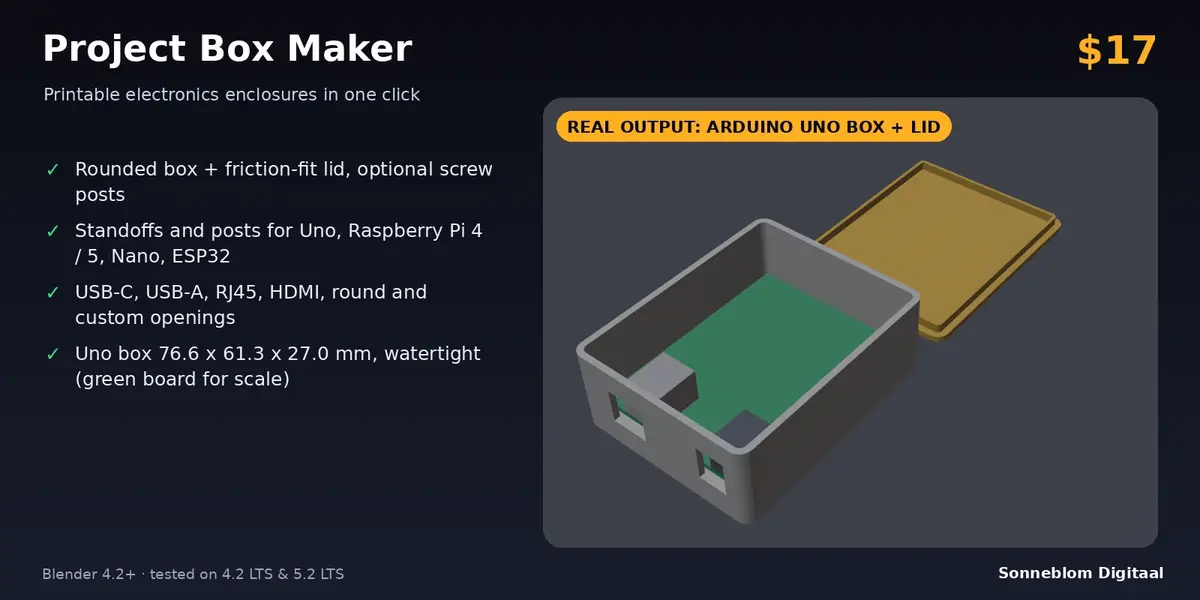
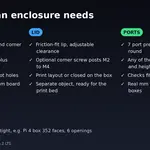
- Choose the Board. With Fit box to board on, the inside is the board plus the Board clearance on every side, and the standoffs are placed under the board's mounting holes (or its corners for the Nano and ESP32). With No board, or with Fit box to board off, set the inside length and width yourself (the board is centred).
- Set the Inside height, wall, floor and corner radius. The panel shows the outside size and the height of the board's top surface above the underside, or the reason why the settings do not work (for example a corner radius that is too large).
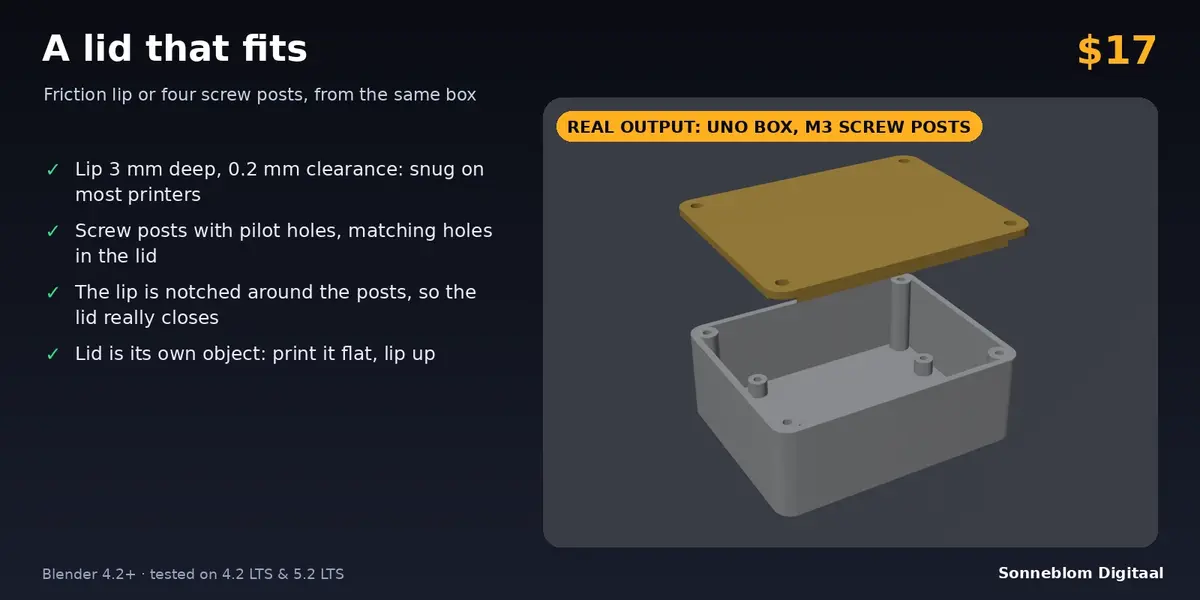
- Leave Make lid on. Choose Beside, for printing (the lid lies next to the box, flat side down, lip up) or On the box (closed) (turned over, to check the fit). Tick Screw posts to add four corner posts and choose the screw size.
- Click Create Box. The box and the lid are created at the 3D cursor; the box stays selected and active. The report lists the sizes. Ctrl+Z undoes the whole step.
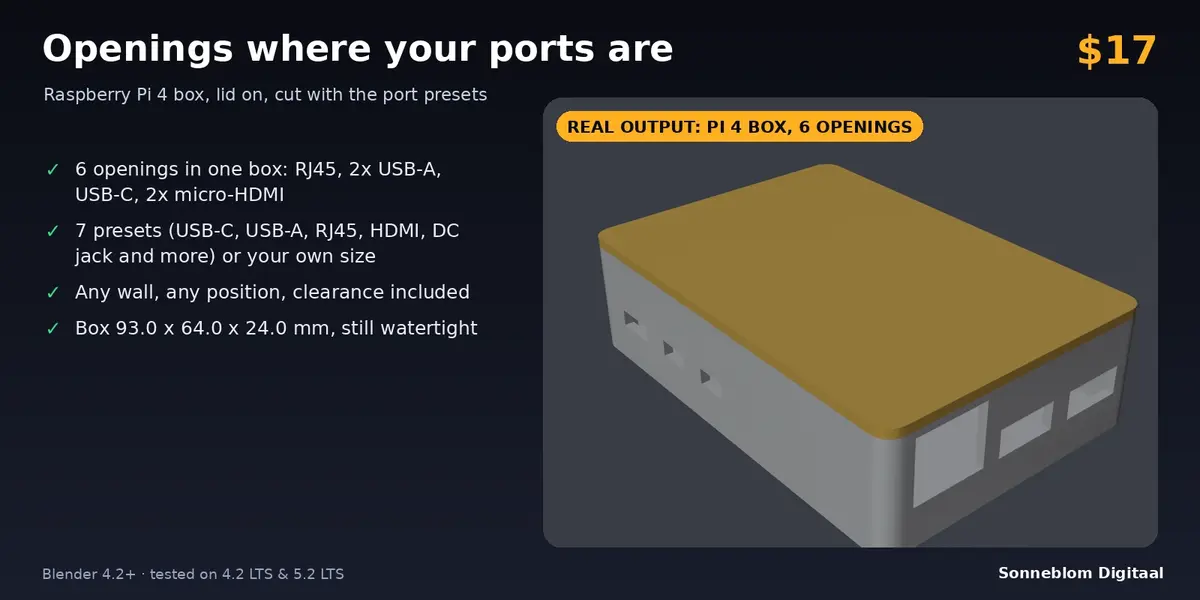
- For every port: make the box active, choose a Side and an Opening preset (or Rectangle / Round with your own size), set the Position along wall (from the middle of the wall; positive is towards +X on the front and back walls and +Y on the left and right walls) and the Height above floor (centre of the opening, measured from the top of the floor), then click Add Opening. The opening is cut through the wall and the report shows the size and the volume removed.
- Select the box and the lid and export STL or 3MF. With 1 unit = 1 mm the sizes in your slicer match the report.
Settings
| Setting | Default | What it does |
|---|---|---|
| 1 Blender unit = | Auto (scene units) | Auto reads Scene > Units (unit scale 0.001 = 1 unit is 1 mm). Or fix it to 1 mm, 1 cm, 1 m or 1 inch. |
| Name | Project Box | Name of the box object; the lid is called '<name> Lid'. |
| Board | Arduino Uno R3 | No board, Uno, Nano, Raspberry Pi 4, Pi 5, ESP32 DevKitC or a custom board. |
| Board length / width (custom) | 60 / 40 mm | Size of a custom board. |
| Mounting holes (custom) | on | Four holes at the same distance from the corners; off gives four plain support posts. |
| Hole inset (custom) | 3.5 mm | Distance of the hole centres from the board edges. |
| Hole screw (custom) | M3 | Sets the pilot hole of the standoffs. |
| Fit box to board | on | Inside size = board + clearance on every side. Off: use the inside size below, board centred. |
| Board clearance | 2.0 mm | Free space between board edge and inner wall. |
| Inside length / width | 70 / 50 mm | Used with no board or with Fit box to board off. |
| Inside height | 25 mm | Free height above the floor. |
| Wall / Floor | 2.0 / 2.0 mm | Thickness (minimum 0.8 mm). |
| Corner radius | 3.0 mm | Outside radius of box and lid. |
| Corner segments | 6 | Segments per rounded corner. |
| Standoff height | 5.0 mm | Height above the floor. The board top is at floor + standoff + 1.6 mm. |
| Make lid | on | Creates the lid as its own object. |
| Lid position | Beside, for printing | Beside the box (flat side down, lip up) or closed on the box. |
| Lid thickness | 2.0 mm | Thickness of the lid plate. |
| Lip height / thickness | 3.0 / 1.2 mm | How far the lip reaches into the box, and its wall thickness. |
| Lip clearance | 0.2 mm | Gap between lip and inner wall; raise it if the lid is too tight. |
| Screw posts | off | Four corner posts with pilot holes, clearance holes in the lid, notches in the lip. |
| Lid screw | M3 | M2, M2.5, M3 or M4. |
| Side | Front (-Y) | Wall for the opening: front -Y, back +Y, left -X, right +X. |
| Opening | USB-C | Port preset, Rectangle (own size) or Round (own diameter). |
| Width / Height / Diameter | 10 / 5 / 6 mm | Own opening sizes. |
| Position along wall | 0 mm | From the middle of the wall; positive = towards +X (front, back) or +Y (left, right). |
| Height above floor | 8 mm | Height of the opening's centre above the top of the floor. |
| Clearance | 0.3 mm | Added to the width and height of the opening. |
Boards
| Board | Size | Standoffs |
|---|---|---|
| Arduino Uno R3 | 68.6 x 53.3 mm | 4 standoffs, M3 pilot hole 2.5 mm |
| Arduino Nano | 43.2 x 18.5 mm | 4 plain support posts (no mounting holes) |
| Raspberry Pi 4 | 85 x 56 mm | 4 standoffs, M2.5 pilot hole 2.0 mm, 58 x 49 mm pattern |
| Raspberry Pi 5 | 85 x 56 mm | same as Pi 4 |
| ESP32 DevKitC | 54.4 x 27.9 mm | 4 plain support posts (no mounting holes) |
The board's long side runs along X. Standoffs are round with an outside diameter of the pilot hole plus 3.5 mm (Uno 6.0 mm, Pi 5.5 mm); support posts are 4 mm round. The pilot hole is up to 8 mm deep and never breaks through the floor. Screw posts have an outside diameter of the pilot hole plus 4.0 mm (M3: 6.5 mm) and reach the rim so the lid rests on them.
Screws
| Screw | Pilot hole (box) | Clearance hole (lid) |
|---|---|---|
| M2 | 1.6 mm | 2.4 mm |
| M2.5 | 2.0 mm | 2.9 mm |
| M3 | 2.5 mm | 3.4 mm |
| M4 | 3.3 mm | 4.5 mm |
Port presets
| Opening | Nominal size | Clearance |
|---|---|---|
| USB-C | 9.0 x 3.3 mm | + clearance |
| Micro-USB | 7.8 x 3.0 mm | + clearance |
| USB-A | 13.2 x 5.8 mm | + clearance |
| Ethernet RJ45 | 16.0 x 13.6 mm | + clearance |
| HDMI | 15.2 x 6.0 mm | + clearance |
| Micro-HDMI | 6.8 x 3.2 mm | + clearance |
| DC barrel jack | round, 8.0 mm | + clearance |
The sizes are the common receptacle outlines. Check them against your parts and use Rectangle or Round for anything else.
Tips
- Print the lid first as a fit test: if it is too tight raise Lip clearance (0.3 to 0.4 mm), if it is loose lower it or make the lip taller.
- Choose On the box (closed) to look at the assembled result, then create again with Beside, for printing for the print files.
- Openings: put the Height above floor at the standoff height + 1.6 mm (board thickness) + half the opening height to line connectors up with the board top.
- Screw posts need room: with a Raspberry Pi board raise the Board clearance (for example to 8 mm) or the add-on tells you the posts collide with the standoffs.
- The box and lid are plain meshes: add a Bevel, text or vents with Blender's own tools afterwards. Add the openings first, before editing the box.
Limits
- Openings can be added only to boxes made with Create Box, one box (the active object) at a time, in Object Mode. The mesh must still be closed.
- Openings must be on the straight part of a wall, above the floor and at least 0.8 mm below the rim. The lid gets no openings.
- The Arduino Nano and ESP32 presets give plain support posts because these boards have no mounting holes.
- The cutter reaches 0.25 mm into the box, so a post standing right against the wall behind an opening is notched by up to that much.
- Wall, floor and lid thickness are at least 0.8 mm; the sizes you type are in millimetres, never in Blender units.
Troubleshooting
- The box is tiny in the viewport. Set 1 Blender unit = 1 mm (see above).
- A red message appears. Read it: it names the setting to change. Nothing is created or changed when a check fails.
- Add Opening says the box was not made with Project Box Maker. Select the box (not the lid) that Create Box made.
Uninstall
Edit > Preferences > Get Extensions (or Add-ons) > Project Box Maker > Remove. Boxes you made stay in your files, they are normal meshes.
Changelog
1.0.0: first release.
Licence
GPL-3.0-or-later. Made by Sonneblom Digitaal.
Have questions about this product?
Login to message
| Blender Extension Compatible | Yes |
| Published | about 9 hours ago |
| Blender Version | 4.2 - 5.2 |
| Extension Type | Add-on |
| License | GPL |
Discover more products like this
Electronics enclosure lid raspberry pi esp32 Arduino standoffs 3d printing