 MNC Development
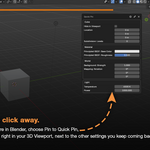
Your settings, one click away.
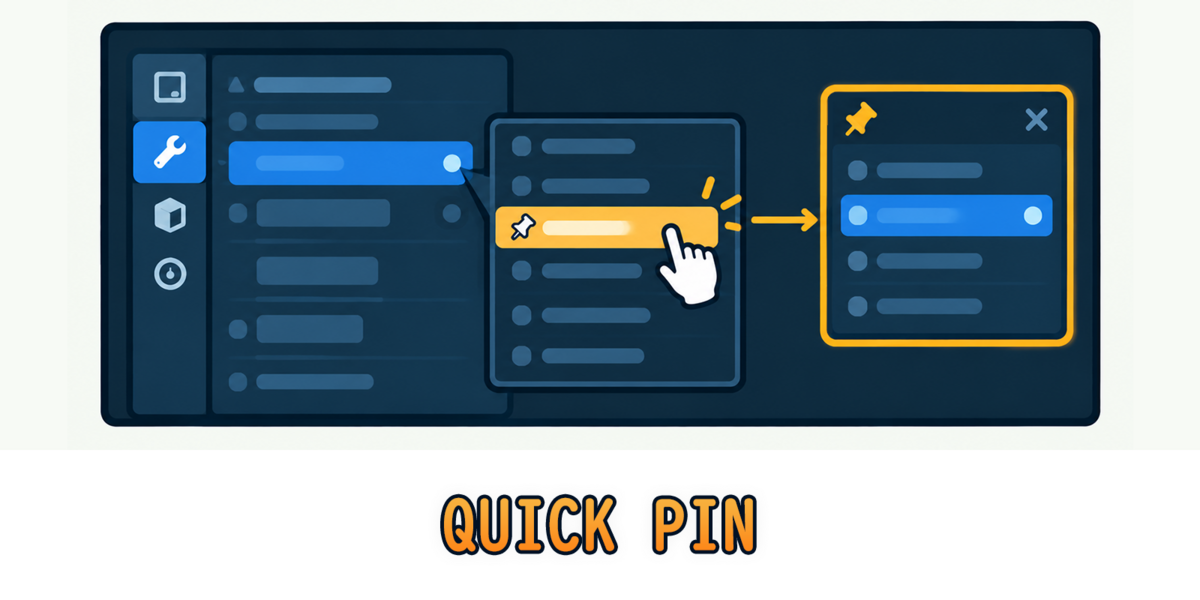
Right-click any property, choose Pin to Quick Pin, and it joins a floating panel that stays open while you work in the viewport.
The samples live in the Render tab, the light power in the Object Data tab, the subdivision levels in the Modifiers tab. Tweaking all three means clicking from tab to tab, scrolling, and finding the same field again — over and over.
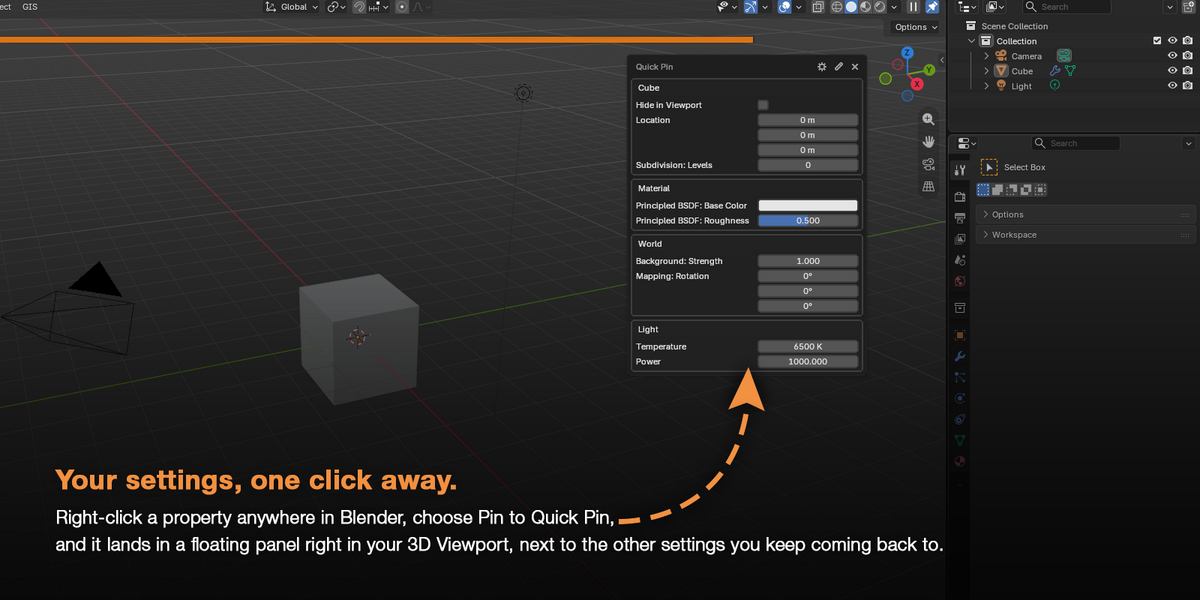
Quick Pin gathers them. Right-click a property anywhere in Blender, choose Pin to Quick Pin, and it lands in a floating panel right in your 3D Viewport, next to the other settings you keep coming back to.
Changed your mind? Right-click the same property and choose Unpin from Quick Pin.
If it has a right-click menu, it can most likely be pinned.
Quick Pin follows each property back to where it really lives, so the pin keeps working wherever you found it:
| Render settings | Samples, device, motion blur and the rest of the scene settings |
| Objects and lights | Location, rotation, scale, light power and color |
| Modifiers and nodes | Subdivision levels, a Principled BSDF roughness, the strength of your World background |
| Viewport settings | Overlays, X-Ray, shading — always applied to the viewport you are working in |
| Outliner toggles | Hide in Viewport and Disable in Renders, for objects and collections |
| Preferences | Blender's own preferences, such as the interface Resolution Scale |
Pins point to the data itself, not to a name: rename an object and its pins keep working.
The panel is drawn right in the 3D Viewport and stays open while you select, orbit and model. Drag its title bar to put it wherever suits you, and close it with the × when you're done.
| Header button | The pin icon in the viewport header shows or hides the panel |
| P | Opens it under the mouse — from another editor, it opens in your main viewport |
| Title bar | Drag to move the panel |
| × | Close it |
It uses your theme's colors and fonts, so it looks like it has always been part of Blender. Like the viewport gizmos, it hides when gizmos are turned off.
Nothing new to learn: every value behaves the way it does in the Properties editor.
Numbers follow your scene units, so a location reads exactly the same in Quick Pin and in the Transform panel — meters, centimeters, feet or degrees. Dragging moves values at Blender's own pace, and vectors show one component per line, just like the native panels.
| Drag | Change a number, at the same speed as Blender's fields |
| Shift | Ten times finer while dragging |
| Ctrl | Snap to round values — whole meters, 10° steps |
| Click | Type an exact value, confirm with Enter |
| Lists and colors | Open Blender's own dropdown and color picker |
| Checkboxes | Toggle with a single click |
Hover a value for its description tooltip, and undo any change with Ctrl+Z like everywhere else.
Twenty pins should not mean twenty lines of noise.
Pins are grouped under what they belong to — your scene, the Cube, the Light, a material, the 3D Viewport — and get clear names on their own, like Subdivision: Levels or Principled BSDF: Roughness. Click the pencil to switch to edit mode:
| Rename | Give a pin your own name, or leave it empty to keep the property name |
| Reorder | Move pins within their group, and move whole groups |
| Unpin | Remove a single pin, or everything at once after a confirmation |
| Remove Unavailable | Clear the pins whose object, modifier or node no longer exists |
Delete an object, a modifier or a node and nothing breaks: its pins are simply marked as unavailable and can be removed in one click.
Closed the file without saving? Your pins are still there.
Each blend-file keeps its own pins. They are saved with the file, and Quick Pin also remembers them on its own: pin, rename or reorder, close without saving, and the next time you open that file, everything is exactly where you left it.
Prefer a clean slate every time? Switch off Remember Pins in the preferences.
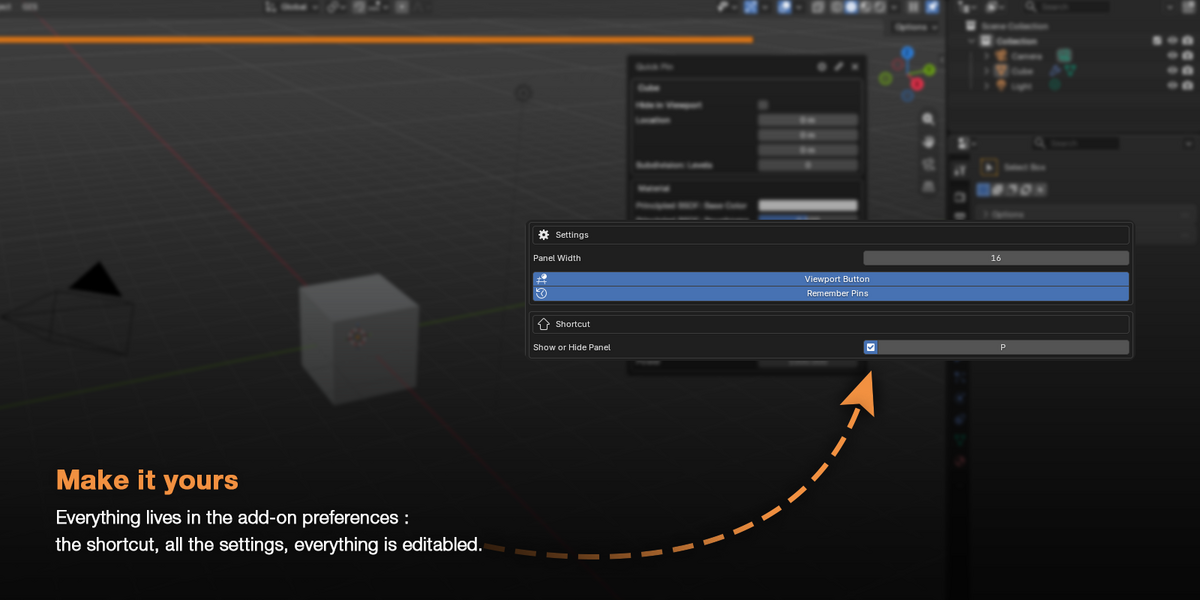
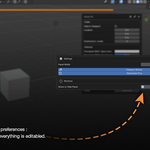
Everything lives in the add-on preferences — the gear in the panel takes you straight there.
The shortcut is one click away: click it, press the key or combination you want, and it's yours. One click brings the default back.
| Panel Width | How wide the floating panel is — 16 by default |
| Viewport Button | Show the pin button in the 3D Viewport header — on by default |
| Remember Pins | Bring the pins of each file back, even when it was not saved — on by default |
| Shortcut | P by default |
| BY HAND | WITH QUICK PIN |
| Jump between the Render, Object Data and Modifiers tabs | Every setting you tweak sits in one panel |
Pin it once, reach it every time.