Quick Presentation - Create Your Presentation Exports Fast
 ThriftBlend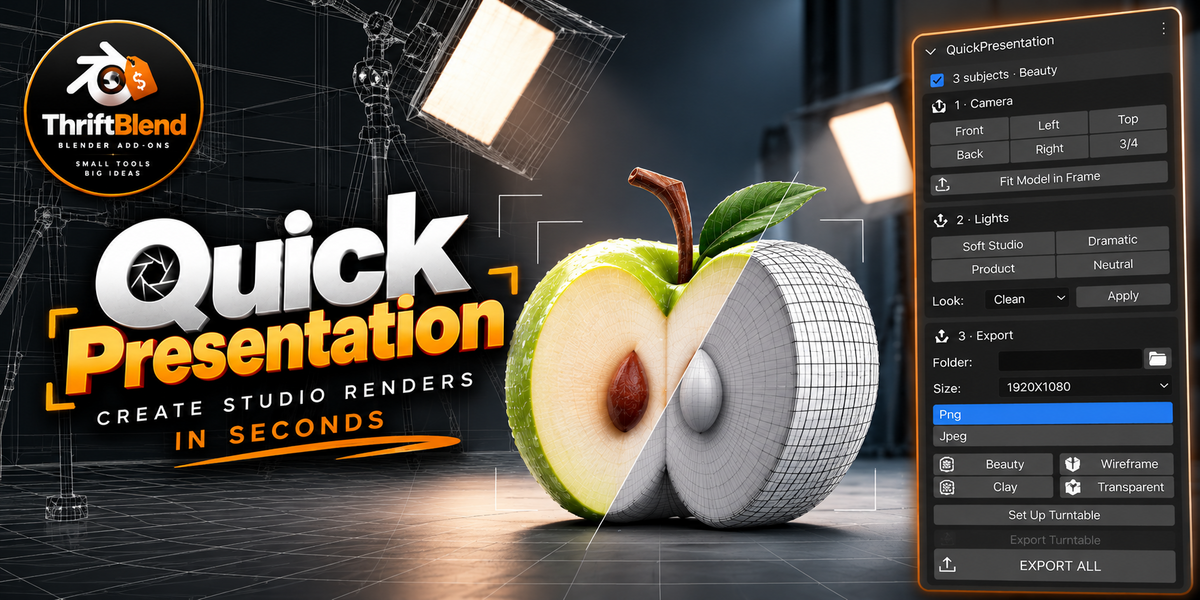
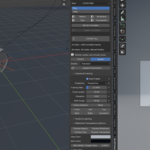
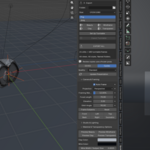
QuickPresentation — User Guide
QuickPresentation creates a studio setup around your selected Blender objects, with automatic camera framing, lighting, backgrounds, and presentation exports.
Requires Blender 5.2 or later. Supports EEVEE and Cycles.
1. Installation
Download the QuickPresentation ZIP. Leave it zipped.
Open Blender and go to Edit → Preferences.
Open the Extensions menu and choose Install from Disk.
Select the ZIP and enable QuickPresentation.
In the 3D Viewport, press N and open the QuickPresentation tab.
If an older panel name remains after updating, save your work and restart Blender.
2. Create Your First Presentation
Select the objects you want to present.
Open the QuickPresentation panel.
Choose a presentation preset or keep the default.
Click Create Presentation.
The add-on opens a separate presentation scene containing your studio setup. Your selected objects stay linked to their originals, while your original scene’s camera, world, and render settings remain intact.
For rigged characters: select the skinned mesh objects. Common armature dependencies are linked automatically.
3. Choose Your Camera
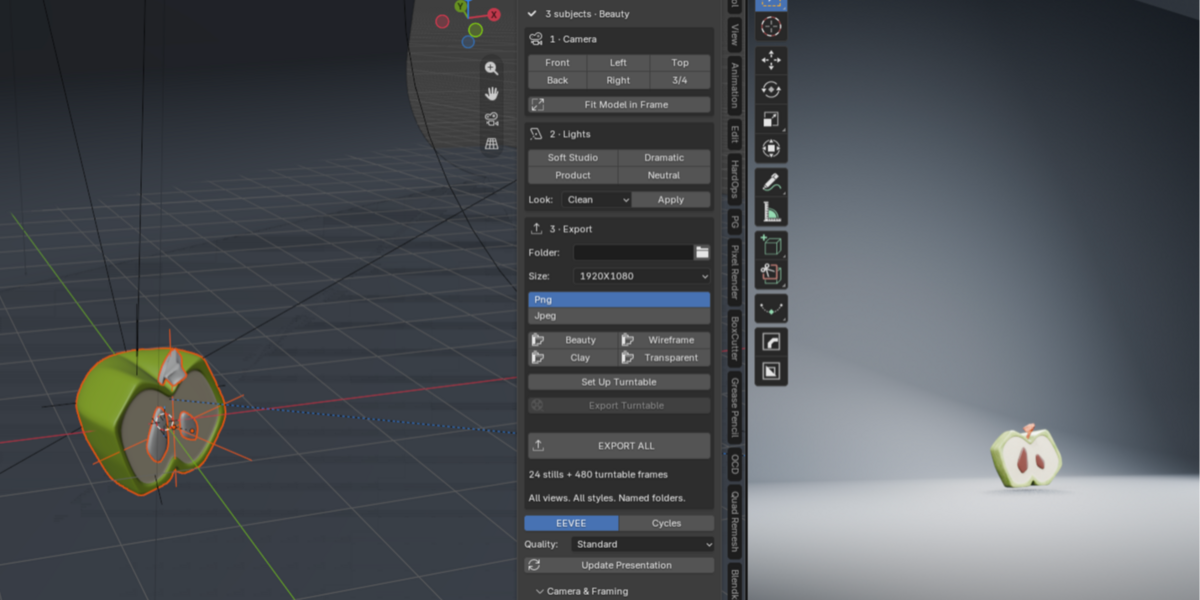
The Camera section provides six quick views:
Front
Back
Left
Right
Top
3/4
Click Fit Model in Frame to frame the presentation subjects automatically.
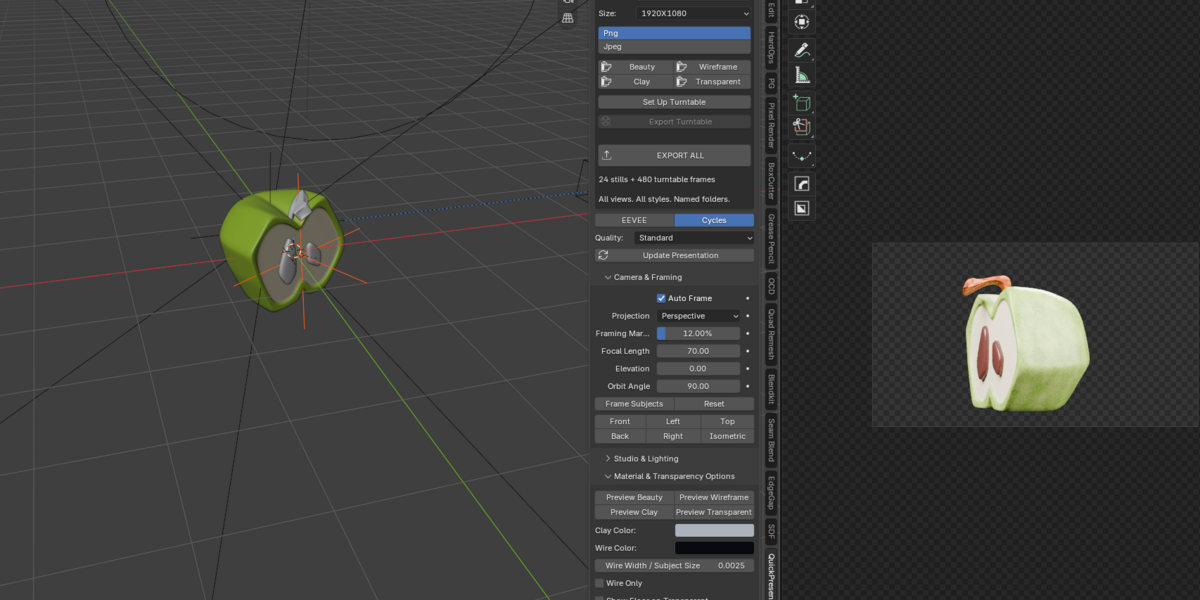
Expand Camera & Framing for more control:
| Setting | What it does |
|---|---|
| Auto Frame | Recalculates framing when the presentation updates. |
| Projection | Switches between perspective and orthographic views. |
| Framing Margin | Adds space around the model. |
| Focal Length | Adjusts the perspective camera’s lens. |
| Elevation | Changes the camera’s vertical viewing angle. |
| Orbit Angle | Moves the camera horizontally around the subject. |
| Reset | Restores the default camera settings. |
Disable Auto Frame if you want to position the generated camera manually. Quick-view buttons switch the presentation back to a still setup.
4. Choose Your Lighting and Background
Use the lighting buttons to apply a setup immediately:
Soft Studio: soft, balanced lighting.
Product: a defined look for product and asset presentations.
Dramatic: stronger contrast and rim lighting.
Neutral: even lighting for reviewing shapes and surfaces.
The Look menu offers Clean, Dark, Bright, Dramatic, and Clay Review presets. Select one and click Apply.
Expand Studio & Lighting to adjust the background color, floor, seamless backdrop, and individual light strengths. Click Apply Studio Settings after changing these controls.
5. Choose a Render Style
Beauty
Renders your original materials under the presentation lighting.
Clay
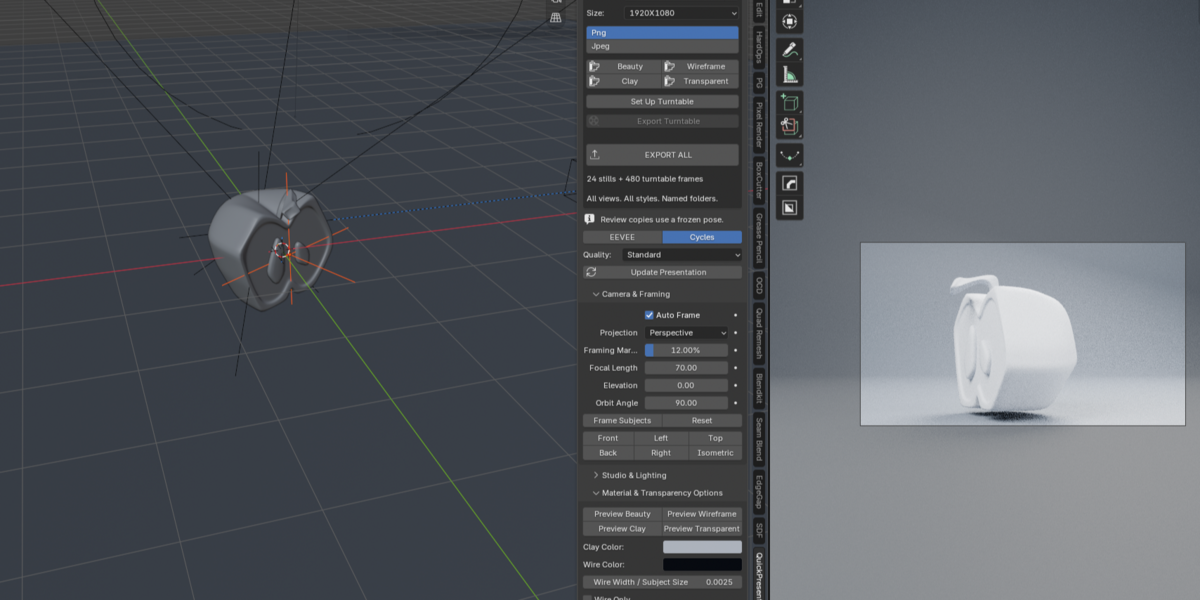
Uses disposable copies with a neutral material to emphasize shape and surface detail. Original material slots remain unchanged.
Wireframe
Displays wire edges over a clay surface. You can adjust wire color and thickness or enable Wire Only.
Wireframe shows the evaluated topology, including geometry produced by modifiers such as bevel and subdivision.
Transparent
Renders your original materials against a transparent background. Output automatically uses PNG RGBA.
The floor and backdrop are hidden by default. Show Floor on Transparent includes an ordinary visible floor; it does not create a shadow-only ground layer.
To change styles without rendering, expand Material & Transparency Options and use the Preview buttons.
6. Export a Still Image
Choose an existing, writable Output Folder.
Select your image size and PNG or JPEG format.
Choose EEVEE or Cycles and a quality preset.
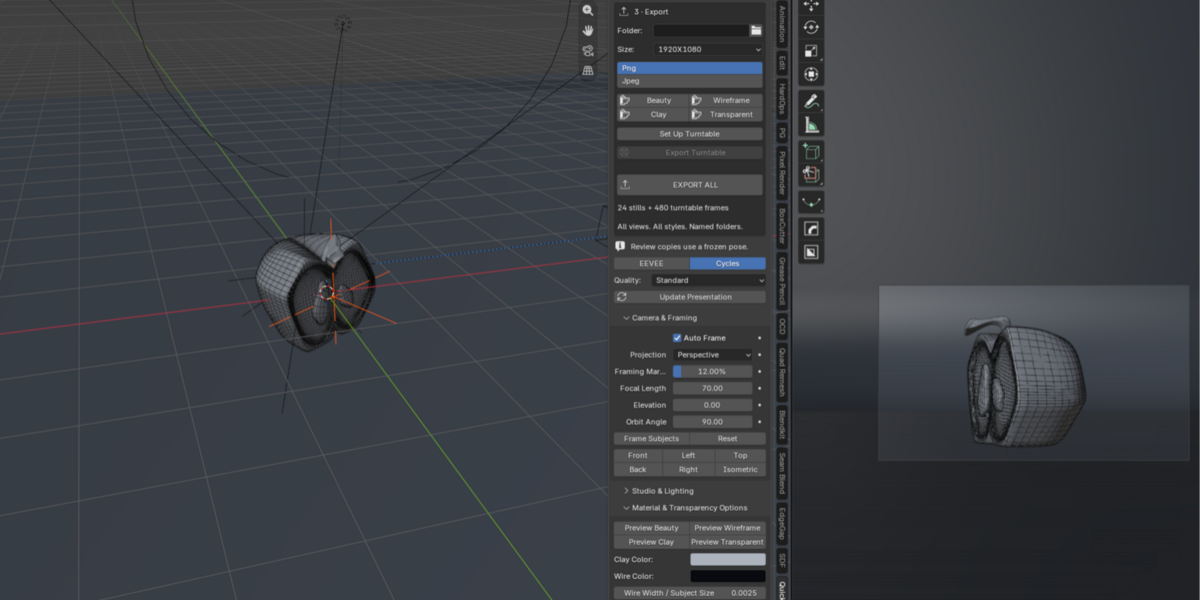
Click Beauty, Clay, Wireframe, or Transparent in the Export section.
Each saved still receives a unique filename.
No folder selected? Individual stills open in Blender’s Render Result without being saved automatically.
7. Create a Turntable
Click Set Up Turntable.
Expand Turntable to adjust the frame count, direction, start/end angles, rotation axis, easing, and first frame.
Choose an output folder.
Click Export Turntable.
The camera orbits the subject; the add-on does not rotate or reparent your model.
The default is a 120-frame, clockwise, 360° orbit around the Z axis. The closing keyframe sits beyond the rendered range to avoid duplicating the first image at the end of a full rotation.
Turntables export as numbered image sequences, not MP4 or GIF files. You can assemble the frames into a video using Blender’s Video Sequencer.
Animation behavior: Beauty and Transparent retain model animation. Clay and Wireframe capture a frozen pose when updated and orbit around that pose.
8. Export Everything
Click EXPORT ALL to generate:
Six camera views in all four styles: 24 still images.
Four turntable sequences: one per style.
Organized folders and an export manifest recording completed jobs.
At the default 120 frames, the complete set contains 504 images.
Export All uses your selected engine, lighting, quality, resolution, and format. Transparent output always uses PNG RGBA. Each run creates a new folder to keep deliveries separate.
Use Stop After Current Render to stop after the current still or animation finishes. To cancel the current render immediately, press Esc in Blender’s render window. Completed files are kept.
9. Update or Remove the Setup
Update Presentation: applies settings and refreshes the generated setup.
Return to Original Scene: returns to your original scene.
Open Presentation: reopens the studio from the original scene.
Remove Presentation: removes the owned presentation setup and returns to the source scene.
To use a different set of subjects, remove the presentation, select the new objects, and create another setup.
Linked objects remain shared: if you manually edit an original model inside the presentation scene, that edit also appears in the source scene.
10. Helpful Notes
Framing measures the current pose. For animation that moves beyond those bounds, increase the margin or position the camera manually.
The backdrop is hidden during turntables so it cannot obstruct the orbiting camera. X/Y turntables also hide the floor.
Very dense wireframes may need a thinner wire width.
After changing a pose, update Clay or Wireframe before using Blender’s direct F12 render.
Complex simulations, scene-dependent drivers, and some Geometry Nodes setups may need additional preparation.
Keep the presentation open and the extension enabled until an export finishes.
Compatibility and License
Tested: Blender 5.2.0 LTS on macOS Apple Silicon, with EEVEE and Cycles CPU rendering.
Not tested: Windows, Linux, later Blender versions, and Cycles GPU configurations.
Author and maintainer: Alberto
License: GPL-3.0-or-later. Editable source and the complete license are included.
 Included
Includes 12 months of
- Support from ThriftBlend
- Product updates
Extend this product’s Support Period +12 months: 25% of product price
Have questions before purchasing?
Login to message
| Blender Extension Compatible | Yes |
| Published | 1 day ago |
| Blender Version | 4.2 - 5.2 |
| Extension Type | Add-on |
| Render Engine Used | Cycles, Eevee |
| License | GPL |
Discover more products like this
addon for portfolio presentation 3d presentation 3D model presentation presentation quick plugin 3D portfolio