Quick Trails
 Points scatter


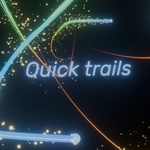
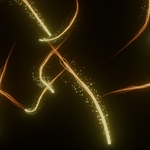
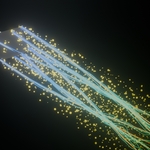
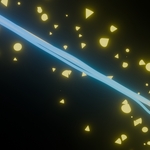
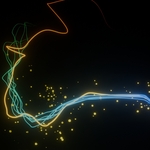
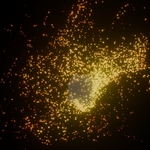
Quick trails is a modifier with which you can add trails to your 3D objects. You can add trails to any domain like vertices, edges, faces or even geometry nodes instances. The trails can be either geometry or grease pencil objects.
The trails are composed of different elements which you can turn on or off at any time.
You can take the downloaded file and paste it in your blender assets folder and then use the modifier directly from the asset browser.

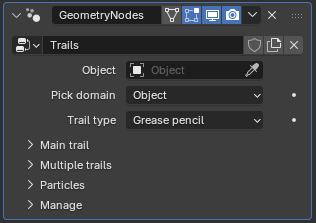
How to use :
To apply quick trails to any animation, drag the quick trails icon from the asset browser and drop it anywhere in your scene. Then go to the quick trails object and go to the modifier tab. Pick your animated object from the object picker and play the timeline and the trail will start forming behind the animated object. The trail won’t form if the object is stable. It would only form behind moving objects. You can also add a glare node in compositing tab and turn the compositor to always on in the viewport.
Pick domain :
You can select any domain from the selected object from given options:
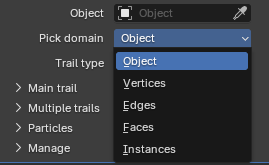
If you pick any domain other than object, you get some more more options to select index of that domain.
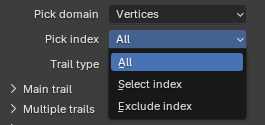
You can select all indices, or pick a single index number or even exclude an index number and the trails will form from the selected group of the domain.

Trail type :
The trails can be either geometry or grease pencil objects. While using grease pencil, always add a grease pencil blank in the scene and turn on depth pass. Grease pencil objects are faster to use and render but they don’t appear in reflections and they don’t follow camera depth of field. The geometry option creates solid 3D trails which create accurate reflections and depth of field effects.
TRAIL ELEMENTS :
The trails are made up of three different elements:
• Main trail
• Multiple trails
• Particles
Each of these elements is customisable and you can turn them on or off any time.
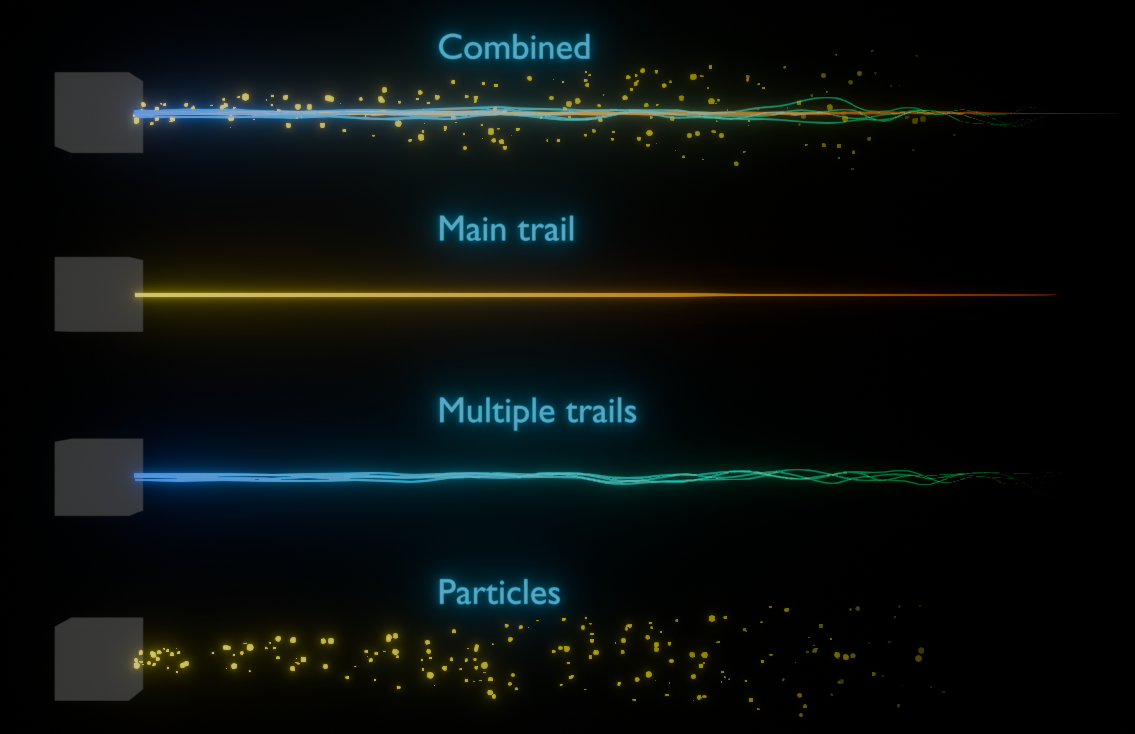
Let’s go through them one by one.
MAIN TRAIL :
This will generate a single trail from the center of the selected domain. Let’s see the customization options.
Generate trail :
It is a simple on/off switch for the main trail.
Trail profile radius :
You can set the trail profile radius or thickness of the main trail.
Trail length frames :
The length of the trail is set in number of frames. The trail will run from head to tail for the number of frames set in this value.
Noise intensity :
Noise intensity will set the amplitude of the noise distortion of the trail. A value of zero will make the trail follow the exact path of the object without any distortion.
Noise scale :
Noise scale will set the scale of the base noise octave.
Material :
This option is available if the trail type is set to geometry. You can select the material and edit it in the shader editor. You can set gradients for color and opacity using color ramp nodes in the shader editor. You can build your shader on top of the default shader created for the main trail.
Trail color :
If the trail type is set to geometry, the trail color and opacity will be set by the shader nodes. This option only shows if the trail type is set to grease pencil. Here you have options to set either a constant color or set a gradient for the main trail.
Trail opacity :
This option also shows if the trail type is set to grease pencil. You can set the opacity of the trail to have a constant value between 0 to 1. Or you can set it to fade using the given options for opacity and fall off.
MULTIPLE TRAILS :
Multiple trails are similar to main trail. They are generated around the main trail for stylized effect. You can set how many trails to generate and control the seed value and emitter size to generate random effects.
Generate multi-trails :
You can turn multiple trails on or off with this checkbox.
Count :
You can set the number of trails that can generate around the main trail.
Emitter radius :
Emitter is a sphere which generates the secondary trails. You can set the size of the emitter and control the distance of the secondary trails from the center of the main trail.
Multi-trail seed :
Change the seed value to create a random set of multiple trails.
Trail profile radii :
This will set the trail profile radii or thickness of the multiple secondary trails.
Trail length frames :
This value will determine the length of multiple trails in number of frames.
Noise intensity :
Noise intensity will set the amplitude of the noise distortion of the trails.
Noise scale :
Noise scale will set the scale of the base noise octave.
Inherit color and opacity :
If this checkbox is turned on, the multiple trails will adopt the color and opacity values from the main trail. If it is set to off, you can set separate color and opacity values for secondary trails.
Material :
Just like main trail, this option is available if the trail type is set to geometry. You can select the material and edit it in the shader editor and use gradients for color and opacity. The base material has been provided to build upon.
Trail color :
This option only shows if the trail type is set to grease pencil. Here you have options to set either a constant color or set a gradient for multiple trails.
Trail opacity :
This option also shows if the trail type is set to grease pencil. You can set the opacity of the trail to have a constant value between 0 to 1.Or you can set it to fade using the given options for opacity and fall off.
PARTICLES :
Particles are formed from the head of the trail and emit outwards. There are several customization options to create interesting particle effects.
Generate particles :
This checkbox is a switch to emit particles or not to emit. You can even set keyframes to switch this option on and off through the timeline.
Particle object :
When trail type is set to geometry, you have to first pick a geometry object to be used as particles. You can pick any object as the particle object.
Face camera :
If you are going to use face cards as geometry objects, click this checkbox on so the plane objects will all face the active camera. The face card will be facing it’s local Z-axis towards the camera.
Random rotation :
This option only shows up if trail type is set to geometry. Random rotation is a slider which ranges from 0 to 1. By default it is dialed all the way to 1 which means the rotations of the particles are fully randomized. If it is set to 0, the particles will be oriented as per the original particle object.
Particle density :
Particle density helps you control how many particles are emitting from the trail head. If the emitter radius is increased, it also increases the number of particles.
Emitter radius :
Particles are emitted from the surface of an invisible sphere that sits at the trail head. If you increase the radius of the emitter the particles will be formed much further around the head of the trail and more particles will be emitted.
Particle radius :
This option controls the size of the particles.
Size variation :
This option is a slider ranging from 0 to 1. At 0, all the particles are uniform in size. As you increase the value, the particles will scale randomly. By default, it is set to 1 to set random scales for each particles.
Particle speed :
This option controls the speed of the particles as they emit outwards from the trail head.
Speed variation :
Speed variation is a slider from 0 to 1. It will set variable speeds for individual particles randomly. By default, it is set to 0.5.
Lifetime frames :
This options controls the lifetime of the particles which is determined in frame numbers.
Material :
This option is available if the trail type is set to geometry. You can set the colors and opacity throughout the lifetime of the particles. You can go to the shader editor and build upon the default particle material.
Particle noise :
In this sub-menu, you can set the noise to create interesting patterns for particles. It has settings like intensity, scale and phase speed. Intensity controls the noise amplitude. So the noise won’t take effect if the intensity is set to 0.
Particle color :
This option only shows if the trail type is set to grease pencil. Here you have options to set either a constant color or set a gradient across the particle lifetime. The grease pencil particles appear as spheres or blobs.
Particle opacity :
This option also shows only if the trail type is set to grease pencil. You can set the opacity of the particles to either constant or fade. Using the fade option, you can set the opacity of the particles across its lifetime.
In conclusion, you can use these elements (main trail, multiple trails and particles) in combination with each other to create interesting graphics within your scene.
Have questions about this product?
Login to message
| Sales | 10+ |
| Published | 6 months ago |
| Blender Version | 4.5 - 5.2 |
| Render Engine Used | Cycles, Eevee |
| License | GPL |

Discover more products like this
quick trails particle trails Particle Effects blender trails trails trails modifier