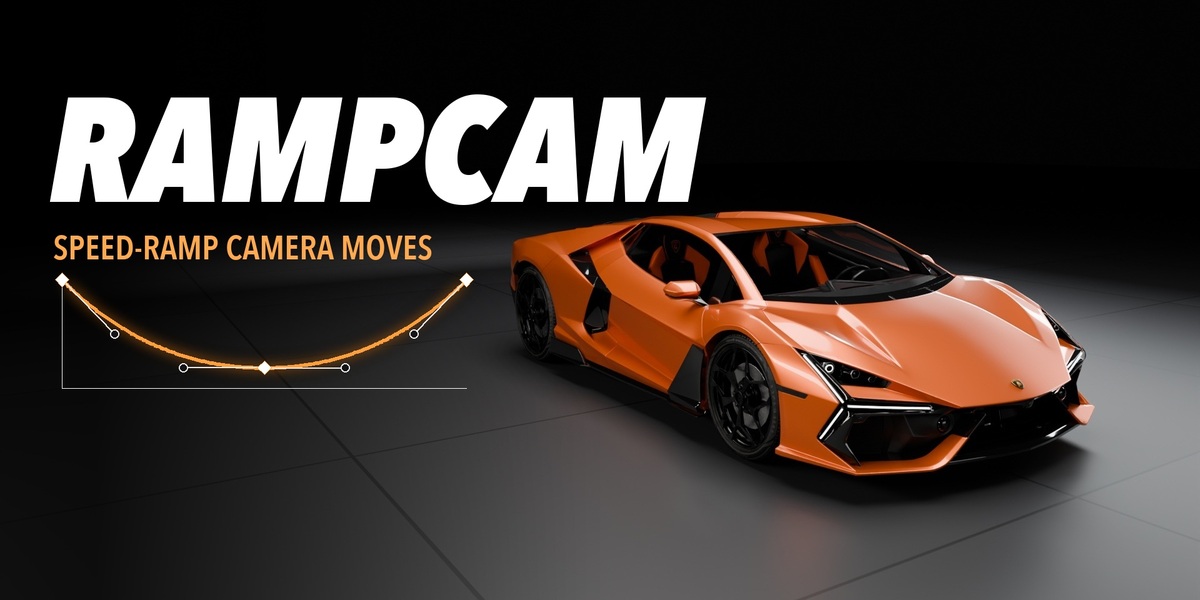
RampCam: Speed-Ramp Camera Moves for Car Reels
 Marcos Medel
Install
- Download RampCam-0.9.2.zip. Do not unzip it.
- Blender 5.0 or newer: Edit > Preferences > Get Extensions > the arrow at the top right > Install from Disk. Pick the .zip.
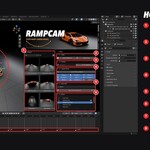
- In the 3D View press N and open the RampCam tab. Drag the left edge of the sidebar to make it wide: the Presets column then shows next to the settings.
Quick start (2 minutes)
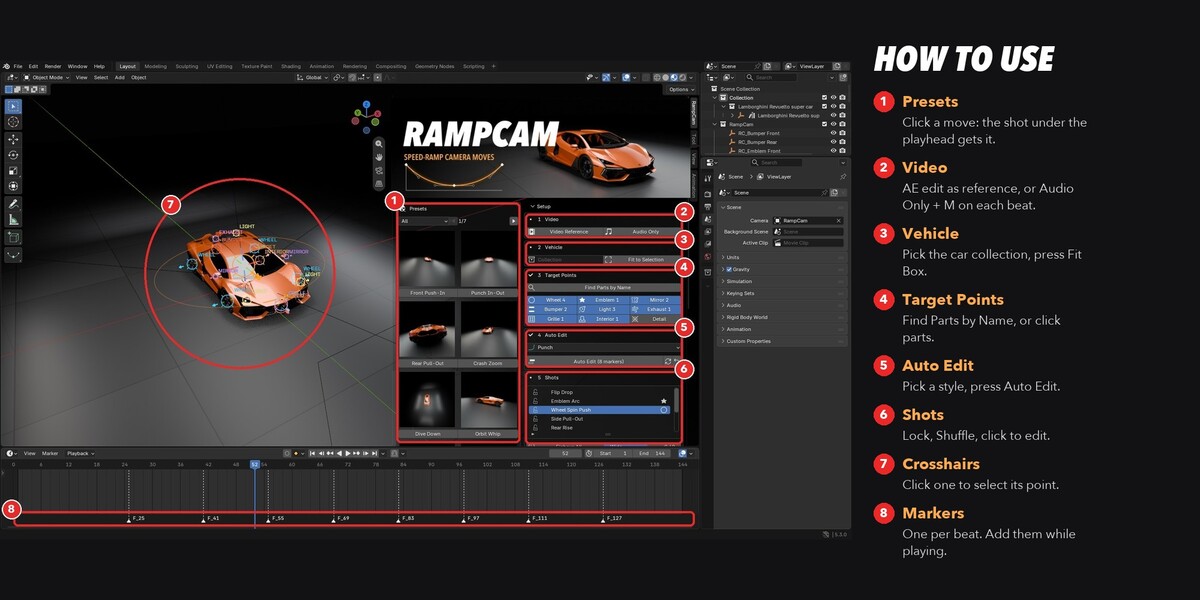
- 1 Video. Video Reference: pick your After Effects edit. It shows small in the camera view, its sound plays, and its comp markers become timeline markers (render with Include Source XMP Metadata, or keep the .aep saved next to it). Audio Only: pick a song; it plays in the timeline and the scene takes its length. Press M in the timeline on each beat. You can add markers while the timeline plays: the shots update when you stop.
- 2 Vehicle. Pick the collection of your car and press Fit Box (or select the car and press Fit to Selection). Check that the thick arrow points out of the FRONT; use Turn 90 / Flip if not. Edit Box selects the box: move, turn and scale it (G R S) to hold the whole car.
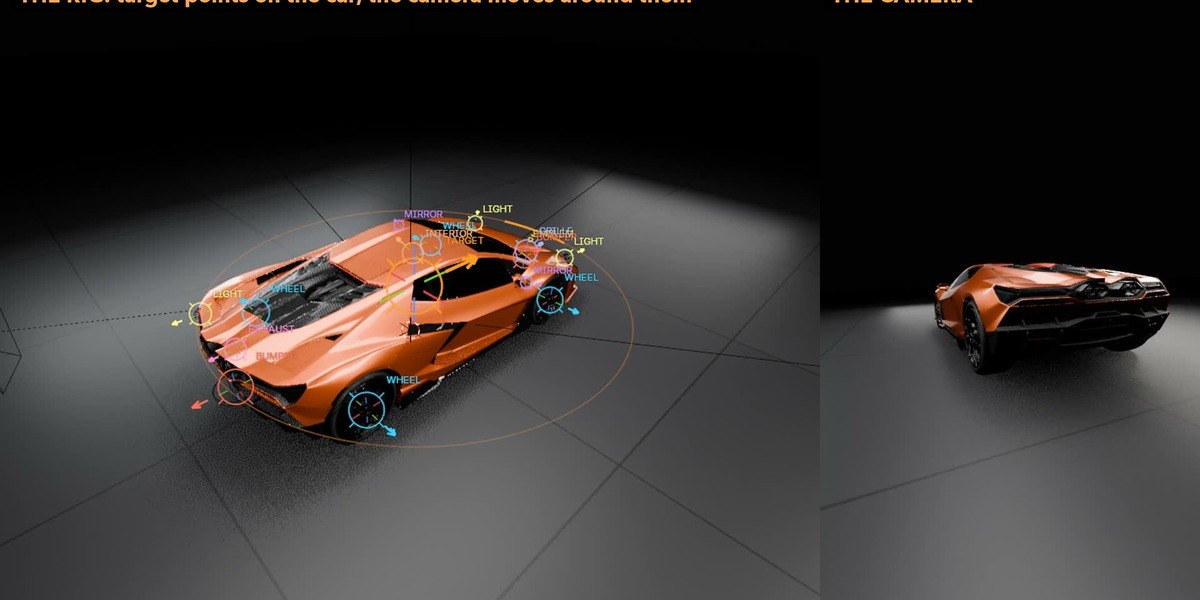
- 3 Target Points. Press Find Parts by Name: parts named Wheel, Tire, Rim, Logo, Badge, Mirror, Headlight, Lamp, Exhaust, Grille, Bumper, Lip, Diffuser, Seat, Steering, Spoiler... get a point (also Spanish and German names). One mesh that holds 2 or 4 wheels gives one point per wheel. Each point looks out of the car. By hand: select parts and press a kind (Wheel, Emblem...), or with nothing selected press a kind and click spots on the model (Esc when done). Click a crosshair in the viewport to select its point and change its kind or size.
- 4 Auto Edit. Pick a style and press Auto Edit. With no markers, RampCam puts markers in the rhythm of the style first. The refresh button shuffles the moves (locked shots stay); the arrow button resets the edit (the rig and the points stay).
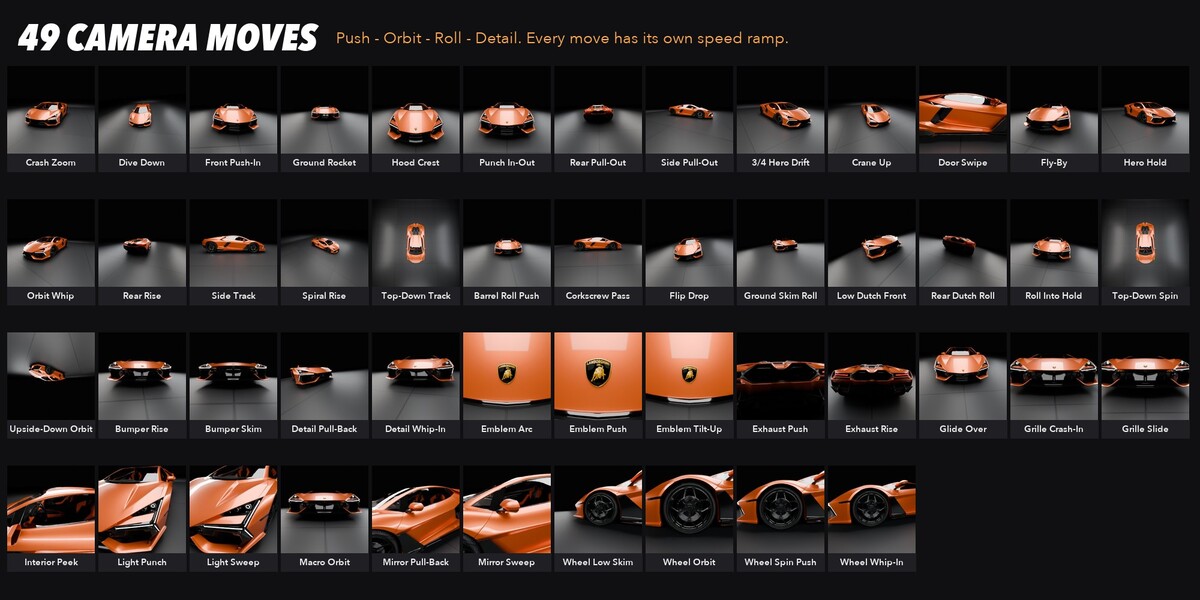
- 5 Shots. Click a shot to edit it, or move the playhead into it. Then click any preset: that shot gets the move.
Styles
- Punch: 0.6-0.9 s shots, deep speed ramps, many details.
- Roll Rush: 0.4-0.7 s shots, barrel rolls that go on through the cuts.
- Cinematic: 1-2 s shots, soft ramps, calm moves.
- Build-Up: calm first, quicker in the middle, roll rush at the end.
- One Take: long takes with no cuts, 3-6 moves each. Every beat starts the next move.
Shot settings
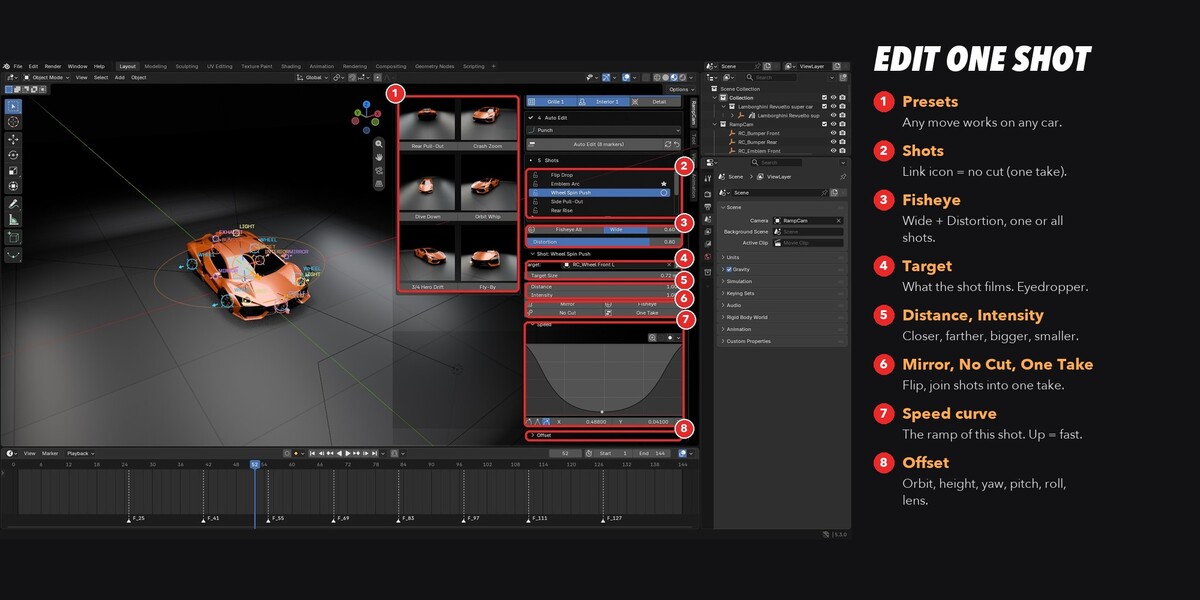
- Target: what the shot films (a target point, or empty = the whole car). The eyedropper lets you click a spot on the model.
- Distance / Intensity / Mirror: closer or farther, a bigger or smaller move, the move flipped left / right.
- Fisheye (one shot) or Fisheye All: Wide = a wider lens and the camera closer, Distortion = how much the picture bends (compositor Lens Distortion). It shows in Material Preview, Rendered and the final render (not in Solid).
- No Cut: the shot goes on from the shot before, in one long take. One Take: this shot and the next N shots become one take, and RampCam picks a new move for each beat. Click it again for other moves.
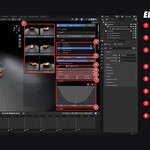
- Speed: the speed curve of this shot only. Up = fast. The lowest point is where the camera lands on the car. Drag points, click to add one, pick Vector / Auto / Auto Clamped handles. The arrow resets it.
- Offset: orbit, height, yaw, pitch, roll and lens corrections on top of the preset.
Good to know
- The camera is a normal Blender camera ("RampCam") with normal keyframes. Render with any engine.
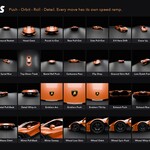
- Every preset works on any car: its icon only shows its best target. With no point of that kind, it films another point, or the whole car.
- Remove Rig (trash icon) takes all RampCam objects out of the scene.
Have questions about this product?
Login to message
| Blender Extension Compatible | Yes |
| Published | 34 minutes ago |
| Blender Version | 5.0 - 5.3 |
| Extension Type | Add-on |
| Render Engine Used | Cycles, Eevee |
| License | GPL |
Discover more products like this
cinematic auto edit speed ramp editing automotive fisheye camera camera animation presets car beat reel