Real Rainbow
 Animation Store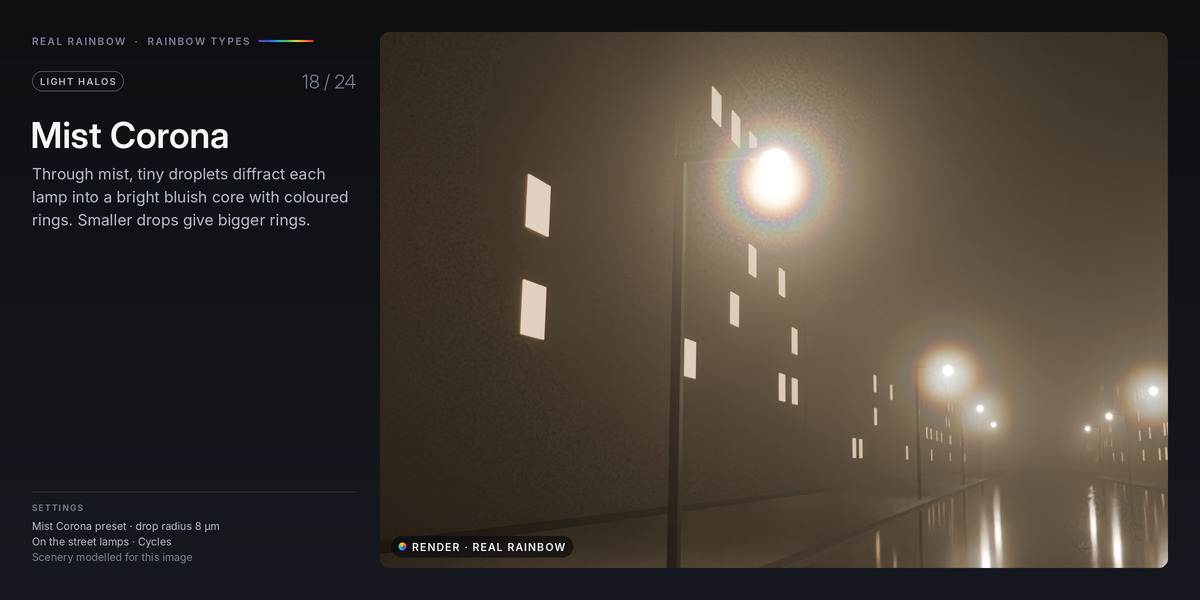
Installation
- Download
Real rainbow.zip. Keep it zipped. - In Blender, open Edit > Preferences > Get Extensions.
- Open the drop-down menu at the top right, choose Install from Disk… and pick the zip.
- Real Rainbow appears in the 3D Viewport sidebar (N) under the Rainbow tab, and in Add (Shift+A) > Rainbow.
To update, install the new zip the same way. It replaces the old version, and scenes saved with earlier versions keep their look.
Quick start
- Make sure your scene has a camera. Rainbows appear opposite the sun, so face the camera away from it.
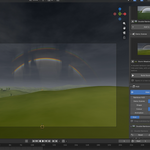
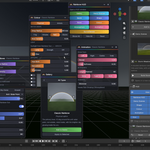
- In the sidebar Rainbow tab, pick a type in the gallery and press Add to Scene.
- The rainbow is placed where the scene camera can see it, and the HUD opens over the viewport. Adjust it there or in the sidebar.
- To tie the bow to your lighting, open Sun & Render and press Scene Sun (uses your sun lamp) or New Sun (creates one).
- Press F12 to render.
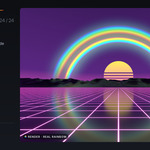
To see a finished setup first, build one of the Demo Scenes from the sidebar, the HUD or Add > Rainbow > Demo Scenes. Each demo is created in a new scene; switch back to yours with the scene selector at the top of the window.
Quick Demo for This Type (sidebar, and Add > Rainbow) is different: it builds a sky, ground, sun and camera for the selected type in the current scene, replacing its world and camera and switching colour management to AgX. Use it in an empty scene.
Placing the rainbow
- Billboard (default): a flat arc on a vertical plane that you move and scale like any object. Radius sets its size.
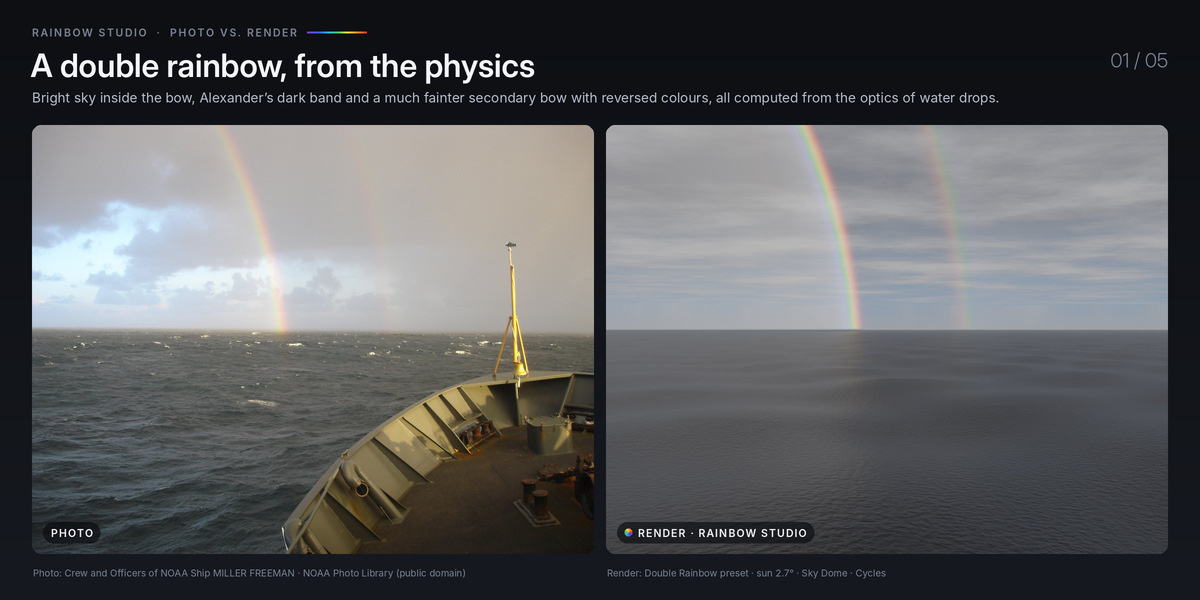
- Sky Dome: the bow is drawn on a large sphere centred where the camera stands, in the true directions where a rainbow appears, so it stays correct as the camera turns or zooms. Sky Distance is how far away the rain is: scenery closer than that hides the bow. If the camera travels far, press Place for Camera again, or give the rainbow a Copy Location constraint targeting the camera (location only, not rotation).
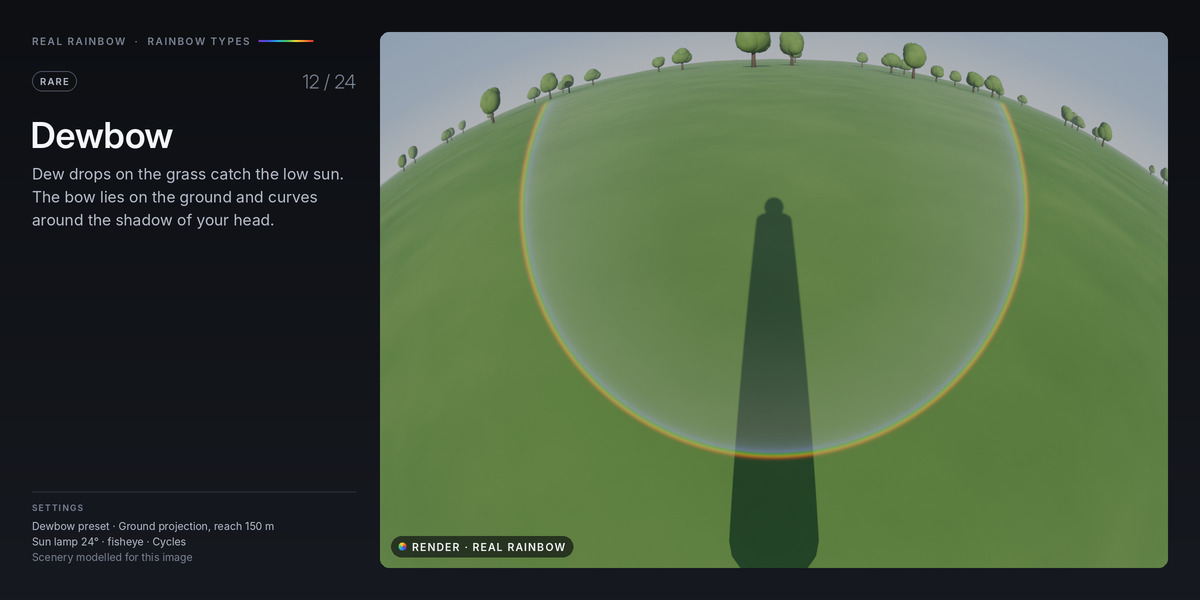
- Ground: the bow projected onto the ground below the viewer, for dewbows on grass. Eye Height and Ground Reach control it.
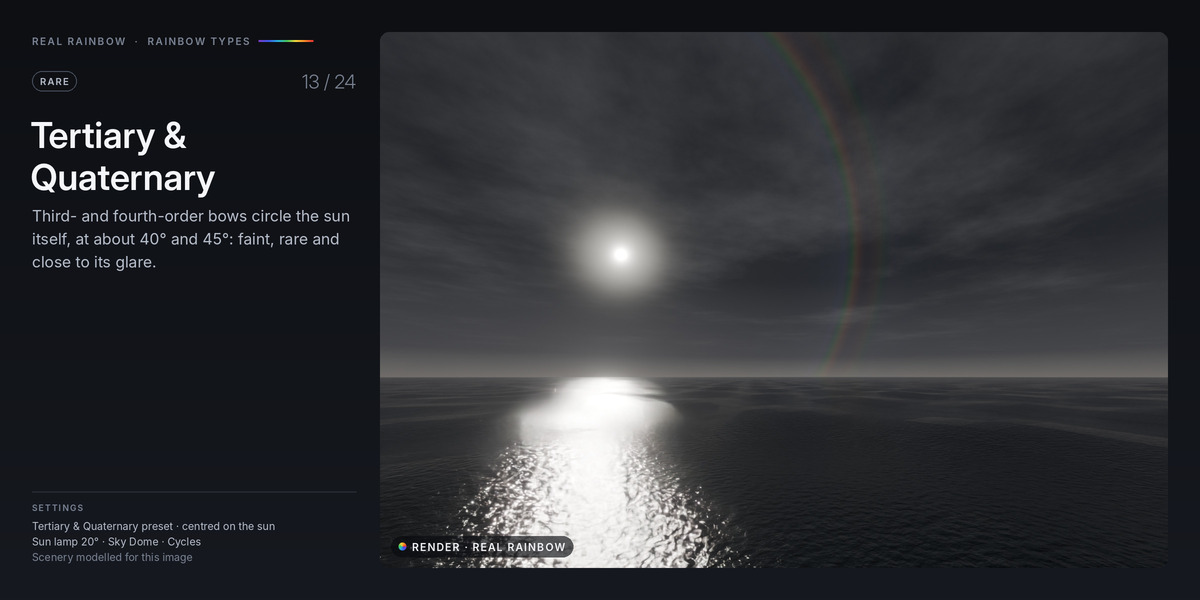
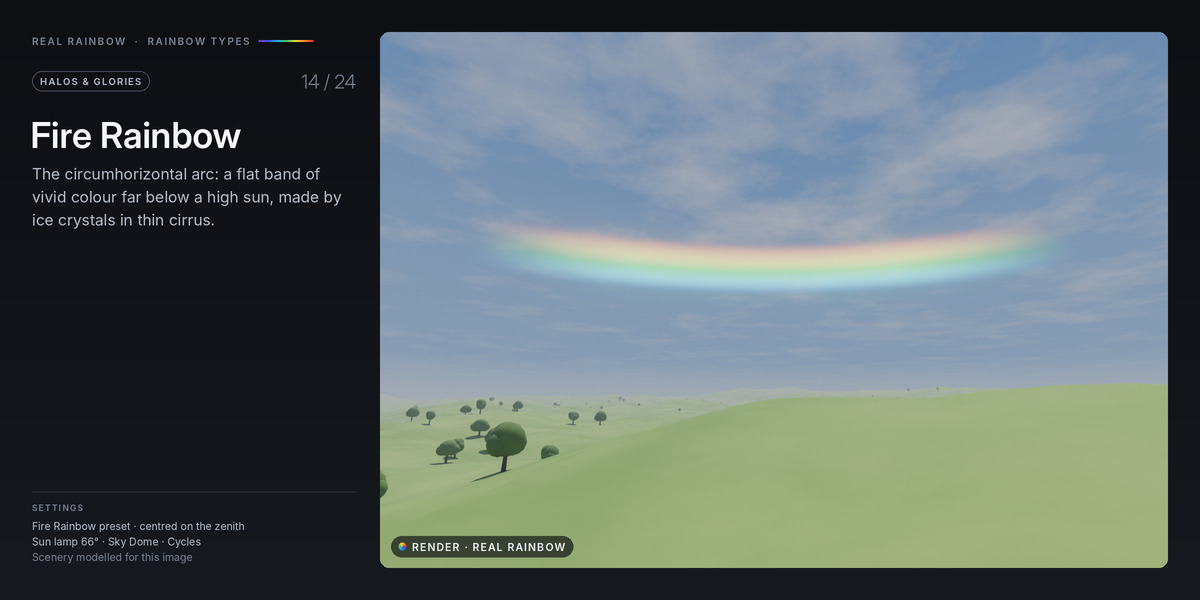
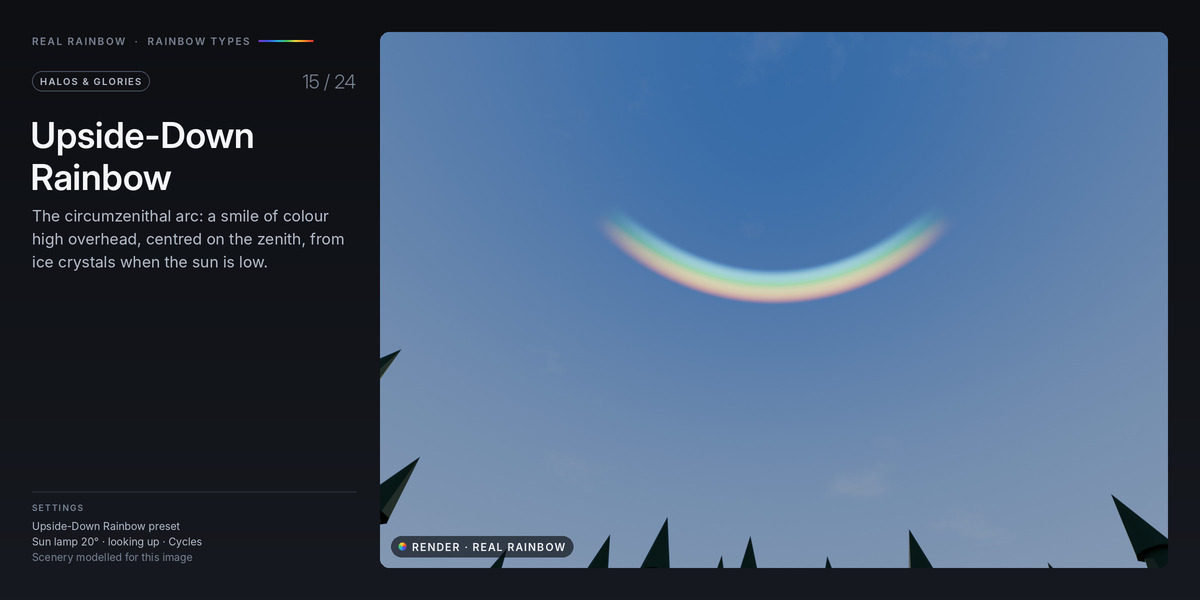
- Centre sets what the bow is centred on: the Anti-Solar Point (all ordinary rainbows), Around the Sun (third and fourth order bows), the Zenith (circumzenithal and circumhorizontal arcs) or a Light Source (halos).
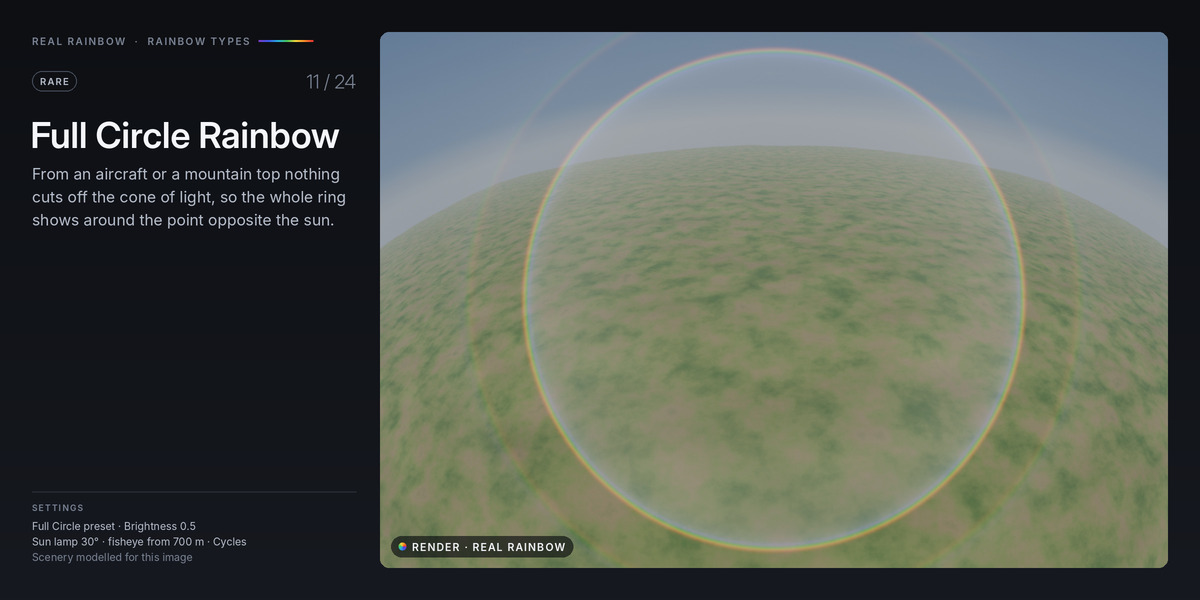
- Clip at Horizon cuts the bow at the horizon. Turn it off for full circles.
- Arc Coverage and Arc Rotation keep only part of the arc. End Fade softens the ends.
- Place for Camera moves the rainbow back into view after you move the camera. Frame Camera aims the camera at the rainbow and zooms to fit it.
The sun
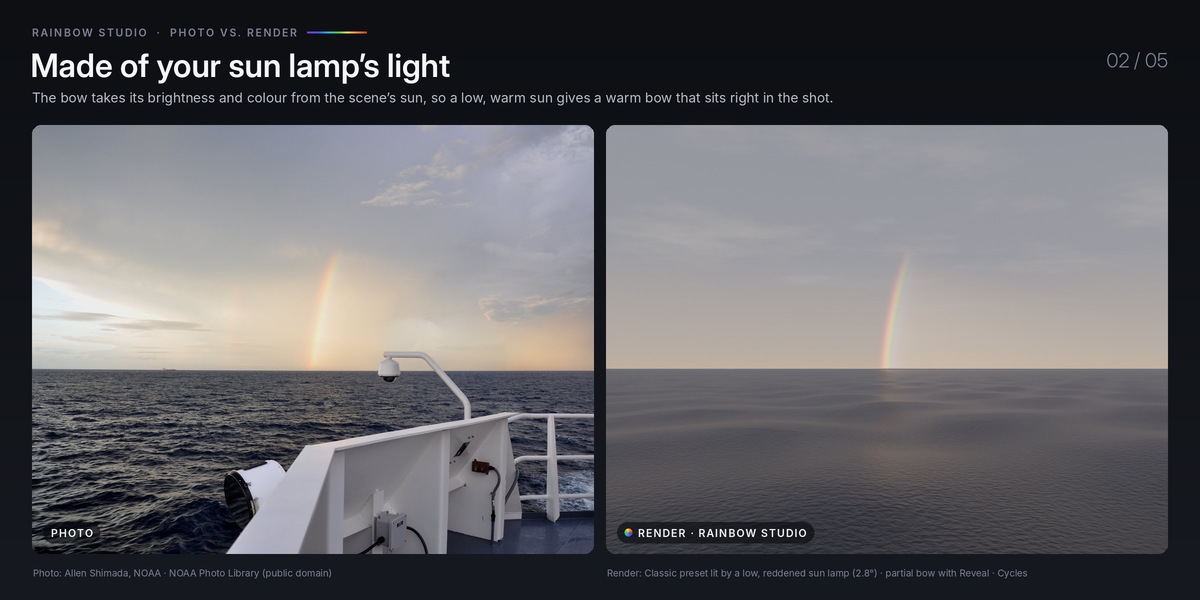
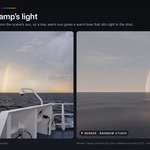
- A rainbow's centre is exactly opposite the sun, as far below the horizon as the sun is above it. A low sun gives a tall arc. When the sun is higher than about 42°, the primary bow sinks below the horizon, as it does in nature.
- Without a linked sun lamp, Sun Elevation sets the sun's height (the Dawn, Morning and Noon-ish chips set typical values). With a linked sun and Follow Sun on, the bow follows the lamp, including when you animate it.
-
Sun Light (Physical mode) decides where the bow's light comes from:
- Lamp (called Strength & Colour in the sidebar): the lamp's strength and exposure set the brightness, and its colour or temperature sets the tint.
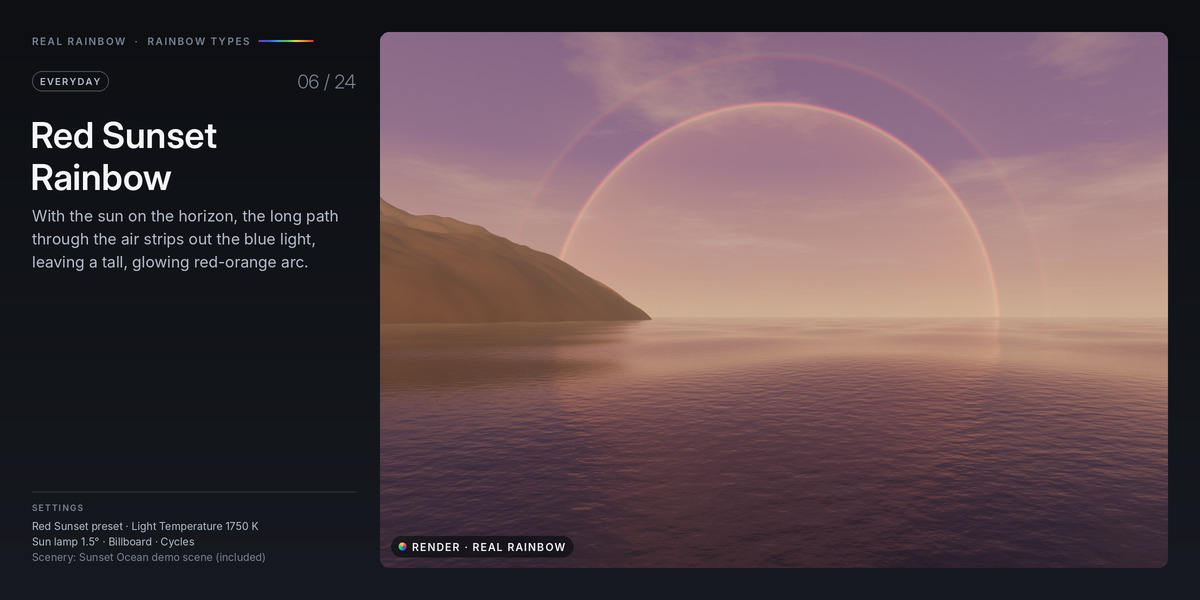
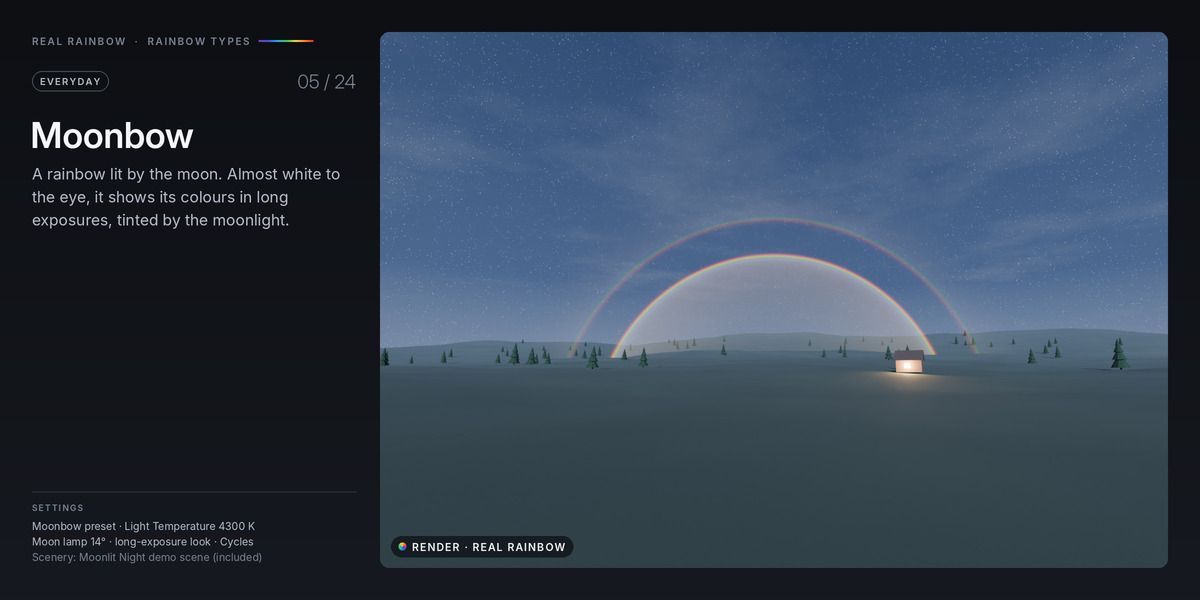
- Strength: brightness from the lamp, colour from Light Temperature. Red Sunset and Moonbow use this so they keep their colour under a white sun lamp.
- Off: you set Brightness and Light Temperature by hand.
- Sun Disc is the angular size of the light source (0.53° for the sun). Larger values blur the bow.
Drop size
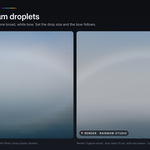
In Physical mode, Drop Radius changes the bow more than any other setting. The quick chips set typical values:
| Drop Radius | Result |
|---|---|
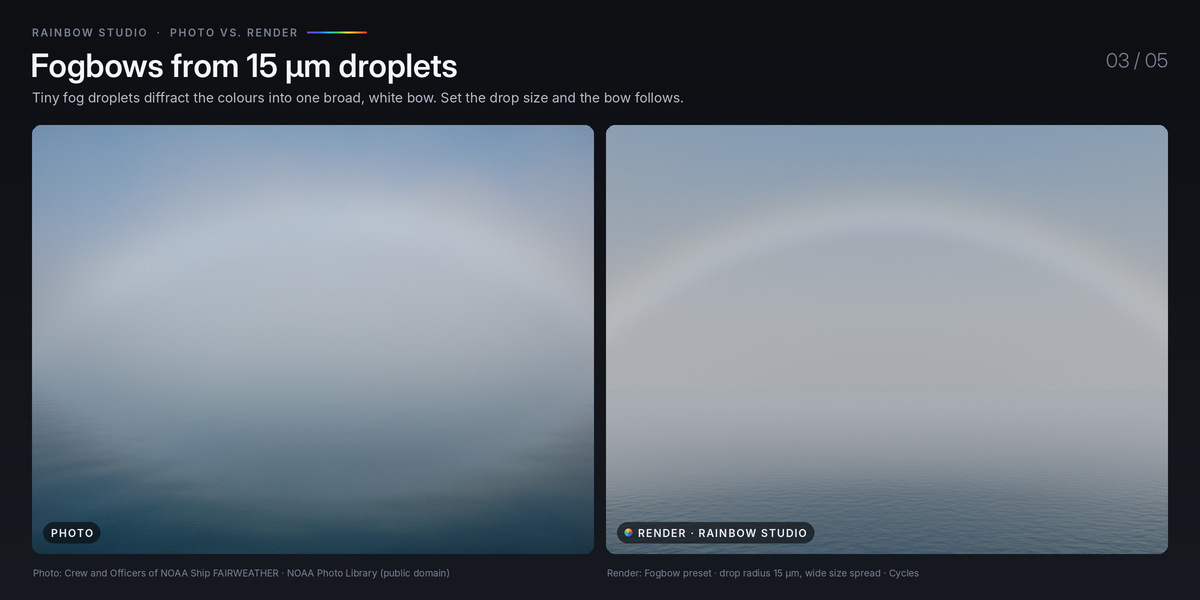
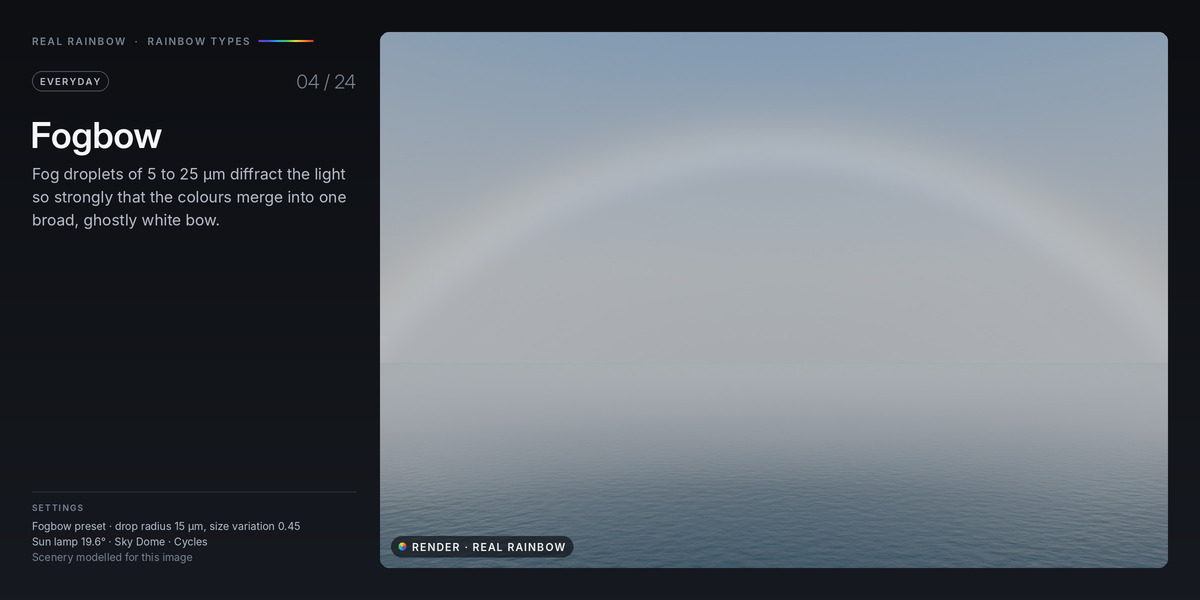
| 0.015 mm (Fog) | A broad, almost white fogbow |
| 0.2 mm (Drizzle) | Supernumerary fringes inside the primary |
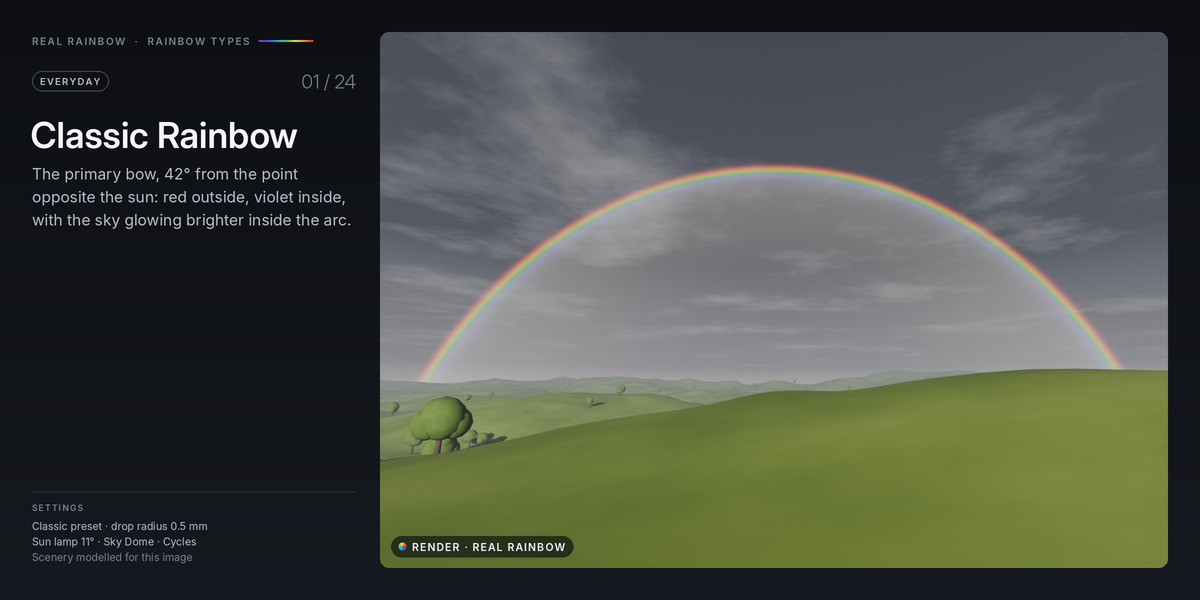
| 0.5 mm (Rain) | The classic rainbow |
| 1 mm (Storm) | Narrower, more vivid bands |
Size Variation mixes drop sizes. Real rain is uneven, which softens the fringes; lower it for crisper supernumeraries.
Settings in each HUD window
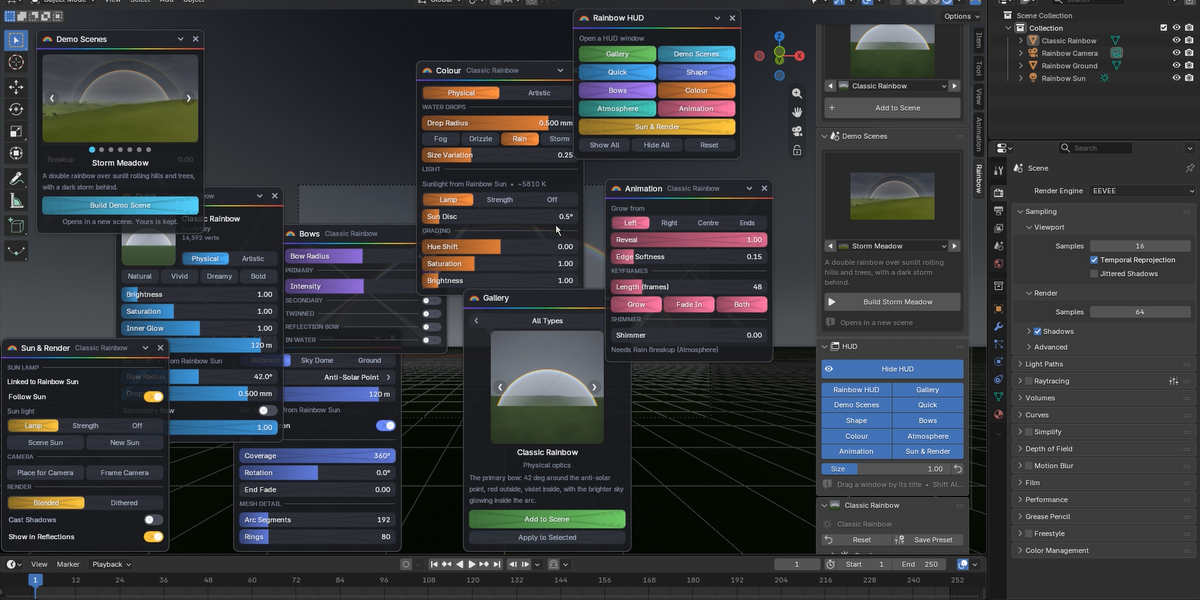
| Window | Settings |
|---|---|
| Quick | Live preview, the four Looks, Brightness, Saturation, Inner Glow, size, sun, Bow Radius, Drops, Secondary Bow, Reveal |
| Shape | Projection, Centre, Radius / Sky Distance / Eye Height, Ground Reach, Sun Elevation, Clip at Horizon, Arc Coverage, Arc Rotation, End Fade, Arc Segments, Rings |
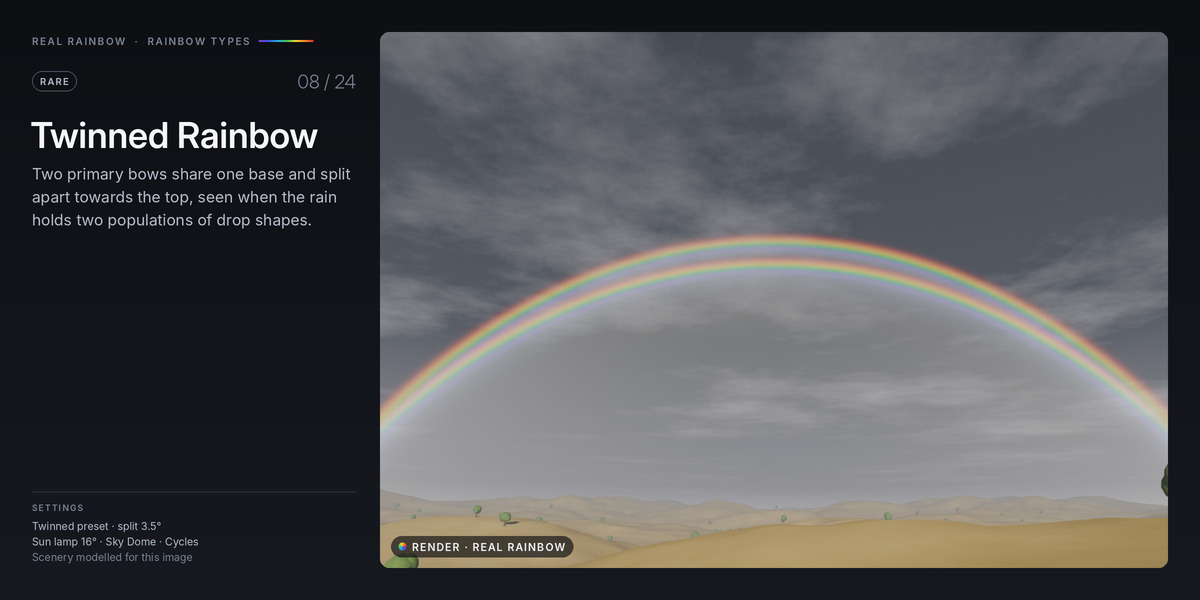
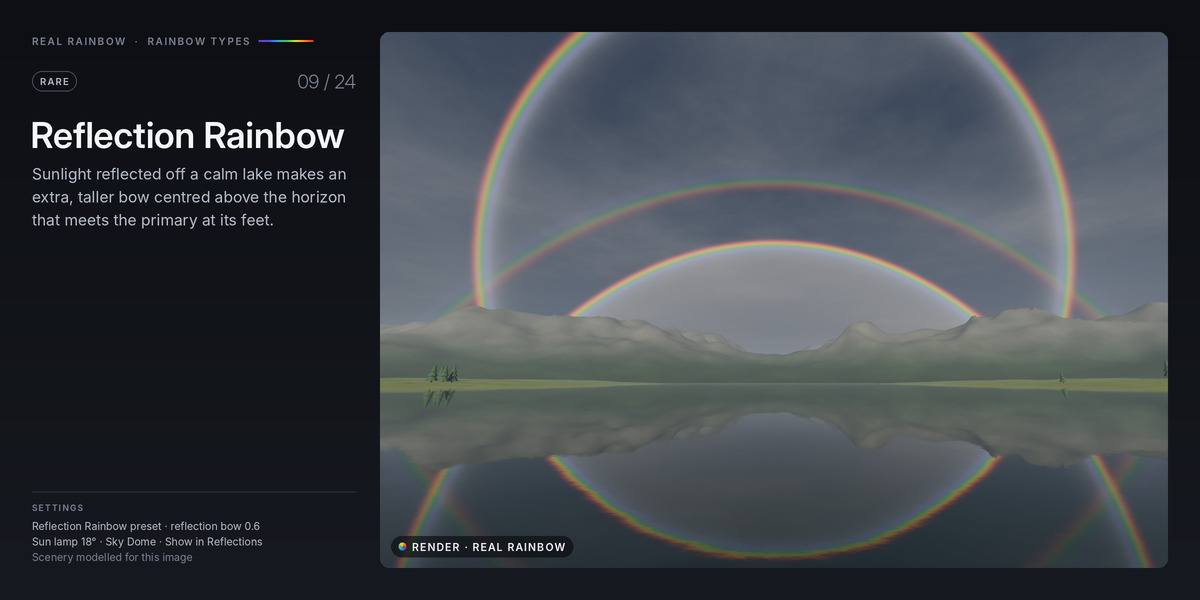
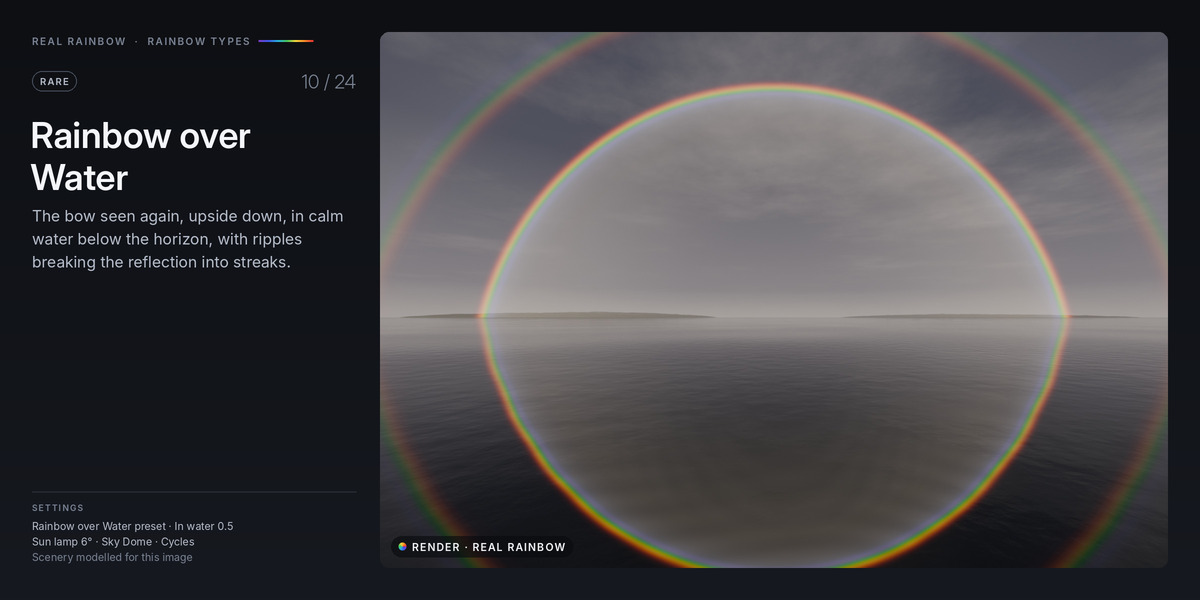
| Bows | Bow Radius, primary and secondary bow, Dark Band, Twinned Bow, Reflection Bow, In water (Intensity, Ripples); in Artistic mode also Supernumeraries, Rings and Reverse Colours (in Physical mode the fringes come from the drop size) |
| Colour | Physical or Artistic mode, Drop Radius, Size Variation, Light Temperature, Sun Light, Sun Disc, Palette, Band Width, Edge Softness, Hue Shift, Saturation, Brightness |
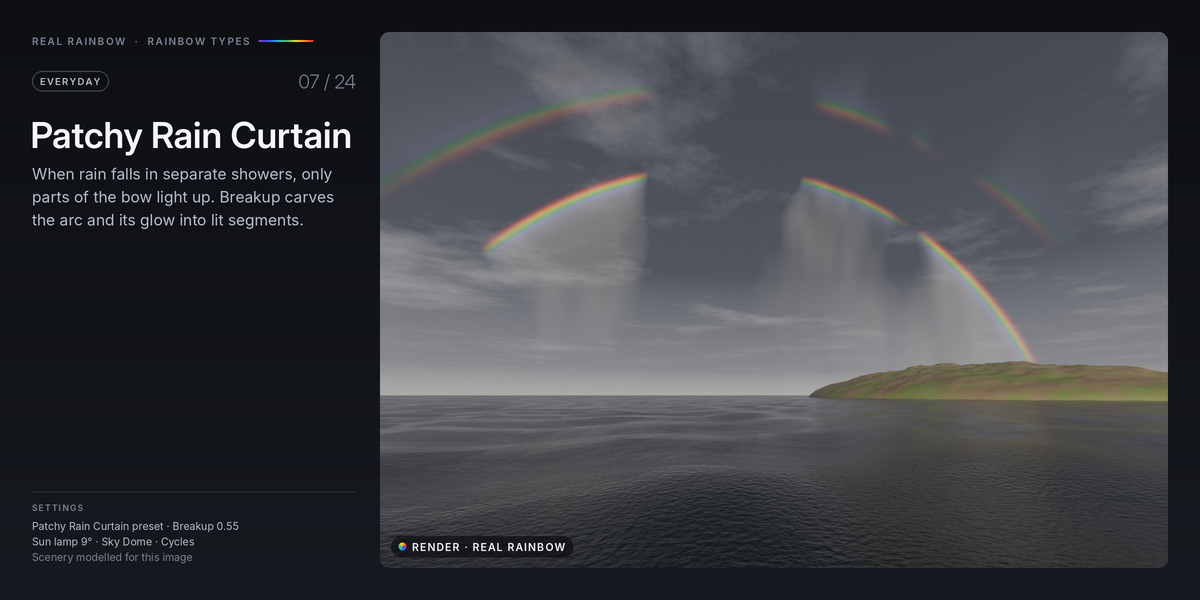
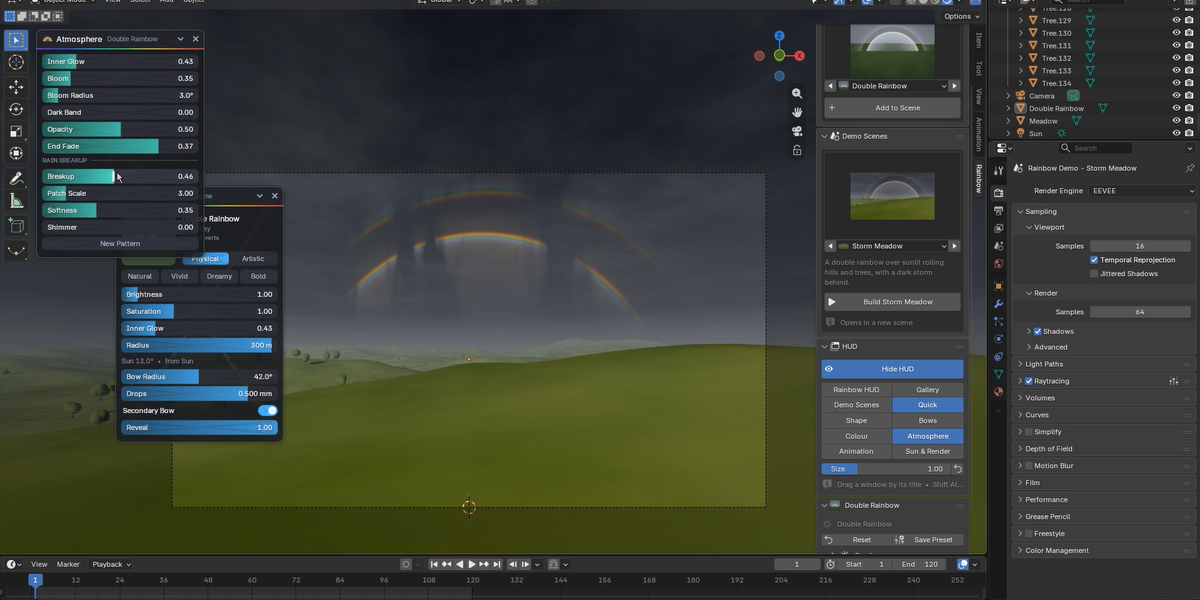
| Atmosphere | Inner Glow, Bloom, Bloom Radius, Dark Band, Opacity, End Fade, Breakup, Patch Scale, Softness, Shimmer |
| Animation | Grow from (Left, Right, Centre, Ends), Reveal, Edge Softness, Length (frames) with the Grow, Fade In and Both keyframe buttons, Shimmer |
| Sun & Render | Linked sun, Follow Sun, Sun Light, Scene Sun, New Sun, Place for Camera, Frame Camera, EEVEE blend mode, Cast Shadows, Show in Reflections |
In the sidebar, the selected rainbow's panel has its type, Reset, Save Preset, the colour ramp editor (Artistic mode) and the sun lamp link. Rainbows in Scene lists every rainbow so you can select, hide or delete it.
Light Halos: rainbow rings around lights
- Your scene needs a camera: halos are drawn as the camera sees them.
- Select one or more lights (point, spot, area or sun) or objects with a glowing material.
- Pick a type in the Light Halos category and press Add to Selected Lights, or right-click a light and choose Add Rainbow Halo.
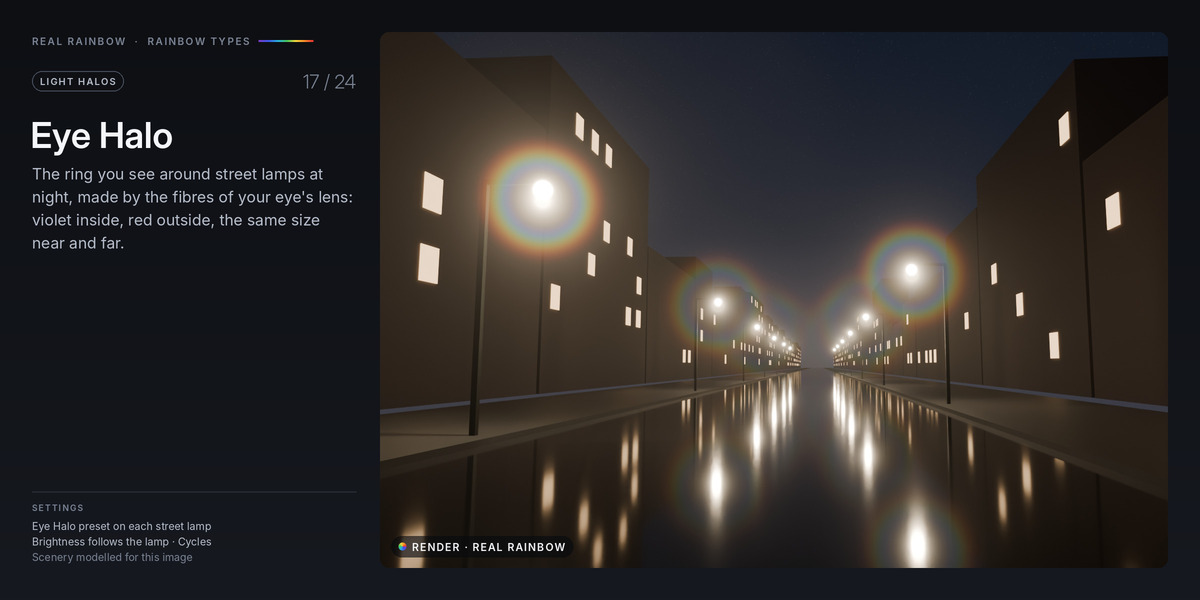
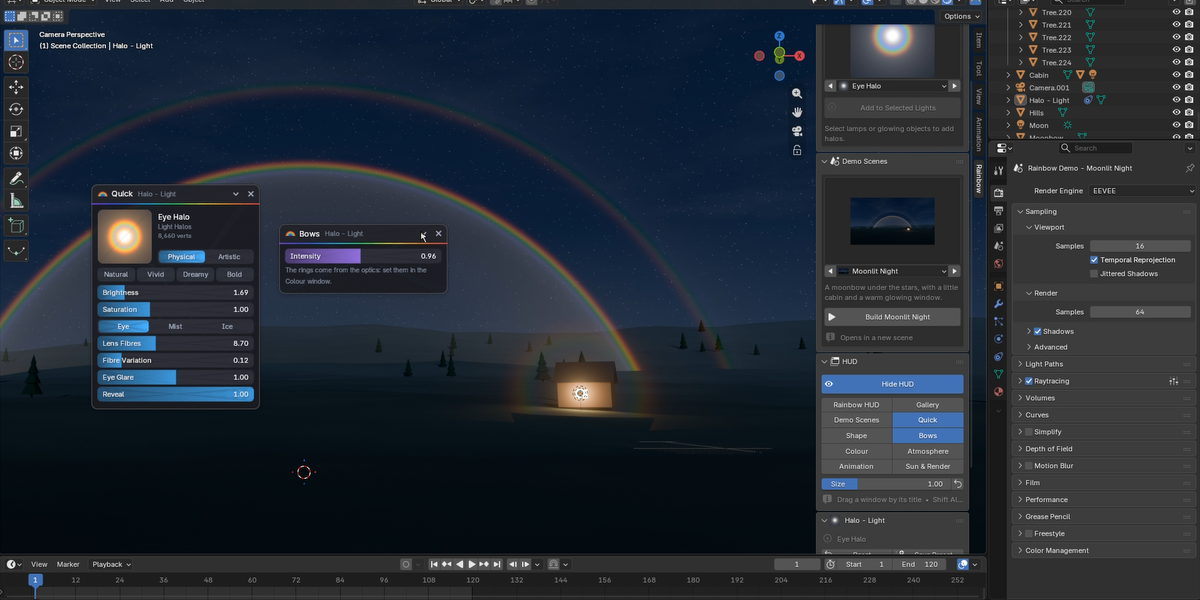
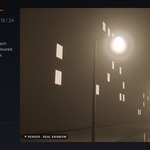
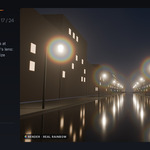
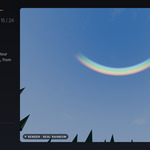
- Eye Halo: the ring of about 4° that bright lights show at night, made by the fibres of the eye's lens. Violet inside, red outside, with the eye's own glare. It is the same size around near and far lamps.
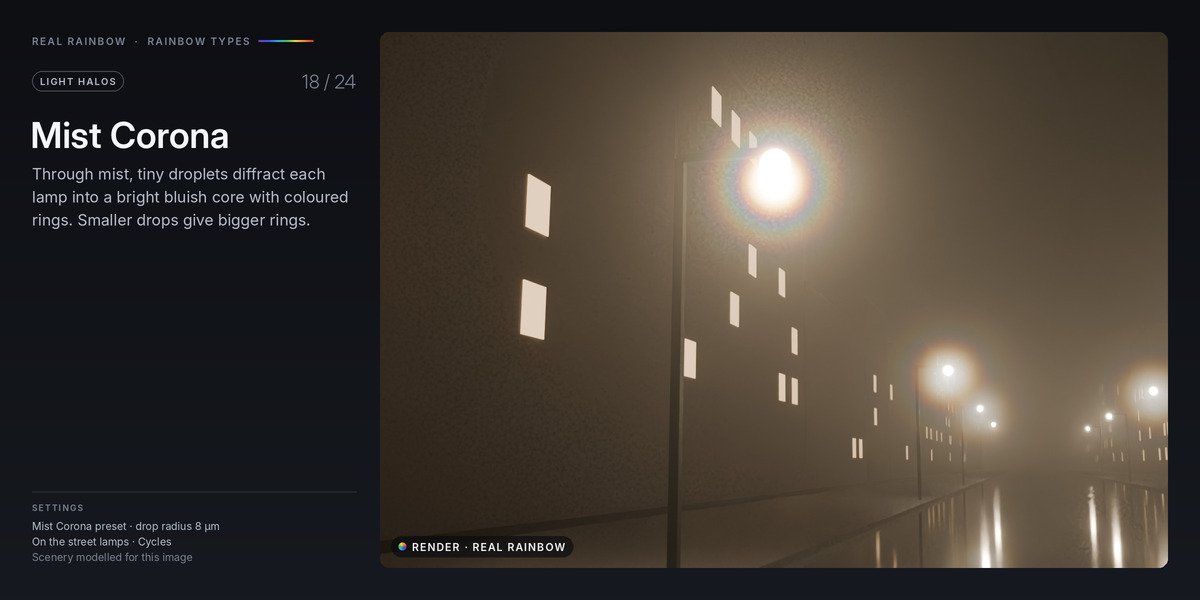
- Mist Corona and Cloud Corona: a bright bluish core with coloured rings, from droplets between you and the light. Smaller drops make bigger rings.
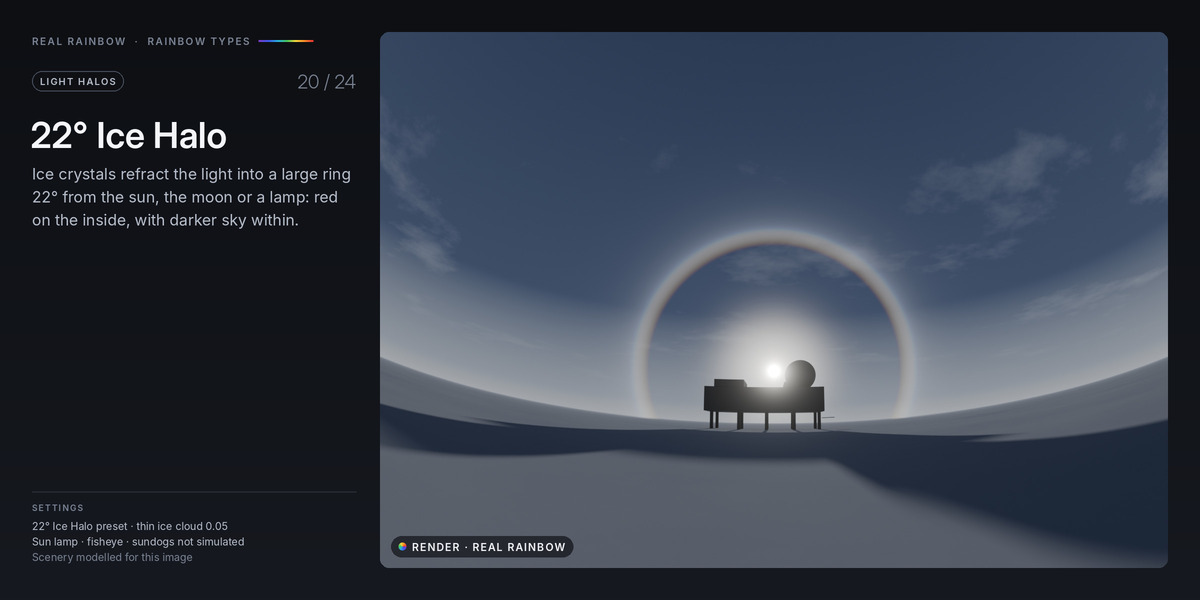
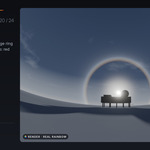
- 22° Ice Halo: a large ring with a sharp red inner edge and a darker sky inside, from ice crystals in thin cloud.
- Rainbow Glow Ring: an artistic ring coloured from the colour ramp.
Each halo follows its light live: power, exposure, colour or temperature, a spot's cone, the side an area light faces, and its distance from the camera. Anything that hides the light also hides its halo, and the halo goes away with its light. Brightness 1 is physical, and Eye Glare 1 is a typical eye. Applying a type to a light that already has a halo restyles it; Add to Selected Lights adds another, for example an Eye Halo plus a Mist Corona.
Each type has its own controls: Lens Fibres and Fibre Variation for the Eye Halo, Drop Radius and Mist for coronas, Ice Cloud for the ice halo, and Eye Glare for all of them. A halo is drawn as the scene camera sees it; pick another camera as its Viewer in the sidebar if you render from several. For glowing objects, the brightness is read from a value on an Emission or Principled BSDF node; if the emission comes from a texture, set Brightness by hand.
Many overlapping halos need more transparent bounces in Cycles. Real Rainbow raises that limit when you add halos.
Animation
- Reveal grows the bow along its arc. In the Animation window, choose where it grows from and the Length in frames, then press Grow, Fade In or Both; Real Rainbow sets the keyframes from the current frame.
- Every setting can be keyframed like any other property.
- With a linked sun and Follow Sun, animating the sun lamp moves the bow.
- Shimmer makes the Breakup patches drift over time.
Changing and saving rainbows
- To restyle a rainbow you already have, select it, pick a type in the gallery and press Apply to Selected. Reset returns it to its type's settings.
- Right-click a rainbow for the Rainbow menu: Show HUD, Frame Camera on Rainbow, Place for Camera, Follow Scene Sun, Apply Gallery Type, Reset and Save Preset.
- Save Preset stores the selected rainbow in the gallery under My Presets, with a thumbnail.
Using rainbows in your own shaders
Each rainbow mesh carries attributes you can read with an Attribute node: rb_emit (RGB emission, alpha = occlusion), rb_band (ramp coordinate, ramp weight, arc position, brightness relative to the peak), rb_coord (normalised position) and rb_preview (display colour), plus the RainbowUV map (U along the arc, V across the bands).
Tips for a realistic result
- Start from the Natural look. It is the physical default.
- Keep the sun behind the camera and fairly low for a tall arc.
- Rainbows stand out against dark cloud. Keep the sky behind the bow darker than the sunlit scenery in front of it.
- Lower Brightness for thin or distant rain. Brightness 1 is a dense, fully sunlit shower.
- Use Breakup for a patchy rain curtain, and Reveal for a partial bow.
- For camera moves, use Sky Dome with a linked sun, and a Copy Location constraint to the camera if it travels far.
Troubleshooting
- I can't see the rainbow. Face the camera away from the sun. Check that the sun is lower than about 42°. With Sky Dome, make sure scenery isn't hiding it (lower Sky Distance), or press Place for Camera.
- Add to Selected Lights reports an error. Add a scene camera, and select at least one light or glowing object first.
- Halos look cut off where several overlap in Cycles. Raise Render Properties > Light Paths > Max Bounces > Transparent.
- The rainbow sorts wrongly with other transparent objects in EEVEE. Set the blend mode to Dithered in Sun & Render.
Demo scenes
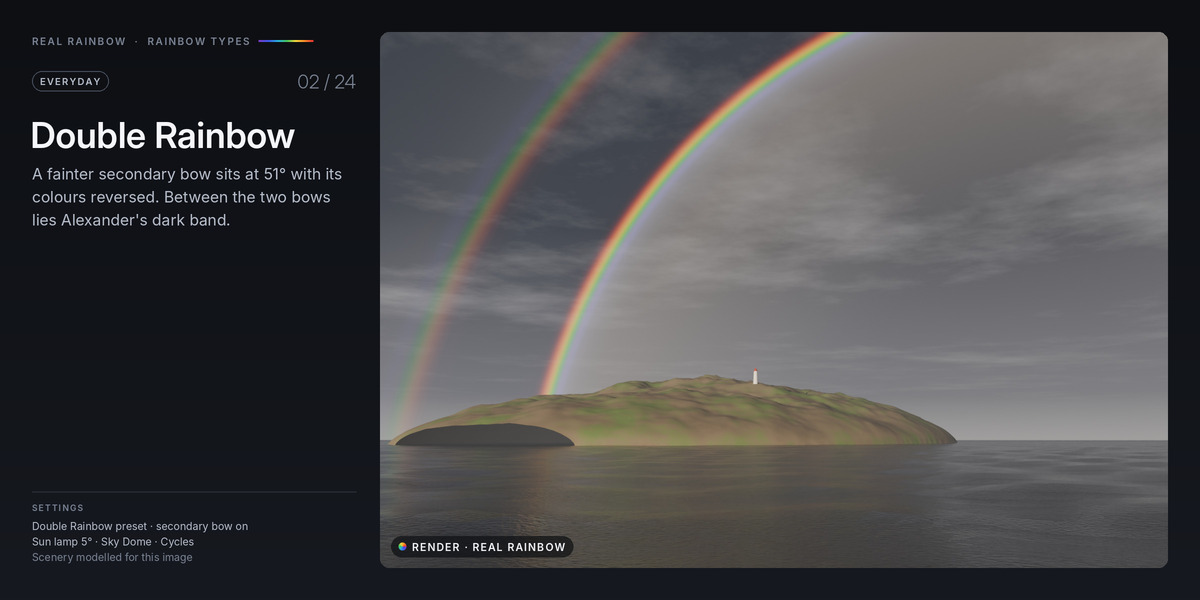
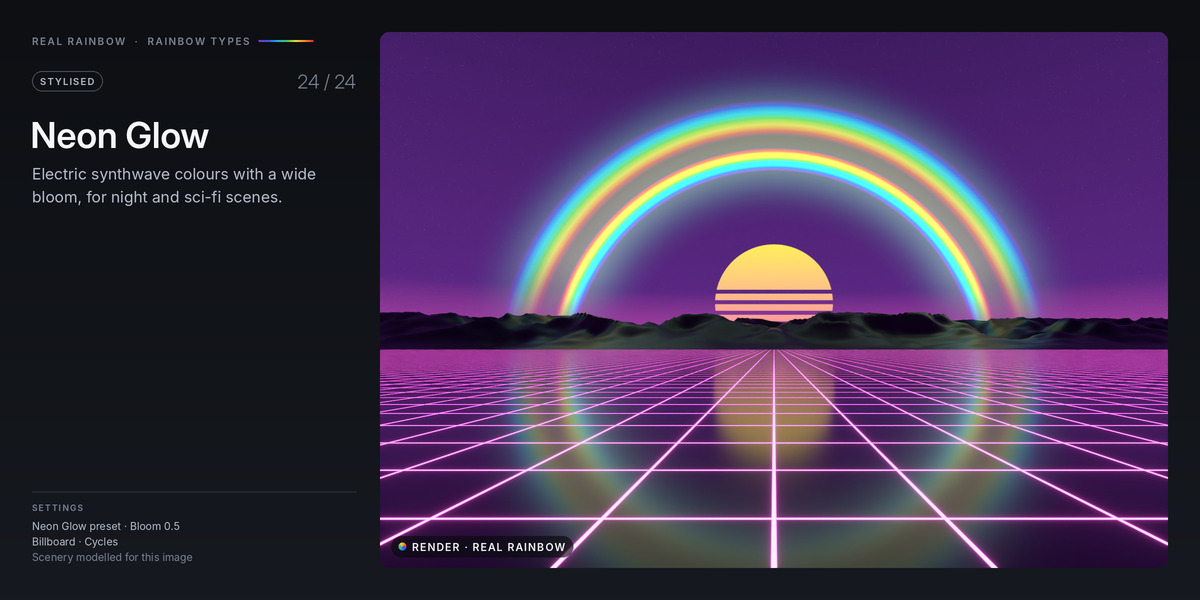
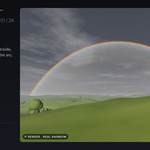
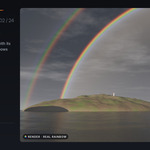
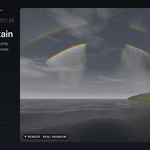
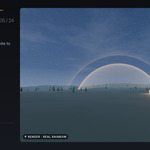
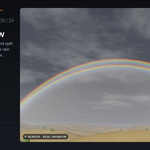
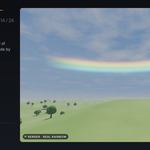
• Storm Meadow: a double rainbow over sunlit hills against a storm.
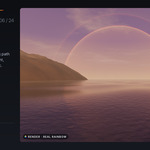
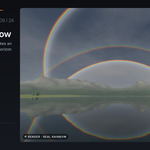
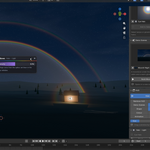
• Mountain Lake: a reflection rainbow, with the calm lake mirroring every bow.
• Sunset Ocean: a red rainbow with the sun on the horizon.
• Misty Valley: a fogbow over a pine valley.
• Moonlit Night: a moonbow under the stars.
• Above the Clouds: a full-circle rainbow and a glory, seen from a plane.
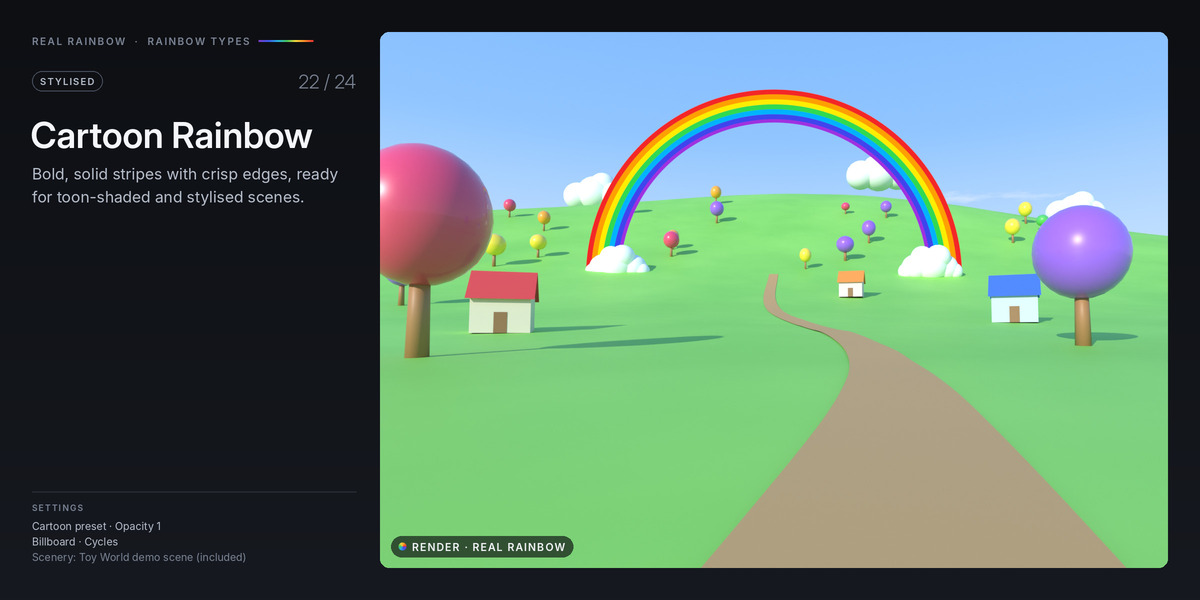
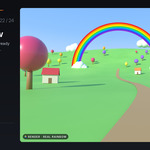
• Toy World: a cartoon rainbow over a toy village.
How it works
For each wavelength, Real Rainbow finds the rainbow angle from the refractive index of water, spreads it according to the drop size with Airy theory, averages over a range of drop sizes, blurs it by the size of the sun's disc and weights it by the sun's spectrum, then turns it into colour with the CIE 1931 colour matching functions. Reflection losses inside the drop are included, and the model hands over to ray optics away from the bow, so the brightness of each bow, the glow inside the primary and Alexander's dark band all come out in physical units.
Checked against exact Mie scattering: bow positions within 0.05° for raindrops and 0.2° for fog droplets, peak brightness within 2%, colours within 0.01 in CIE xy, and the inner glow and secondary bow within about 10%.
Have questions about this product?
Login to message
| Blender Extension Compatible | Yes |
| Dev Fund Contributor | |
| Published | about 8 hours ago |
| Blender Version | 4.1 - 5.2 |
| Extension Type | Add-on |
| Render Engine Used | Cycles, Eevee |
| License | GPL |