RevealKit Pro – Archviz Build-Up Animation for Blender
 ASHISH KUMAR MAURYA
Getting started
- Install: Edit > Preferences > Get Extensions > (dropdown) > Install from Disk, and choose the zip (don't unzip it).
- In the 3D Viewport press N and open the RevealKit tab.
- Select a mesh. Every loose part in it (a plank, a tile, a brick) becomes one piece.
- Pick a motion in the preset browser and press Apply to Selected. Press Space to play: the reveal starts at the frame you were on.
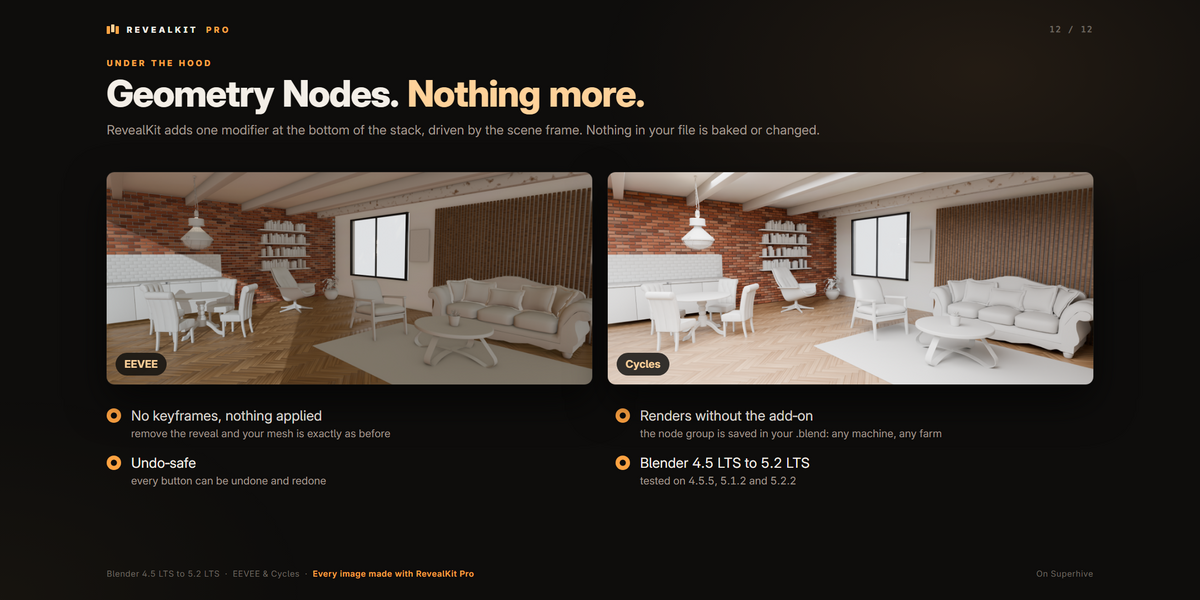
RevealKit adds one Geometry Nodes modifier. The mesh itself is never changed: remove the reveal (the X next to the piece count) and the object is exactly as before. There are no keyframes to manage. Every panel has a ? button that opens the offline guide at the right section.
Pieces
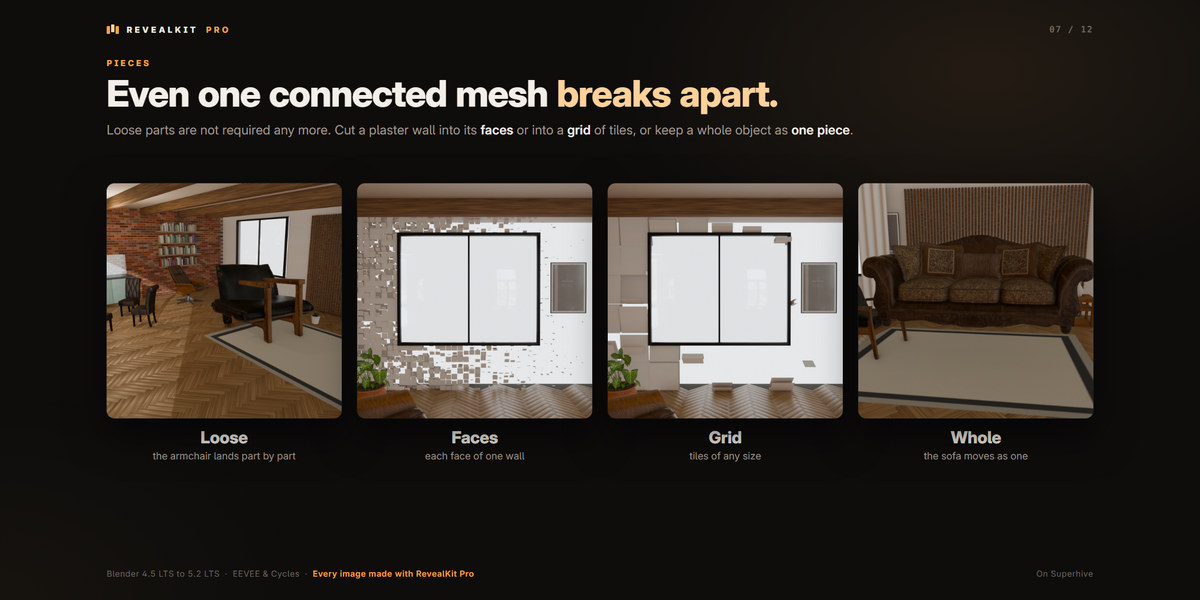
- Loose: every loose part is a piece. Best for floors, tiles, bricks, slats and planks modelled as separate parts of one mesh. An unapplied Array above RevealKit counts too.
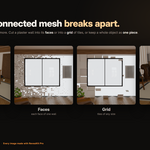
- Faces: every face is a piece. Works on any connected mesh: a plain wall, terrain, a sculpt.
- Grid: faces are grouped into blocks of Cell Size, for chunky pieces on a connected mesh.
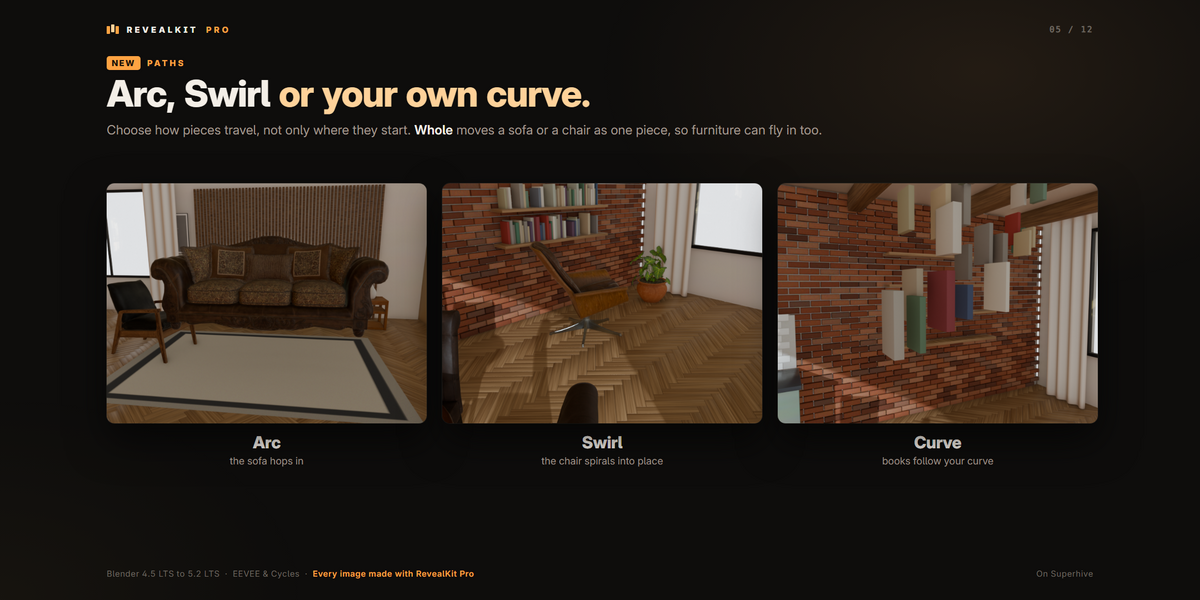
- Whole: the object moves as one piece. For furniture and props made of many parts.
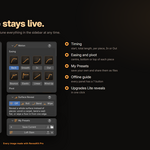
Timing
- Start: the frame the first piece starts moving.
- Total Length: frames from the first piece starting to the last piece landing.
- Per Piece: frames one piece takes to arrive.
- Animate In / Out: Out plays the reveal backwards; pieces leave in the same order.
- The panel shows the frame the reveal ends on, and offers Extend Scene to Fit when it ends after the scene.
Order
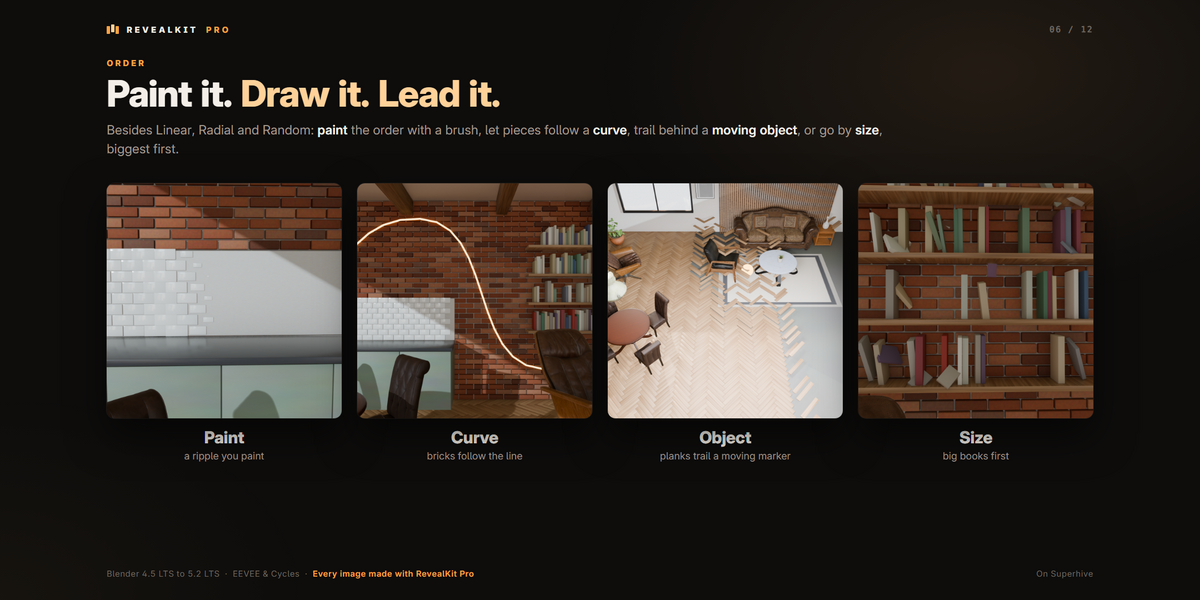
- Linear: from one side to the other. Radial: outward from the 3D cursor. Random: shuffled by a seed.
- Paint: press Paint Order and weight-paint; blue arrives first, red last.
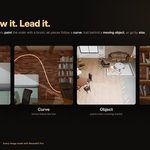
- Object: pieces nearest an object come first. Animate it and press Follow Its Path to let the build trail behind it.
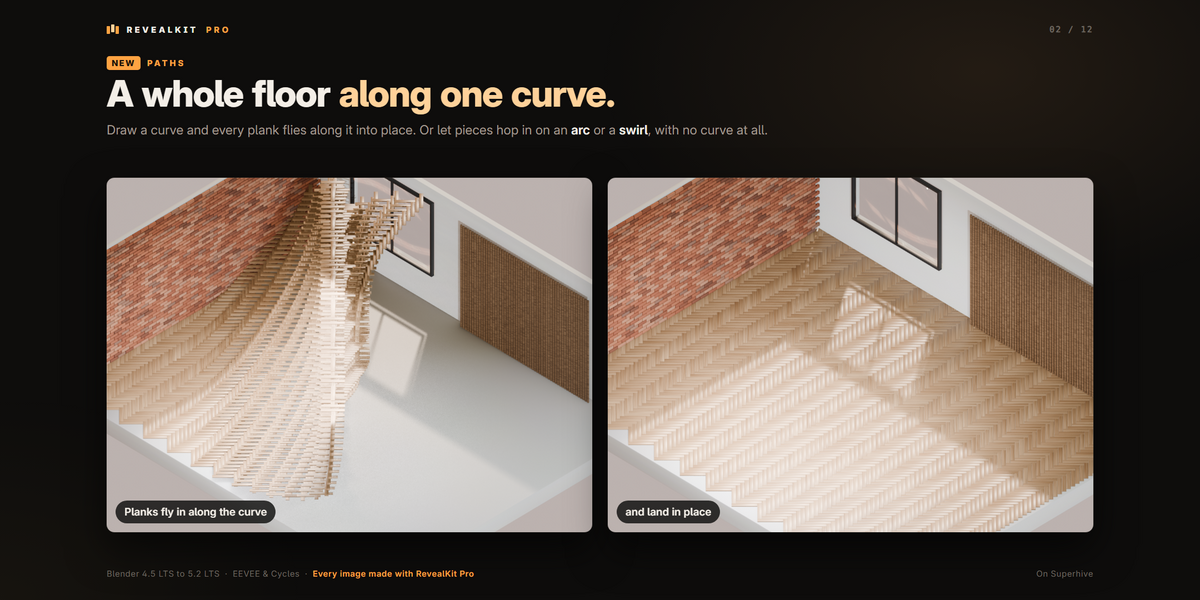
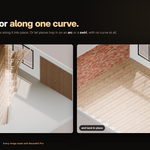
- Curve: pieces follow a curve from its first point to its last. Add Order Curve draws one for you. Keep it a plain curve: with a bevel or an extrude it can't lead the pieces, and the panel says so.
- Size: big pieces first, small ones last.
- Randomness blends any order towards random; Reverse flips the order.
Motion
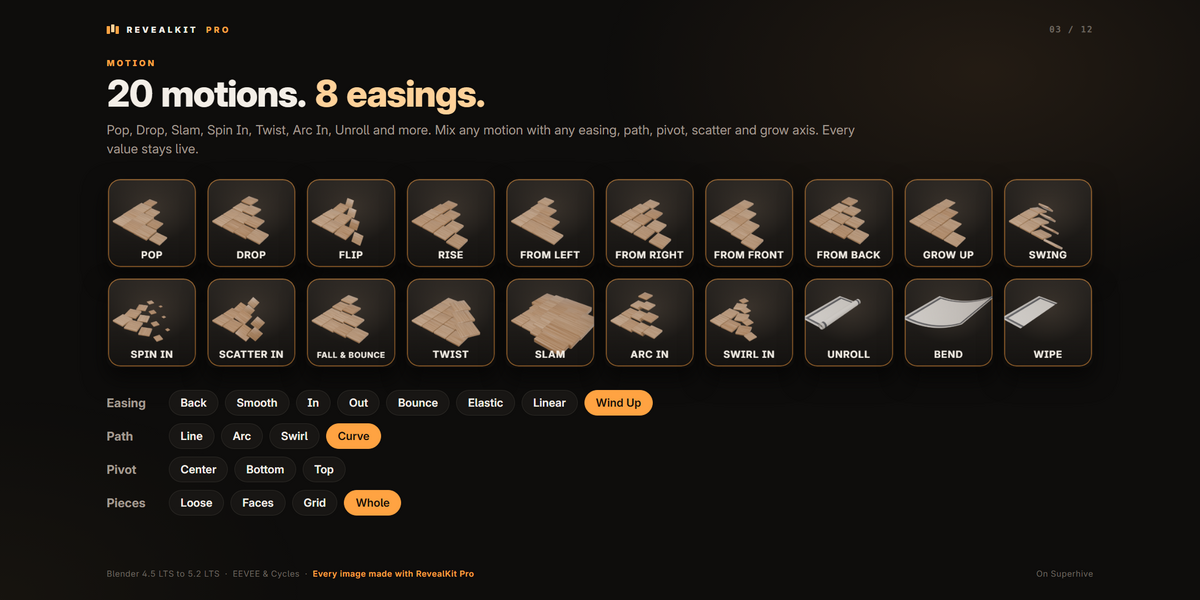
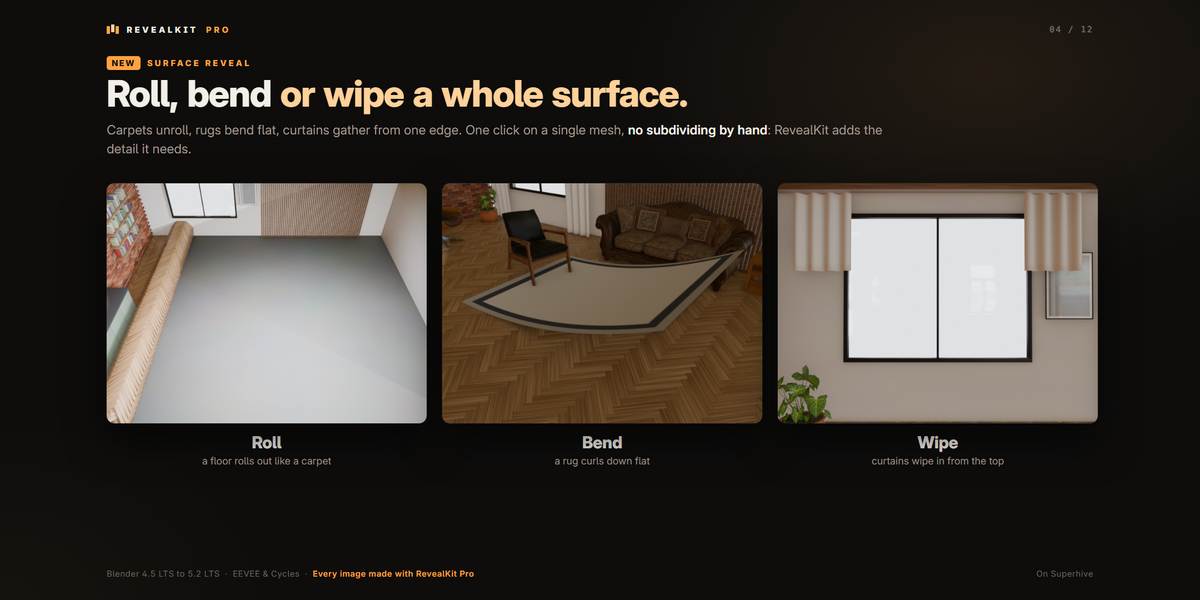
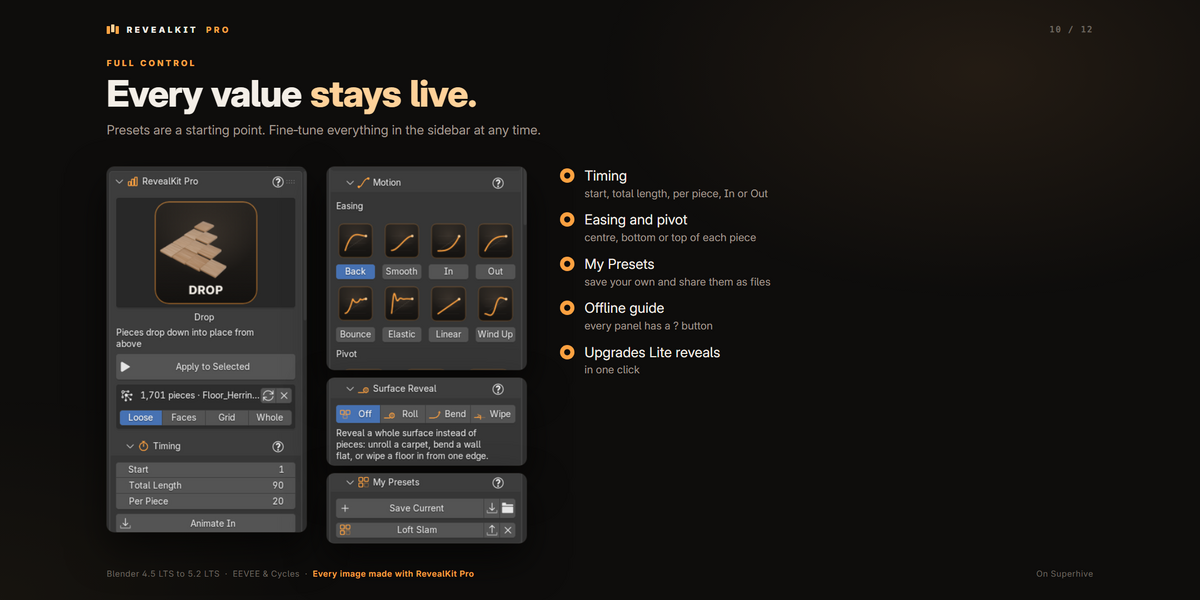
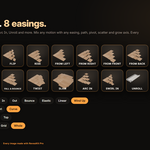
20 presets: Pop, Drop, Flip, Rise, From Left / Right / Front / Back, Grow Up, Swing, Spin In, Scatter In, Fall & Bounce, Twist, Slam, Arc In, Swirl In, plus the surface reveals Unroll, Bend and Wipe. A preset only changes the motion: your timing and order stay.
- Easing: Back, Smooth, In, Out, Bounce, Elastic, Linear and Wind Up (anticipation and follow-through).
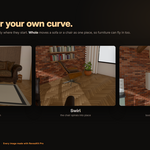
- Path: Line, Arc (hops in), Swirl (spirals down) or Curve (follows a curve you draw; Add Path Curve makes one; keep it a plain curve too, with no bevel or extrude).
- Pivot: Center, Bottom (grows from the floor) or Top.
- Start Scale, Grow Axes, Offset, Scatter and Rotation shape the way in. Hide When Inactive hides pieces that have not started.
Surface Reveal
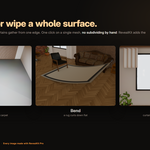
For carpets, rugs, floors, walls and curtains: the whole surface moves instead of separate pieces. Open Surface Reveal under the main panel, or use the Unroll, Bend and Wipe presets.
- Roll: unrolls like a carpet (Roll Radius sets the size). Bend: starts curled into a half circle and bends flat. Wipe: grows across the surface from one edge.
- Travels sets the direction (RevealKit picks the longest side for you); Flip Side rolls or bends toward the other face.
- Detail subdivides the surface only while it moves, so even a single plane rolls smoothly. At rest the original mesh is back.
Build Sequencer
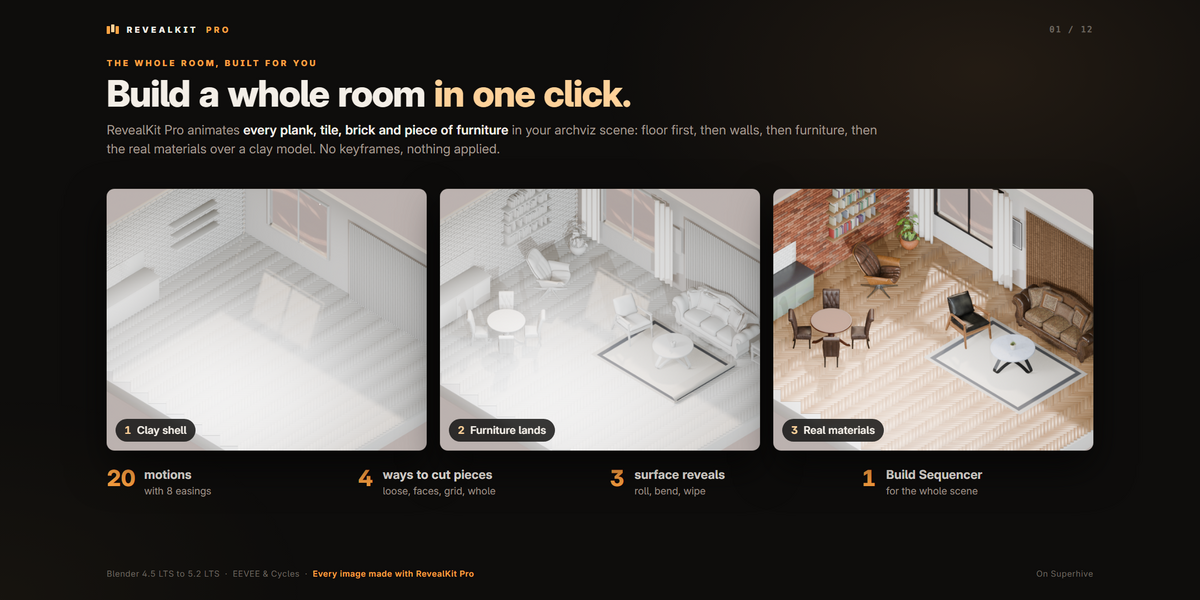
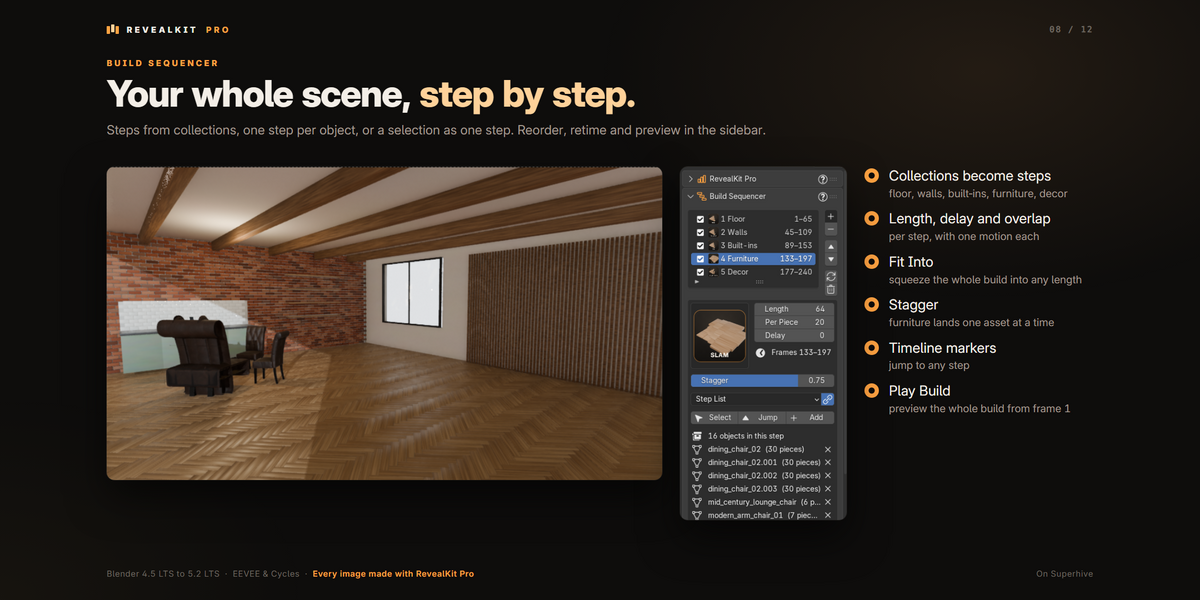
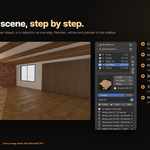
- Put the parts in collections, for example Build > Floor / Walls / Furniture.
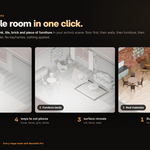
- Click the Build collection in the Outliner, then Steps from Collections (or One Step per Selected Object, or Selected as One Step).
- Pick a motion per step, set Fit Into to the length you want and press Fit.
- Press Play Build.
- Length / Per Piece / Delay per step; Gap / Overlap between all steps.
- Stagger: objects of a step arrive together (0) or one after another (1). Keep Assets Together keeps a pot, its soil and its plant as one.
- Markers: a timeline marker at every step. The checkbox switches a step off.
Clay to Final
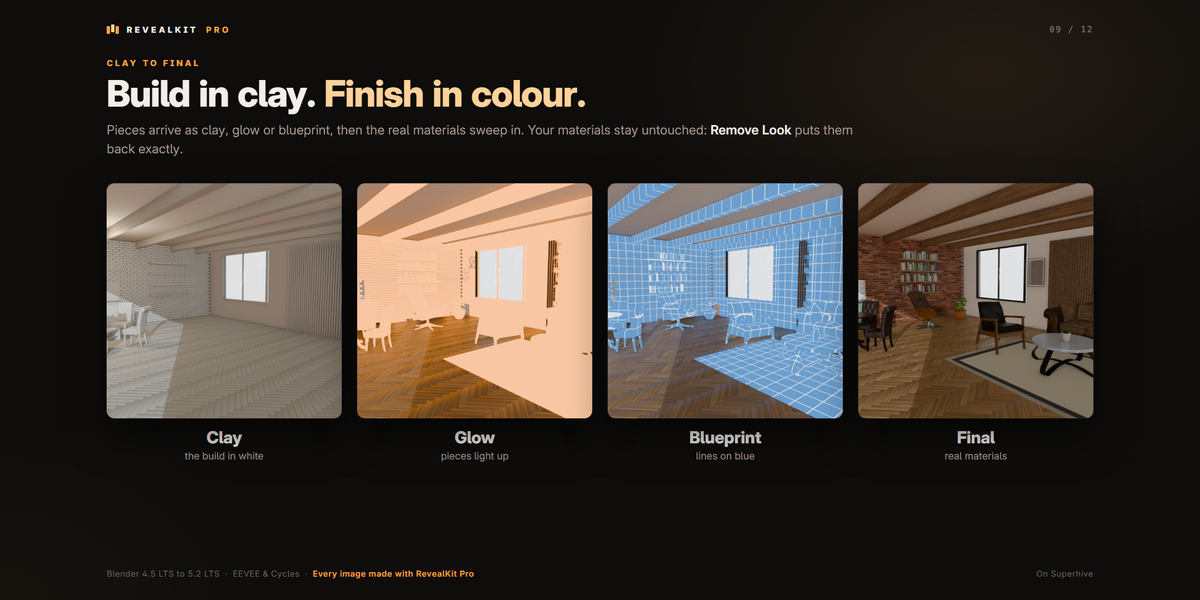
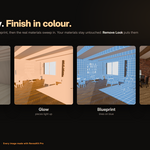
Pieces arrive in a look and turn into their real material: Clay, Glow or Blueprint. For one object, open Clay to Final and click a look. For the whole build, pick a look in the Build Sequencer and press Apply to Build. Remove Look reconnects every material exactly as it was.
My Presets
Save Current stores the active reveal's motion, and optionally its timing and order. Click a preset to apply it to the selected meshes, in any file. Export writes a .json file to share; Import adds one you received.
Rendering
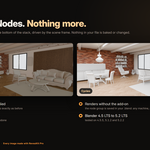
- Works in EEVEE, Cycles and Workbench, in the viewport, final renders and render farms.
- The node groups are saved in the .blend: someone without RevealKit can open and render the file.
- Reveals made with RevealKit Lite keep working; Upgrade to Pro turns them into Pro reveals with every value kept. Reveals saved with an older version of Pro keep playing as they were, and the same button brings them up to date.
Troubleshooting
- Only 1 piece: the mesh is connected. Pick Faces or Grid in the Pieces row.
- Nothing happens when I play: check the frame; the reveal starts at Start. Use Extend Scene to Fit if the scene ends earlier.
- Piece count looks wrong after editing: press the refresh button next to the count.
- Clay to Final shows no change: the object needs a material with a Material Output connected to a shader.
- The RevealKit tab is missing: check Edit > Preferences > Add-ons > RevealKit Pro; the Sidebar Tab setting may have moved it.
Full video tutorial: RevealKit Pro Tutorial
Have questions about this product?
Login to message
| Blender Extension Compatible | Yes |
| Published | 9 days ago |
| Blender Version | 4.5 - 5.2 |
| Extension Type | Add-on |
| Render Engine Used | Cycles, Eevee |
| License | GPL |
Discover more products like this
animation ArchViz clay-render architecture Procedural Animation reveal build up Interior assembly animation motion graphics geometry nodes construction-animation