Rigbridge
 Kajin
Kajin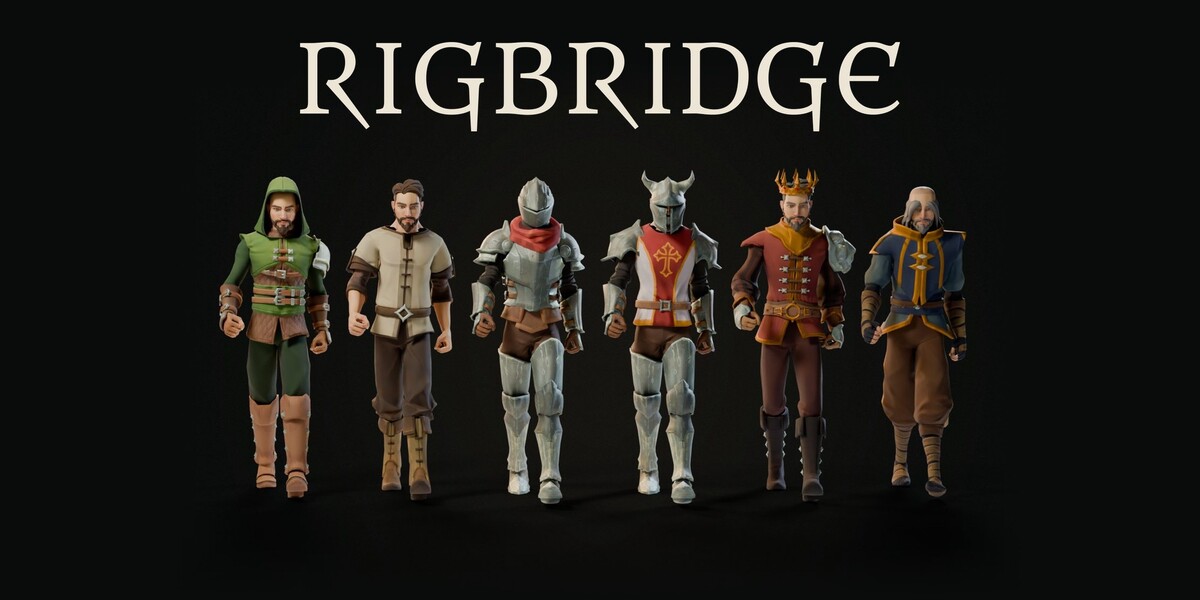
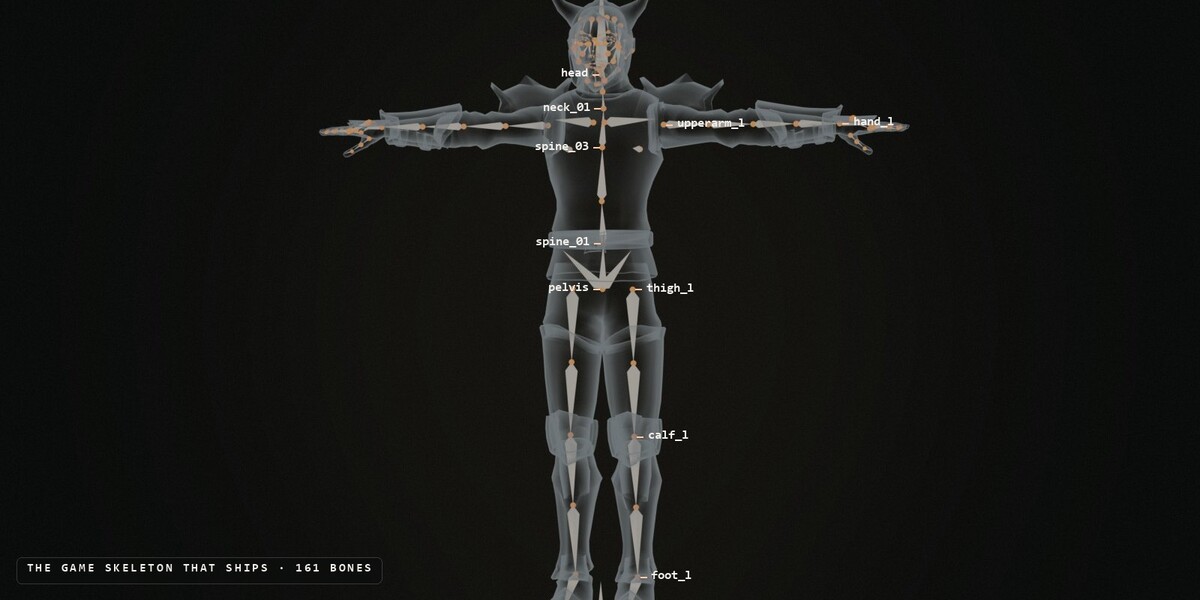
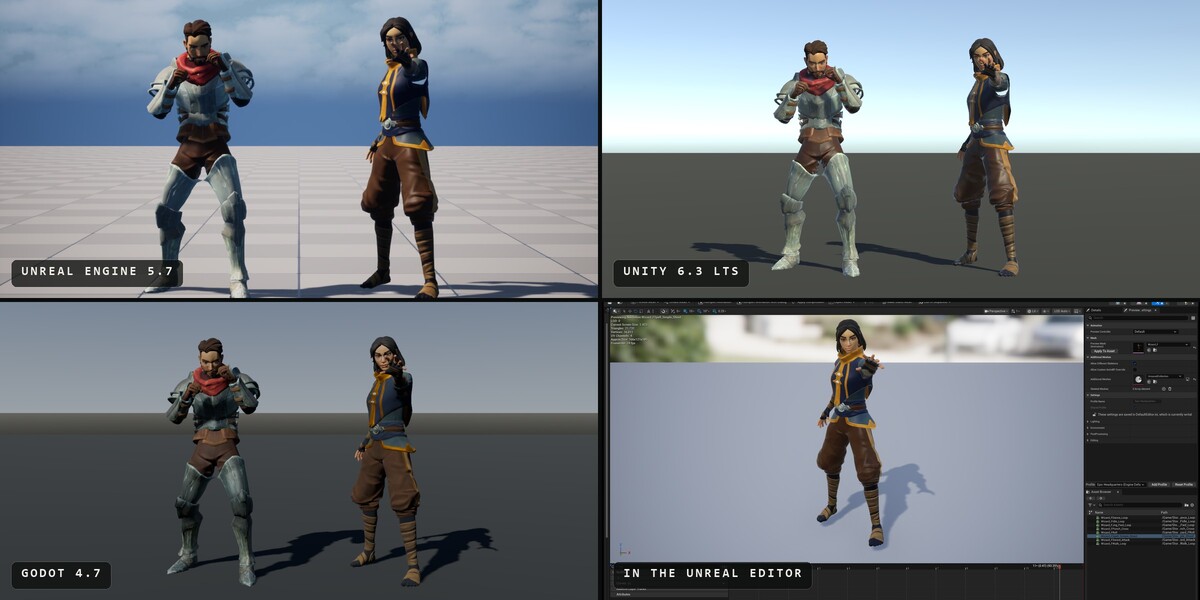

Installation
Download the zip file. In Blender, go to Edit > Preferences > Add-ons, click the arrow at the top right and pick Install from Disk. Select the zip. You can also drag the zip straight into the Blender window. RigBridge appears as a tab called "RigBridge" in the N-panel (press N in the 3D viewport).
Updating from an older version, or from RigBridge Lite? Install the new zip the same way. It replaces the old version, so there's no need to uninstall first. Your files, saved setups and settings carry over.
Requires Blender 4.2 or newer. Tested on Blender 4.2 LTS, 4.3, 4.4, 4.5, 5.0, 5.1 and 5.2. Smart Fit and the creature metarigs need Rigify, which comes with Blender: enable it once in Preferences > Add-ons.
The panel
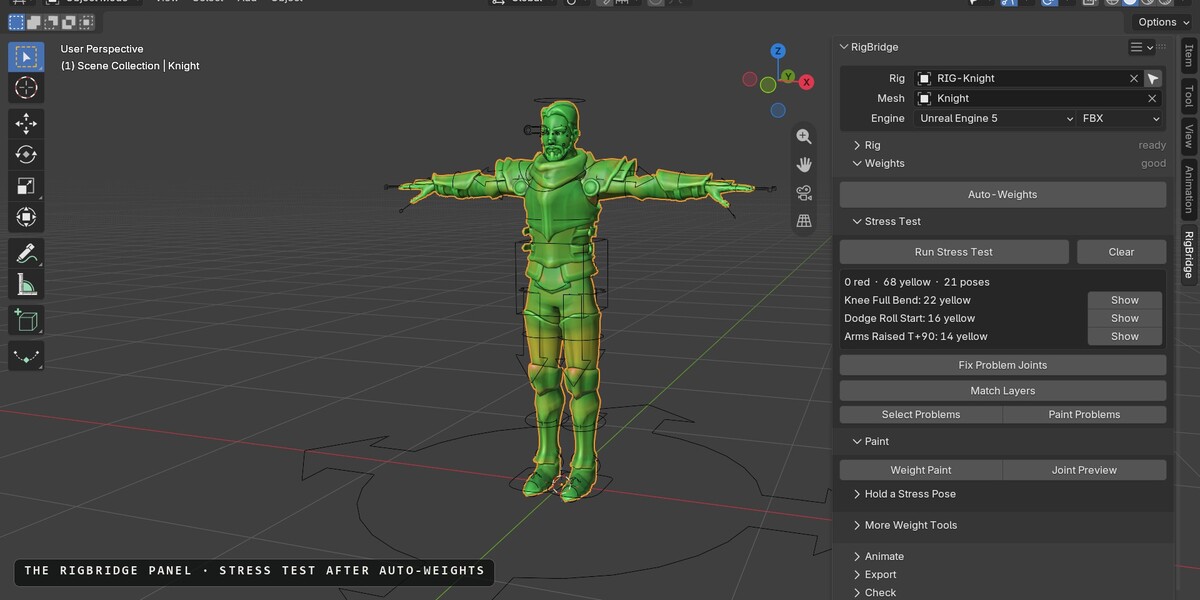
At the top: your Rig, your Mesh, your engine (UE5, UE4, Unity, Godot or Custom) and the file format (FBX or glTF). Every section works on them. The arrow button next to Rig picks your rig and your character from what you have selected.
Below them, one section per step, in the order you work. Each section's header shows where that step stands (ready, weighted, 3 red, 21 clips, baked, the readiness score), and the blue button is always the next thing to do:
- Rig: make a rig (Smart Fit for a human, the creature metarigs), or check yours under Rig Details
- Weights: Auto-Weights, the Stress Test and its fixes, Weight Paint and Joint Preview
- Animate: Get Animations (retarget), the clips on your rig, Split Into Clips and Root Motion
- Export: Build + Bake All, Quick Export, what goes in the file, and the export settings
- Check: Check Everything, the export readiness score, and clean-up tools
The menu at the panel's top right holds your saved setups, Scene State, What's New and Help.
Quick Start (Export Pipeline)
- Open the RigBridge tab in the N-panel
- At the top, pick your Rig and your Mesh (or select them and click the arrows), and your engine
- In the Export section, click Build + Bake All
- Click Quick Export
That's it. Your FBX is ready to import into your engine. The Import Guide in the Export section shows the import settings for your engine.
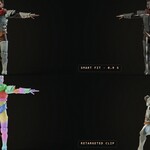
Quick Start (Smart Fit)
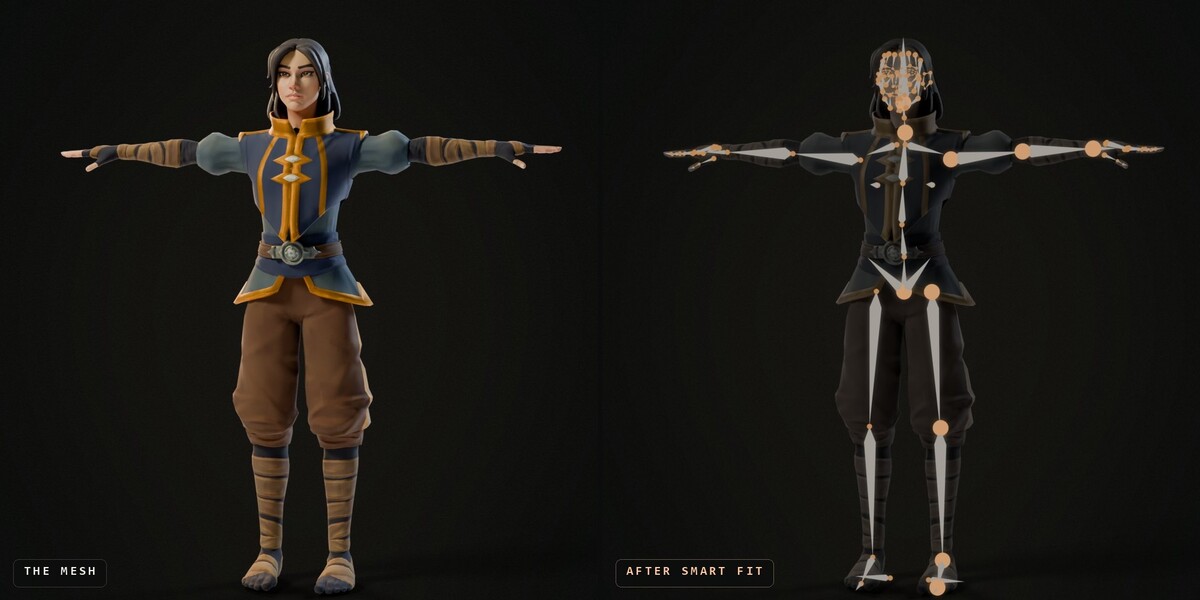
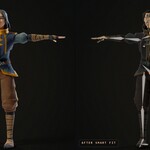
- Select your character (all its parts): standing on its feet, facing -Y, arms in a T-pose or an A-pose. Anything else you select (the floor, props, buildings, other characters) is left out
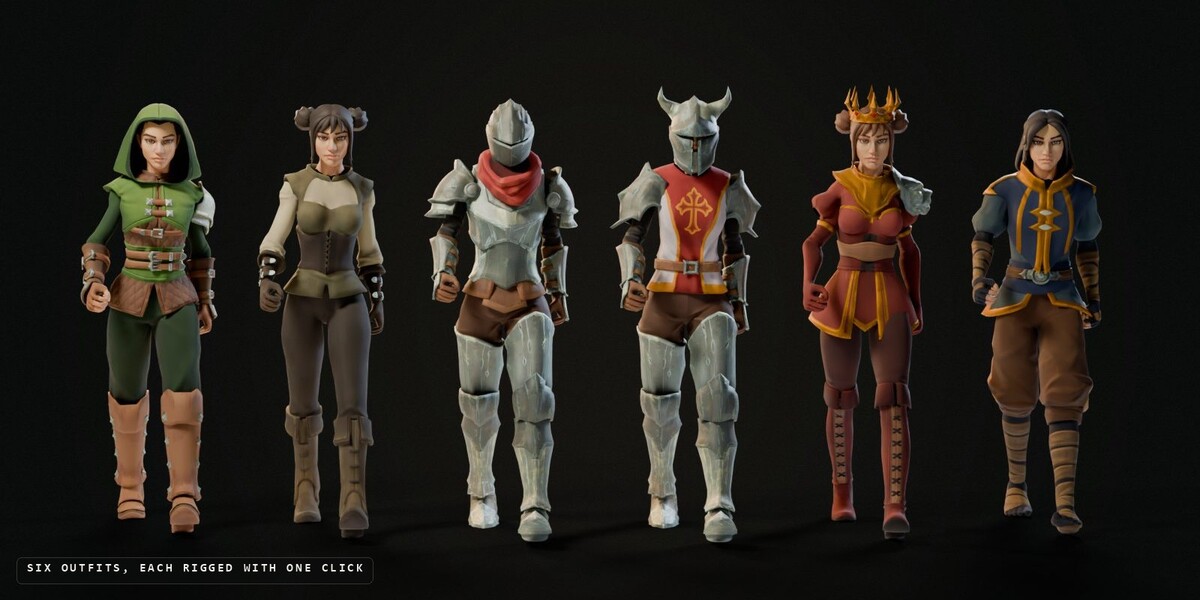
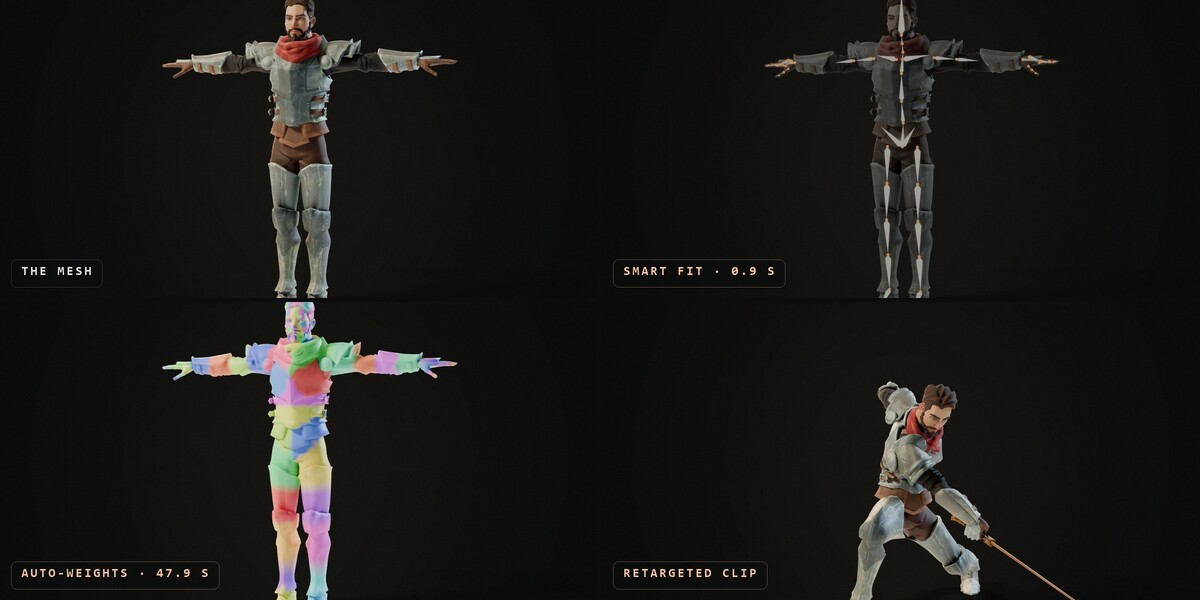
- In the Rig section, under Make a Rig > Human, click Smart Fit
- Check the markers on the joints. If one is off, move it and click Refit
- Select the fitted metarig and click Generate Rig
- Pick the generated rig and your mesh at the top, then go on to Weights and Export as usual
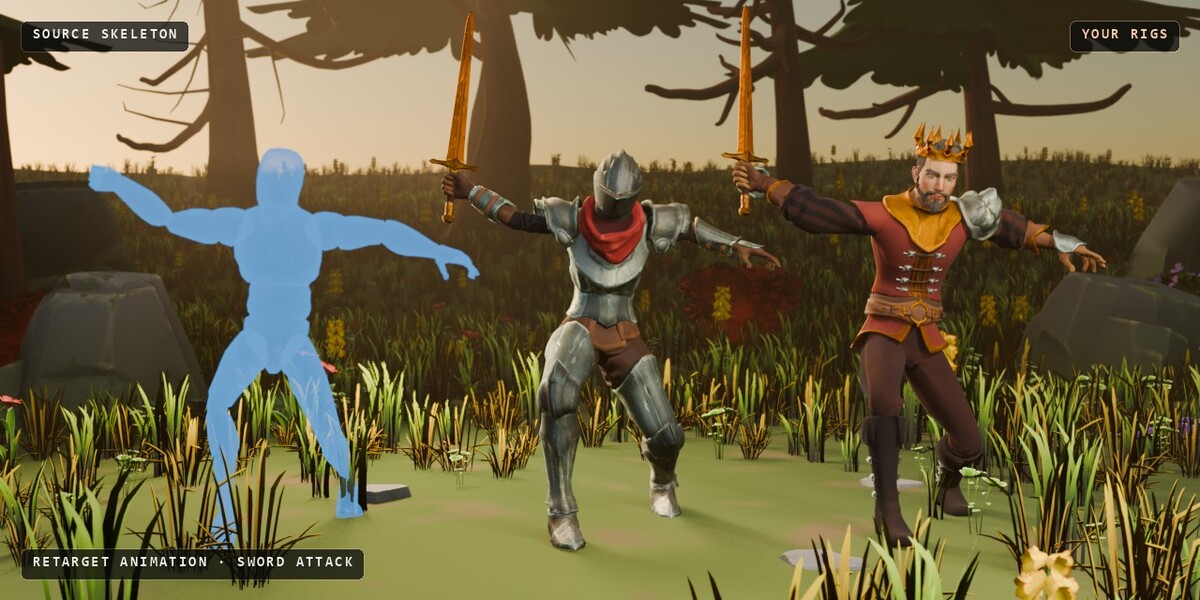
Quick Start (Retarget Animation)
- Pick your rig at the top
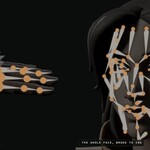
- In the Animate section, under Get Animations, click Import + Retarget FBX Files and pick one or many animation files (Mixamo, Unreal or any humanoid skeleton)
- Each file becomes an action on your rig, named after the file, and shows in the clip list. The last one plays on your rig
- In the Export section, click Build + Bake All to bake them for export
To copy animations from a skeleton that's already in your scene, pick it as the Source, choose This Clip (its current animation) or All Clips, and click Retarget.
Bone Mapping shows which bones were matched. Click Match Bones to see them, change any of them, and save the mapping as a preset. Options holds the finger switch and the hip travel scale.
On a Rigify rig, the FK controls, torso, neck and head are keyed, and the new clips switch arms and legs to FK. A game-ready skeleton gets each clip on its own NLA track, so Quick Export writes them.
Root Motion
In the Animate section, Root Motion decides what happens to the hips' travel when clips are baked:
- Off: clips stay as they are
- Root Motion: the travel over the ground moves onto the root bone, so the engine moves the character. Turning and Vertical also move turns and jumps onto the root
- In Place: the travel comes off, so the character stays where it started
Each take can override the setting under This Take. When the settings change, the section tells you which baked clips need Re-Bake. In Unreal, turn on Enable Root Motion on the animation.
Split Into Clips and Export All Setups
Split Into Clips (in the Animate section) cuts one long take into several animations. Make the take your rig's active action, then click Cut Here at the playhead, or put a timeline marker where each move starts and click From Markers. Each clip bakes and exports as its own animation.
Export All Setups (the panel's menu, under your saved setups) exports every saved character whose rig is in the file, one FBX each, named after the setup.
Quick Start (Creature Metarigs)
- In the Rig section, under Make a Rig, click Creature
- Pick a body type (Humanoid, Quadruped, Winged, Aquatic or Dinosaur) and a creature
- Click Create Metarig
- Fit the bones to your character in Edit Mode
- Click Generate Rig (the metarig selected)
- Pick the generated rig at the top and go on as usual
Generated Chickens get Creature Controls in the Rig section with a Fold slider for each wing.
Quick Start (Weights)
The weight tools work on your rig straight away: no Build + Bake needed.
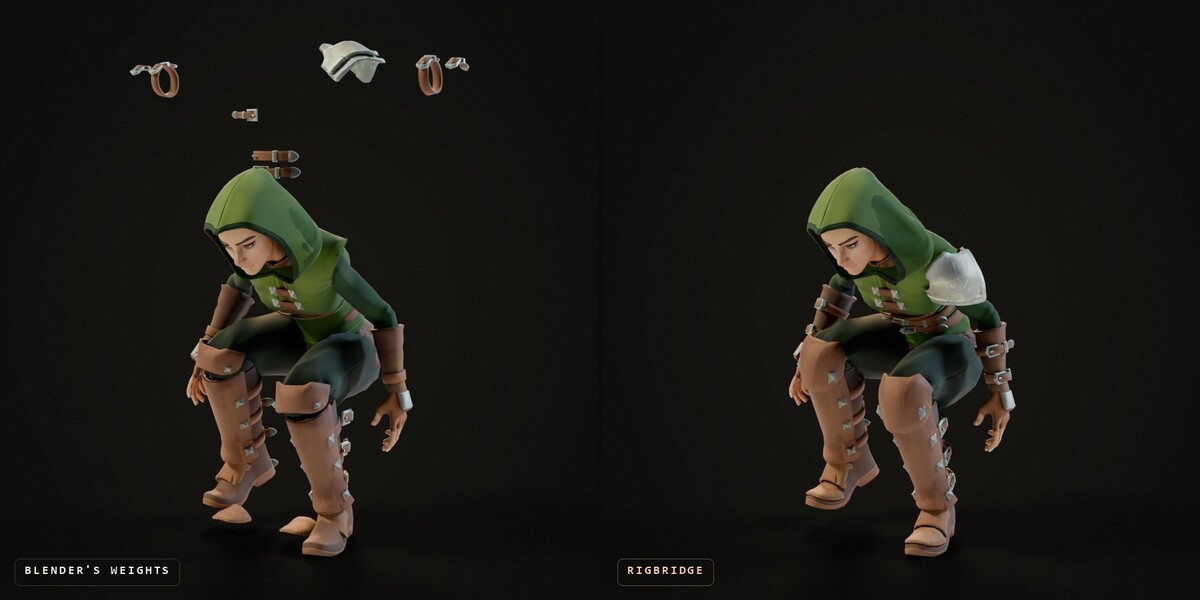
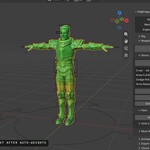
- In the Weights section, click Auto-Weights. It weights the mesh to the rig, repairs what the stress test shows red, and ends with the stress test. A character made of several meshes is weighted as one
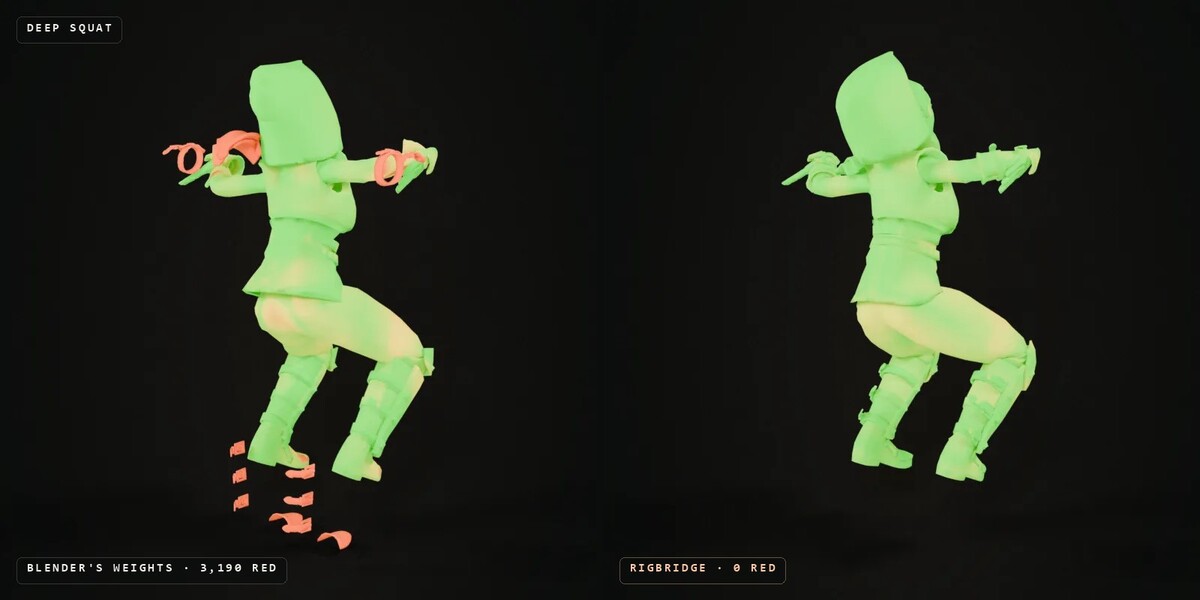
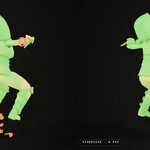
- Run Stress Test any time: it bends the joints through hard poses (21 for a person, poses of their own for an animal) and paints the mesh. Green holds, yellow is worth a look, red is where to fix. Show next to a pose holds it so you can see it
- Fix Problem Joints smooths where it's red and blends the joints, and keeps each change only if the stress test gets better. For clothing that pulls away from the body, select it in Edit Mode and click Match Layers. What's left, paint by hand: Paint Problems takes you there
- Click Weight Paint or Joint Preview to paint the rest: in Joint Preview, scroll bends the bone, L toggles the heatmap, period and comma cycle bones
- More Weight Tools holds the separate steps, the quality maps (Stretch, Influences, Dominance, Symmetry, Velocity) and the settings
Export Formats
- FBX: RigBridge's own FBX exporter, set up for your engine: scale 1 and the exact bind pose. Recommended for Unreal and Unity.
- glTF 2.0 (.glb): Blender's own glTF exporter. Recommended for Godot.
Skeleton change warning
Every export remembers the skeleton it wrote. If the next export's skeleton has renamed, added, removed, re-parented or moved bones, a warning under the export buttons lists them. A skeleton that changed no longer matches the one already in your engine: re-import the character there, or undo the change. The X next to the warning dismisses it.
Armature Node
Export > Skeleton, off by default and recommended for every engine. Off makes the root bone the top of the file: Unity Generic rigs need that, and Unreal gets the cleaner skeleton. Turn it on only if your pipeline expects the armature as an extra parent above the root.
Support
If something doesn't work, reach out to me on X (@Kajjiin) or get in touch directly here on Superhive. I'll fix any reported issue.
-
$50
For a bare mesh: everything in Lite, plus Smart Fit, Retarget Animation, Root Motion from Hips and the Creature Pack.
-
$25
For a character that's already rigged and animated: the export pipeline, the weight tools and the checks.
 Included
Includes 12 months of
- Support from Kajin
- Product updates
Extend this product’s Support Period +12 months: 50% of product price
Have questions before purchasing?
Login to message
| Blender Extension Compatible | Yes |
| Published | 5 months ago |
| Blender Version | 4.2 - 5.2 |
| Extension Type | Add-on |
| License | GPL |

Discover more products like this
root motion retarget auto-rig gamecharacter godot weight painting UnrealEngine rigging 3Dgamecharacter unity FBX Export rigify