Rigtap
 chowFrogStudio
RigTap User Manual
RigTap 1.0.0 · Blender 4.5–5.3
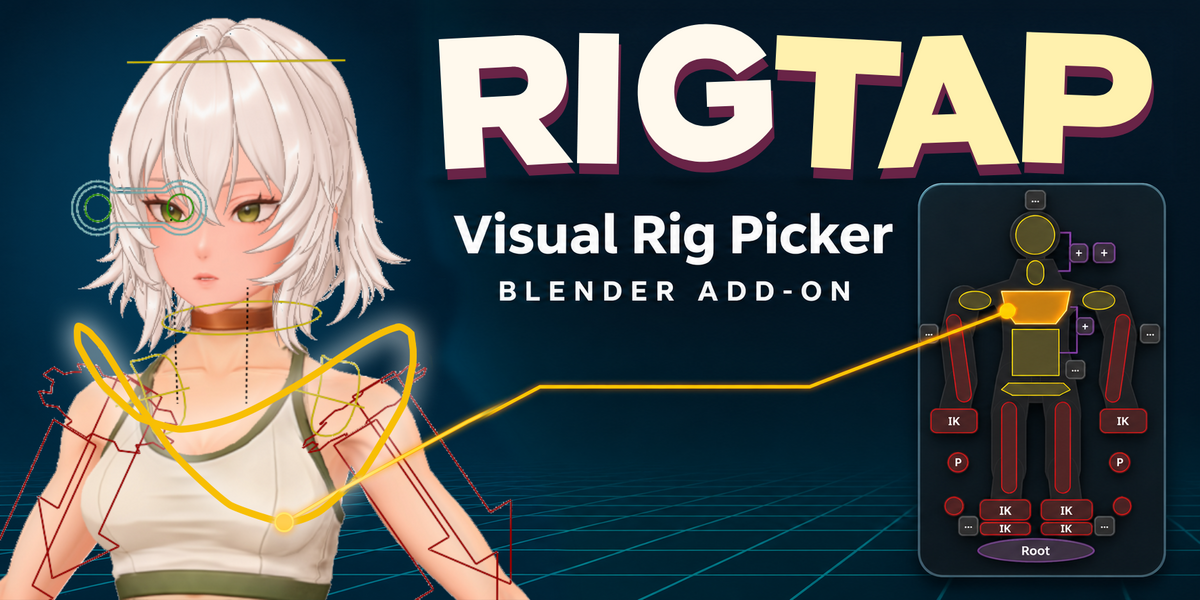
RigTap is a 2D picker for posing an existing Blender rig. This guide shows how to open the picker, navigate controls, and save your own layouts. The available controls and pages depend on the rig and preset.
1. Install RigTap
- In Blender, open Edit → Preferences → Get Extensions.
- Open the menu in the upper-right corner and choose Install from Disk. Select
RigTap-1.0.0.zip. - Under Preferences → Add-ons, search for RigTap and make sure it is enabled.
2. Open the picker and pose a character
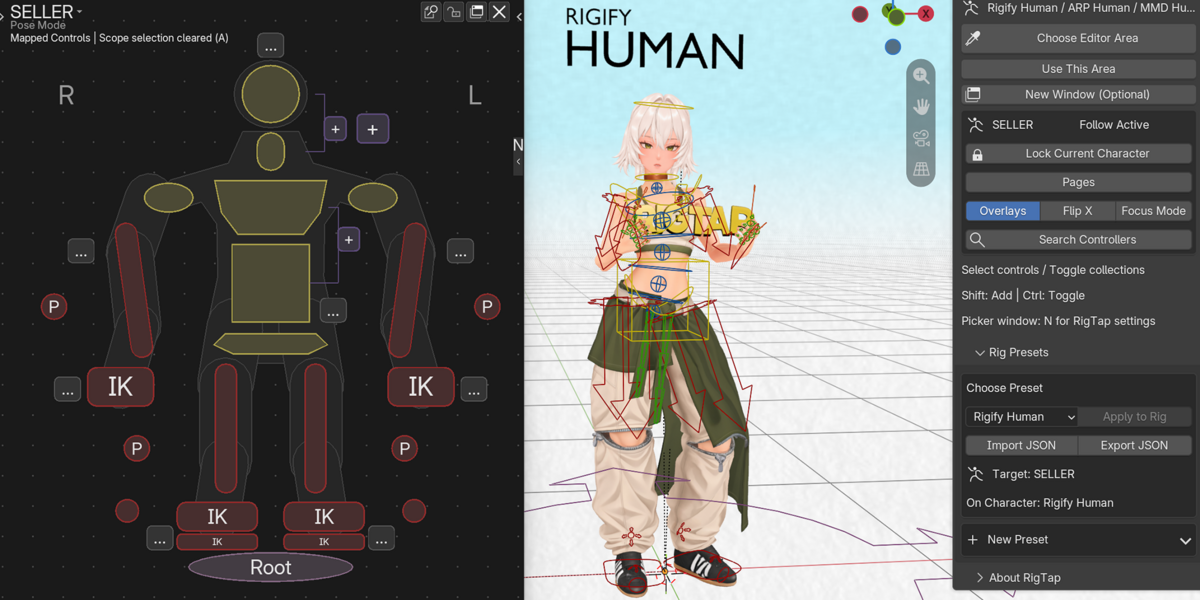
This example uses a generated Rigify Human rig.
- Select the armature you animate in the 3D Viewport and enter Pose Mode.
- Press N in the 3D Viewport and open RigTap. Choose New Window (Optional) for a floating picker or Choose Editor Area to dock it.
- On the picker’s Body page, click a hand IK control. Its bone is selected in the viewport. With the pointer over the picker, press G, R, or S to move, rotate, or scale. Confirm with a click or Enter, or press Esc to cancel.
- With a hand control selected, press Tab to open its detail page. Return with Ctrl+Tab or Back. You can also open a page directly from the Pages menu.
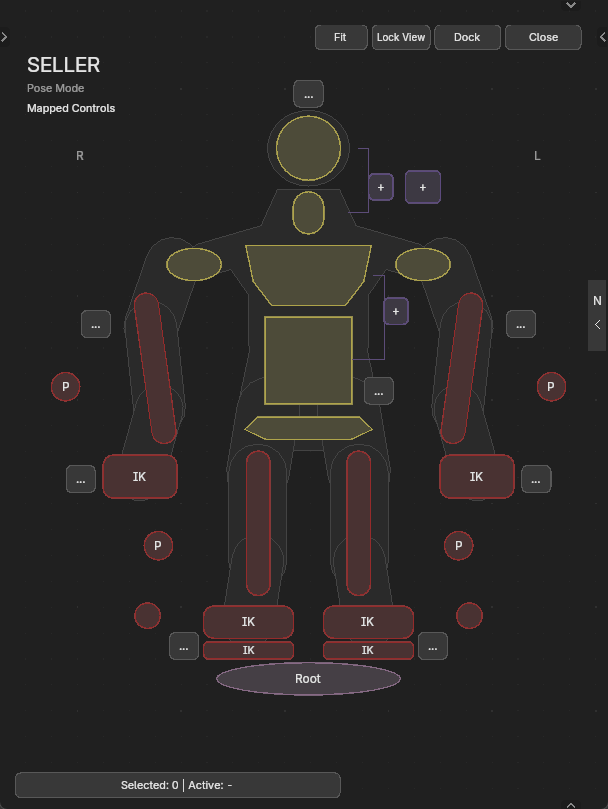
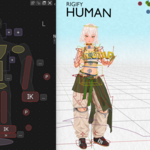
The Body page is the starting point for selecting controls and opening detail pages.
3. Navigate and select controls
- Canvas: Scroll to zoom, middle-drag to pan, and press Home to fit the layout.
- Selection: Click a control or box-select several. Hold Shift or Ctrl while clicking to toggle selection. Double-click a control with a mirrored counterpart to select the opposite bone.
- Quick access: Q opens the current page’s quick-select menu, E opens the pages menu, and F3 searches by control or bone name. Press F1 for in-picker help.
- Rig and view: Use Lock Current Character in the RigTap sidebar to stay on the same rig. Use the rig’s own properties to switch its IK/FK blend. The picker’s AUTO / IK / FK setting changes which controls it targets.
4. Use Focus Mode
Open the picker’s N sidebar and turn on Focus Mode. The regular bone overlays are hidden in the 3D Viewport while you continue to select and transform bones from the picker. Exit Focus Mode to restore the previous visibility and overlay settings. To manage specific groups, use the picker’s Bone Collections controls.
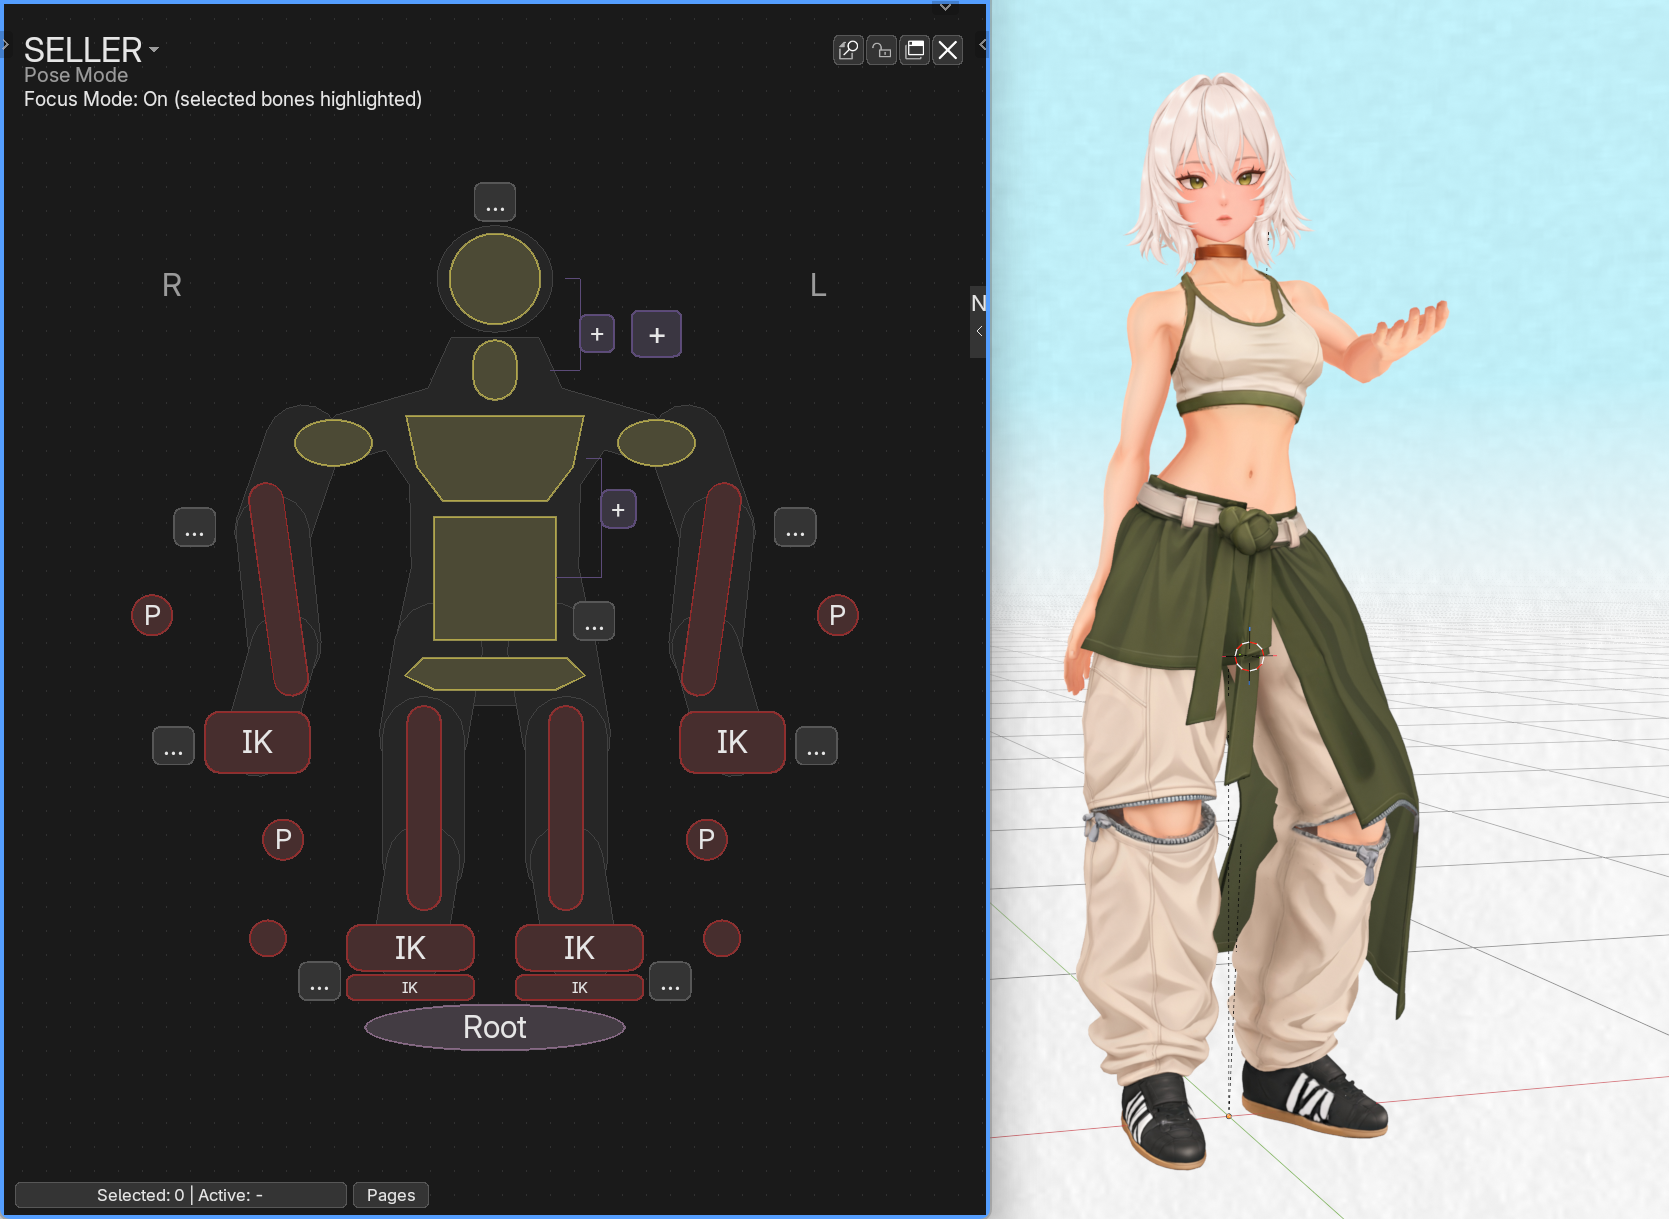
Focus Mode keeps the picker available while you check the character’s pose.
5. Choose a preset or build your own
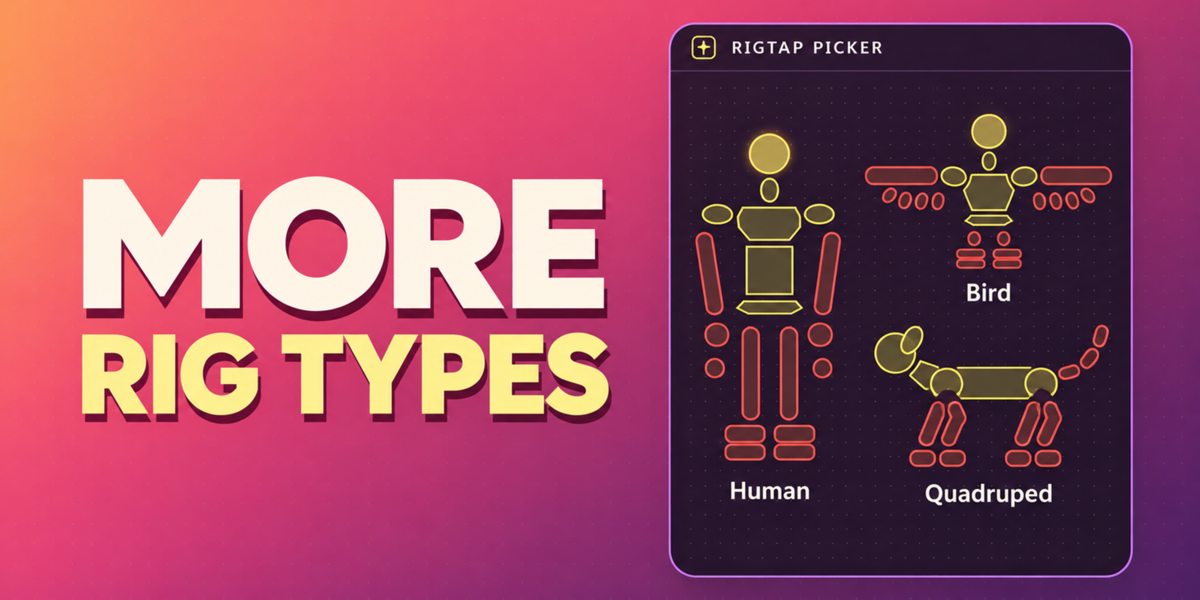
In a regular 3D Viewport, go to N → RigTap → Rig Presets. Choose a matching template for Rigify Human, Auto-Rig Pro Human, MMD Human, CloudRig, or a supported Rigify animal. Click Apply to Rig and save the .blend file. The Choose Preset menu groups layouts into Default, Library, and In This File.
- Choose New Preset → Blank for a custom layout, or Copy Applied Preset to work from your current picker. Use Edit Preset to edit a selected preset. An orange border indicates Edit Mode.
- Press Shift+A and choose a shape under Control Point. Use G, R, or S to arrange it on the canvas.
- Right-click the new control and choose Pick Bone in 3D View. In a viewport showing the same rig in Pose Mode, click the target bone. For objects, use Pick Object in 3D View in Object Mode.
- Use Pages to organize detail pages. Use Continuous Binding to assign controls in sequence or Batch Binding Names to update binding names in batches.
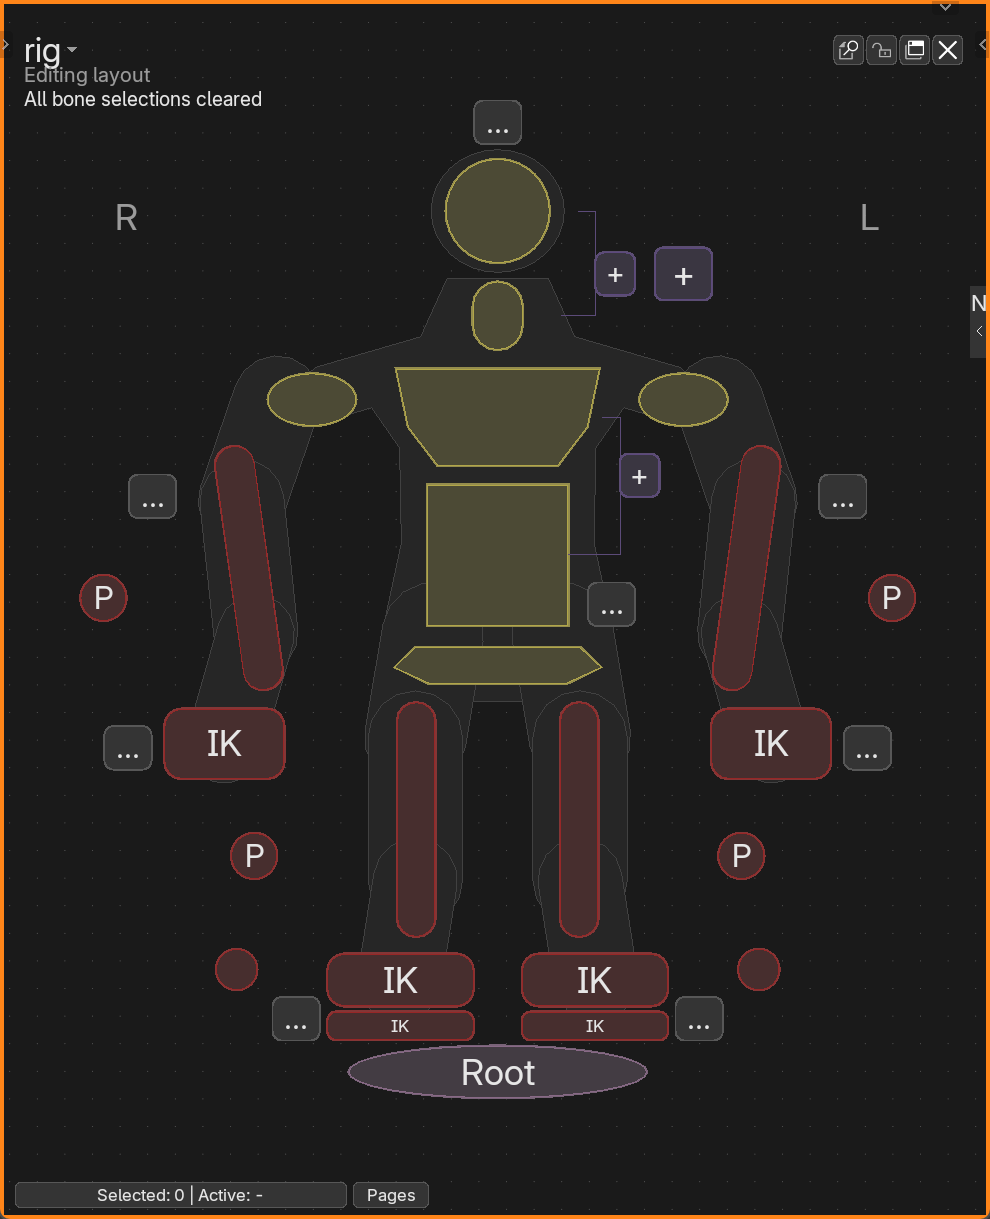
Edit Mode changes the 2D controls and their bindings.
Save, reuse, and share layouts
-
Save & Apply to Rig (or Ctrl+S inside the picker) applies the layout to the selected rig. Then save your
.blendfrom a regular Blender area. - Save to Library makes the preset reusable on the same computer.
- Export JSON shares or backs up the selected preset. On another computer, use Import JSON, then Save to Library to keep it there.
Create hair controls
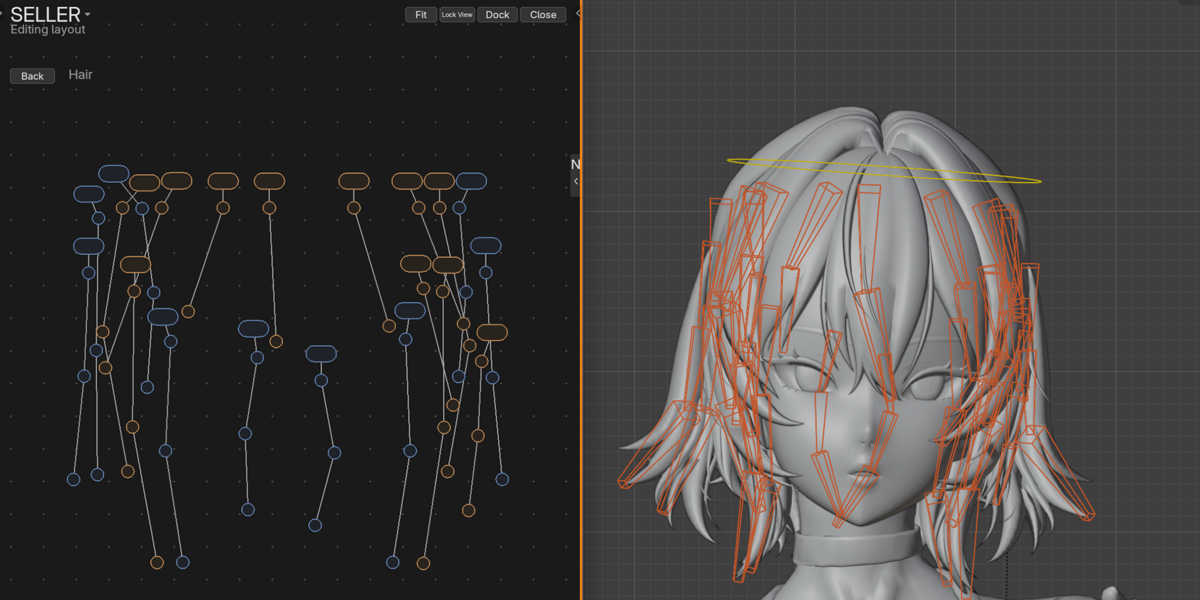
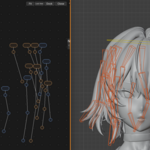
Open the Face page in Edit Mode. Right-click an empty area and choose Add → Create Hair Masters. RigTap uses control bones whose names contain hair to build a Hair page. After exiting Edit Mode, click a master to select its chain, or click an individual control to select just that bone.
6. Troubleshooting
- A control does not select a bone: Check the character name in the picker header, confirm the rig is in Pose Mode, and inspect the control’s binding in Bone Bindings.
- Tab opens a menu instead of a detail page: Select a control with a detail page first, or choose the page directly from Pages. In Edit Mode, Tab opens the mode menu.
-
Your layout reverts after reopening: Use Save & Apply to Rig on the intended armature, then save the
.blend. For changes made in the library, select the preset and click Apply to Rig before saving. - A library preset is missing on another computer: Transfer it using Export JSON and Import JSON, then save it to the local library.
RigTap by SZ.
 Included
Includes 12 months of
- Support from chowFrogStudio
- Product updates
Extend this product’s Support Period +12 months: 25% of product price
Have questions before purchasing?
Login to message
| Blender Extension Compatible | Yes |
| Published | about 5 hours ago |
| Blender Version | 4.5 - 5.3 |
| Extension Type | Add-on |
| Render Engine Used | Cycles, Eevee |
| License | GPL |
Discover more products like this
bone selection bone-picker animation-picker Pose Mode character animation rigify rig picker custom picker