Destruction Asset: RMW Car Model
 Yara Studio
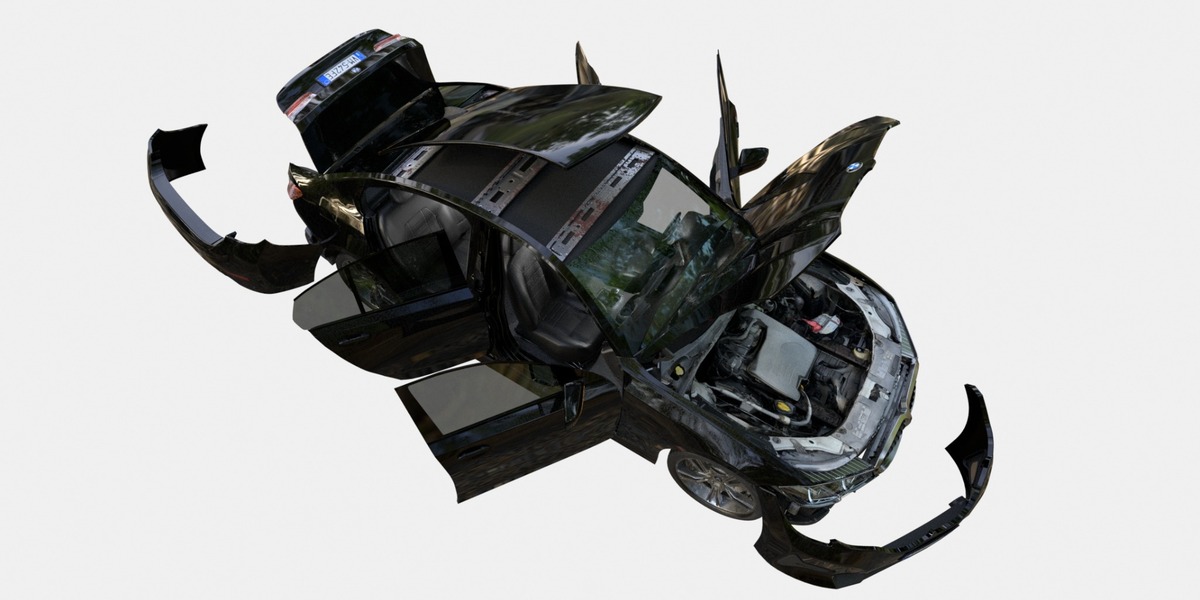
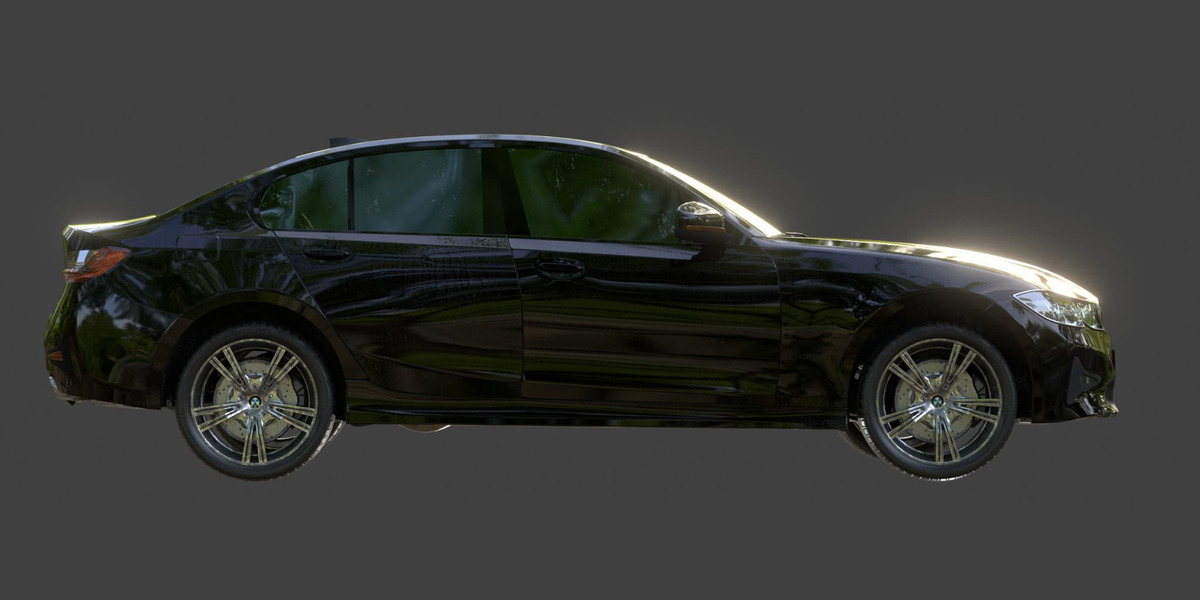
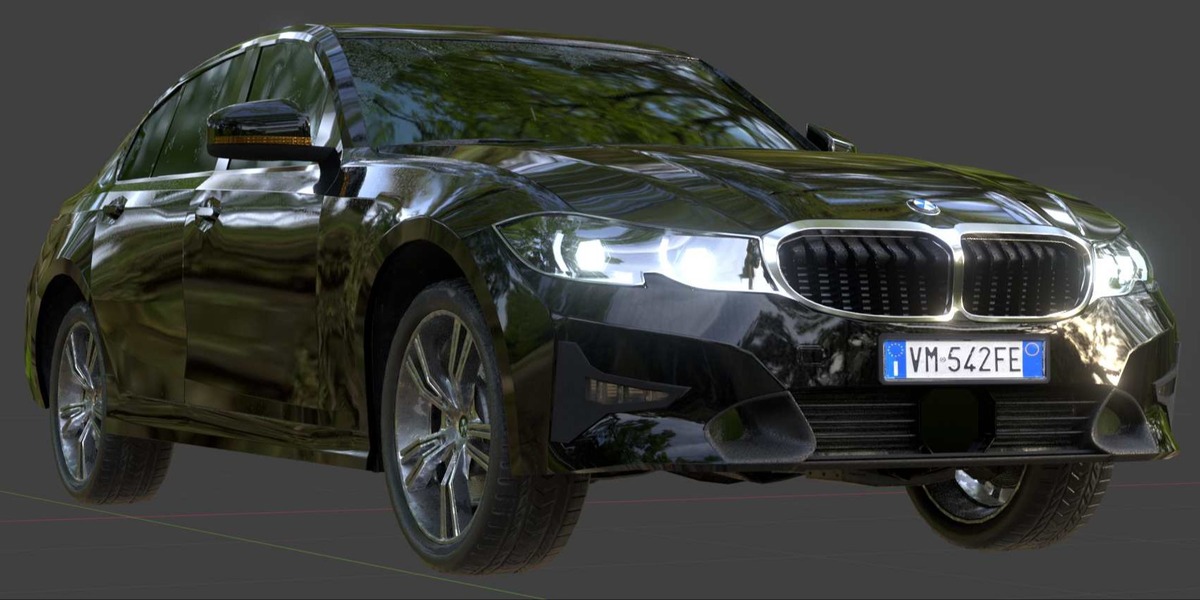
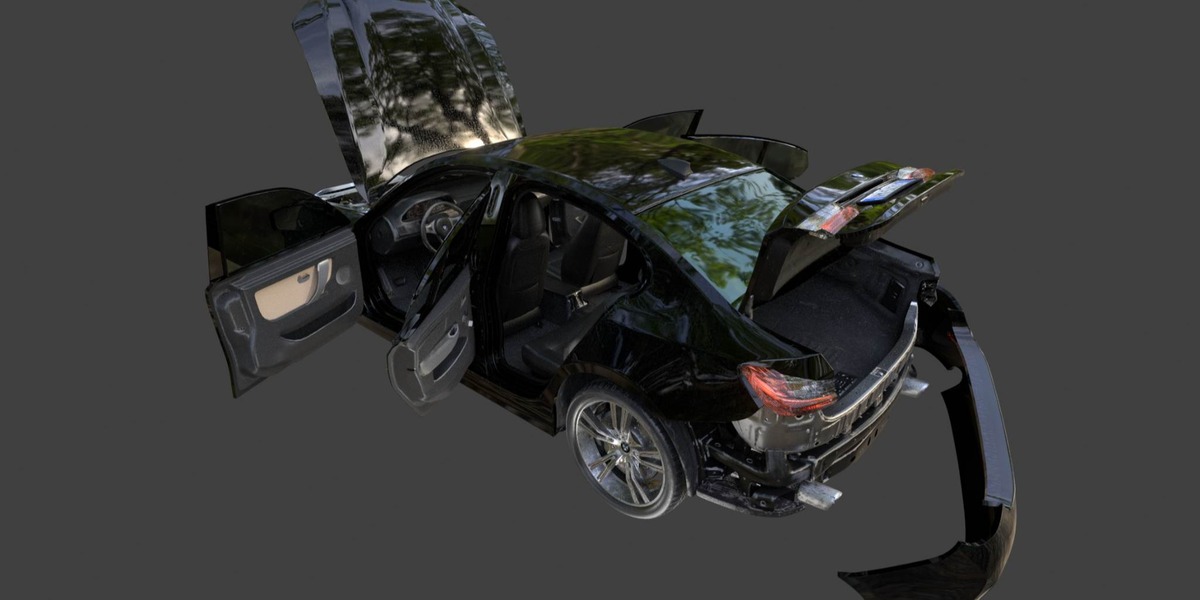
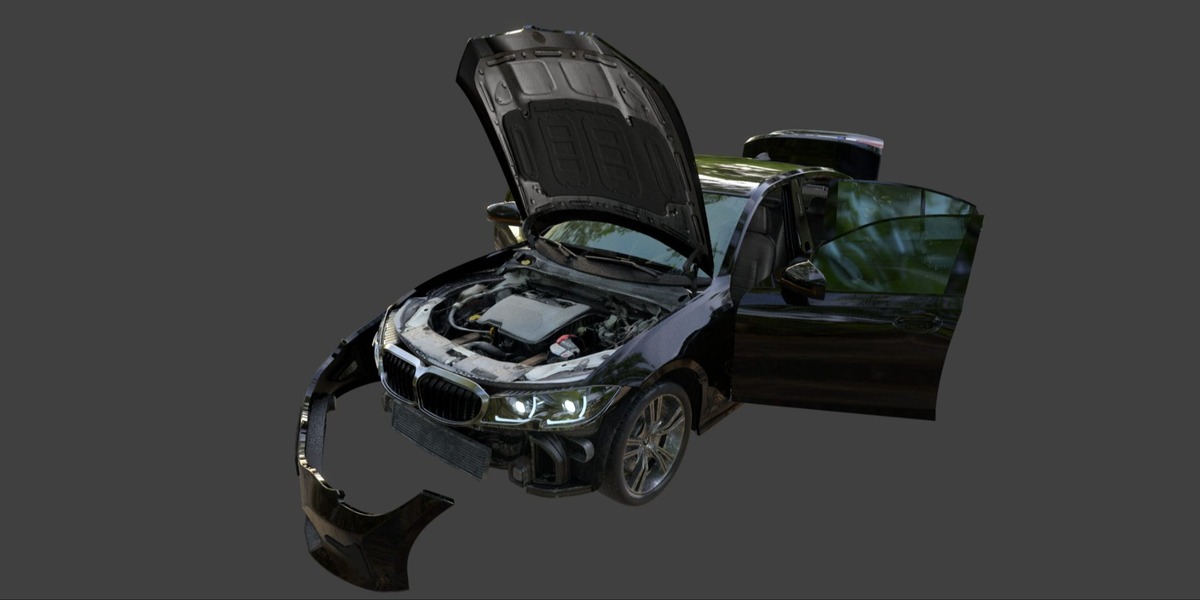
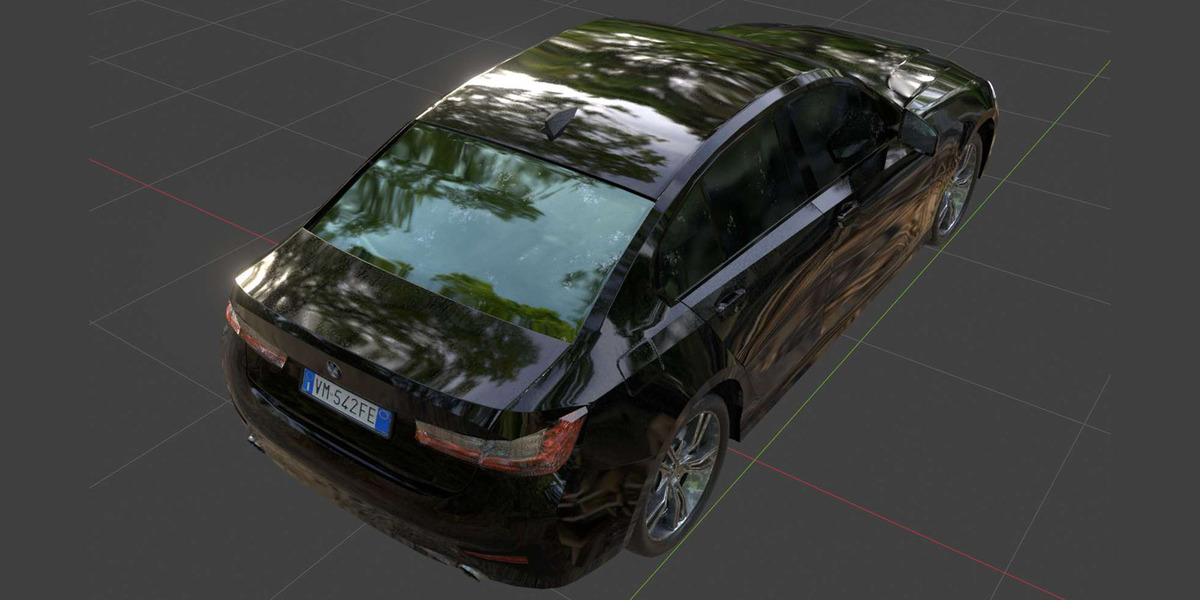
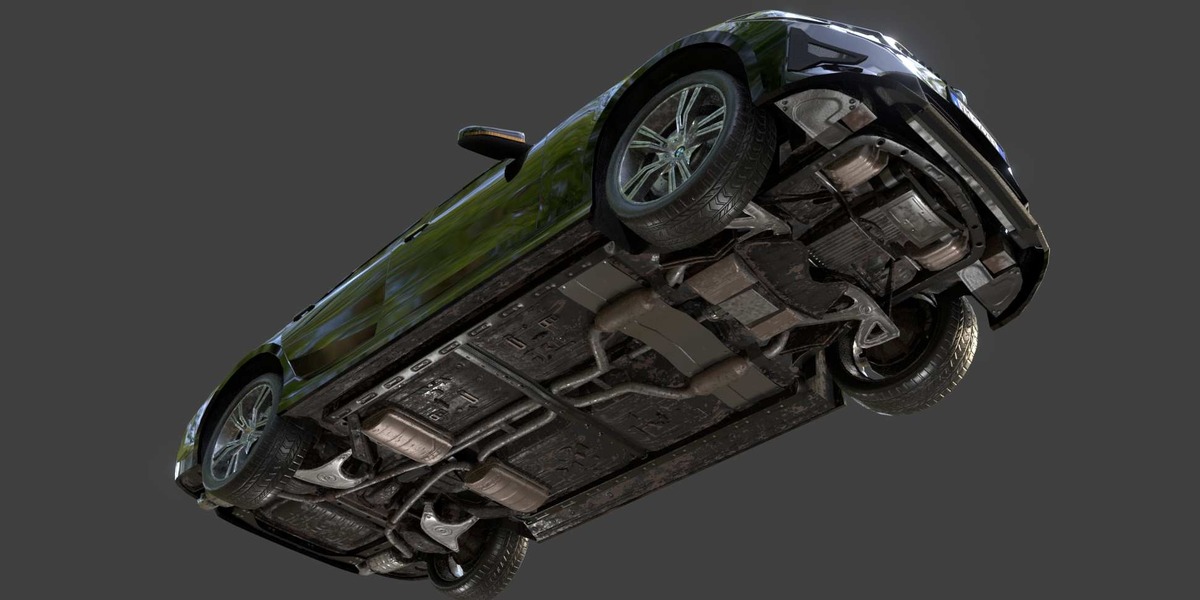
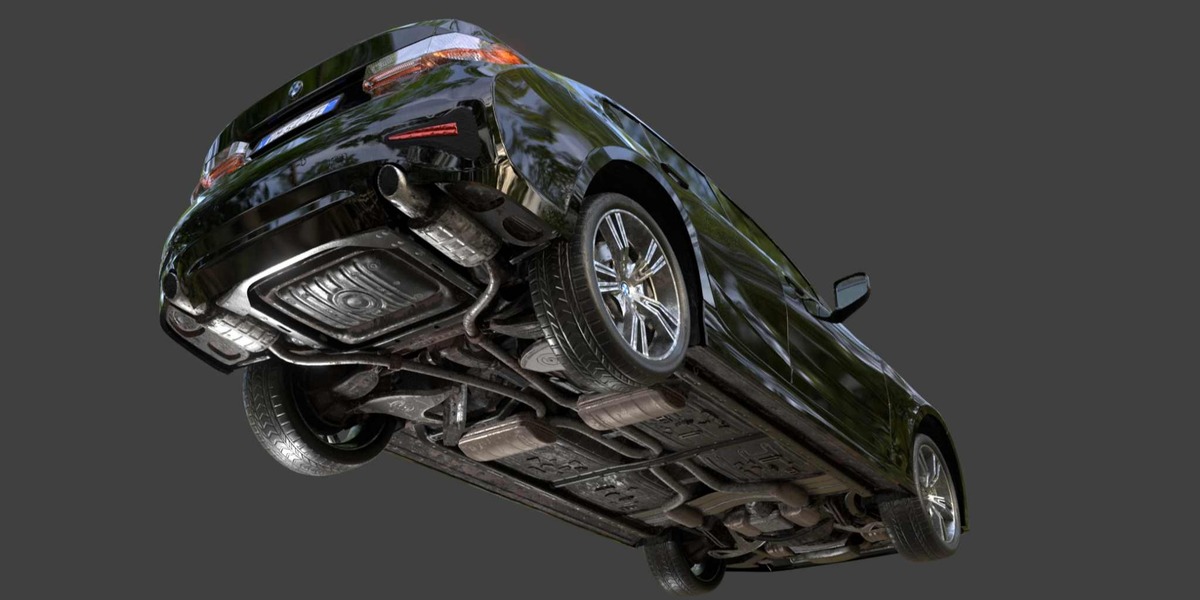
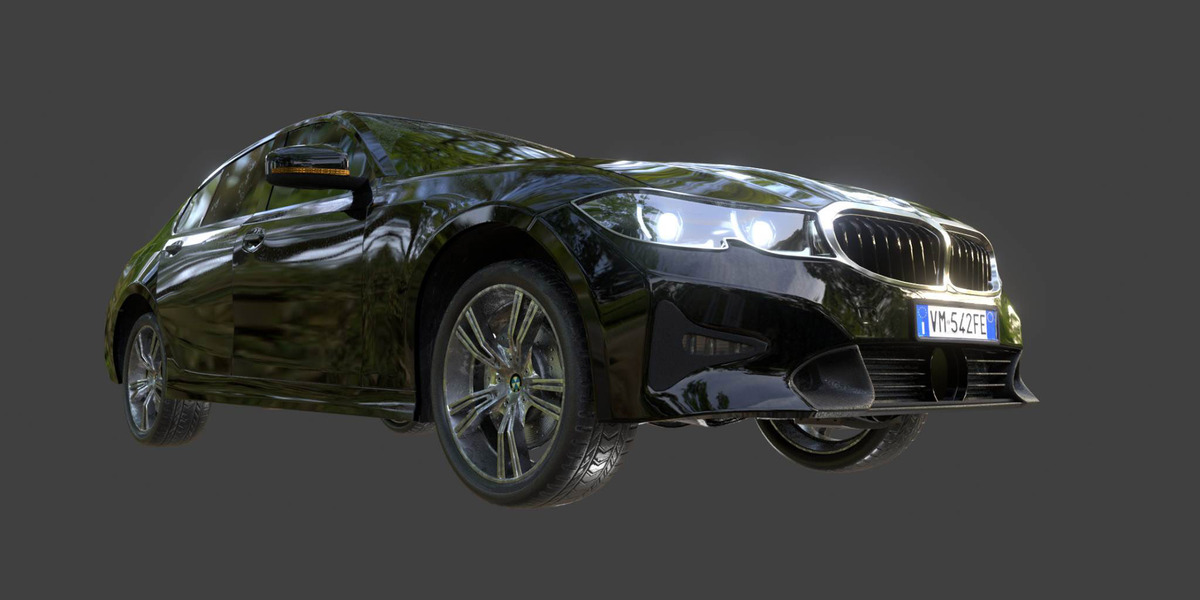
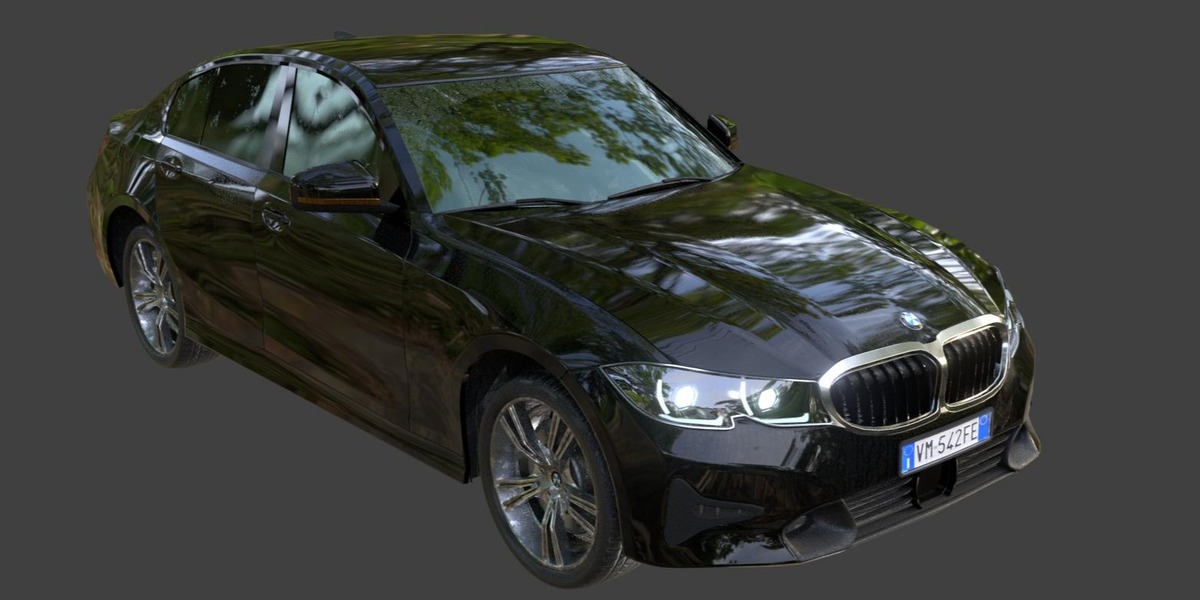
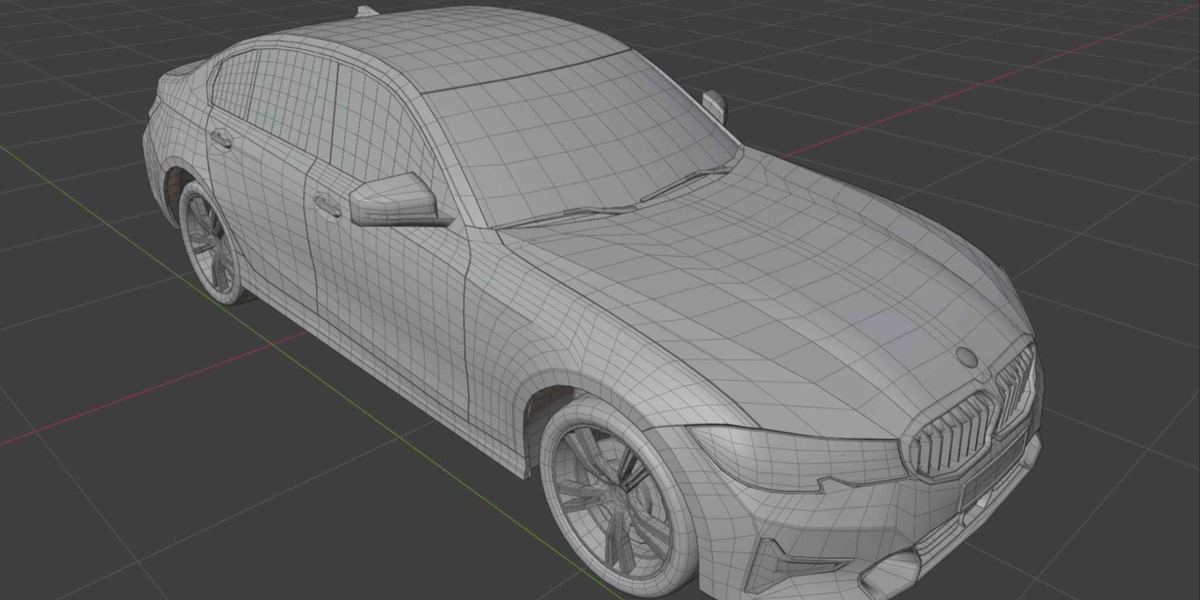
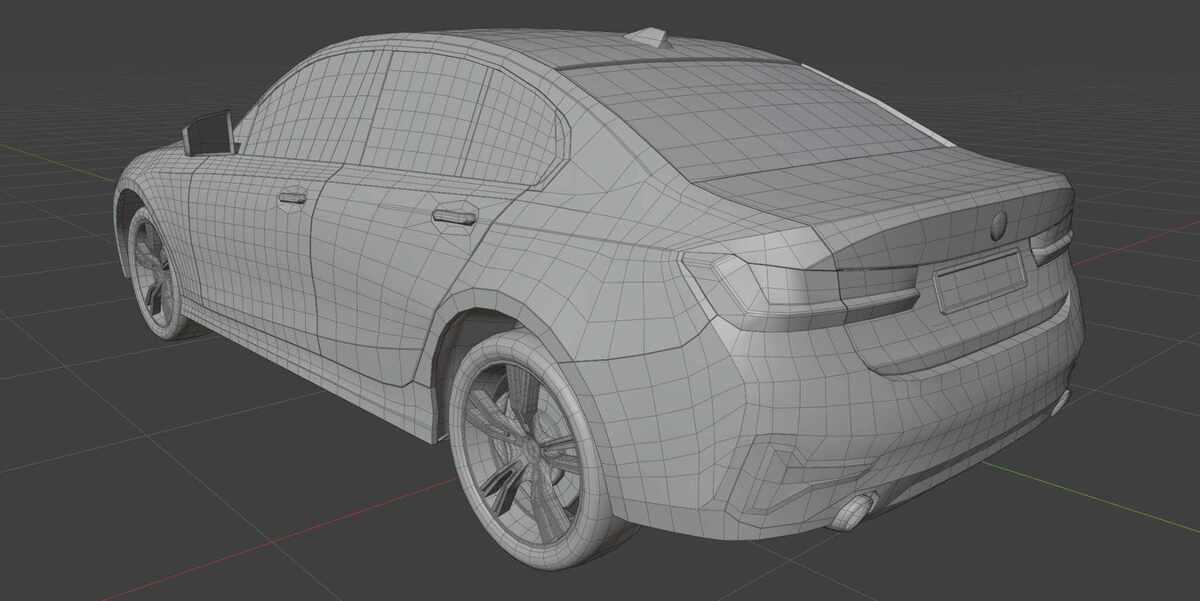
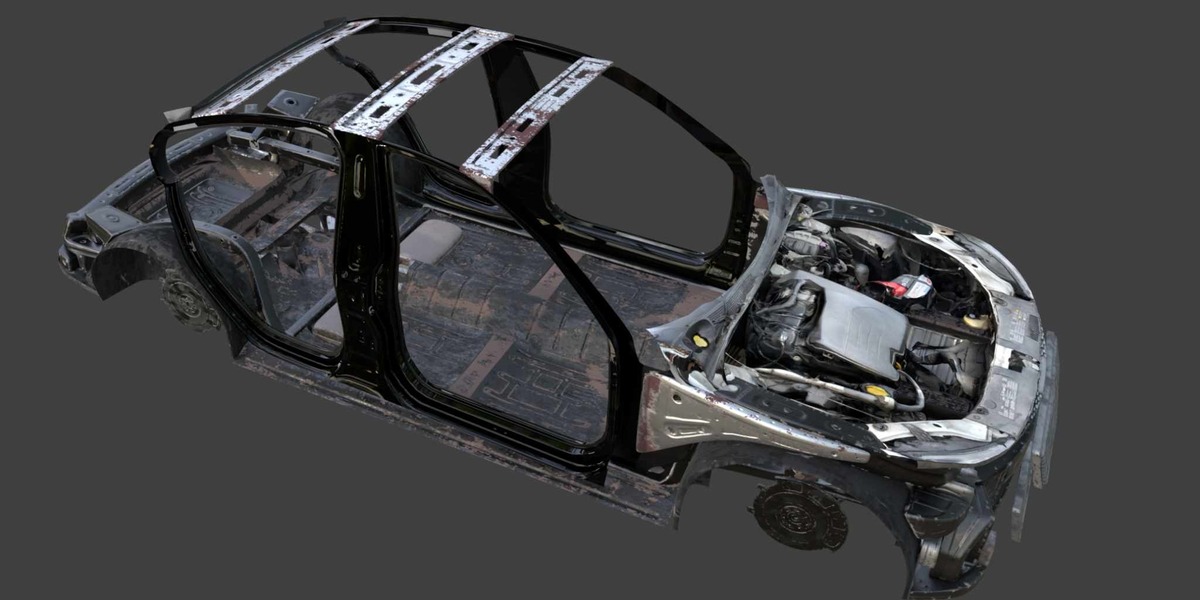
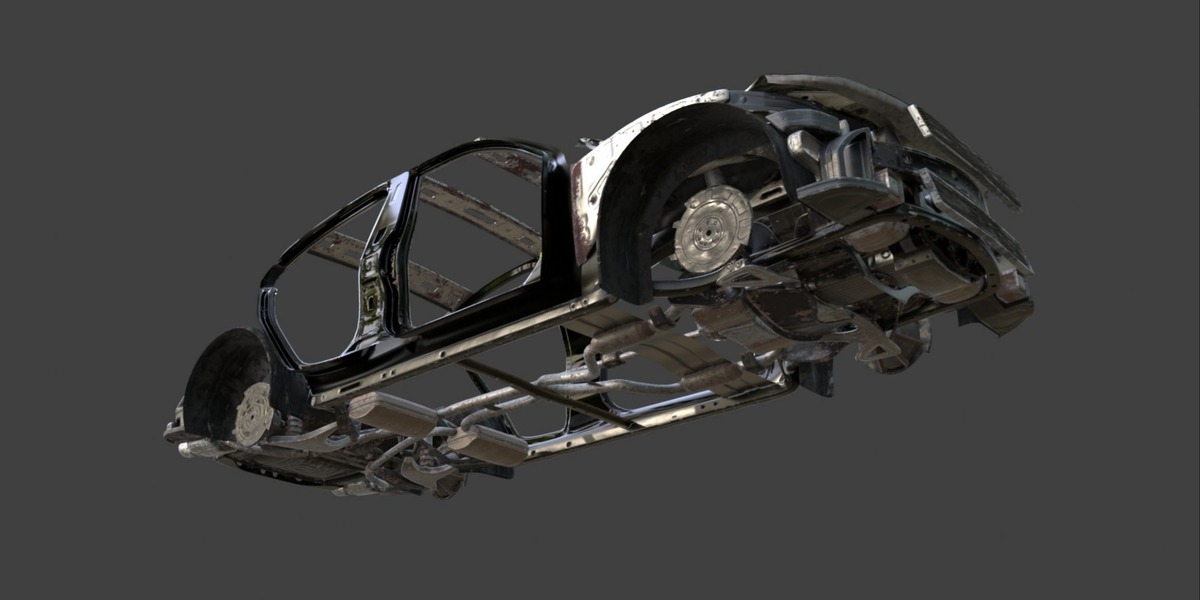
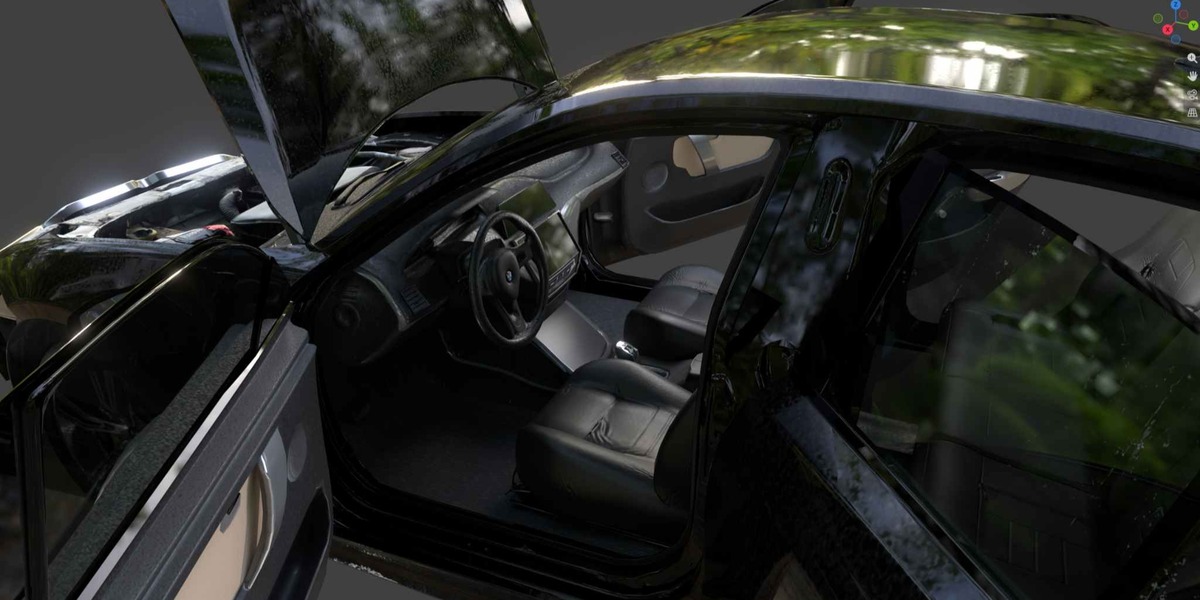
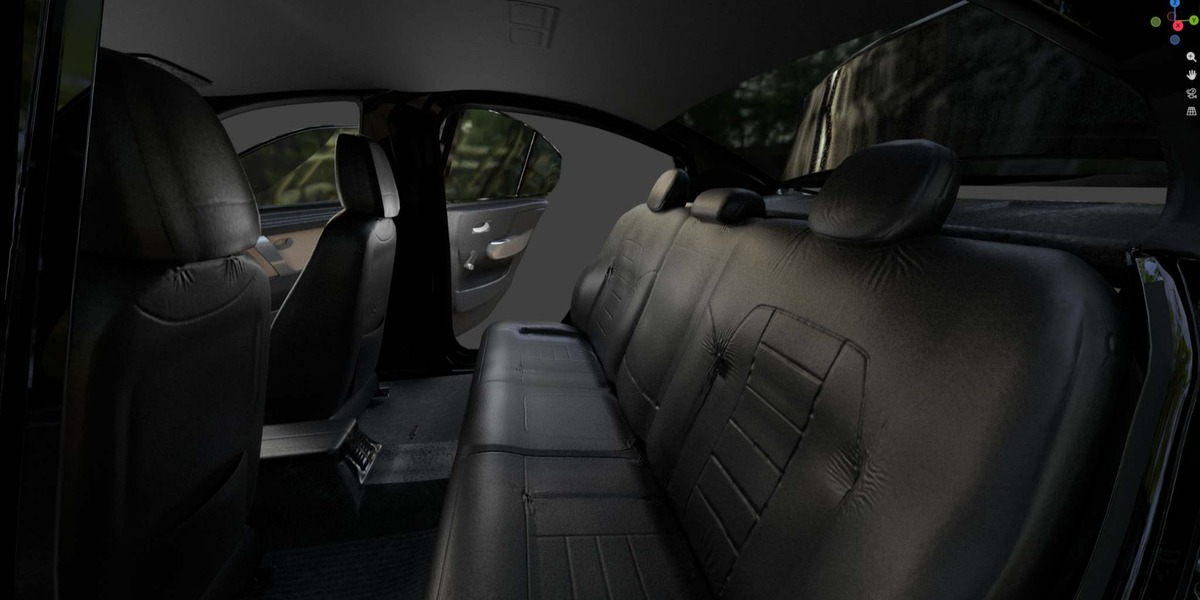
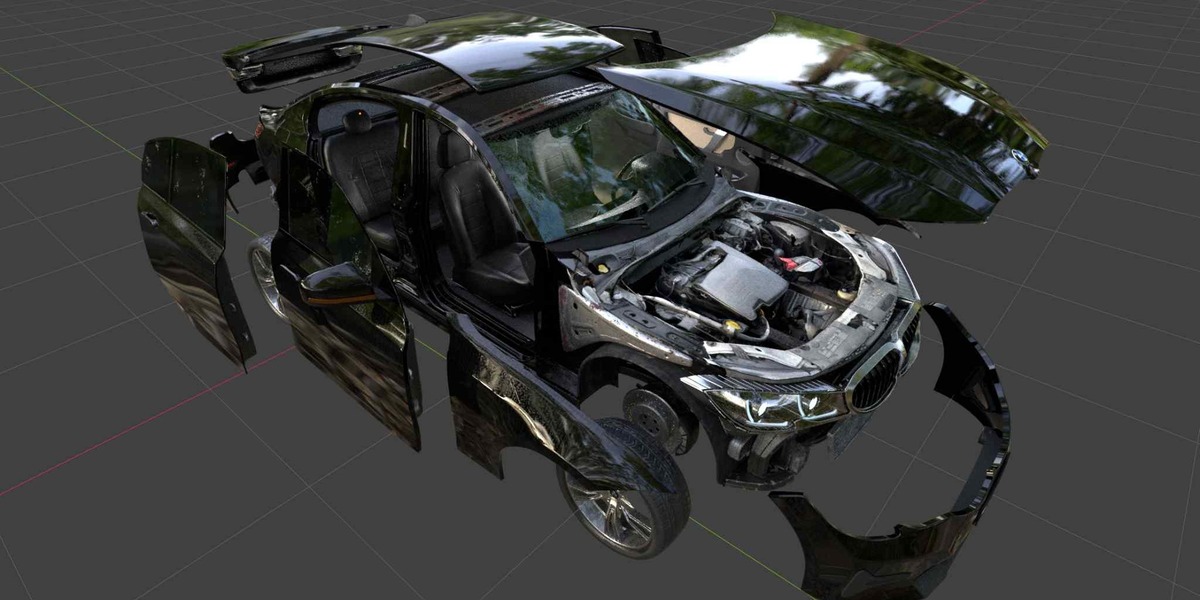
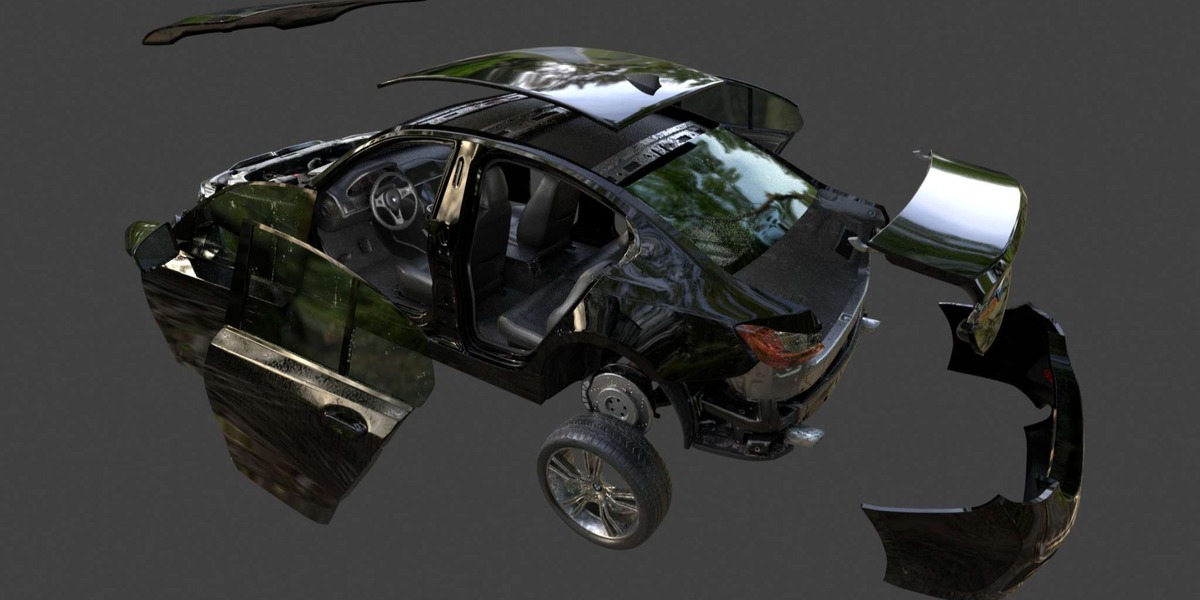
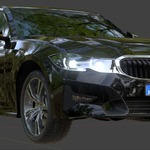
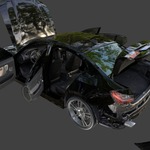
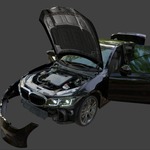
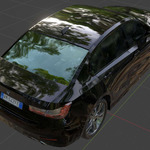
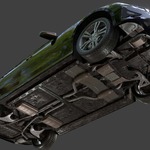
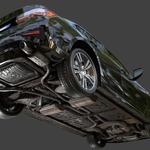
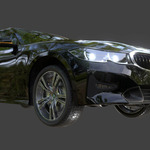
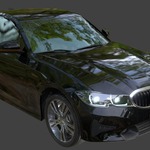
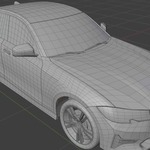
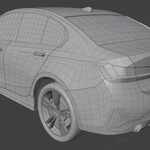
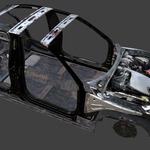
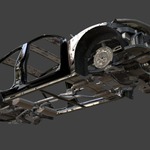
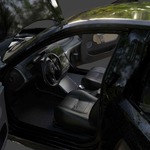
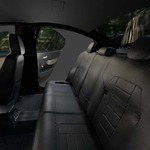
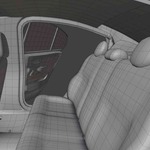
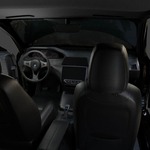
RMW CAR MODEL - DOCUMENTATION AND INFO
TECHNICAL NOTES
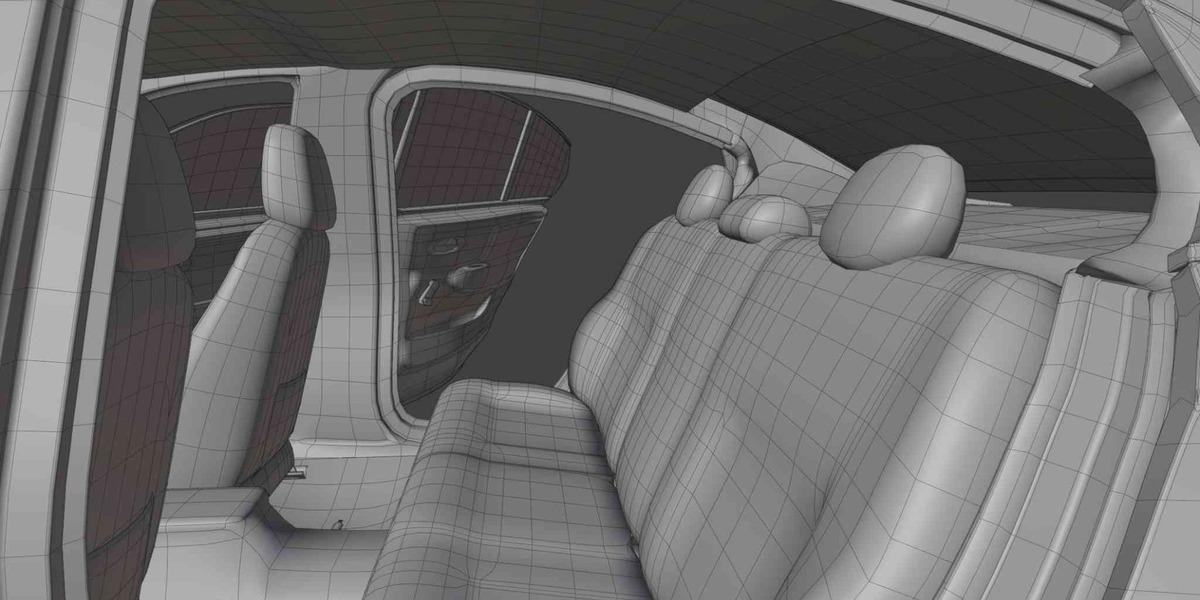
Vertex count: 116,852
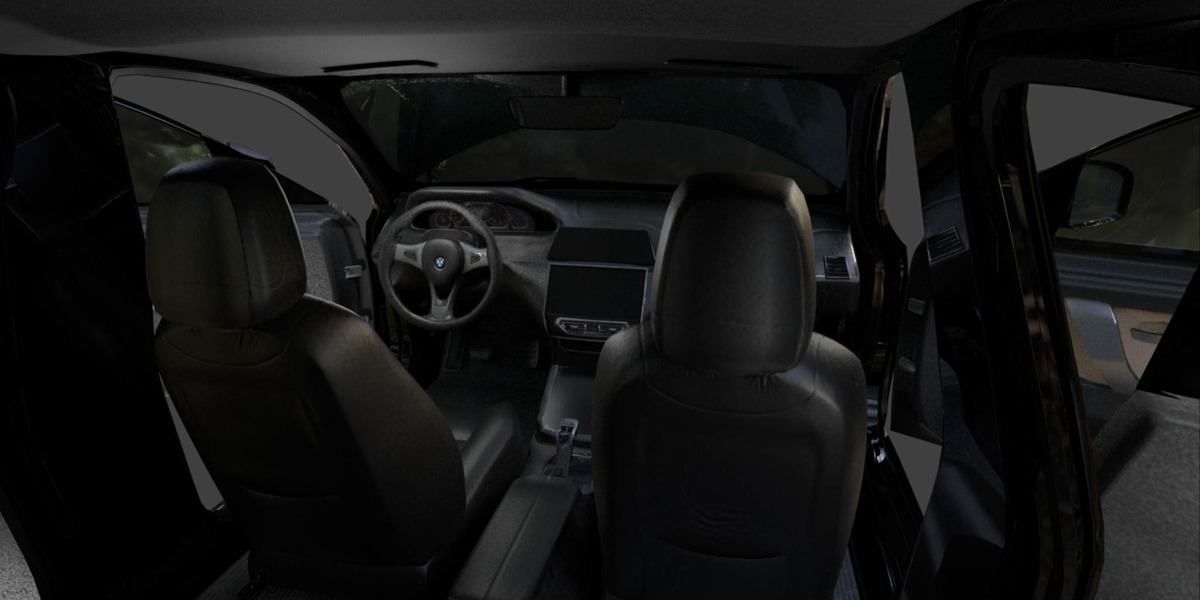
Textures: Included
Texture resolutions: 512, 1K, 2K, and 4K (all included, you choose)
GPU requirements: You can choose between 4 different textures resolution, so it can be rendered even in a weak pc. An example: the 1k textures required only 0,3 GB of GPU rendered with cycles, and less than 2 GB with eevee. You can find the 4 different resolution textures in the Blender zip file “RMW_BLENDER”
Adding subdivision in Blender
You can eventually add a Subdivision Surface modifier to the parts where you want smoother geometry for a close up camera angle.
In the modifier’s Advanced section, use these settings:
UV Smooth: Boundary
Boundary Smooth: Keep Corners
Use Creases: ON
Use Custom Normals: ON
USE THE FILE IN ANY 3D SOFTWARE
The download includes many formats, choose the one that applies for you.
Read with attention for ensuring a correct importing and compatibility (if you don’t follow the instructions it will be imported and rendered incorrectly).
FOR MAKING A RENDER INSIDE BLENDER
In Blender just use the file "RMW_Blender_only_version"
FOR JUST USING THE CAR IN OTHER SOFTWARES DIRECTLY (without car crashes included)
Use the native format for your favourite software (the package includes the native format for Blender, Max, Maya, or FBX). Created in Blender 5.2, Maya 2027.2, and 3DS Max 2027.2.
If for any reason you have issues with the native file, try the FBX version instead (carefully see instructions below in the FBX section, each software requires you to follow a few specific steps for correct imports).
FOR MAKING A CAR CRASH USING SMASHIFY ADDON FOR BLENDER
See next part for this purpose.
HOW TO USE THE CAR MODEL WITH SMASHIFY ADDON FOR BLENDER
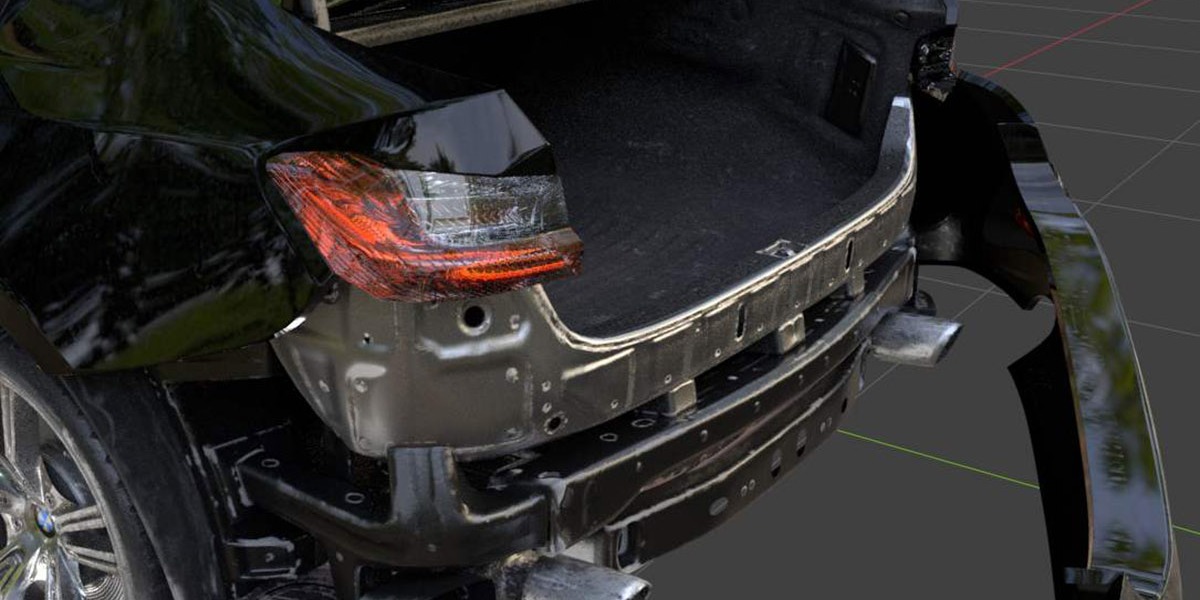
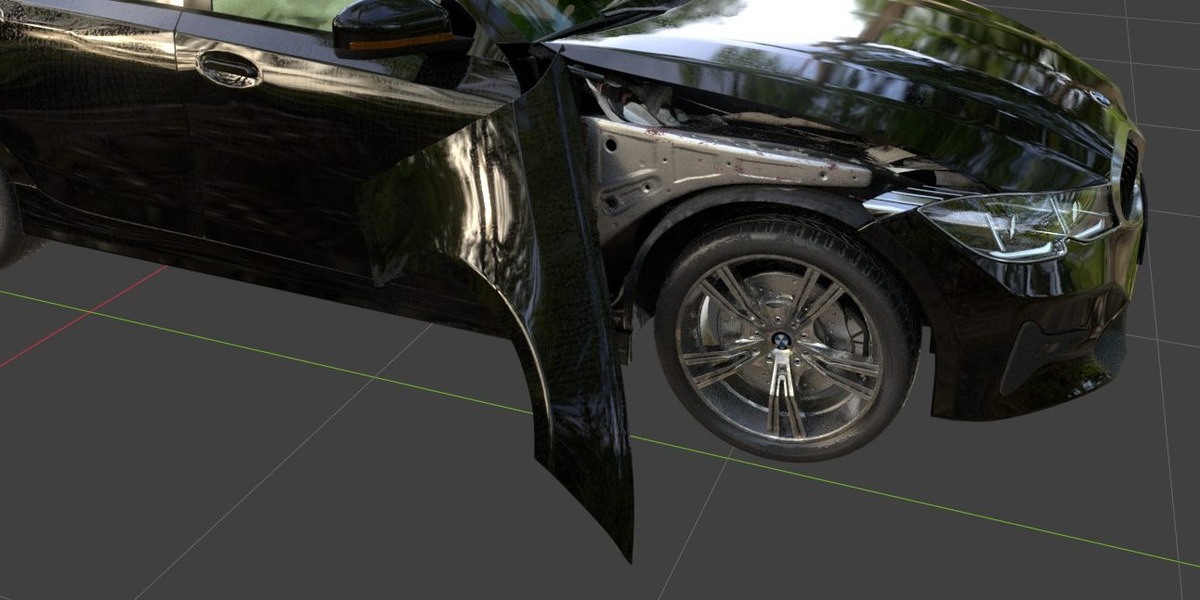
( Smashify is an addon for making car destructions in Blender. It’s available for sell separately on SuperHive. To clarify: you can totally use the car model without any addon. The model itself just doesn’t include any destruction simulation.)
FOR MAKING A CAR CRASH TO BE USED ONLY INSIDE BLENDER
In Blender just use the file "RMW_Blender_only_version"
EXPORTS
For making a car destruction using Smashify addon for Blender exportable to other 3D softwares, respect the following instructions in order to ensure it will look correctly.
For exports, in Blender you must use only the file "RMW_Export version".
For exporting a car crash scene, in Smashify addon go to Garage —> Export, choose which cars to export and confirm. In the next window choose the correct presets for the software to which you want to export.
Now, for importing in the other software follow the relative instructions down below:
In all cases, ensure that the timeline will use the same framerate of your Blender file.
FOR MAKING A CAR CRASH WITH SMASHIFY ADDON FOR BLENDER EXPORTABLE TO UNREAL
Run the Smashify Importer plugin installer for Unreal (you can find it in your download page if you purchased Smashify).
Once installed, open Unreal, go in the menu Tools - Smashify importer - import Smashify vehicles and choose the USD file, the plugin will handle the conversions for you.
Succesfully tested starting from Unreal Engine version 5.6.1
FOR MAKING A CAR CRASH IN BLENDER EXPORTABLE TO 3dS Max
In 3Ds Max you must import it using File → Reference → USD Stage (available only starting from Max 2027.2, can't ensure a correct importing for older versions).
NOTES: DON'T USE File → Import → Import because this will not work
Succesfully tested using 3DS Max 2027.2 with Arnold render engine.
FOR MAKING A CAR CRASH IN BLENDER EXPORTABLE TO HOUDINI:
In Solaris, add a Sublayer node and select the exported USD file.
Tested successfully in Houdini version 22.0.466 with Karma CPU.
FOR MAKING A CAR CRASH IN BLENDER EXPORTABLE TO MAYA:
Enable MayaUSD, then choose Create → Universal Scene Description (USD) → Stage from File and select the exported USD. Enable Up Axis and Unit Conversion. Render with Arnold; our tests used Render → Render Sequence.
FOR MAKING A CAR CRASH IN BLENDER EXPORTABLE TO CINEMA 4D:
Export using Smashify’s Cinema 4D preset. Keep all exported files and the textures folder together.
In Cinema 4D, set Preferences > Import/Export > Import > Target to Redshift.
Choose File > Open and select the .abc file. Use Scale: 1 Meter, enable Original, and match Blender’s Frame Rate. Enable Normals, UVs, Face Sets and Other Attributes.
Use File > Merge to add _materials.usda, leaving Keep Bridge Open off. Then merge _glass.fbx, if present.
In the Object Manager, expand Smashify_Animation. Drag Smashify_Vehicle_Animation onto Smashify_Materials so it appears indented underneath. Do the same with Smashify_Glass_Animation under Smashify_Glass_Materials.
Start playback at your first exported frame. For motion blur, enable Redshift Motion Blur, Deformation Blur and Automatic Velocity Sources. No additional plugin or script is required.
Motion blur must be enabled in the renderer: use deformation motion blur in Arnold and Velocity Blur in Karma.
FBX FORMAT:
Providing a native file for Houdini and C4D was not possible due to these software’s strict limitations.
That’s where the FBX version might be useful. Use it if you just want to import the car model directly inside Houdini or Cinema4D. Unfortunately importing the FBX in these 2 softwares (only in these 2) require some adjustments to do (as opposed to an USD car destruction made with Smashify, which instead requires 0 work when imported).
What you have to do is to correct some connections and some materials settings (or just replace the shaders with other ones you prefer, is just faster frankly)..
Anyway, for importing the FBX in Houdini and Cinema 4D follow the steps described below in order to ensure it will look correctly in all softwares: Firstly, extract the ZIP before importing.
Keep RMW.fbx and the textures folder together. The model imports through FBX, but some material settings need adjusting depending on the software, here are the specific steps for all cases:
IMPORTING THE FBX IN HOUDINI (just the model, no destructions)
In Houdini, click File → Import → Filmbox (FBX). Browse to the extracted folder, select RMW.fbx, and confirm the import.
In the Network Editor, double-click the imported car group, open its materials network, and select a material to edit.
Check that each material uses its matching images from the textures folder:
When a material uses these textures, set Base Color to white, Roughness to 1, and Metallic to 1. These controls multiply the texture values, so setting them to zero would cancel the texture’s effect.
For normal maps, use the files containing UV0 in their names where available, and select Normal Map, not Bump. Opacity images belong in Opacity Color, not Transparency.
For the lights red 1 and lights red 2 materials, also use their Color image in Transmission Color, and set At Distance to 0.01 m. This keeps the rear lenses red.
To render, switch to Solaris, add a Scene Import node, and select the imported car’s objects in its Objects field. Tested successfully using Karma CPU.
IMPORTING THE FBX IN CINEMA 4D (just the model, no destructions)
Open Cinema 4D. Go to Edit → Preferences → Import/Export, set Target to Redshift, and enable Show Dialog for importing.
Click File → Open…. Browse to the extracted folder, select RMW.fbx, and click Open.
In the FBX Import Settings window, enable Geometry and Materials. Set Normals to Normal Tags, Up Axis to −Z Axis, and leave Flip Z Axis off. Confirm the import. These axis settings are specific to this model.
Open each imported material in the Node Editor and check the texture connections:
Set the color space on each Texture node. Connect Metallic to Metalness, not Reflection Weight; keep Reflection Weight at 1 and Reflection Color white. Connect opacity images to Opacity, not Transmission.
For normal maps, use the files containing UV0 in their names where available. In the existing Bump Map node, set Input Map Type to Tangent-Space Normal and leave Flip Normal Y off. You do not need another Bump Map node if one is already connected.
If a listed texture is missing in Cinema 4D, add a Texture node and load the matching image.
When connecting an opacity image to Opacity, remove its connection to Transmission/Transparency. Tested successfully using Redshift.
 Included
Includes 12 months of
- Support from Yara Studio
- Product updates
Extend this product’s Support Period +12 months: 50% of product price
Have questions before purchasing?
Login to message
| Dev Fund Contributor | |
| Published | 8 days ago |
| Blender Version | 5.2 |
| Render Engine Used | Cycles, Eevee |
| Misc Data | Uvs-Unwrapped, Low-High-Resolution, Normal-Mapped, Textured |
| License | Royalty Free |