 ZEG
ZEG
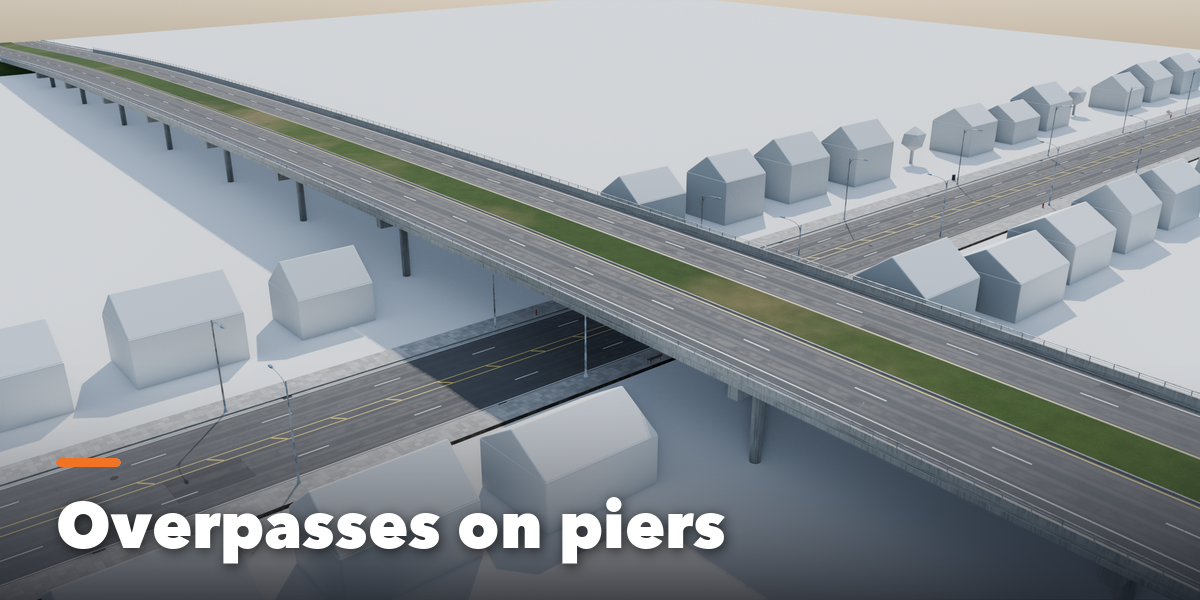

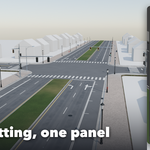
Installation
In Blender open Edit, Preferences, Get Extensions, then use Install from Disk and pick the road_kit zip.
Drawing roads
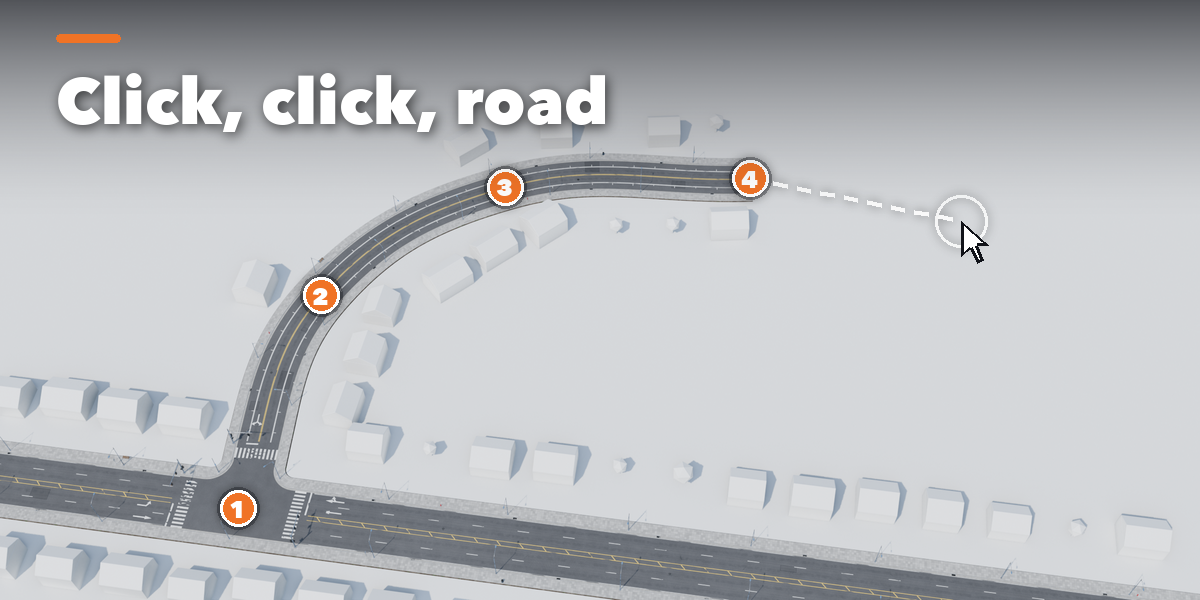
- Open the Roads tab in the 3D viewport sidebar (N) and press Draw Road. Pick the road type first, or press Q and E while drawing.
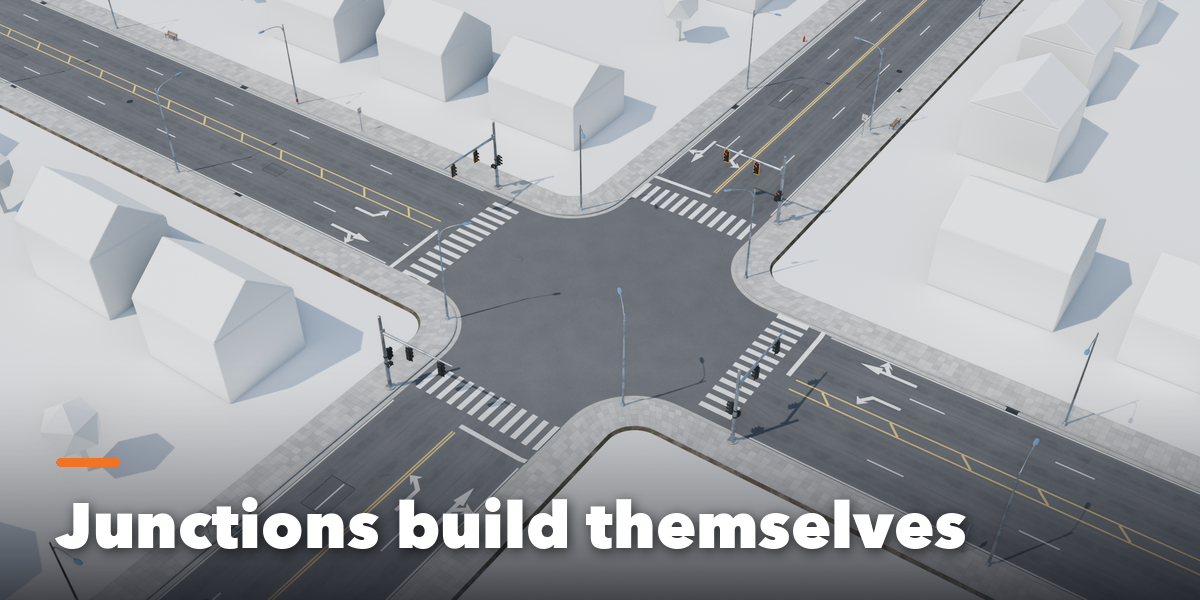
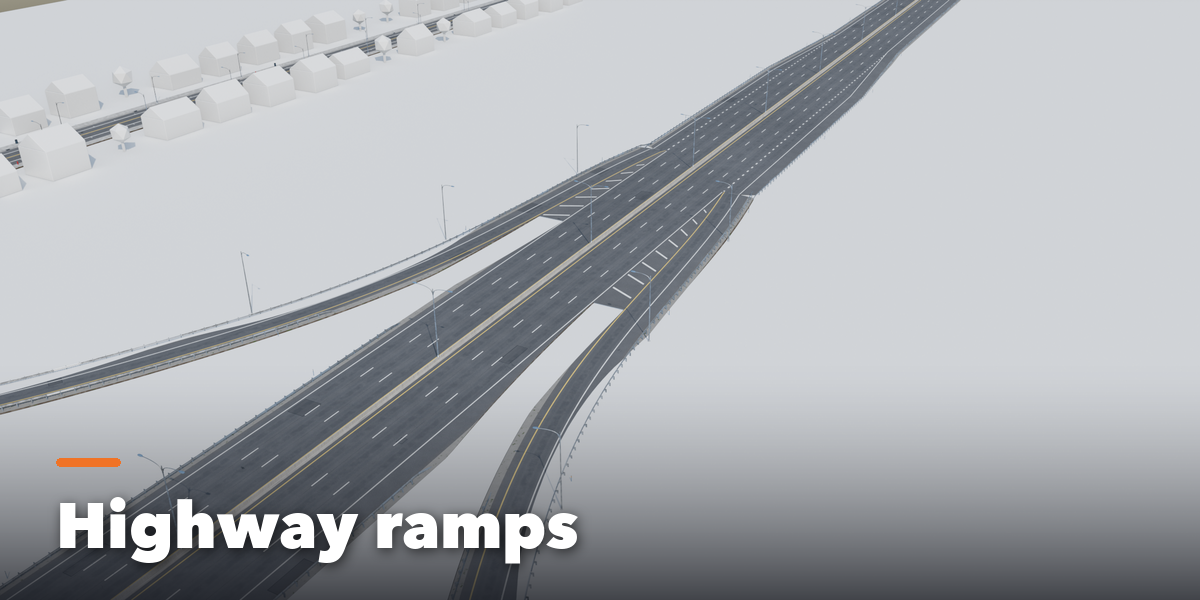
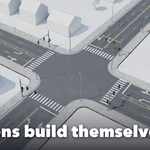
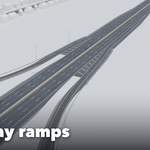
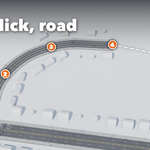
- Click on the ground or your terrain to place points. Clicking another road's end continues it; clicking a road's side makes a junction, or a ramp when the angle is shallow. Ctrl+Wheel raises the next points. Backspace removes a point, Enter or right click finishes the road, Esc cancels.
- Set your terrain in the Network panel so roads sit on it and supports reach down to it. Fit Terrain to Roads grades the ground under the roads.
Editing
- Every road is a curve: select it and edit it in Edit Mode (G to move, G Z to raise, E to extrude). The road rebuilds as you edit.
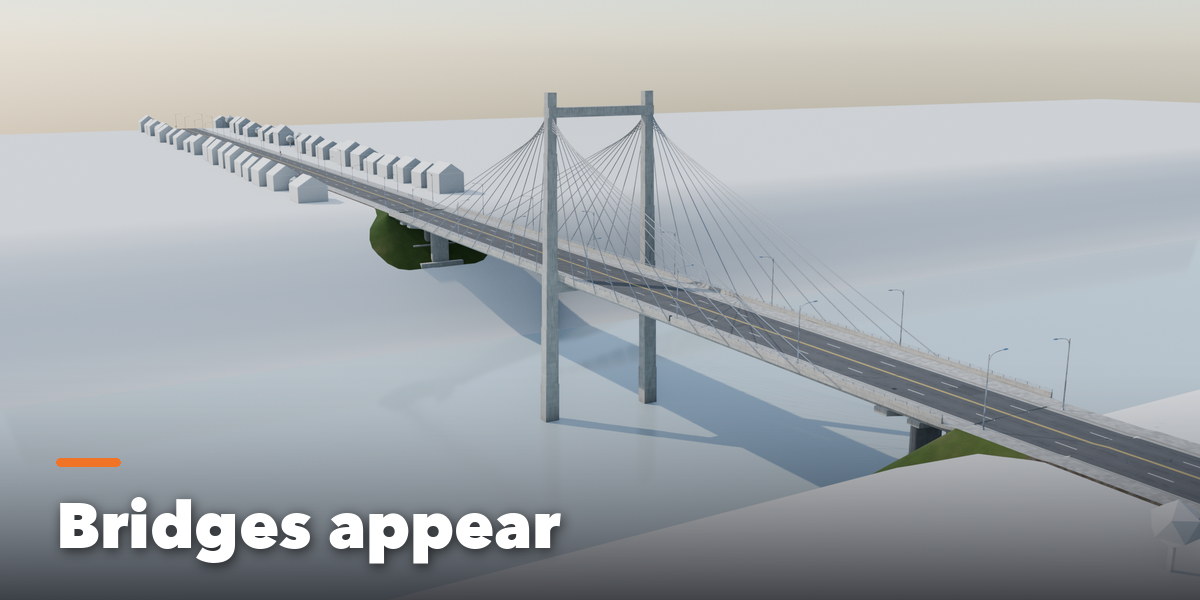
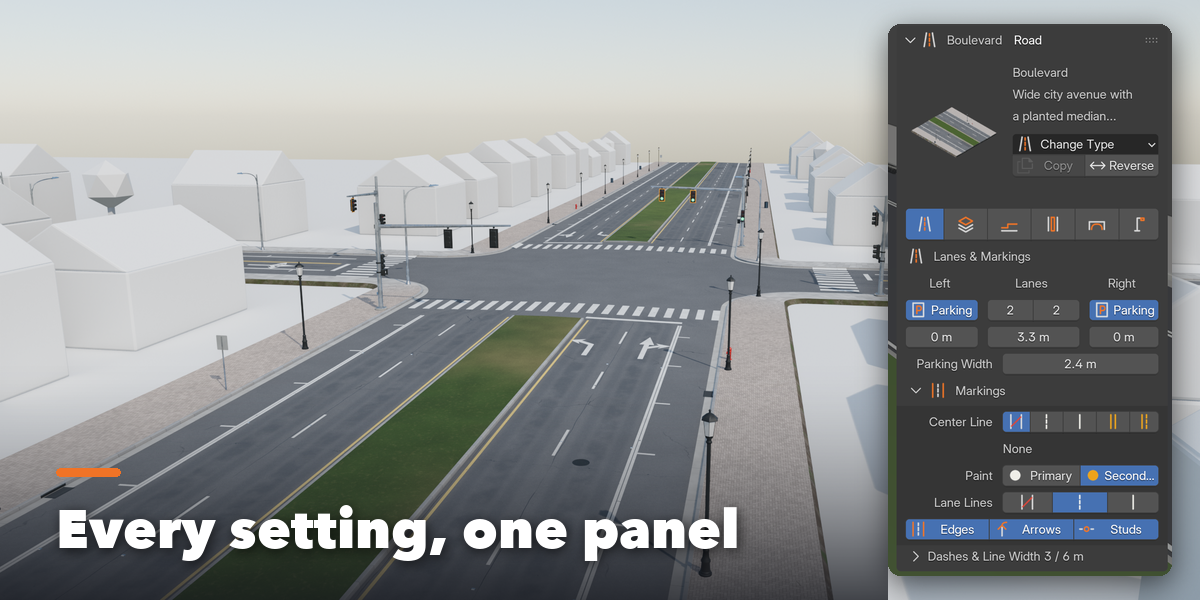
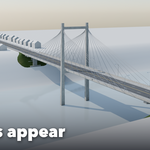
- With a road selected, the Road panel shows its type and all of its settings: lanes and markings, surface and colors, curbs and sidewalks, median, elevation and bridges, lights and extras. Copy to Selected Roads copies them to other roads.
- Select a junction's circle handle to choose its control (signals, stop, yield, roundabout), crosswalks and corner radius.
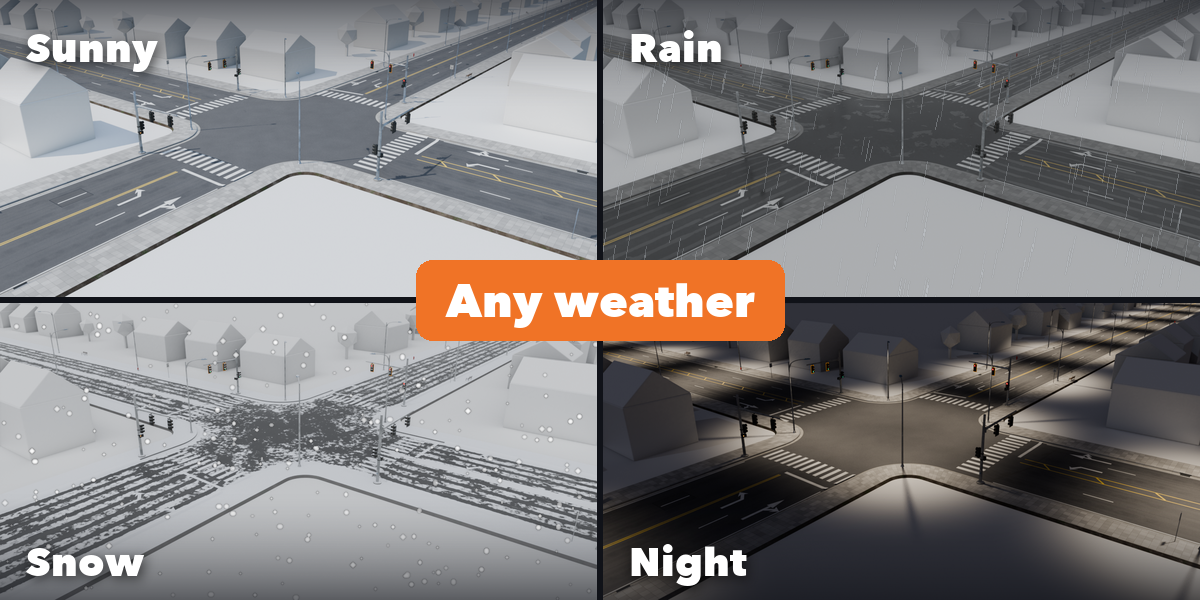
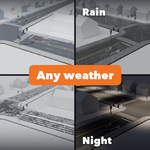
- Weather and Look sets rain, snow, dirt, wear and lamps for the whole network; Set Up Sky and Sun adds a matching sky. Turn on Real Lights for night renders.
- Make Static keeps the meshes as ordinary objects.
Use Rendered view (EEVEE or Cycles) to see wet reflections and lights. Add Demo City in the Roads tab shows every feature.
$9.99
Have questions about this product?
Login to message
| Blender Extension Compatible | Yes |
| Published | 3 days ago |
| Blender Version | 4.2 - 5.2 |
| Extension Type | Add-on |
| Render Engine Used | Cycles, Eevee |
| License | GPL |

Discover more products like this
city environment urban intersection bridge road street highway Generator traffic lights procedural curve