Routelynx – Cable Harness Engineering (Early Access)
 Frederik Vollbrecht
Installation
- Requires Blender 4.5 or newer. Download the ZIP from your Superhive library and do not unzip it.
- In Blender, open Edit › Preferences › Get Extensions.
- Open the menu at the top right, choose Install from Disk… and select the ZIP.
- Open the sidebar of the 3D viewport with N. The tools are in the FORMLYNX tab.
Updating: install the new ZIP the same way. It replaces the old version.
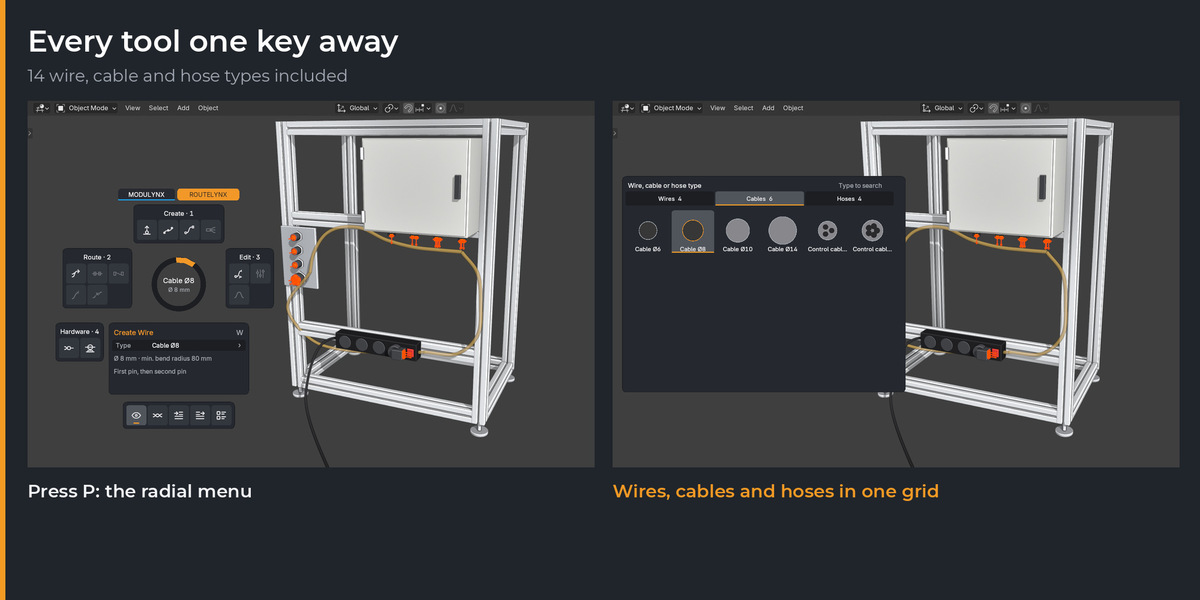
Shortcut: P opens the radial menu in Object Mode. If another add-on also uses P, change it under Edit › Preferences › Keymap by searching for "ROUTELYNX Menu".
Your first harness
- Add Pins: click on the faces of your parts. Each click places a pin (P1, P2 …). Ctrl+click removes one.
- Create Segment: click work points to draw a trunk: on faces, at pins, in free space, or on a work point of another trunk to branch off. Press Enter to finish.
- Create Wire: choose a type, click the first pin, then the second. The wire is routed through the trunks at once. Continue with the next wire or press Enter.
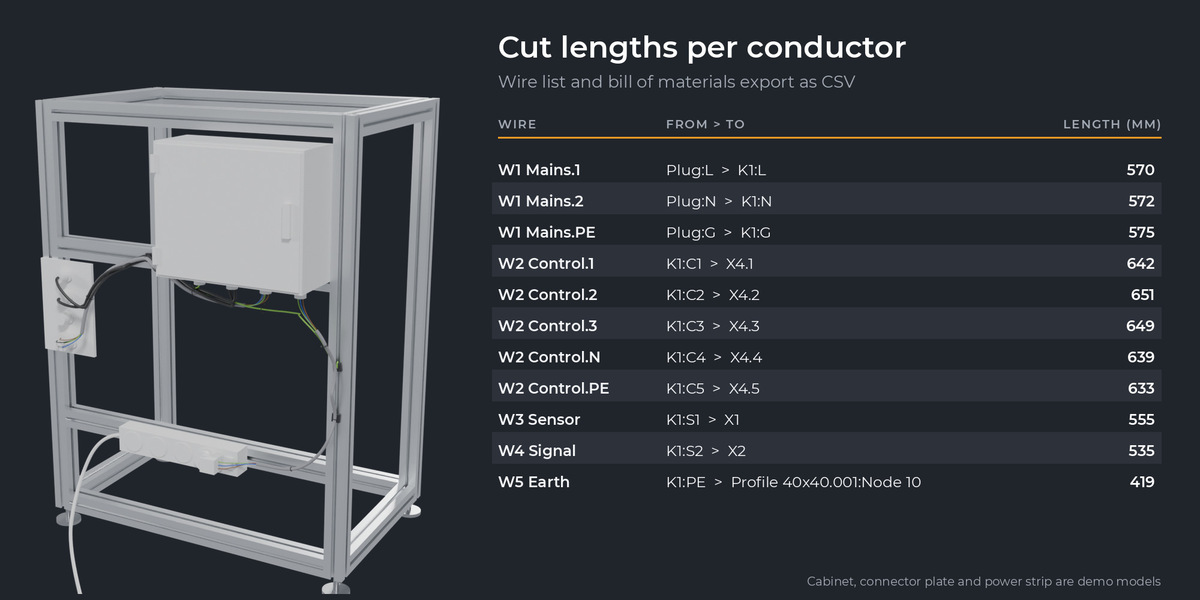
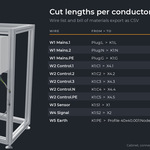
- Export Wire List under Lists & Settings for the cut lengths.
The radial menu (P)
Tap P and the menu stays open. Hold P, point and release to choose. Number keys jump to a group, letters start tools. Groups: Create (Pins, Segment, Wire, Cable), Route (Route All, Through, Between, Automatic, Unroute), Edit (Reconnect, type on selection, segment shape), Hardware (Splice, Cable Tie Mounts), and at the bottom view and output options (show pins, realistic view, wire list, bill of materials).
Tools in detail
Pins
Select a part and a blue ring appears at each pin. Drag to slide a pin over the faces of the part; its direction follows the face normal. Alt moves it freely in the view plane, X deletes, Esc returns. The sidebar lists the pins of the active part with the number of connections, and lets you rename a pin, flip its direction or delete it. Wires stay connected when you rename a pin.
With MODULYNX installed, nodes on its profiles count as pins too. Edit those in MODULYNX.
Segments (trunks)
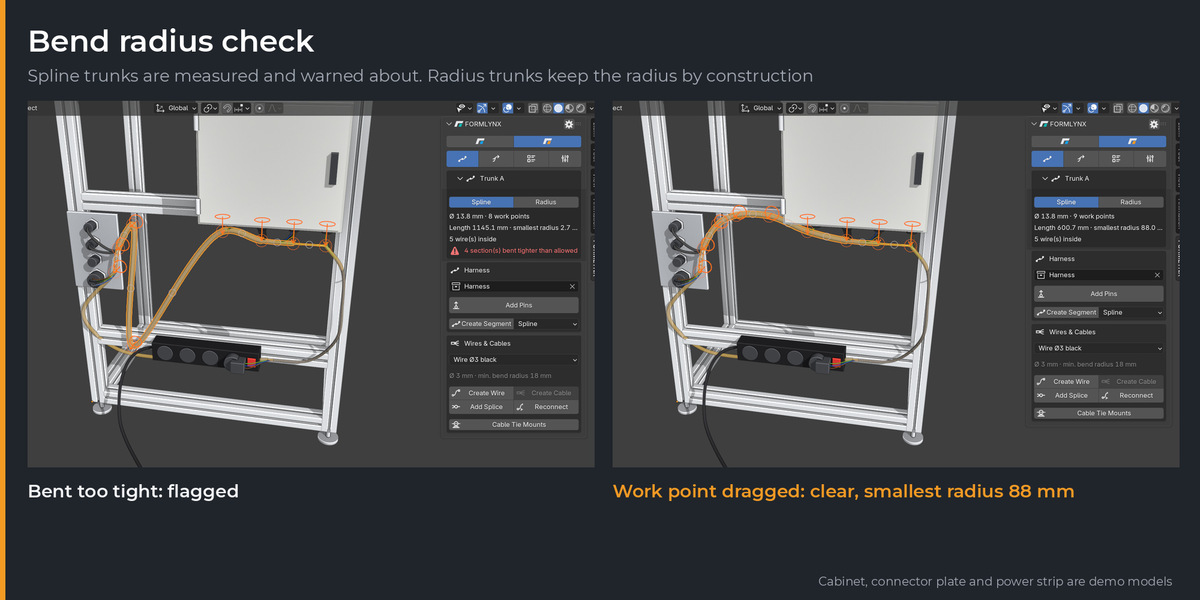
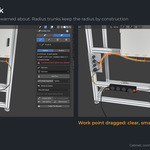
Select a segment and drag the orange handles at its work points. Small white handles between them insert a point. Alt moves freely, X deletes a point, Esc returns.
- Spline runs smoothly through all work points. The bend radius is measured from the curvature and tight sections are reported.
- Radius uses straight lines with arcs, so the radius is kept. If a corner does not fit, it is reported.
Wires and cables
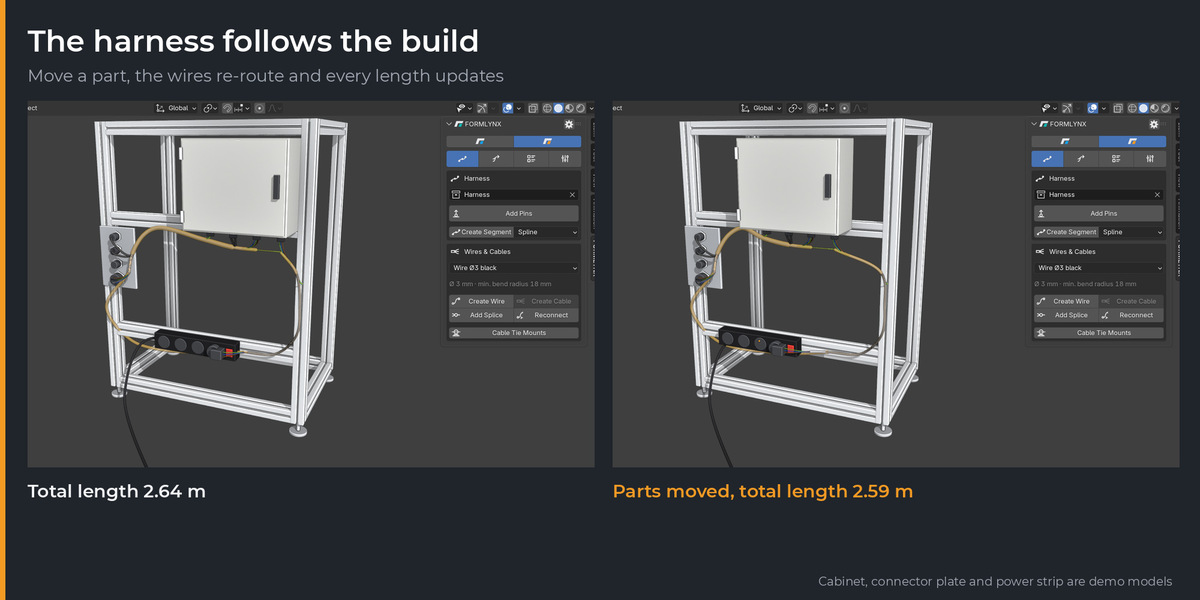
A wire connects two pins. Unrouted wires run as a simple arc; routed wires go through the connected trunks on the shortest path. Wires leave a pin in the pin's direction and join the trunk in a smooth arc.
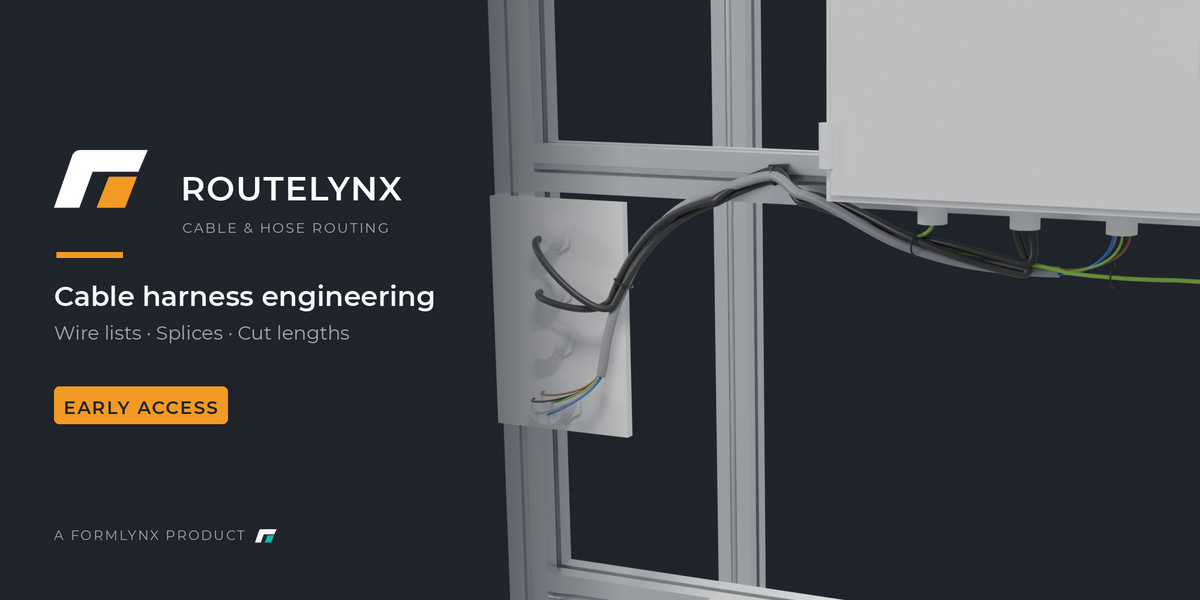
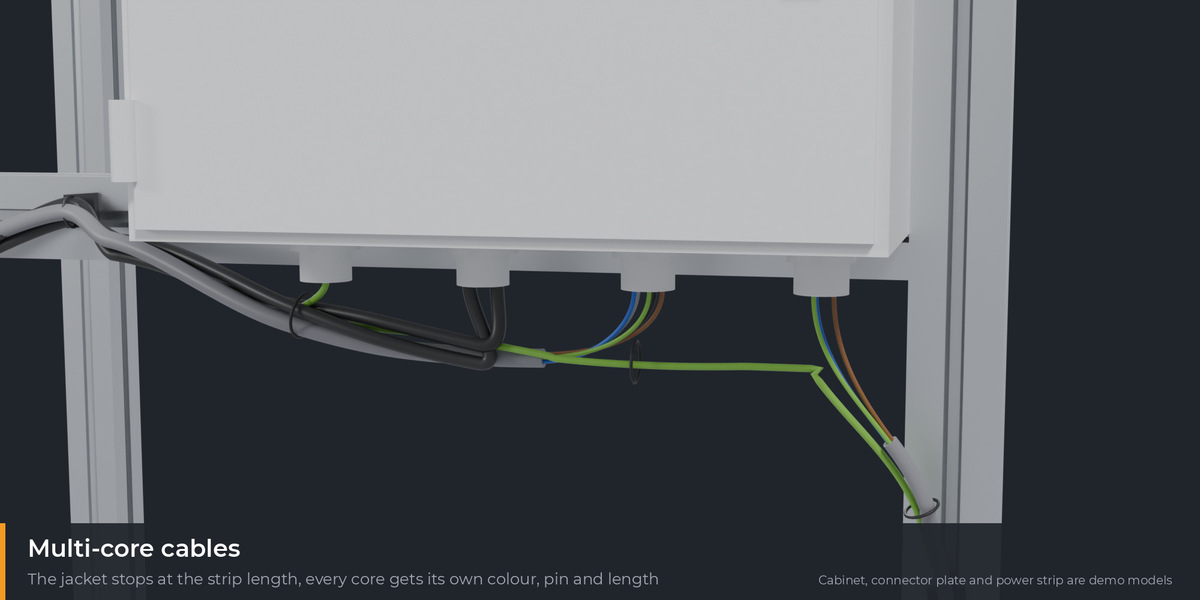
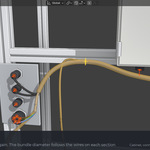
Create Cable works with multi-core types: click the first and second pin for each core. The jacket runs through the trunks and ends at the strip length before the pins. From there the cores go to their pins individually.
Reconnect: click a wire or core end, then the new pin. Backspace or Esc picks another end, Enter finishes.
Routing
Route All Wires routes everything. Through: select wires, click trunks in order, press Enter; exactly those trunks are used. Between: only the first and last trunk are fixed, and the shortest way is used in between. Automatic removes the constraint. Unroute takes selected wires out of the trunks.
Splices
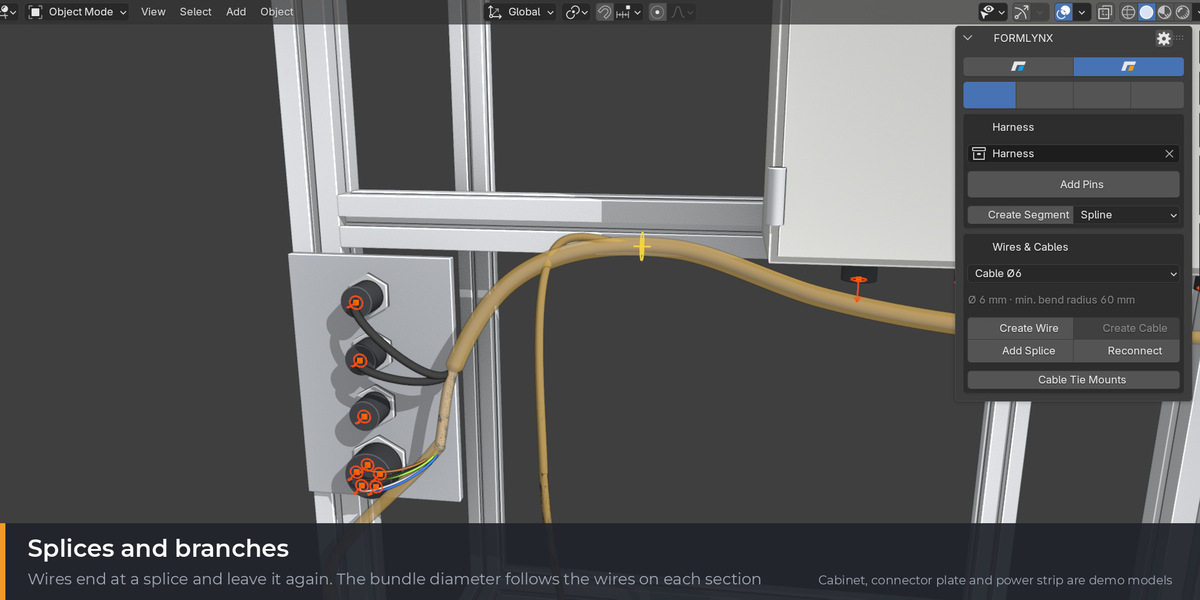
Add Splice: click on a segment. Wires can end at its pin S or start from it. To branch, start the segment tool by clicking on the splice; the new segment leaves along the bundle and moves with the splice. Select the segment and drag the yellow handle to move a splice. X deletes it.
Cable tie mounts
Click mounts onto faces. Ctrl+click removes one, Enter routes all wires. Wires run through the mounts nearest their path, even with no segments at all. Mounts stay on the face and move with the part. Select a mount to drag it across faces. Reach and base height are under Lists & Settings.
Realistic view
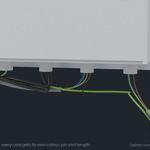
Shows every core in its place in the bundle, slightly twisted, with cable ties, for rendering in Cycles or EEVEE. Tie spacing and lay length are under Lists & Settings.
Lists and settings
Wire list export writes one row per conductor: wire, type, from, to, length, routed.
Wire list import reads a CSV with semicolons and the columns Wire;Type;From;To, with From and To written as Object:Pin.
Also under Lists & Settings: allowance per end, distance from faces, diameter and radius of empty segments, bundle factor and strip length.
How length is calculated: transition from pin to segment, plus the path along the segment centerline, plus the transition to the end pin. For cables the longest core counts, and each core has its own length in the wire list.
Bundle diameter: bundle factor × √(sum of the squared diameters of the wires in that section).
Have questions about this product?
Login to message
| Blender Extension Compatible | Yes |
| Dev Fund Contributor | |
| Published | about 11 hours ago |
| Blender Version | 4.5 - 5.2 |
| Extension Type | Add-on |
| Render Engine Used | Cycles, Eevee |
| License | GPL |

Discover more products like this
wire-list hoses cables bend radius cable-harness splice mechanical engineering wiring cable routing electrical-engineering cut list bill of materials