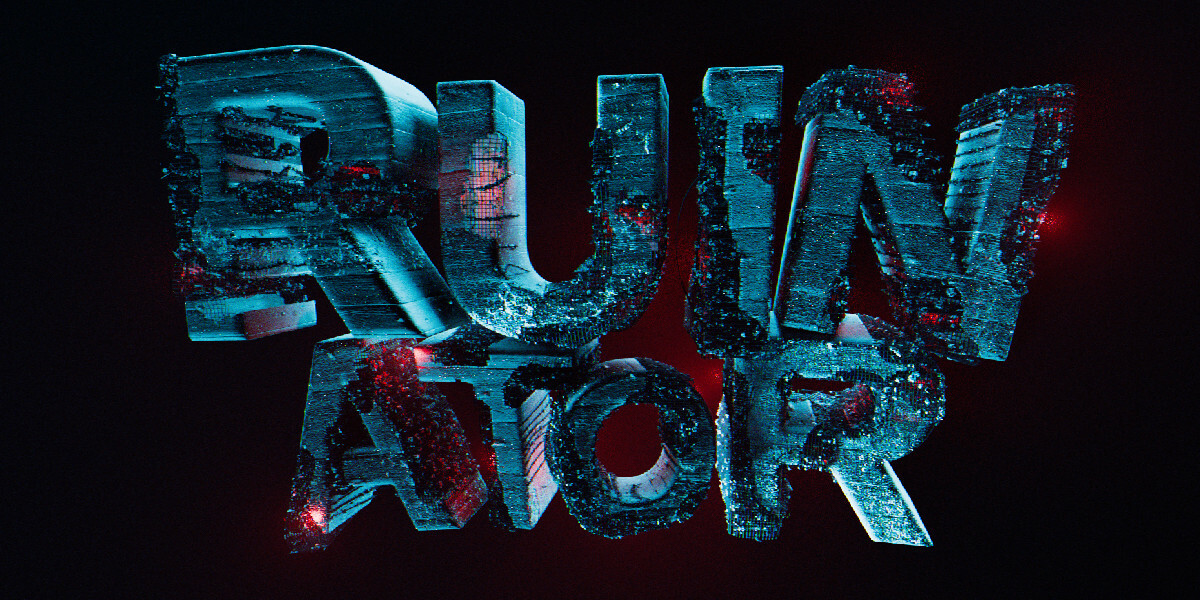
The Ruinator: Mesh Destroyer
 Brent Patterson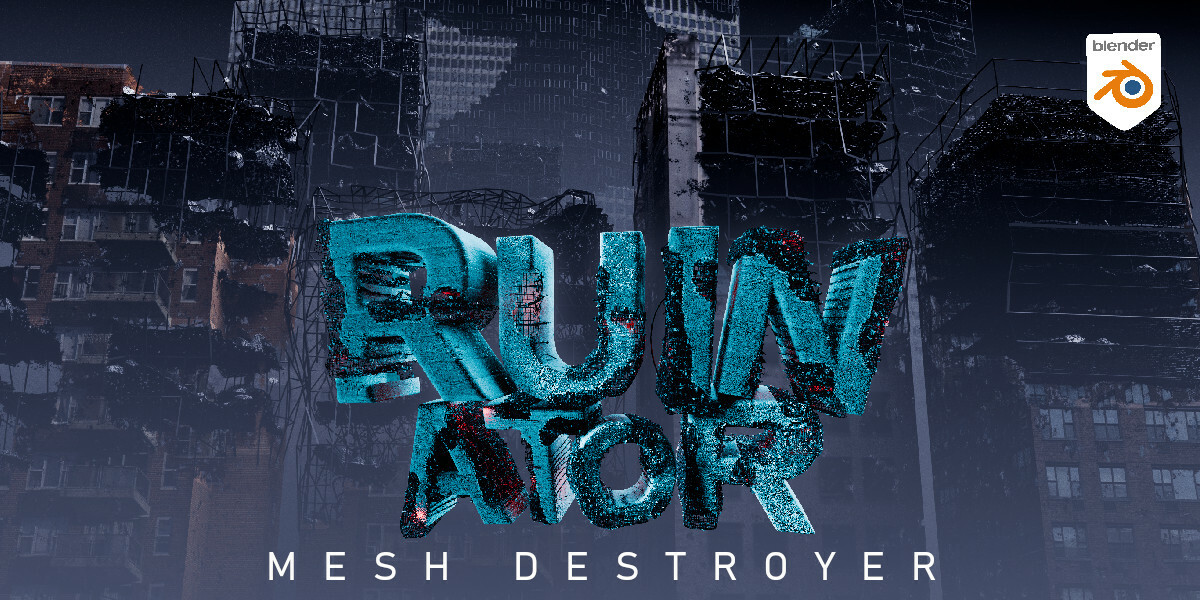

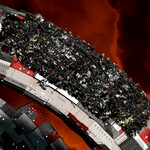
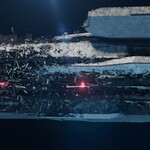

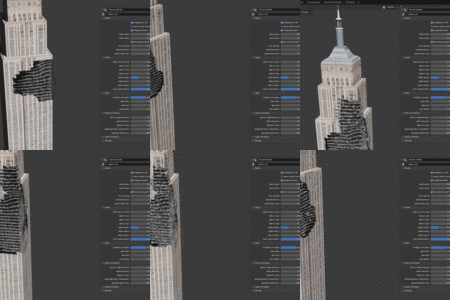
The Ruinator's Purpose
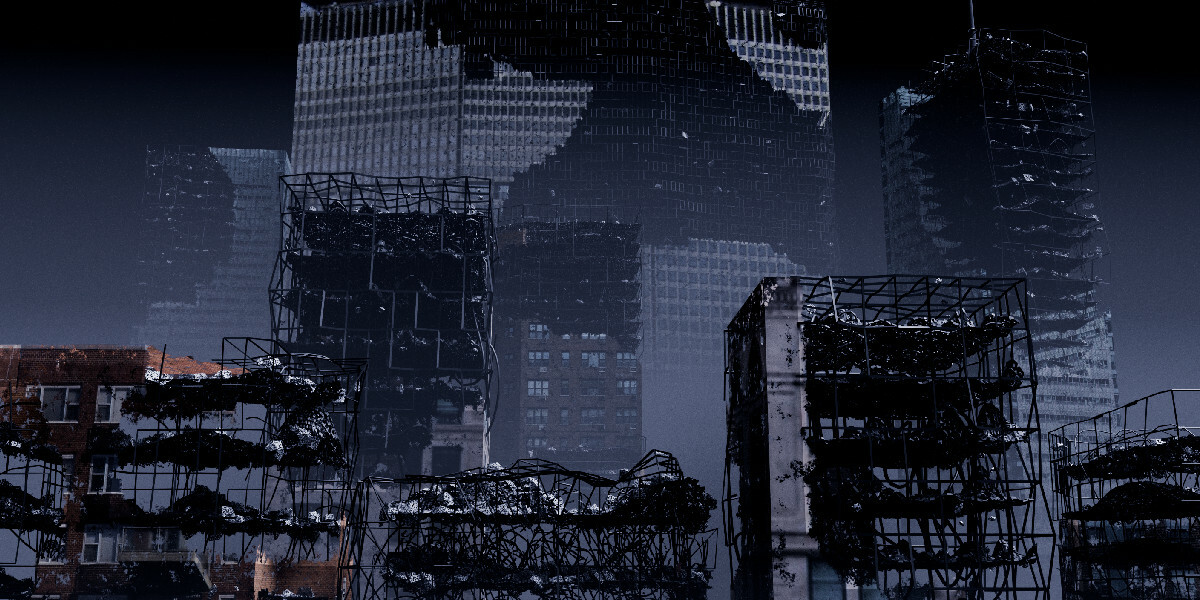
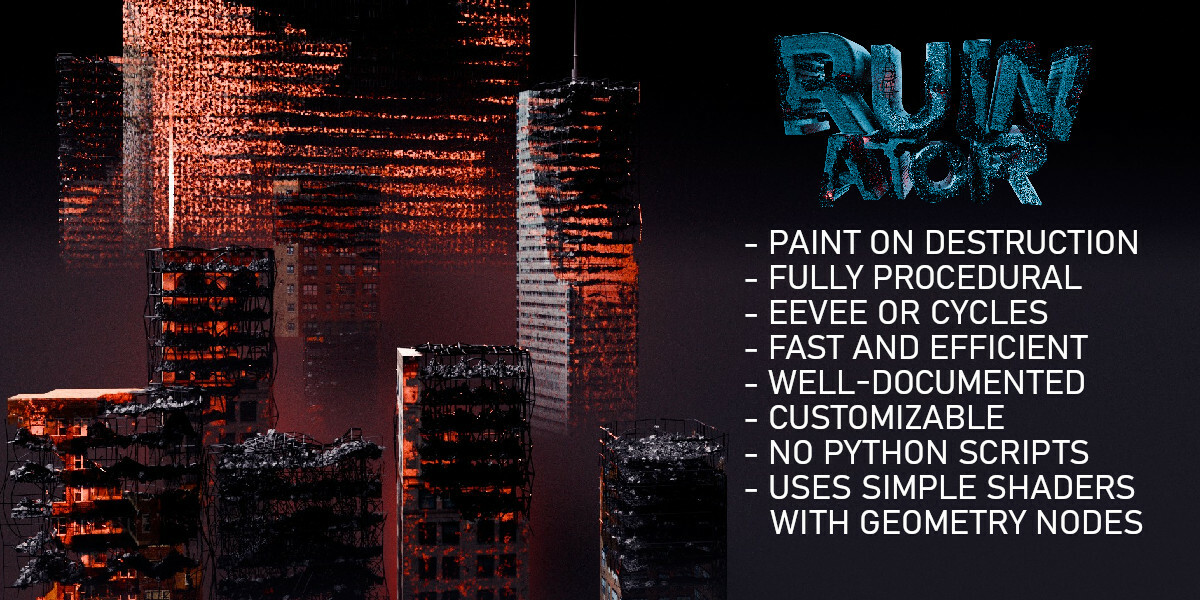
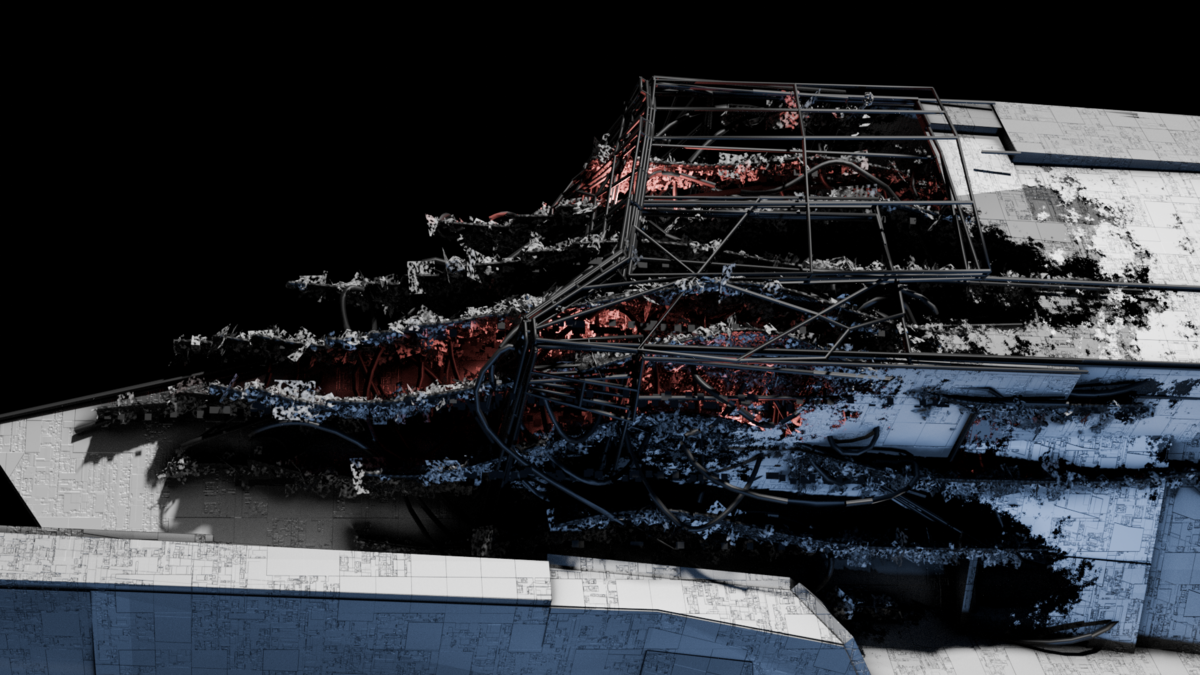
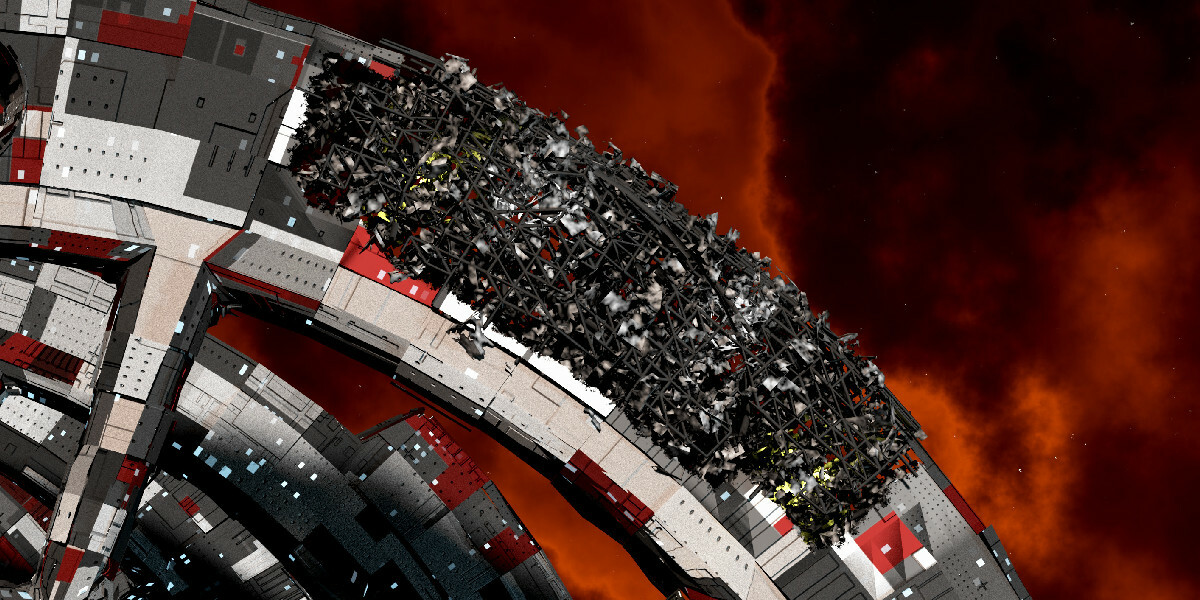
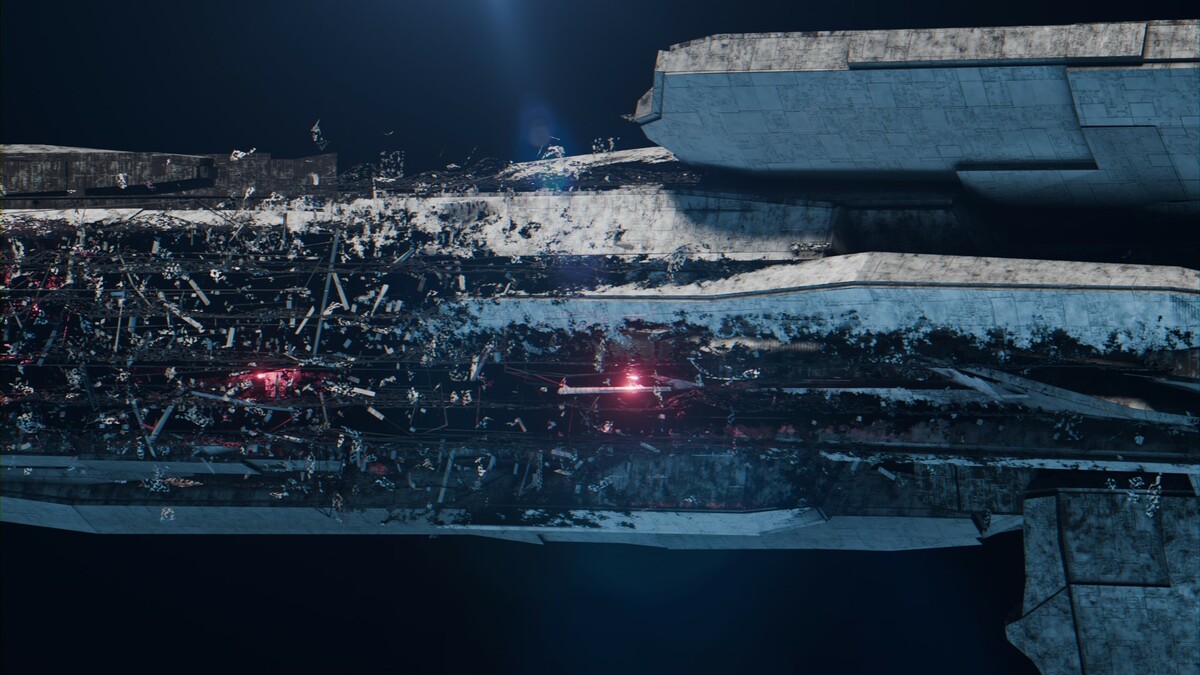
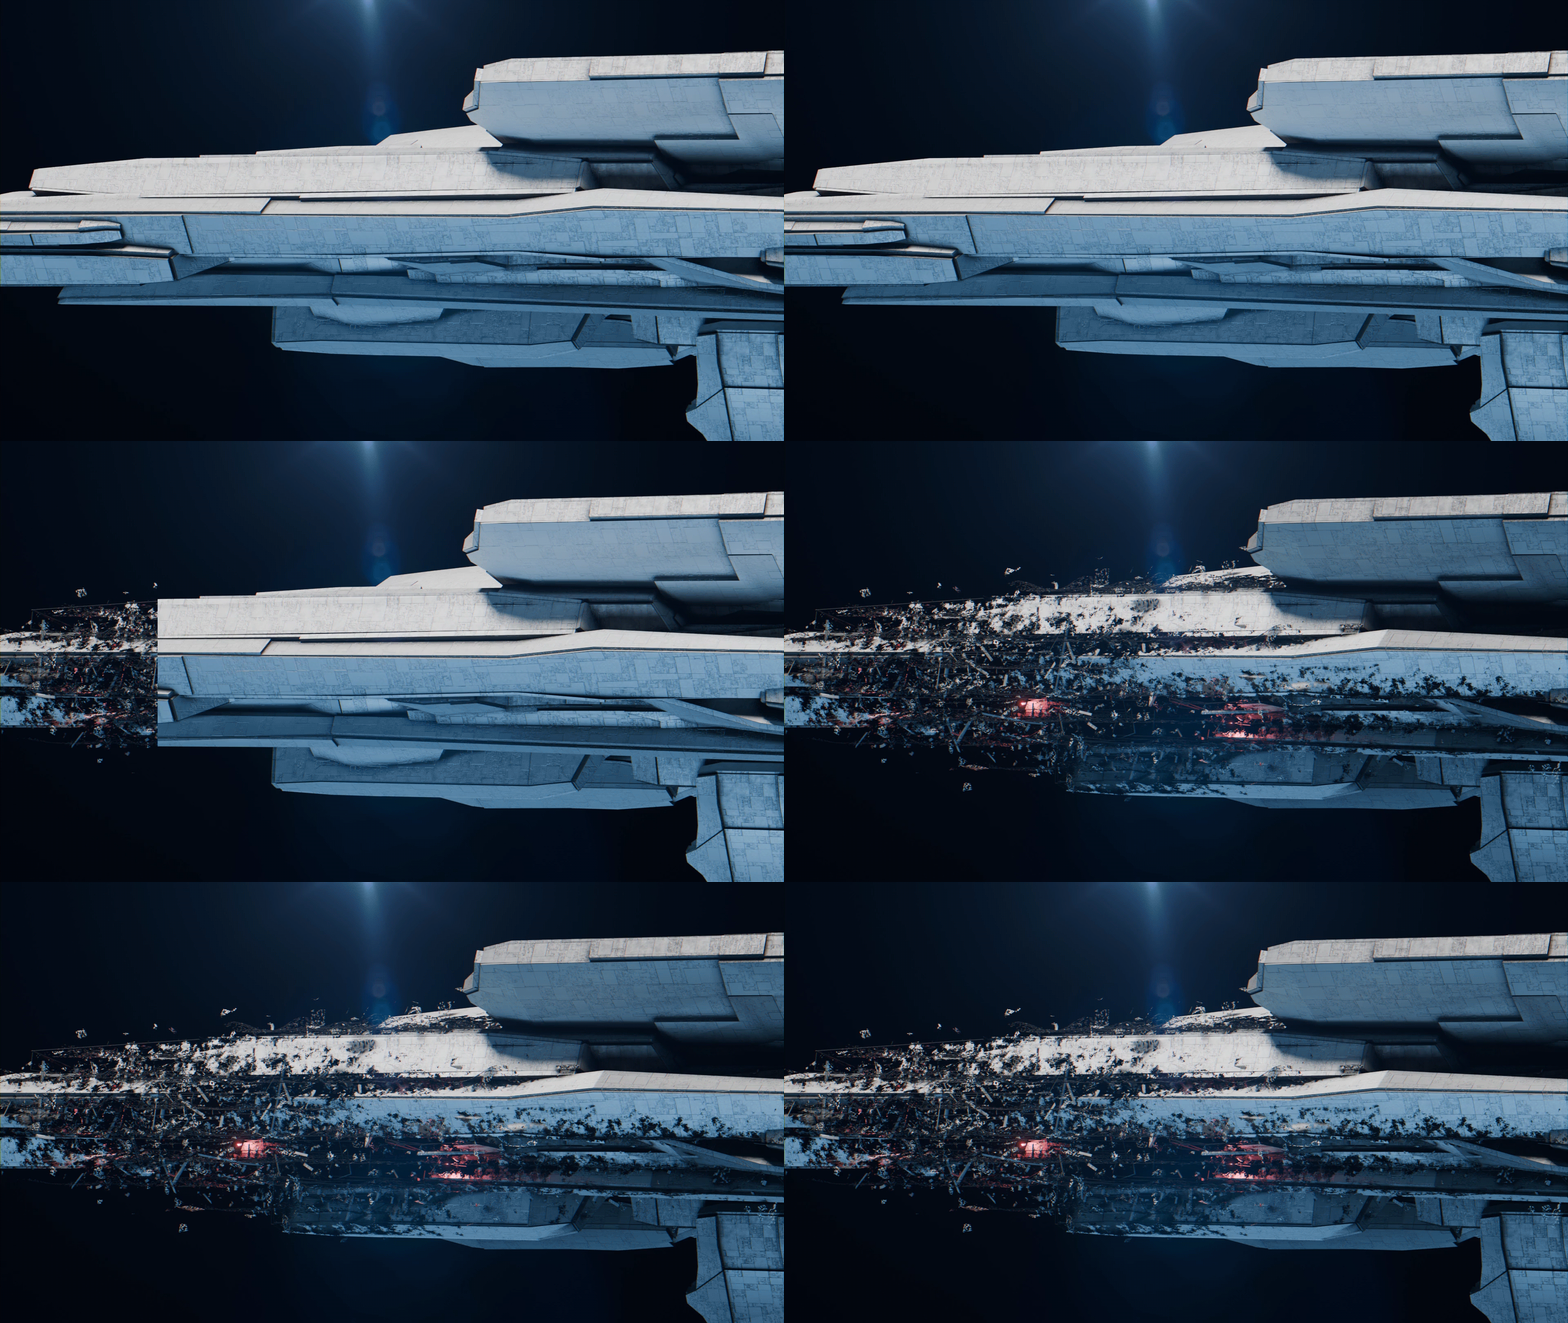
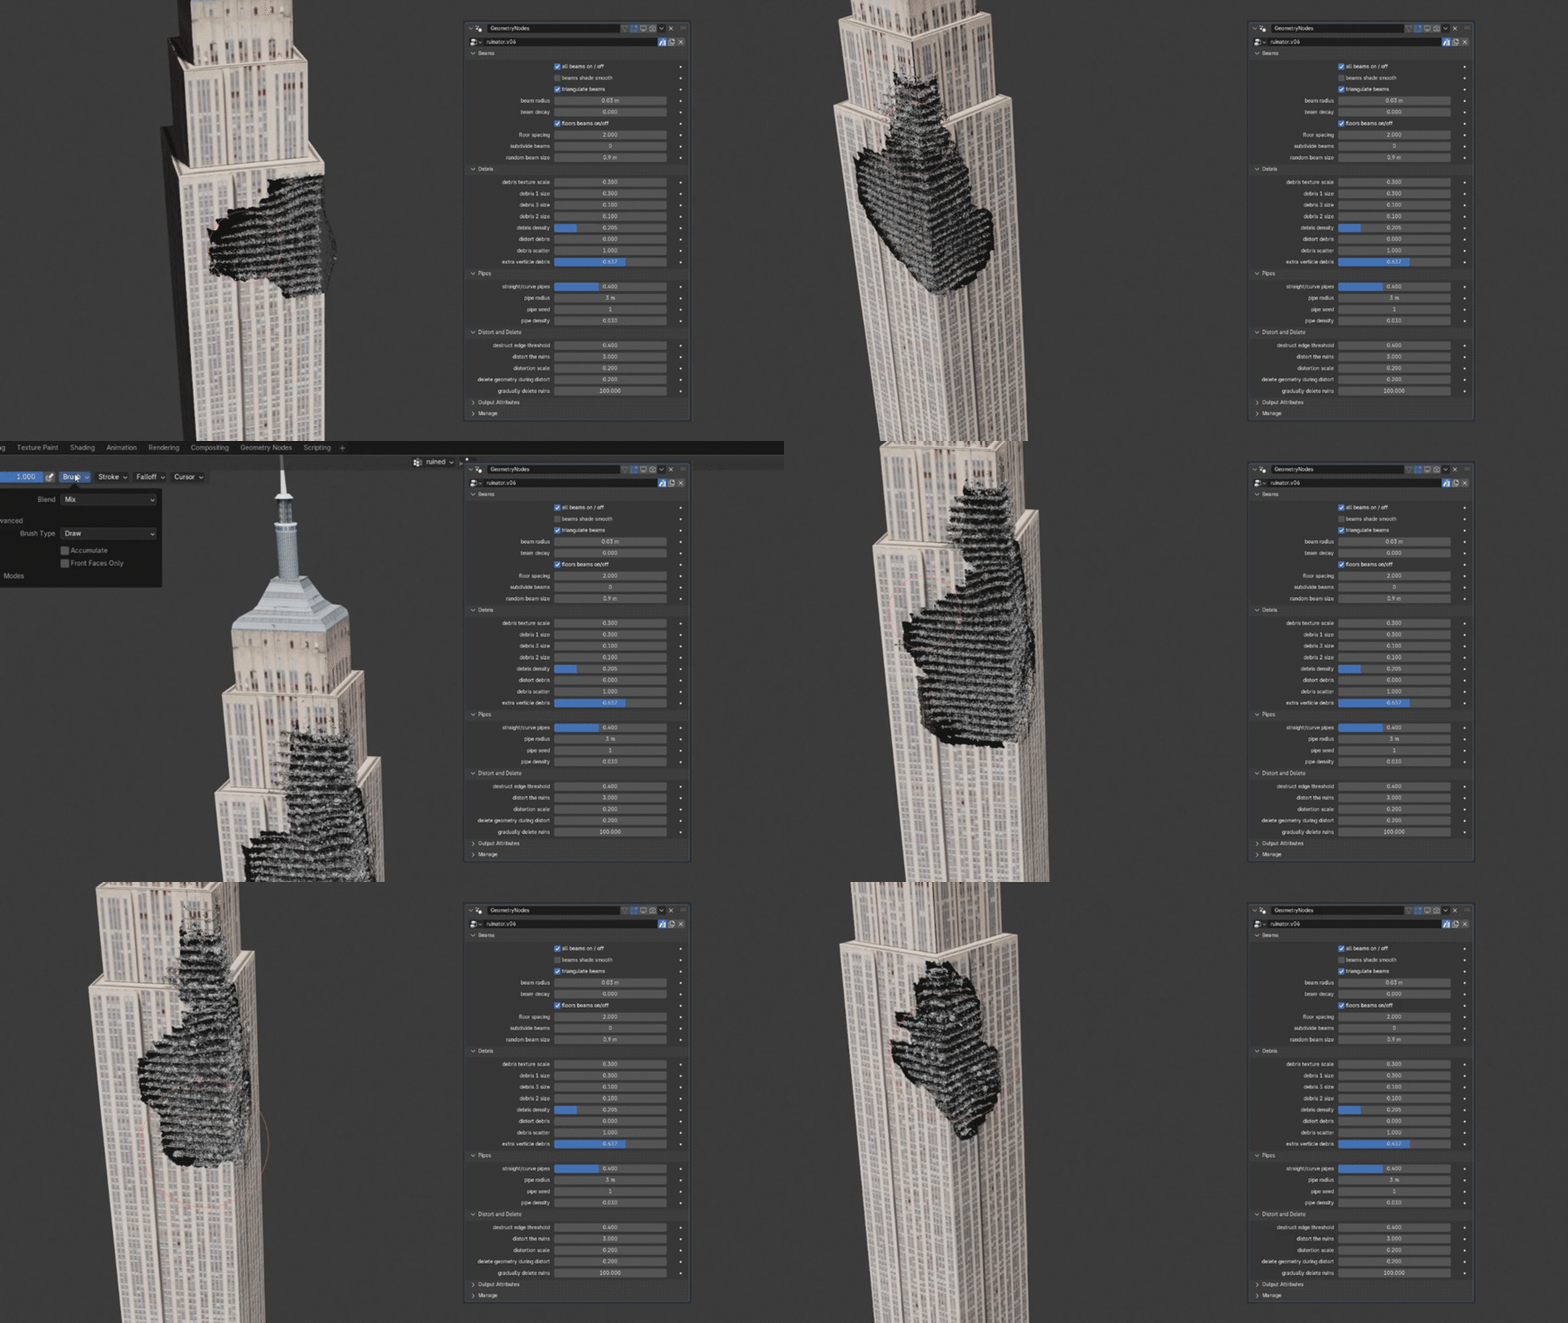
The Ruinator allows 3D artists to quickly turn structures into partial ruins by non-destructively hiding parts of a mesh and filling it with damaged beams, girders, walls, floors, and debris.
Ruinator Update November 2025
The Ruinators Strengths
- The Ruinator is built with Blender's Geometry nodes and allows artists to add complex, highly detailed ruined structure effects quickly and easily without destroying the original mesh or using excessive memory or processing power.
- While it is ideal for structures like buildings, it works on any mesh: spaceships, statues, abstractions, etc.
- The ruined portions of the mesh can be procedurally customized in a wide variety of creative choices. Debris and materials can now be replaced with custom objects in the modifier settings.
- Advanced users can modify the annotated NodeTree to further customize the Ruinator such as changing materials, or changing the default debris objects.
- The Ruinator works with Blender's Eevee or Cycles render engines.
The Ruinator Documentation for version: November 2025
0.1. The Ruinator assumes you have intermediate experience with Blender and have a basic understanding of Blender's workflow and user interface including basic modelling and the shader system.
0.2. Installation: As of November 2025, Ruinator is an addon and is installed like other addons. Download the zip file ruinator_1.0.0.zip and install it in Blender's addon preferences. Edit > Preferences > Addons > (the little down arrow at the top right of the preferences pane), choose "Install from Disk...". The addon will be installed. Ruinator addon 1.0 has been tested on Blender 5.0 beta.
0.3. THE IMPORTANCE OF SCALE: The structure you plan to ruin should be close to real-life scale in Blender - so a 40 meter building should be around 40 meters in your Blender scene. (You can see the scale of an object in the 3D viewport in the N-Panel under the section labeled 'Dimensions'.) Be sure to Apply All Transforms (CTRL-A) on the structure you plan to ruin. Also, set the structure's origin to its geometry - this helps with the debris scattering (Object > Set Origin > Origin to Geometry). Warning, initiating The Ruinator on a very large huge structure (> 80 meters) may result in Blender crashing as the modifier fills whatever space is available with increasing levels of beams, pipes, and debris.
0.4. If your structure is low-poly, you may need to subdivide it: Do this in edit mode—not with a subdivision modifier. Use either subdivide or loop cuts. The subdivision allows a more natural border between the ruined part of the structure and the original. Less subdivision will result in a border that follows the contours of the polygons - which in some cases might actually seem more realistic. So, play around with what level of subdivision works best for your project. A uniform topographic flow is preferred but not required. Subdivision does not affect the default density of this modifier—only the scale of the structure controls that.
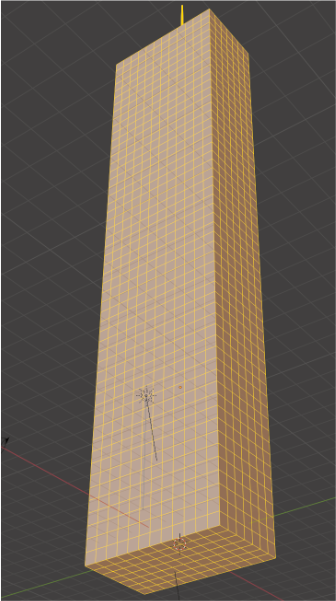
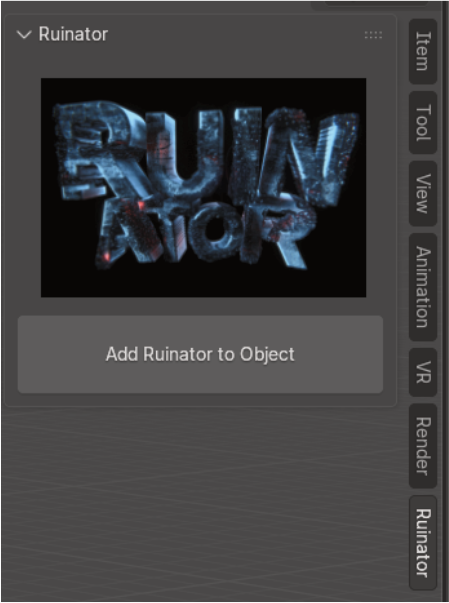
0.5. If you've applied the scale and have sufficient polygon density as explained above, it's time to apply The Ruinator. In the 3D Viewport sidepanel (open with the N shortcut) you should see the Ruinator tab. Open it. Select the object you want to ruin in object mode. Hit the Add Ruinator to Object button.
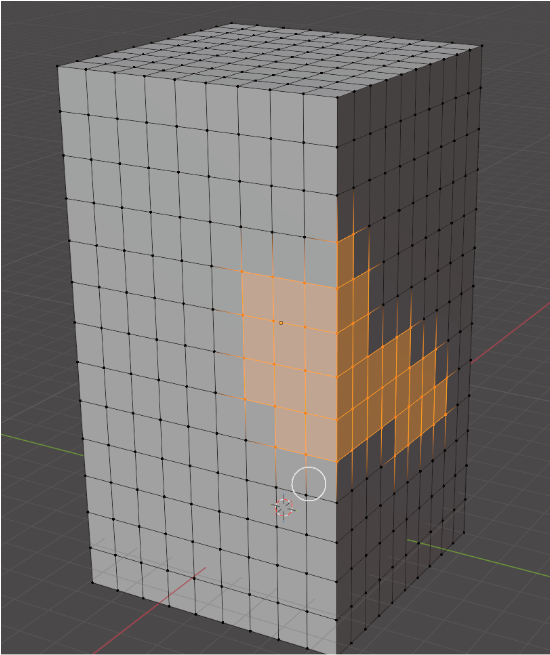
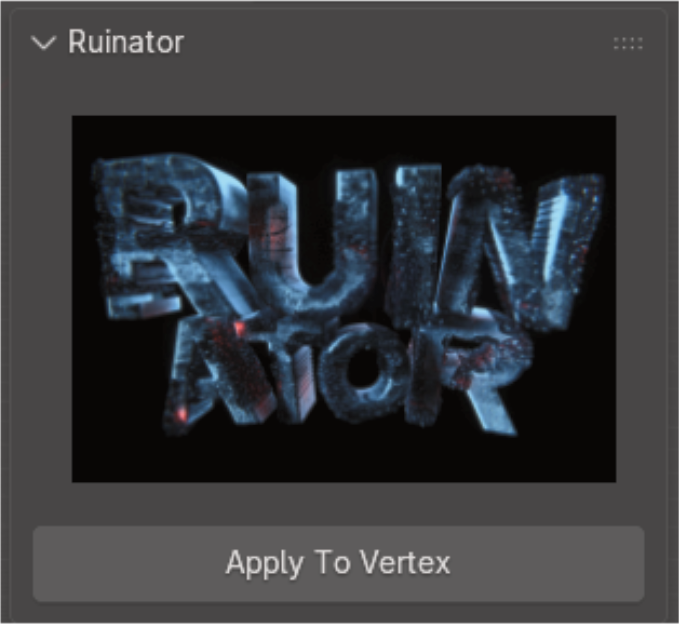
0.6. Your object should enter edit mode and your cursor will switch to Circle Select. At this point you can 'paint' select the vertices where you want ruins to appear on your object. In The Ruinator Tab you will see the Apply to Vertex button which you can now click to apply ruins to the selected vertices.
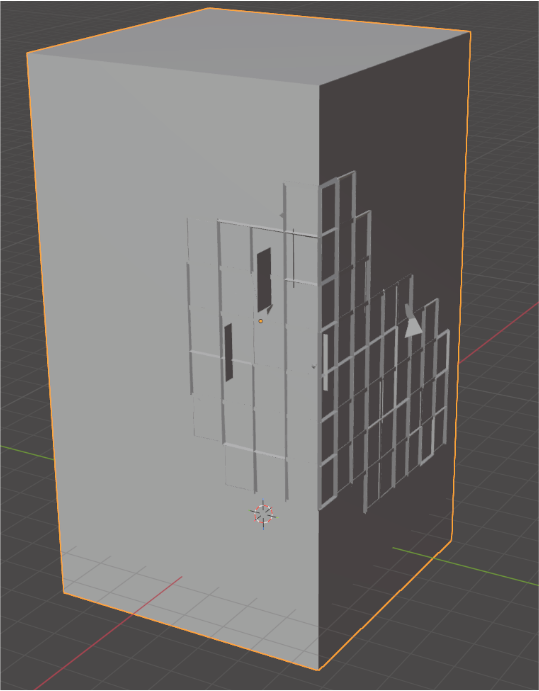
0.7. Switch your layout to Blender's Shading layout. We will now use the new Ruinator shader group.
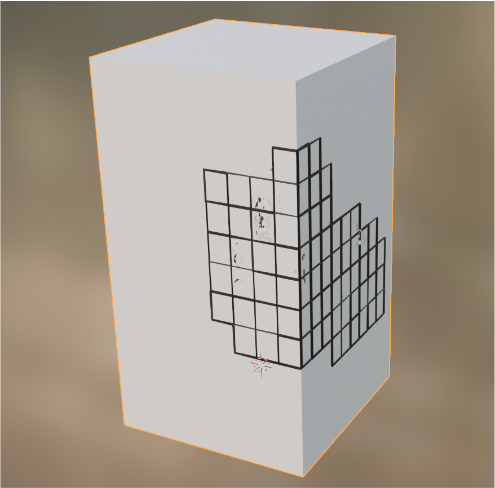
0.8. In the shader node editor click add, go to Group and add Ruinator Alpha Generator 2.0.
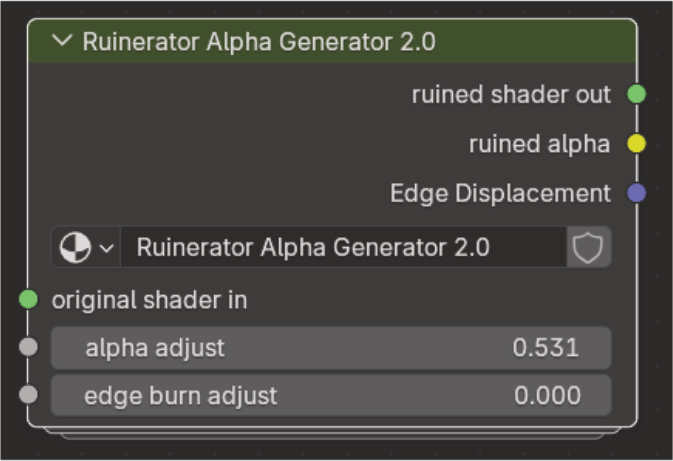
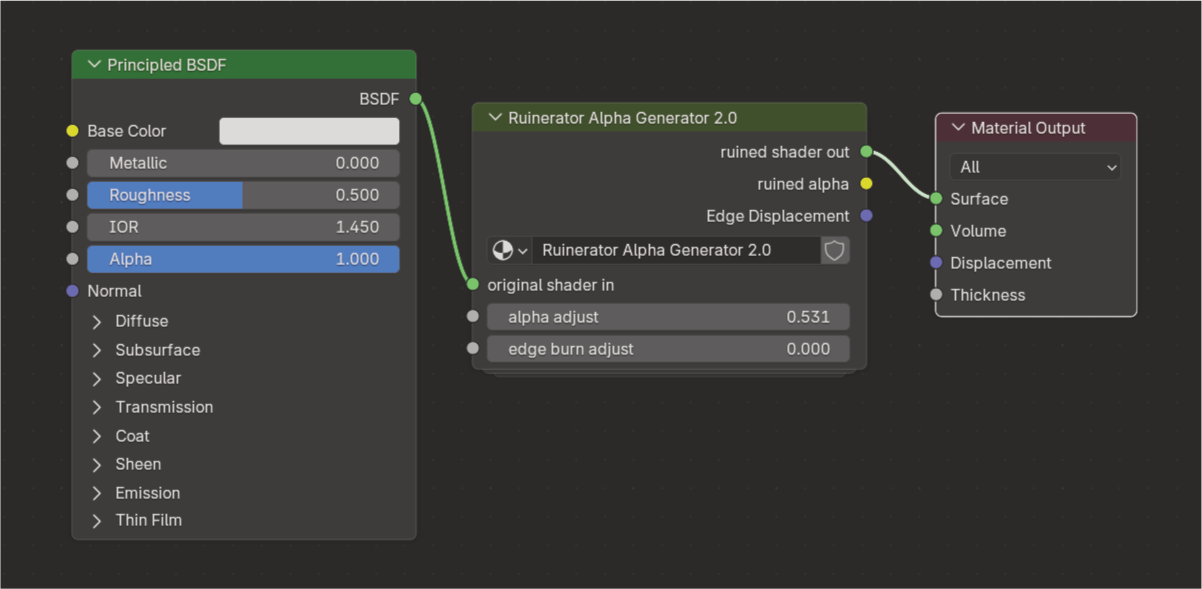
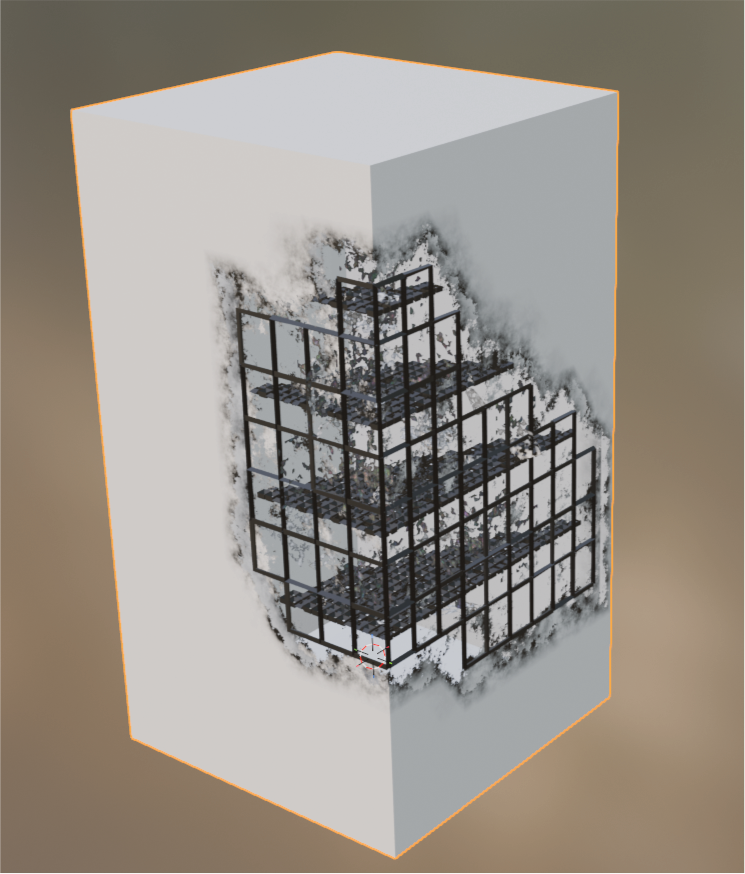
0.9. This shader group should be inserted between your ruined object's original shader output and the Material Output node. It adds a transarency where you applied ruins to its vertices and burn marks around the edge of the ruins. These can be adjusted as needed.
Ruinator Limitations
- Large buildings should be avoided on weaker computers as the Ruinator bases mesh size on structure size. Experiment with small structures first. The Ruinator needs a computer of average or better power for most projects. Very limited systems may not have a enough video RAM or processing power to use it effectively. Similarly, The Ruinator uses alpha channels to both create a hole in your mesh’s facade and create holes in the generated debris. This works well to create more detail, but can strain Eevee’s responsiveness on weaker GPUs. So, if Eevee is running slow, try Cycles instead.
- The November 2025 version Ruinator was built and tested on Blender 4.5 and 5.0. Older versions of Blender may have issues.
- The Ruinator hides the surface of the structure with an alpha mask. This can make the facade appear paper-thin from some angles and is not ideal. Future version hope to address this issue.
- As of the time of this writing, only one Ruinator modifier vertex group per Blender object is allowed. However, that vertex group does not need to be contiguous, so many parts of the same structure can be ruined with one Ruinator modifier. If you need to have multiple parts of the same object ruined but with different Ruinator settings, either separate the object into multiple objects (preferred option), or Apply the Ruinator modifier and add a new one (this may cause the default alpha generator to malfunction).
- The Ruinator uses a convex hull generator to create an interior mesh in your structure. If you only set a flat plane as your vertex group, the Ruinator will only render the beams and girders of that façade without rendering the floors and debris behind it. So, make sure your vertex group traverses corners or goes through the structure so an interior mesh will form. Conversely, if your structure has large gaps in it (a torus for example), and the vertex group traverses this gap, the Ruinator will attempt to draw debris unnecessarily between those two sections. The easiest way to remedy this is to apply the Ruinator modifier after you are happy with the settings and delete the unwanted mesh manually in edit mode. These issues should be remediated in future versions.
License:
CC BY-SA
This license enables reusers to distribute, remix, adapt, and build upon the material in any medium or format, so long as attribution is given to the creator. The license allows for commercial use. If you remix, adapt, or build upon the material, you must license the modified material under identical terms. CC BY-SA includes the following elements:
BY: credit must be given to the creator.
SA: Adaptations must be shared under the same terms.
Questions, suggestions, criticisms: [email protected]
Mastodon: https://mastodon.art/@brentpatterson
Have questions about this product?
Login to message
| Sales | 30+ |
| Rating | 2 ratings |
| Dev Fund Contributor | |
| Published | over 1 year ago |
| Blender Version | 4.3 - 4.5 |
| Render Engine Used | Cycles, Eevee |
| License | Creative Commons |
