Sandsweep
 GPolygon Design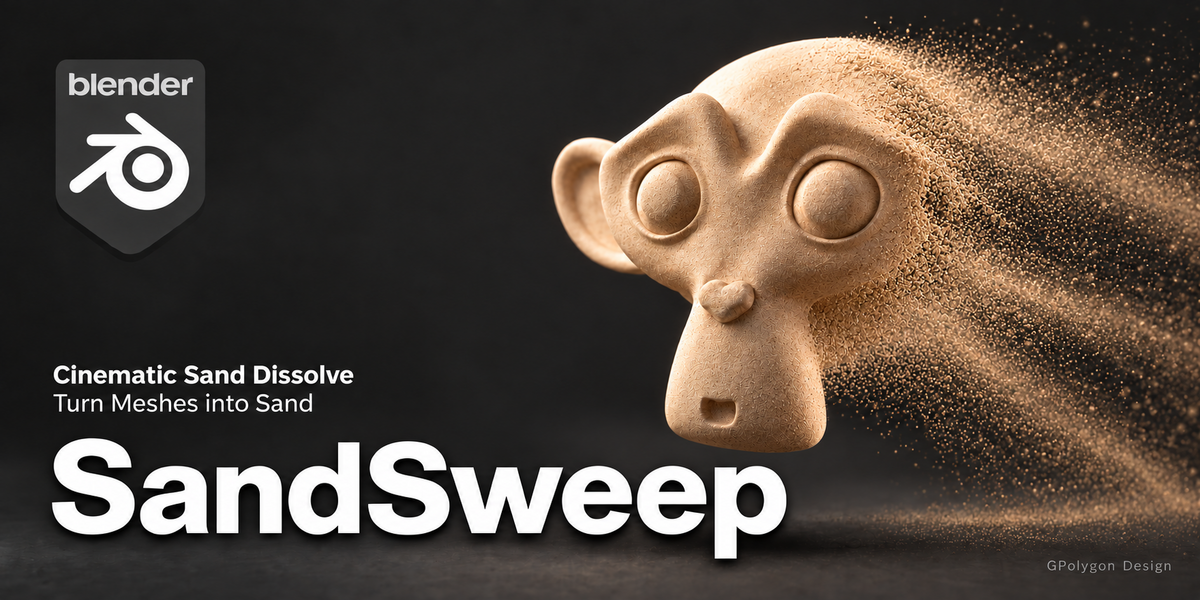

SandSweep v1 — Documentation
SandSweep creates a surface-based sand disintegration effect for static meshes. This guide covers the effect setup, preview, and final-render workflow.
1. Installation
- Download SandSweep-v1.zip. Keep the installer as a ZIP.
- In Blender, open Edit → Preferences → Get Extensions and use the top-right menu to choose Install from Disk.
- Select the ZIP and enable SandSweep.
- In the 3D View, press N to open the sidebar, then select the SandSweep tab.
This download uses the Blender Extension format. If you previously installed the legacy SandSweep add-on, disable and remove that copy before installing this package, then restart Blender. Do not enable both copies together. The release remains 1.0.0.
Requirement: Blender 4.2 or newer. Verified configuration: Blender 4.2.22 LTS, 4.5.2 LTS, 5.1.2, and 5.2.1 LTS on Windows, including Cycles and Eevee renders. Blender 4.0 is not supported. Other versions and operating systems have not been verified.
2. Quick start
- Select a static mesh in Object Mode.
- Choose Cinematic, Gentle drift, or Soft fall, then click Apply.
- Open Model and dissolve and choose a breakup method.
- Position the relevant controls. For Directional, click Place start and end, then select a control through the panel and move it with G.
- Open Wind and movement to choose the motion. For wind, use Aim wind direction and rotate the arrow.
- Adjust Sand appearance and Timing as needed.
- Click Create and preview.
- For final output, follow Save file → Prepare for render → Save file.
A look adjusts several sand and movement settings. It preserves timing, breakup direction, and a custom user material. Gentle drift selects wind motion; Soft fall selects falling motion. Cinematic preserves the current motion type.
3. Model and dissolve
Directional
A front moves from the start control toward the end control.
- Place start and end: create the controls before building the effect.
- Select start / Select end: select the control to move with G.
- Reverse: swap the direction.
- Fit to object: refit the controls to the source mesh while retaining their direction.
The start and end must be at different positions. If you move the model independently of its controls, use Fit to object and apply the settings again.
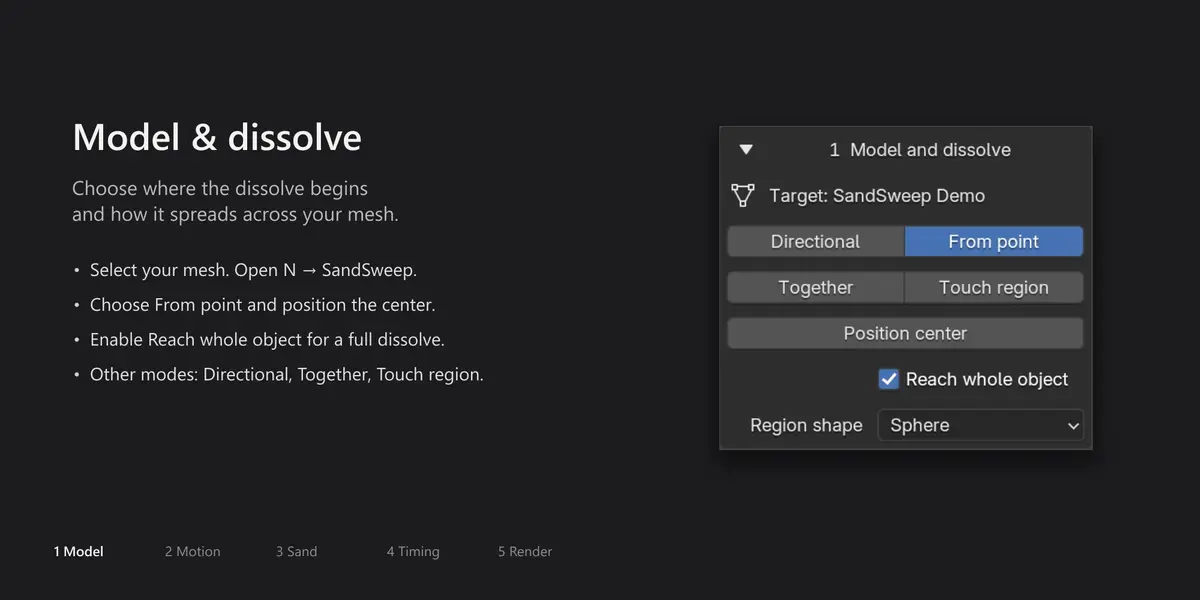
From point
The effect spreads outward from a region center. Use Place center or Position center to position it.
With Reach whole object enabled, the region is sized to cover the source. Disable it to use a limited Reach. Choose a spherical or box-shaped region.
Together
The surface transitions early in the effect interval, leaving time for the grains to move before fading. The exact release period also depends on the local transition setting. Very short intervals leave little or no time for visible flight.
Touch region
The effect responds to the areas touched by the region control during the effect interval. Position or animate the control as needed. This does not enable support for an animated source mesh.
4. Wind and movement
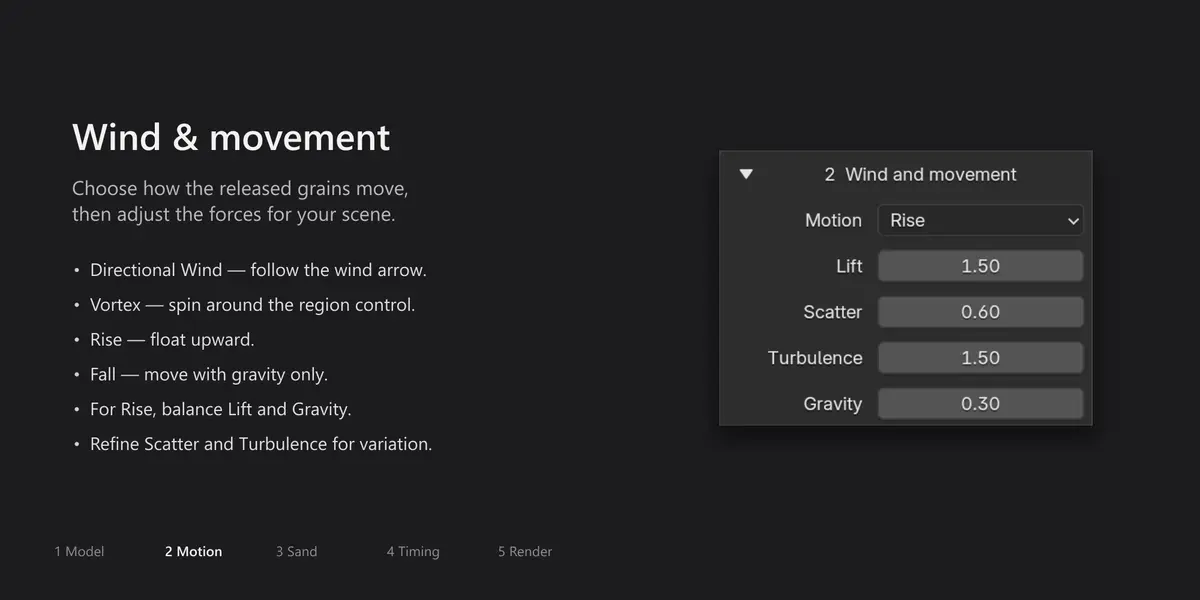
Choose Directional Wind, Fall, Rise, or Vortex.
- Directional Wind: use Aim wind direction and rotate the orange arrow.
- Fall: use gravity-driven motion.
- Rise: adjust Lift relative to Gravity; upward motion requires sufficient lift.
- Vortex: adjust Spin strength and position the spin center.
The orange arrow controls grain flight. The blue directional control determines how the model breaks apart. These directions are independent.
Adjust Scatter, Turbulence, Gravity, and Air Resistance where available. Wind strength controls the motion’s driving force rather than a fixed travel speed.
Ground collision
Enable Ground collision to use a horizontal collision plane.
- Below model: calculate the height below the source when settings are applied.
- Custom height: specify the world-space Z height.
Bounce and friction are available in Advanced. Ground collision does not add visible geometry; create your own floor if you want one in the render. Arbitrary obstacles and grain-to-grain collision are not supported.
5. Sand appearance
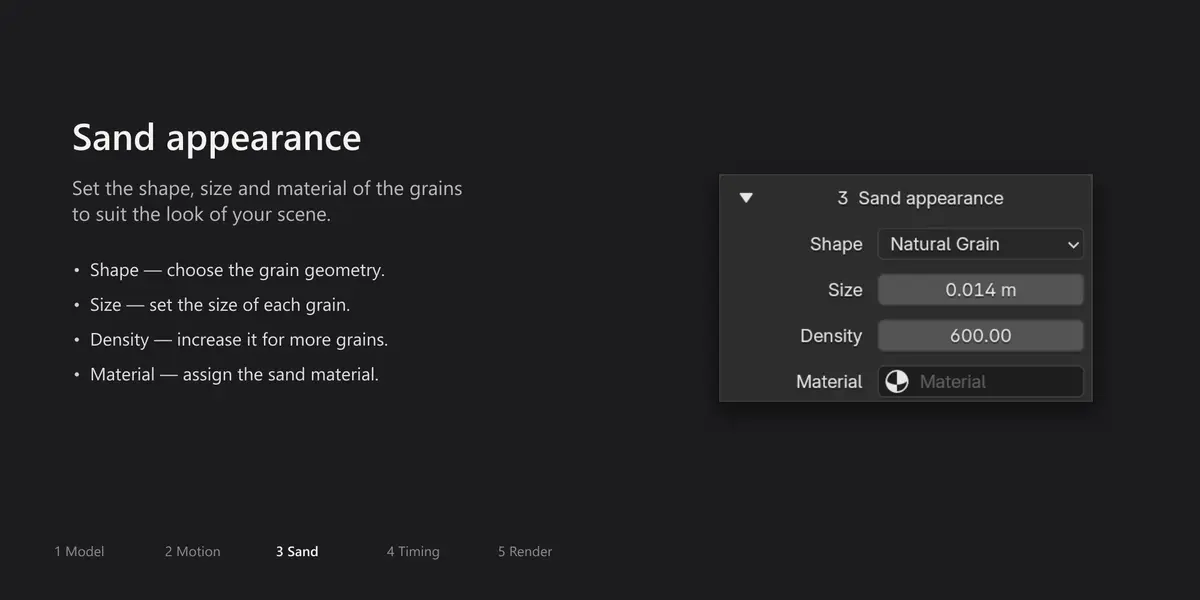
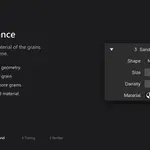
Set the grain Shape, Size, Density, and Material. More settings includes size variation, seed, tumble, smooth shading, edge irregularity, and the local transition duration where applicable.
Smooth shading changes surface shading; it does not add a more detailed source silhouette. Surface Detail, in Advanced, subdivides the input for a finer dissolve boundary and increases processing cost.
Close interior
This option is available for suitable closed meshes in Directional and From point modes. Assign an Inner material, or leave it empty to use the sand material.
A clean cut replaces the soft surface boundary. It closes the remaining surface but does not generate grains inside the model. Keep the controls stationary. Open/non-manifold meshes cannot use this option; complex or intersecting geometry can also cause poor results.
Protecting materials
- Open Advanced.
- Click Read object materials.
- Check the materials whose faces should remain intact.
- Update the effect.
Protected faces remain visible and do not produce grains.
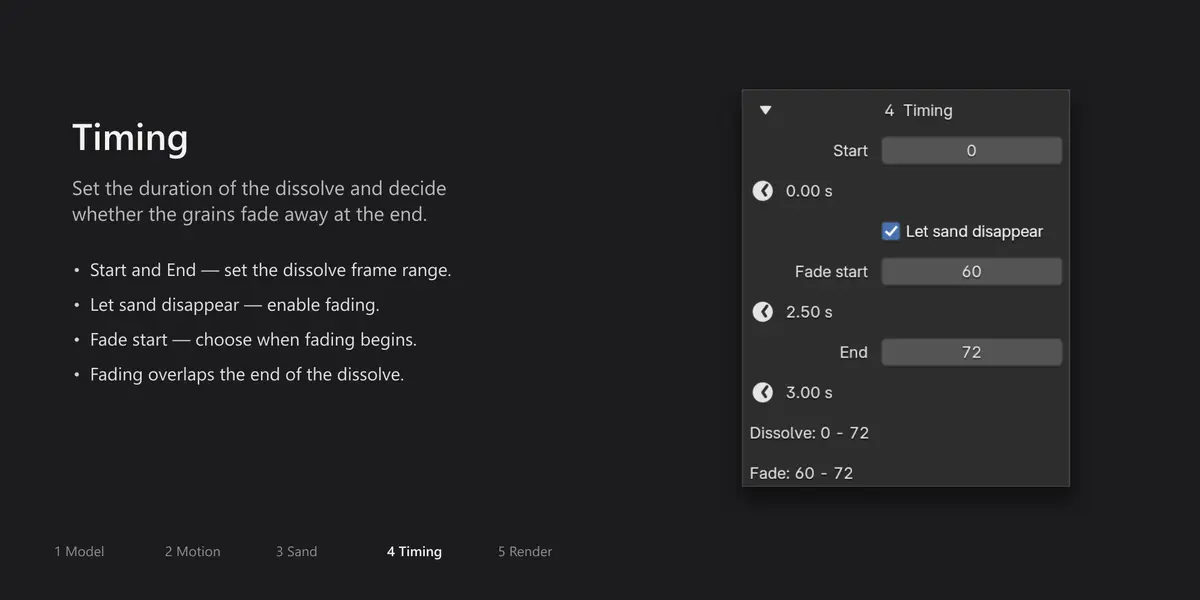
6. Timing
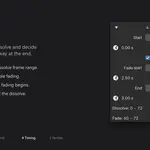
The principal timing controls are:
| Control | Purpose |
|---|---|
| Start | Beginning of the effect interval. |
| Fade start | When existing grains begin shrinking away, if disappearance is enabled. |
| End | End of the affected surface’s transition and, with disappearance enabled, complete removal of its grains. |
With disappearance enabled, use Start ≤ Fade start < End. End must always be after Start.
For Directional and From point, breakup continues during the fade portion of the interval. Grains released late have less time before End. Together releases earlier to provide time for movement.
Disable Let sand disappear to keep released grains after End. In that case, End marks the completion of the breakup and the grains continue moving. Set the scene range long enough for the motion you want to render.
Protected faces and areas outside a limited region may remain after End.
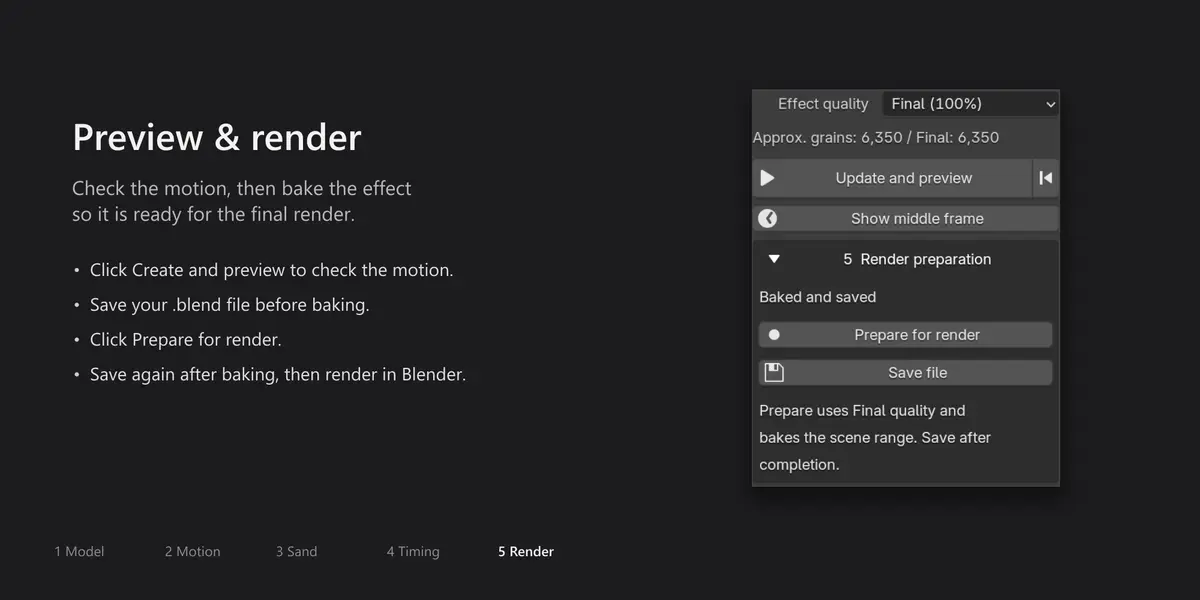
7. Preview and quality
- Create and preview: build the effect and play from the scene start.
- Update and preview: apply changes, discard the previous simulation cache, and replay.
- Restart Simulation: clear the cache and return to the scene start; it does not apply changed settings.
- Show middle frame: apply changes if needed and calculate sequentially to the middle, or use a valid bake.
The preview stops at End and restores your earlier preview-range settings. An empty affected object at End is expected when disappearance is enabled.
Use Material Preview or Rendered shading to inspect the soft erosion material. Solid shading does not display that transition accurately.
Effect quality
Preview (25%) uses one quarter of the configured density. Final (100%) uses the full density. This affects both the viewport and the render.
The grain count shown in the panel is an approximate source-surface estimate. Modifiers, protected regions, and the current stage of the transition affect the actual count. If a heavy-effect warning appears, reduce Density or Surface Detail before continuing.
8. Preparing the final render
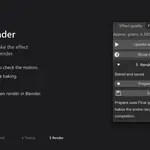
- Click Save file and choose a .blend filename if needed.
- Click Prepare for render.
- Wait for the bake to finish. Preparation switches to Final quality, applies changes, enables the effect, and bakes the selected object over the scene range. It extends the scene end when needed to include the effect.
- Click Save file again to save the scene. Blender 4.3 and newer store the bake inside the .blend. On Blender 4.2, the bake is stored in the adjacent SandSweep_cache folder. Keep that folder with the .blend when moving, sharing, or backing up the project.
- Set the camera, lights, render engine, output path, resolution, and animation range in Blender.
- Render through Blender normally.
Large effects can take time to prepare. Prepare each affected object separately.
Changes to source geometry, object placement, FPS, scene start, tracked modifier properties, or effect settings may require a new update and bake. Extending the scene end also requires a bake covering the added frames.
Changes deep inside shader graphs, external textures, or upstream Geometry Nodes groups are not all detected automatically. After these changes, explicitly use Update and preview and prepare again. If you delete a bake using Blender’s native controls, prepare again; SandSweep’s status tracks baking performed through its own workflow.
9. Reusing settings and duplicating objects
Use Advanced → Save look / Load look to store sand and movement settings as JSON.
A saved look does not contain timing, material references, control positions, or object selection. Imported numerical values are used as saved; adjust them for a differently sized model.
When editing a duplicate, begin through the SandSweep panel. A control-selection, step, or build action makes shared effect controls independent. Linked mesh data remains linked according to Blender’s normal duplication behavior.
10. Removing the effect
- Remove effect: remove the effect while retaining settings and controls.
- Remove effect and controls: also remove unused, unshared SandSweep controls. Controls referenced by other objects are kept.
The source mesh data is preserved.
11. Included examples
The ZIP contains an examples folder with Cinematic.blend, Gentle.blend, and Fall.blend.
- Enable SandSweep and open an example.
- Use Blender’s Save As to copy it into your project folder.
- Inspect it with Show middle frame or Update and preview.
- Use Prepare for render, then Save file.
The examples include a model, camera, lighting, and visible floor. Large simulation caches are omitted to keep the download small. Their render output paths are relative to the project folder.
12. Troubleshooting
| Symptom | What to check |
|---|---|
| The panel asks for a mesh. | Select a mesh and switch to Object Mode. Convert text/curves if needed. |
| The model moved, but the dissolve misses it. | Reposition the controls or use Fit to object; update and rebake. |
| There are no grains after jumping to a frame. | Use Show middle frame, sequential playback, or a saved bake. |
| The scene is empty at End. | Expected with disappearance enabled; inspect an earlier frame. |
| Soft erosion looks opaque. | Use Material Preview or Rendered shading. |
| The ground cuts through the model. | Choose Below model or lower Custom height. |
| Close interior is unavailable. | Use a suitable closed mesh and Directional or From point. |
| The final render has too few grains. | Run Prepare for render to use Final density, then save. |
| Playback or baking is slow. | Lower Density, Surface Detail, or physics substeps; check source complexity. |
| A bake was completed but is not saved. | Click Save file again. |
13. Current scope
SandSweep 1.0.0 is designed for static source meshes and surface-generated grains. It does not include volumetric sand generation, arbitrary mesh collisions, grain-to-grain collision, physical piling, deforming characters, animated source transforms, or reverse assembly.
License
SandSweep is distributed under the GNU General Public License, version 3 or later. The installer includes the complete license text.
Have questions about this product?
Login to message
| Blender Extension Compatible | Yes |
| Dev Fund Contributor | |
| Published | about 11 hours ago |
| Blender Version | 4.2 - 5.2 |
| Extension Type | Add-on |
| Render Engine Used | Cycles, Eevee |
| License | GPL |
Discover more products like this
Dissolve particles vortex motion graphics geometry nodes animation disintegration VFX sand