 Impression Sunrise


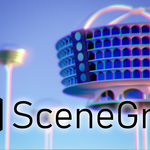
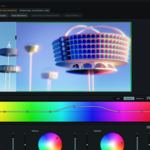
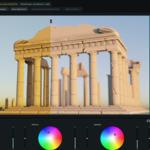
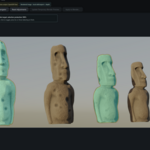
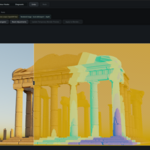
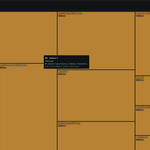
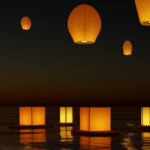
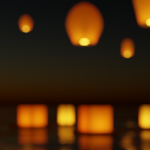
- your render editor, image texture editor, colour editor, scene analyzer friend, bolted onto Blender and split across three workspaces, Image Edit, Colour Nodes and Diagnostic
SceneGrade is two pieces:
1. The Blender add-on - a small bridge that scans your scene, sends renders and textures across, and writes changes back on Blender's own main thread. Installed the usual way, through Edit › Preferences › Add-ons › Install from Disk. It needs no Python packages beyond Blender itself. You must download and install the "SceneGrade_Blender_Extension_1.0.2.zip" extension and install it in Blender, in addition to the desktop application for your operating system.
2. The desktop application - a native application where the editing actually happens, running alongside Blender in its own window. Everything it needs, including the Qt runtime, is inside the download.
You need both; neither does anything useful alone. When you press Start Bridge, the add-on opens a small server on 127.0.0.1 — an address only your own machine can reach - and writes a short-lived session file telling the desktop app which port to connect on, along with a one-off token it has to present. From there the two exchange short JSON messages over that local connection: a fixed list of commands, with no way to run arbitrary code. Nothing is uploaded, and you never need an account or an internet connection.
Please see the documentation page for installation instructions.
If you have any issues or questions whatsoever please do not hesitate to get in touch with me.
This programme will continue to be updated for a while - feature suggestions are welcome.
Three kinds of image you can work on
It isn't only for finished renders. The same toolset points at three different sources, and which one you're on matters, because a few tools are deliberately switched off where they'd make no sense.
Captured Render Results - sent over from Blender. These unlock the full toolset, including crop, depth and object masking. While the app is connected you don't have to keep pressing capture, as the add-on watches for a finished render and sends it across on its own.
Scene images - the image textures found inside your Blender materials. Grade them and send them straight back into the material.
External images - any file on disk. PNG, JPG, JPEG, TIF, TIFF, EXR, HDR, TGA, WEBP and BMP.
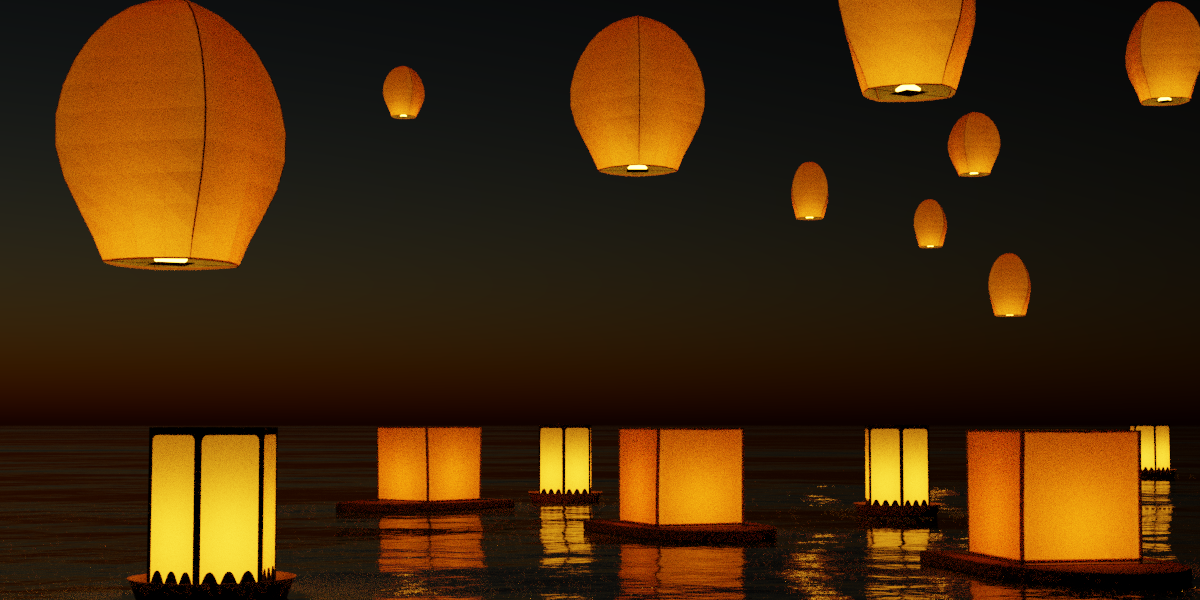
Depth Blur simulates camera depth of field, letting you shape foreground and background blur around the chosen focus point. Because it works after the render, you can refine the blur amount, focus placement and bokeh shape without re-rendering the whole image each time.
Before
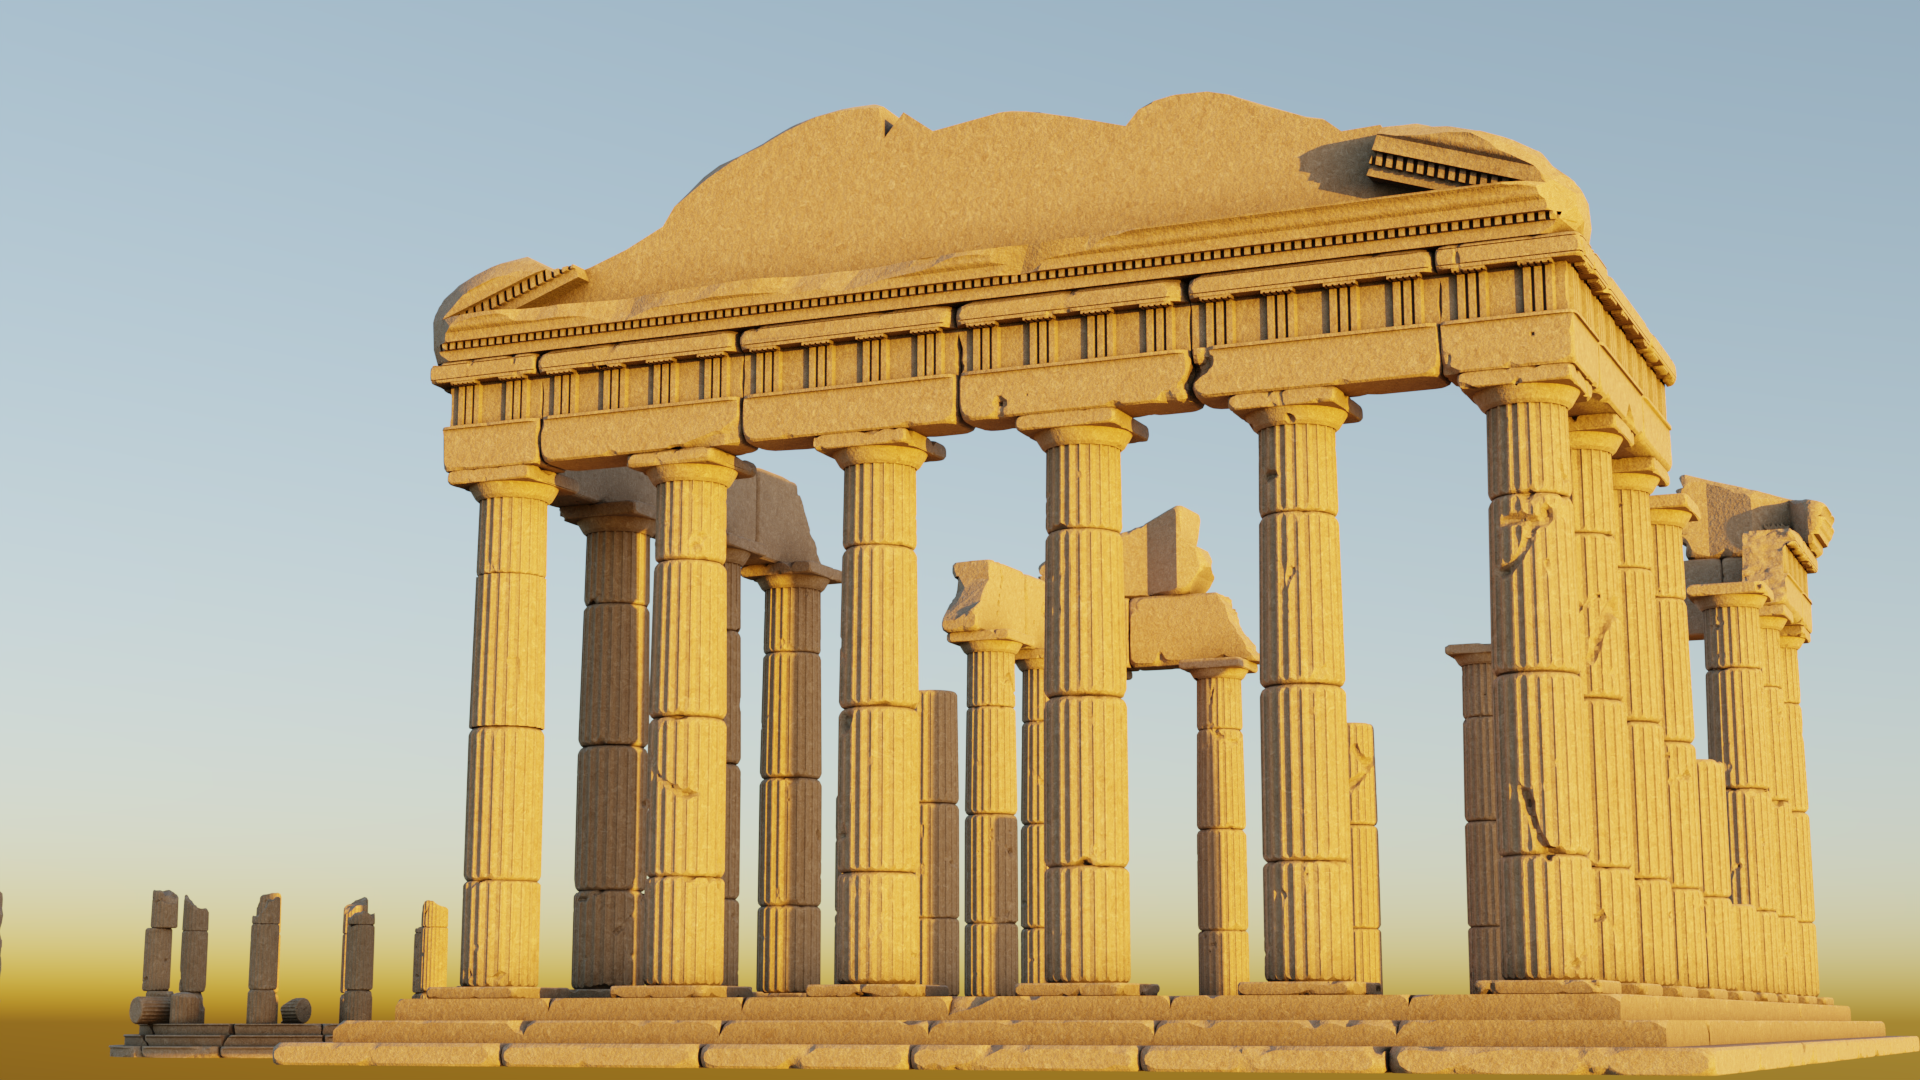
After
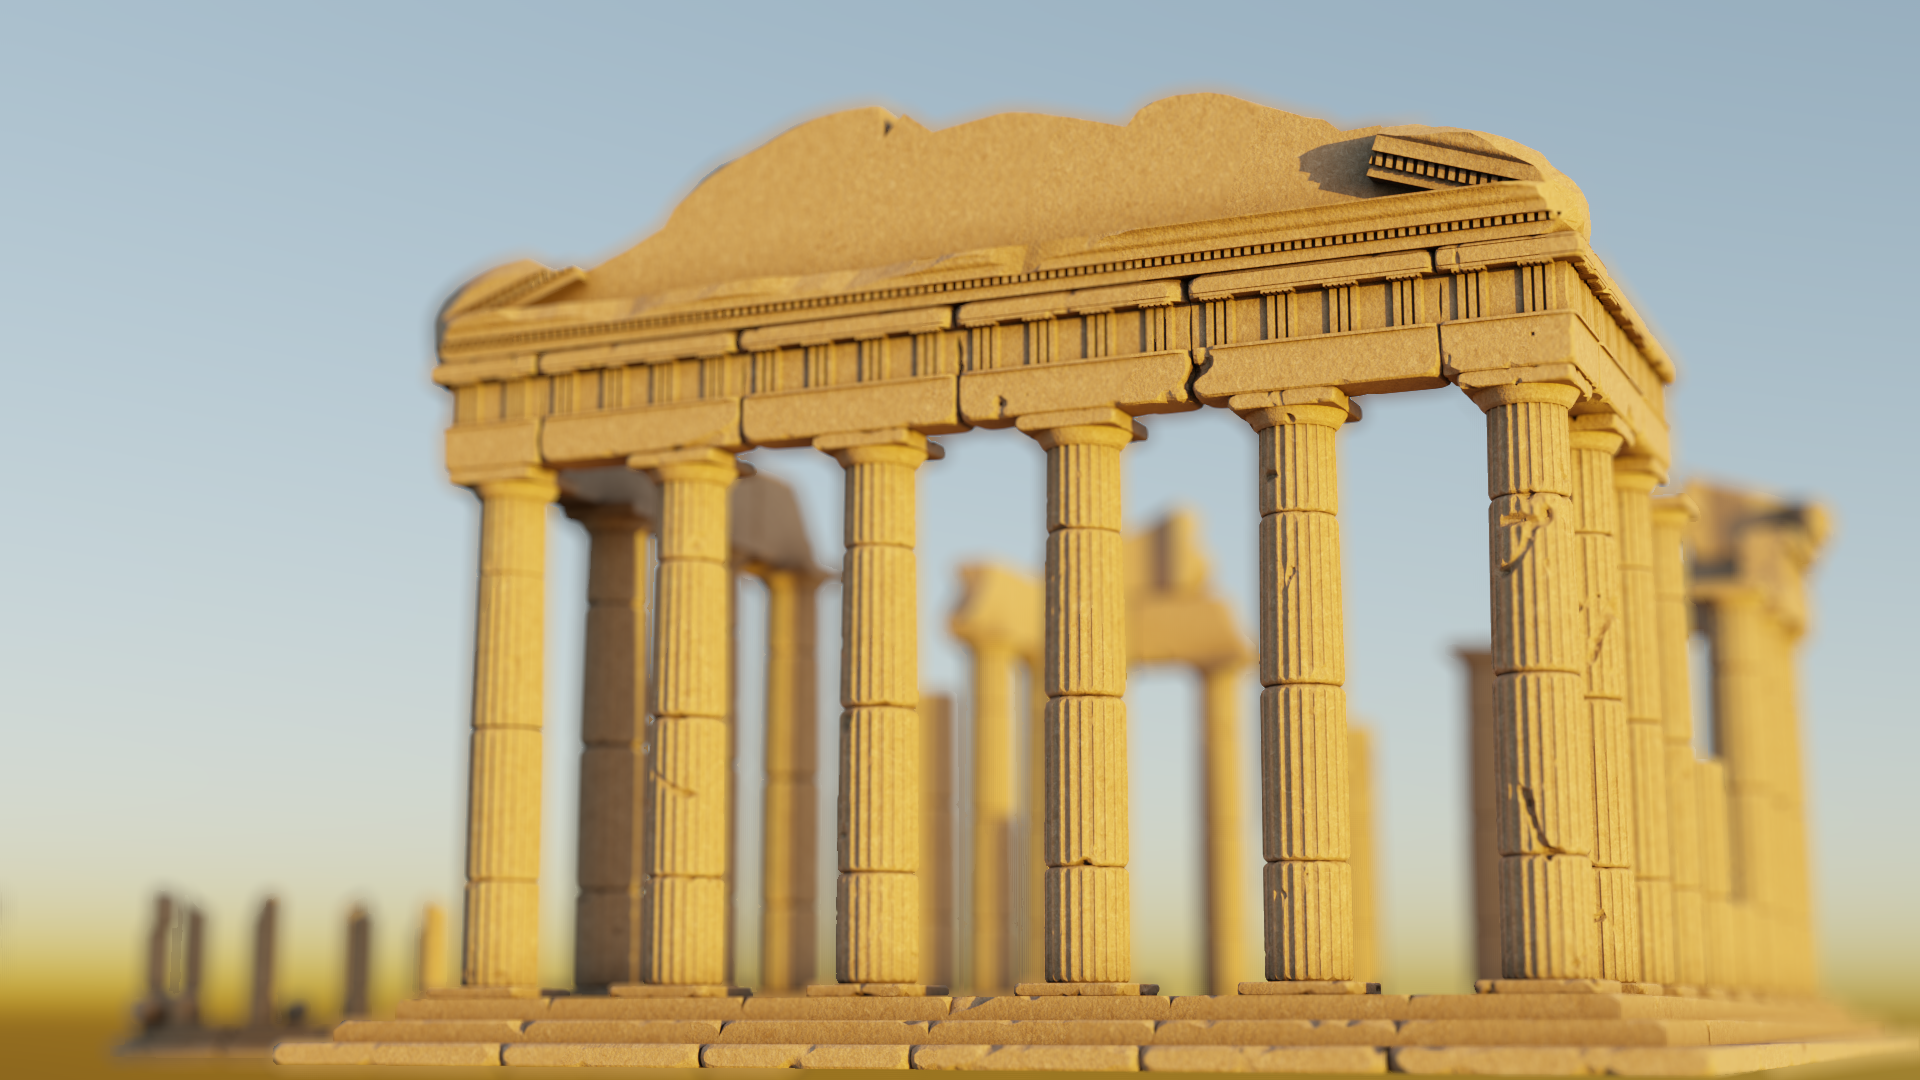
Shift the focal point easily by just clicking on the image
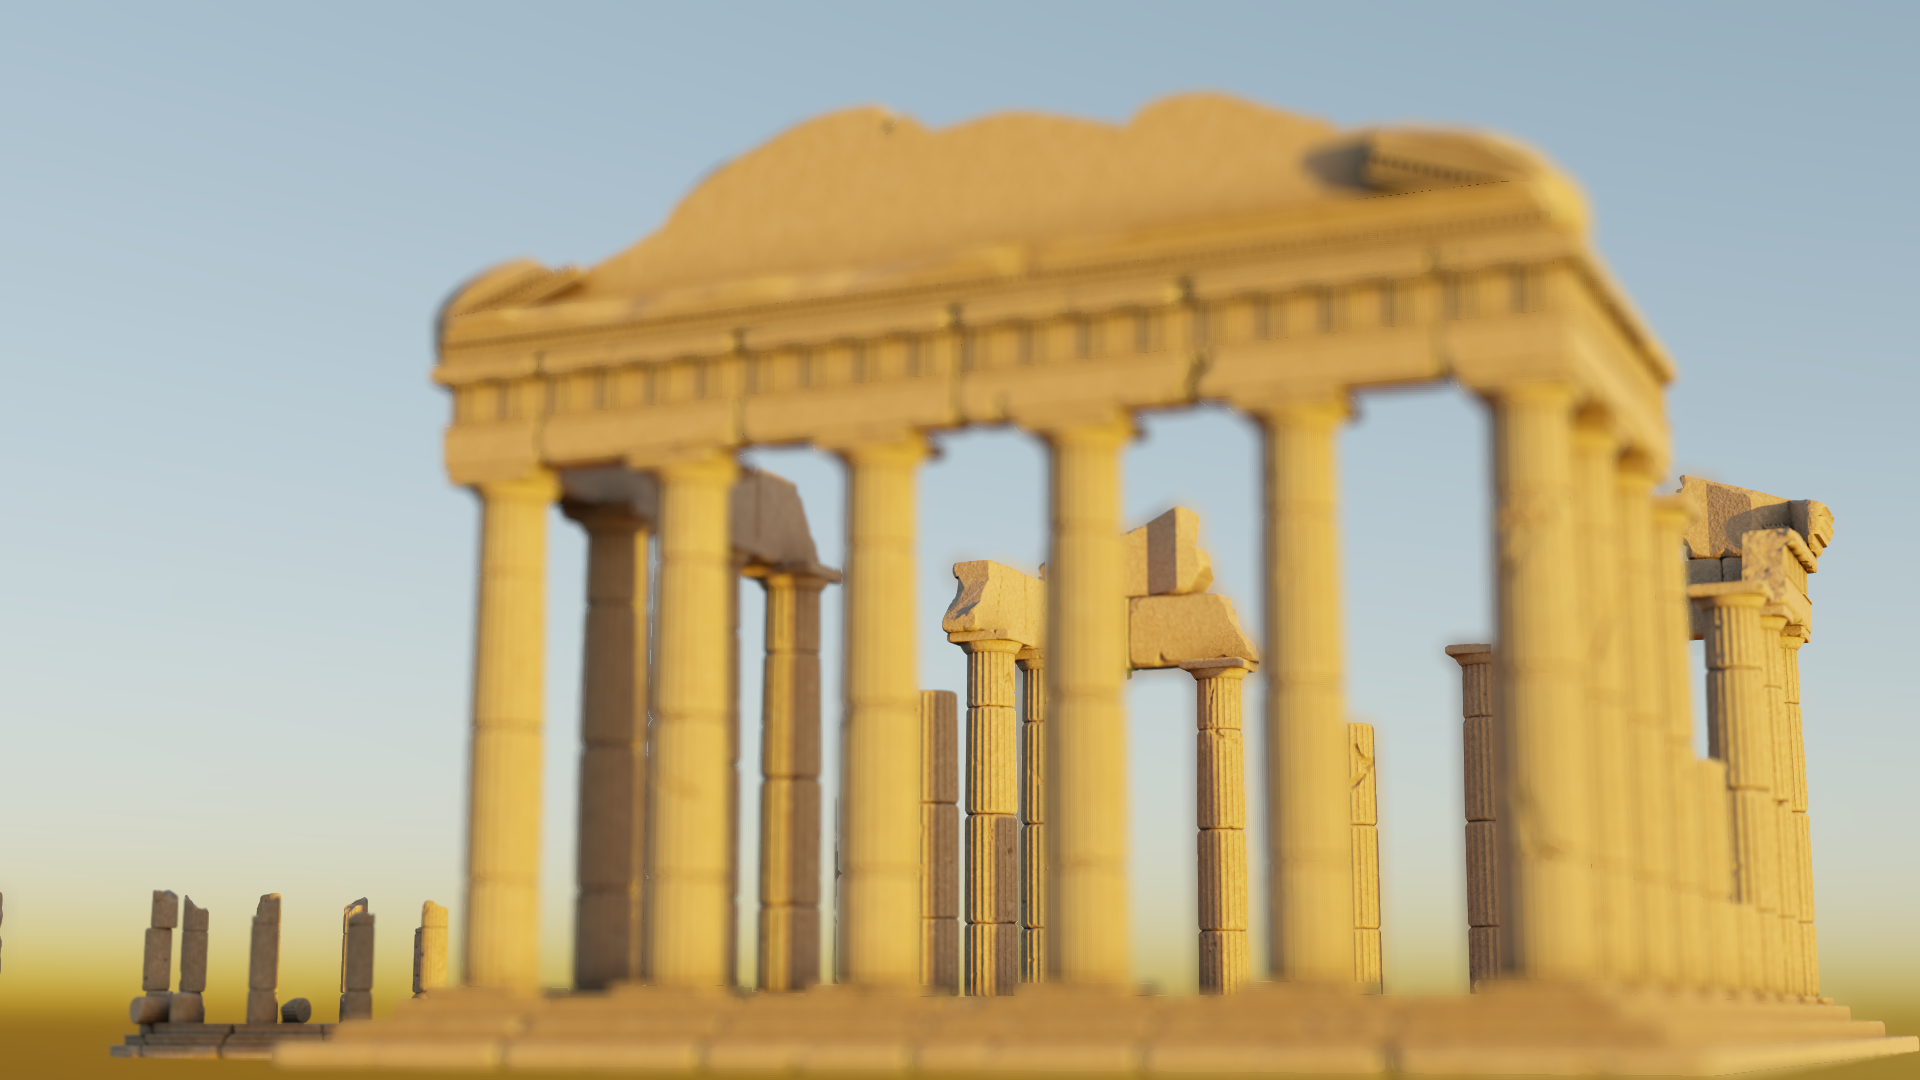
Before
After
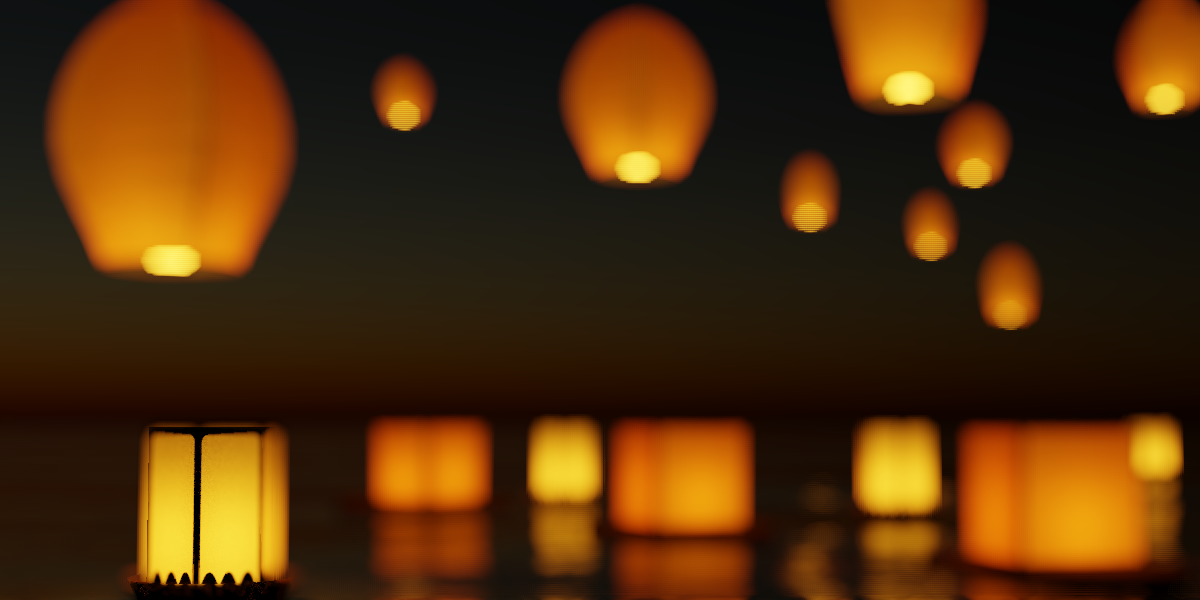
Note how it's not just a simple gaussian blur. It works by reading the depth information from a depth-map the programme requests from Blender, mapping it onto the rendered image, estimating how far each part of the image is from the chosen focus plane, then applying a variable lens-style blur that grows naturally with distance, much like real camera depth of field. It also simulates aperture blades, so bright highlights do not just smear evenly, they can bloom into lens-shaped bokeh. Here the shutter blade count is set to 7.
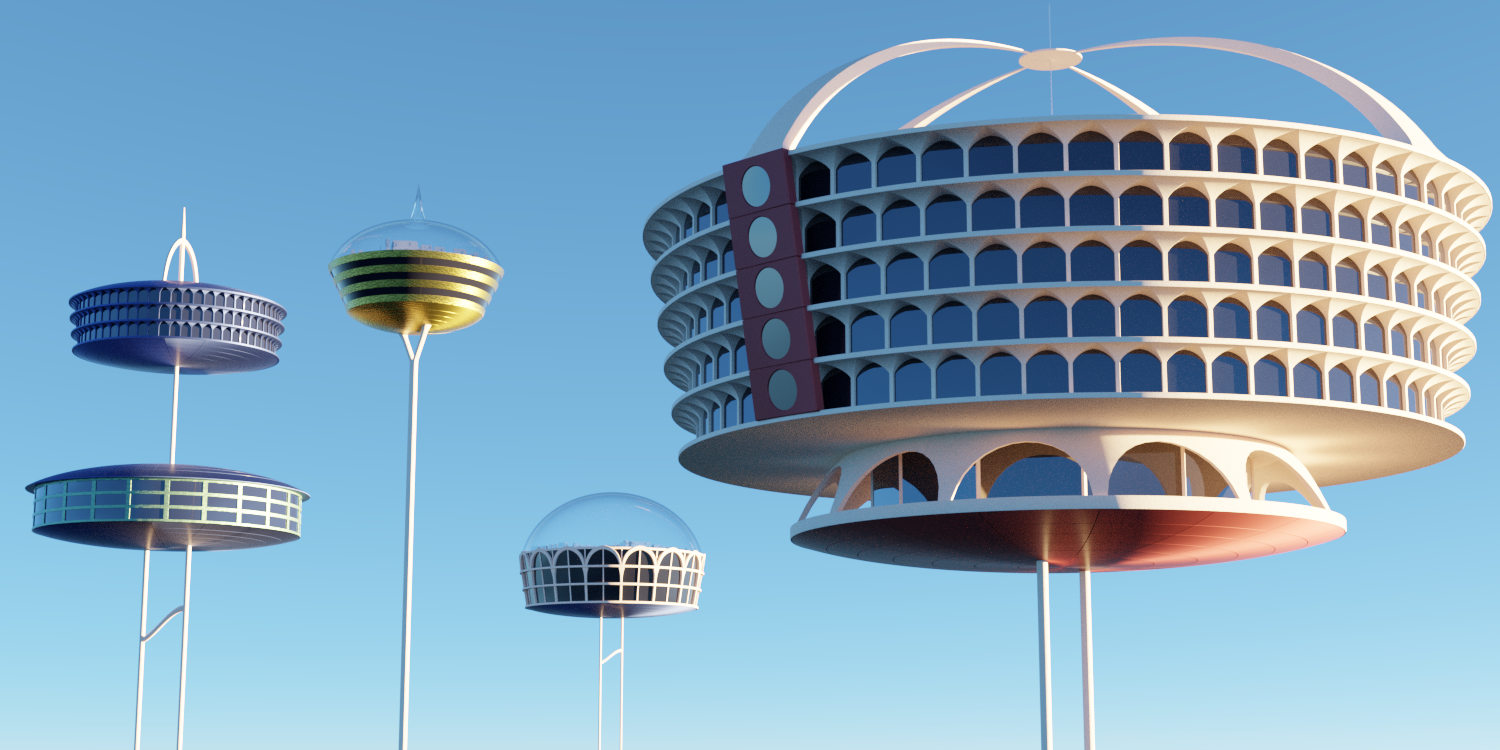
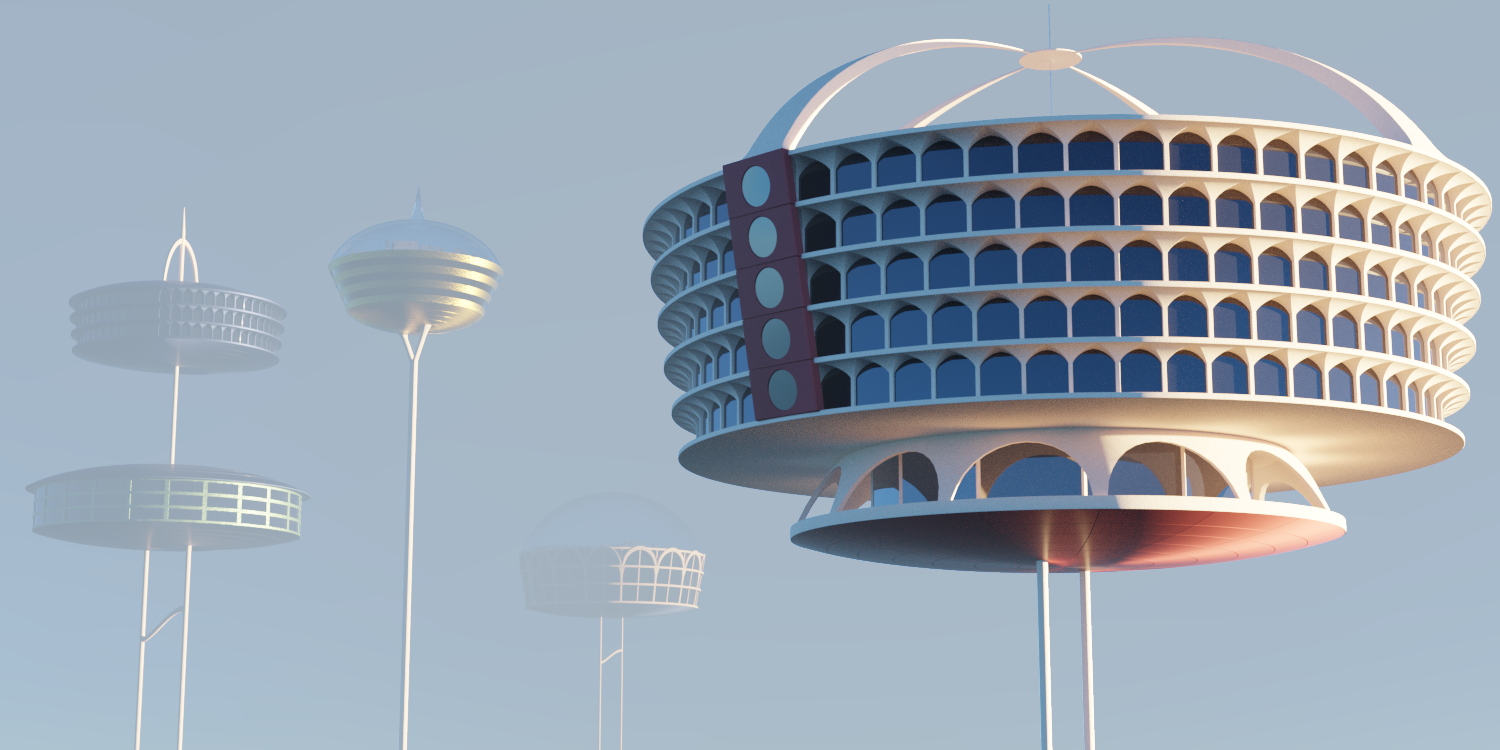
This depth map based effect adds atmosphere, with adjustable thickness, colour and anisotropy.
Before
After
One of the benefits of having the image editor connected directly to Blender is the ability to use object data to create accurate masks with very little setup. Select objects by clicking directly on the image, choose whether to invert the selection, adjust the protection strength, and keep your edits contained within clean object boundaries.
From your first image:
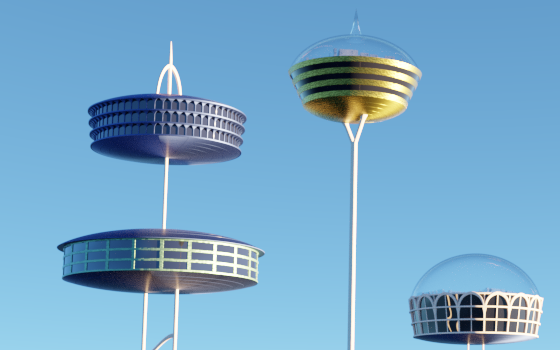
Just click Generate Object Map, which will grab a cryptomatte from blender, then select the objects on the image you want masking or to act as a mask
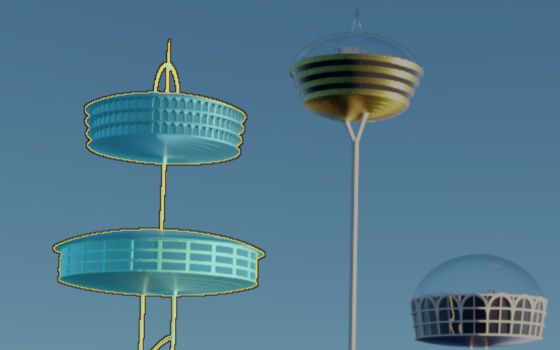
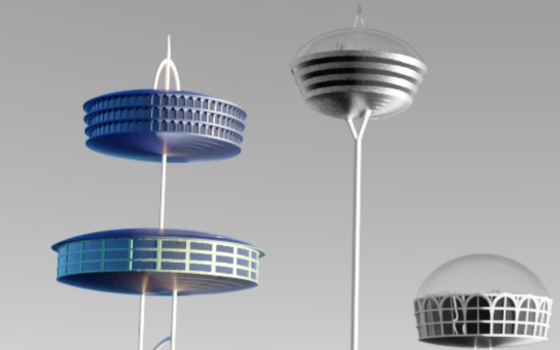
In this example we're just using the Black and White filter, and as we can see you get very clean dithered borders
SceneGrade comes with a few different colour grading tools
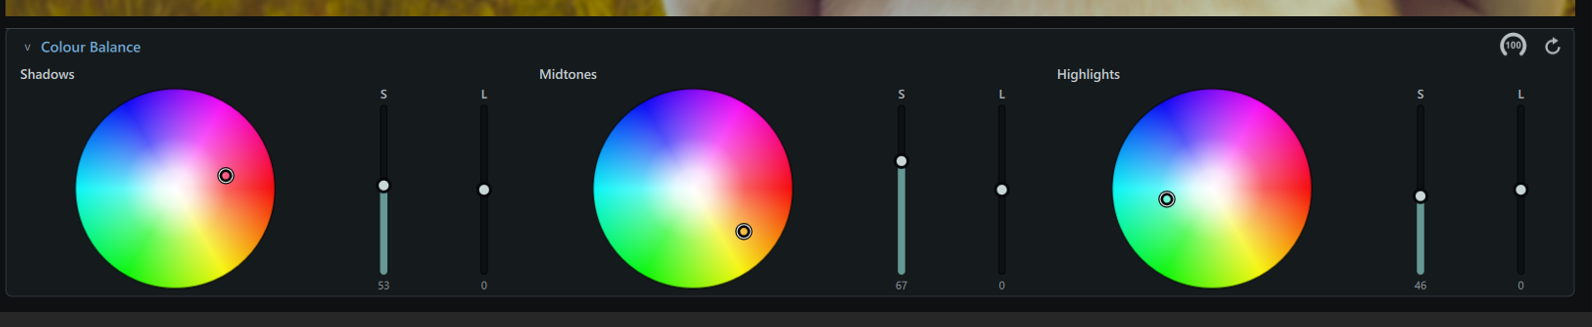
Colour Balance wheels, for adding gentle tints with specificity for the shadows, midtones and highlights
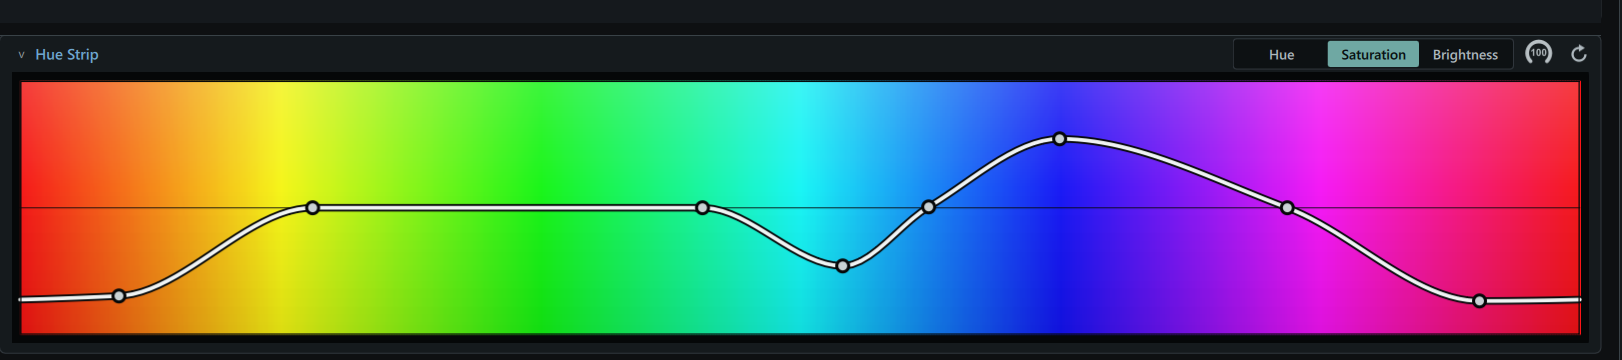
Hue Strip - a very intuitive way of adjusting colours, choose between affecting the hue, saturation or brightness. Double click on the line to create new points, double click on points to remove them.
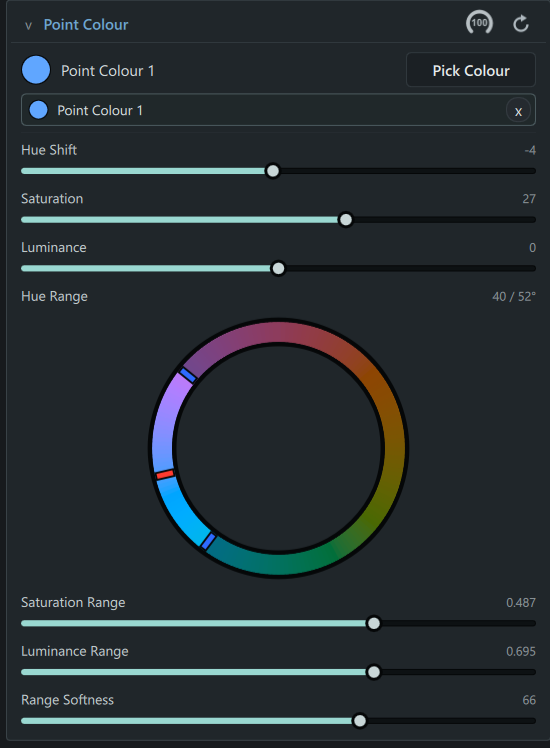
Point Colour - Click on the colour you wish to edit, adjust the parameters, range etc.
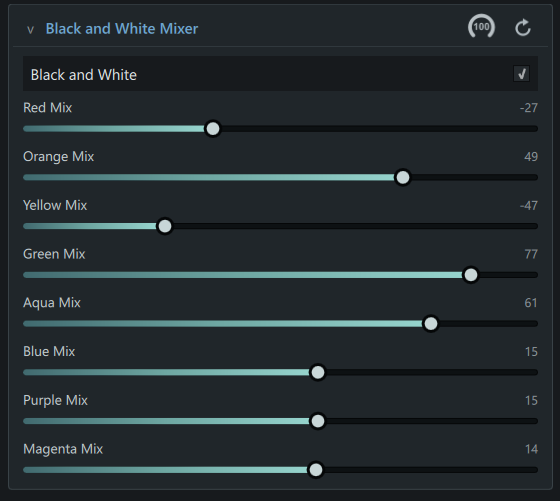
Black and White Mixer - black and white isn't just black and white, here you can tune to what extent different colours are luminous in the filter
There are too many to go into full detail with screenshots here without making the product page too long, so please check out the documentation, but the full list and what they control is
Crop - Apply Crop, aspect ratio, orientation, Crop Angle, resolution and on-canvas editing.
Object Masking - enable masking, generate object map, select objects, invert application area, selection overlay and protection strength.
General Adjustments - Auto, Exposure, Contrast, Highlights, Shadows, Whites and Blacks.
Levels - RGB/Red/Green/Blue channels, Black Level, White Level, Midtone Gamma, Output Black and Output White.
Tone Curve - editable RGB, Red, Green and Blue curves.
White Balance - presets, eyedropper, Colour Temperature and Tint.
Saturation/Vibrance - Vibrance and Saturation.
Point Colour - colour picker, Hue Shift, Saturation, Luminance, hue range, Saturation Range, Luminance Range and Range Softness.
Hue Strip - editable Hue, Saturation and Brightness curves across the colour spectrum.
Colour Balance - Shadows, Midtones and Highlights colour wheels, each with hue, saturation and luminance control.
Black and White Mixer - Red, Orange, Yellow, Green, Aqua, Blue, Purple and Magenta mixes.
Atmosphere - enable, atmosphere colour, depth camera/map, Thickness and Anisotropy.
Depth of Field - focus picker/mode, Focus Distance or Picked Depth, F-Number, Focal Length, Sensor Width, Max Blur Radius, Scene Unit Scale, Aperture Blades, Blade Rotation, Foreground Protection, Bokeh Highlight Boost and Visualize Focus.
Depth Brightness - depth camera/map and Depth Brightness amount.
Details - Texture, Clarity and Dehaze.
Sharpness - Sharpness and Radius.
Lens Distortion - Distortion, Edge Shape, Optical Centre X/Y and Image Scale.
Chromatic Aberration - Red Edge Shift, Blue Edge Shift, Radial Falloff and Optical Centre X/Y.
Soft Glow - enable, Amount, Glow Size, Highlight Threshold, Threshold Softness, Additive/Screen Blend Mode, Glow Saturation, Glow Warmth and Anamorphic Stretch.
Vignette - Amount, on-image controls, Centre X/Y, Circularity, Rotation, Size, Feather and Highlight Protection.
Grain - Amount, Size, Roughness, Colour Grain, Shadow Grain and Highlight Grain.
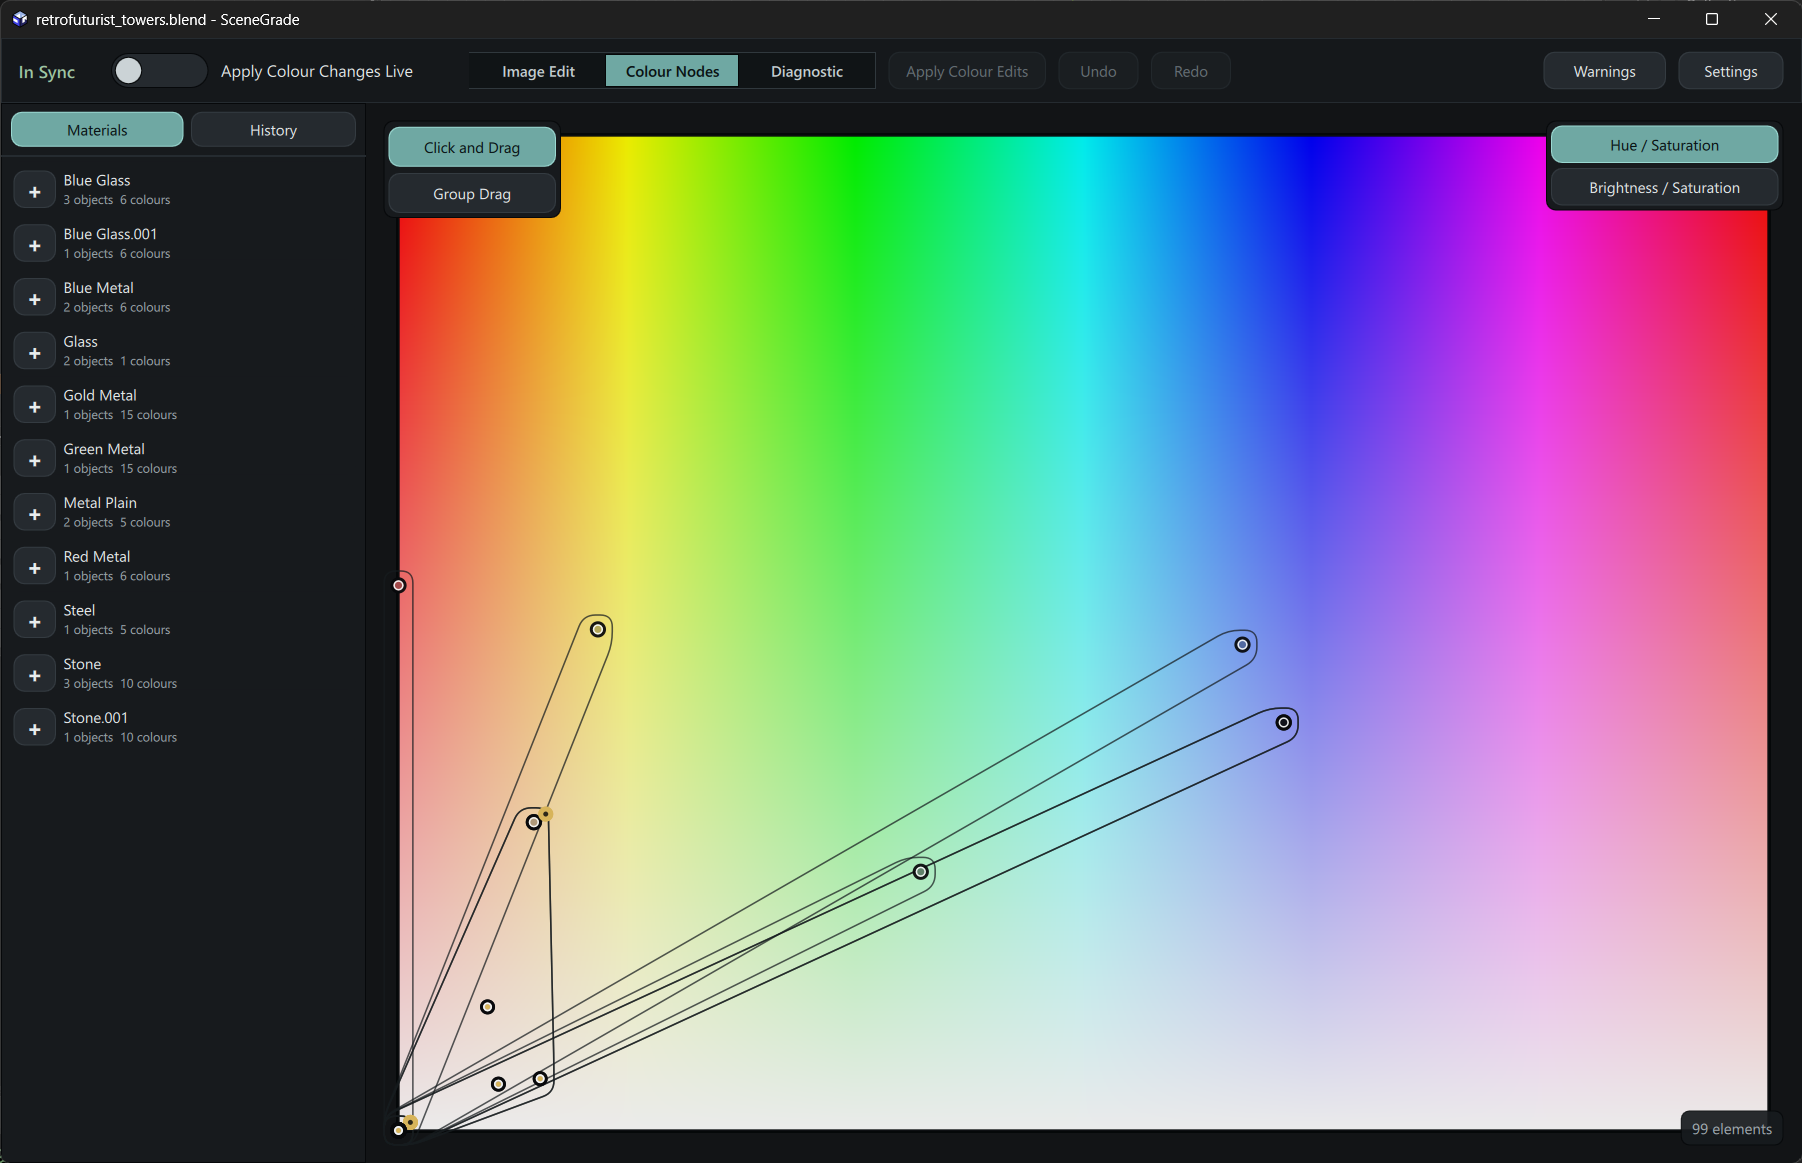
The Colour Nodes workspace turns the editable colours found in your Blender materials, World and Colour Ramps into a scene-wide visual map, grouped by material and usage. View those colours in Hue/Saturation or Brightness/Saturation space, then drag individual nodes or entire material groups to reshape the scene’s palette while protected, linked or animated values remain safeguarded. Connect and scan your Blender scene, choose Click and Drag or Group Drag, make your adjustments, then use Synchronisation for live Blender previews or apply the accumulated edits afterwards.
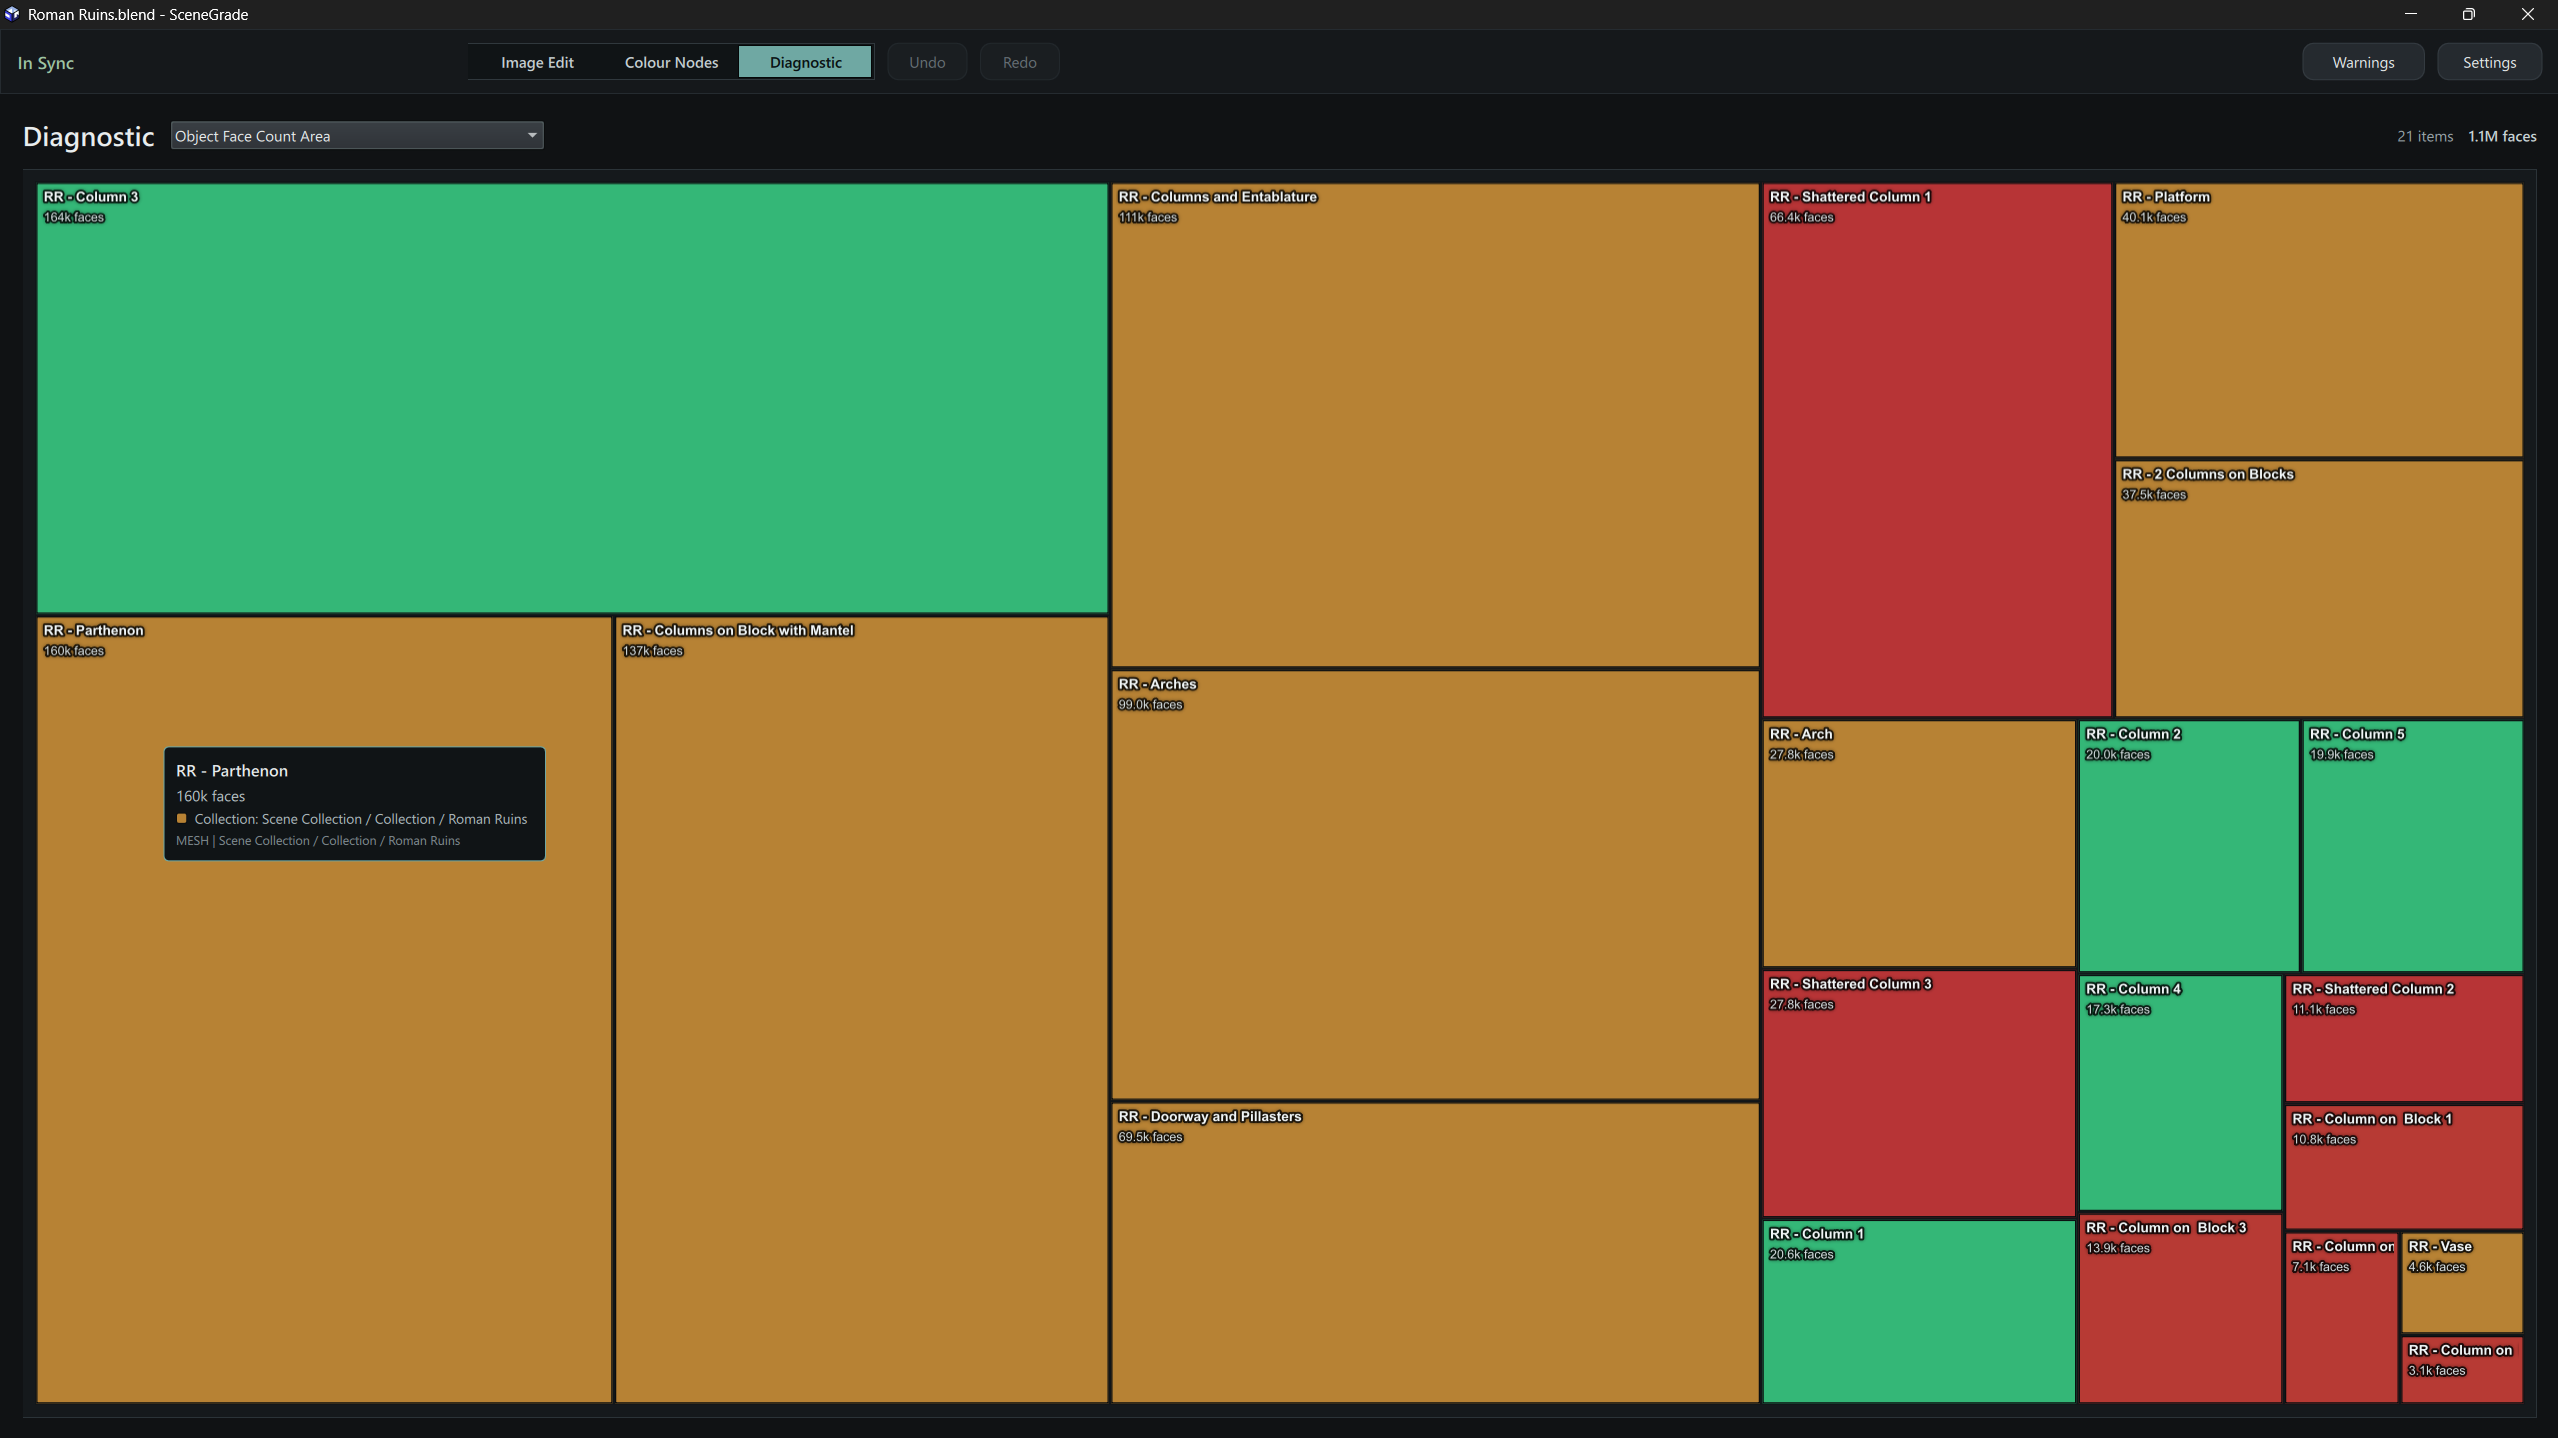
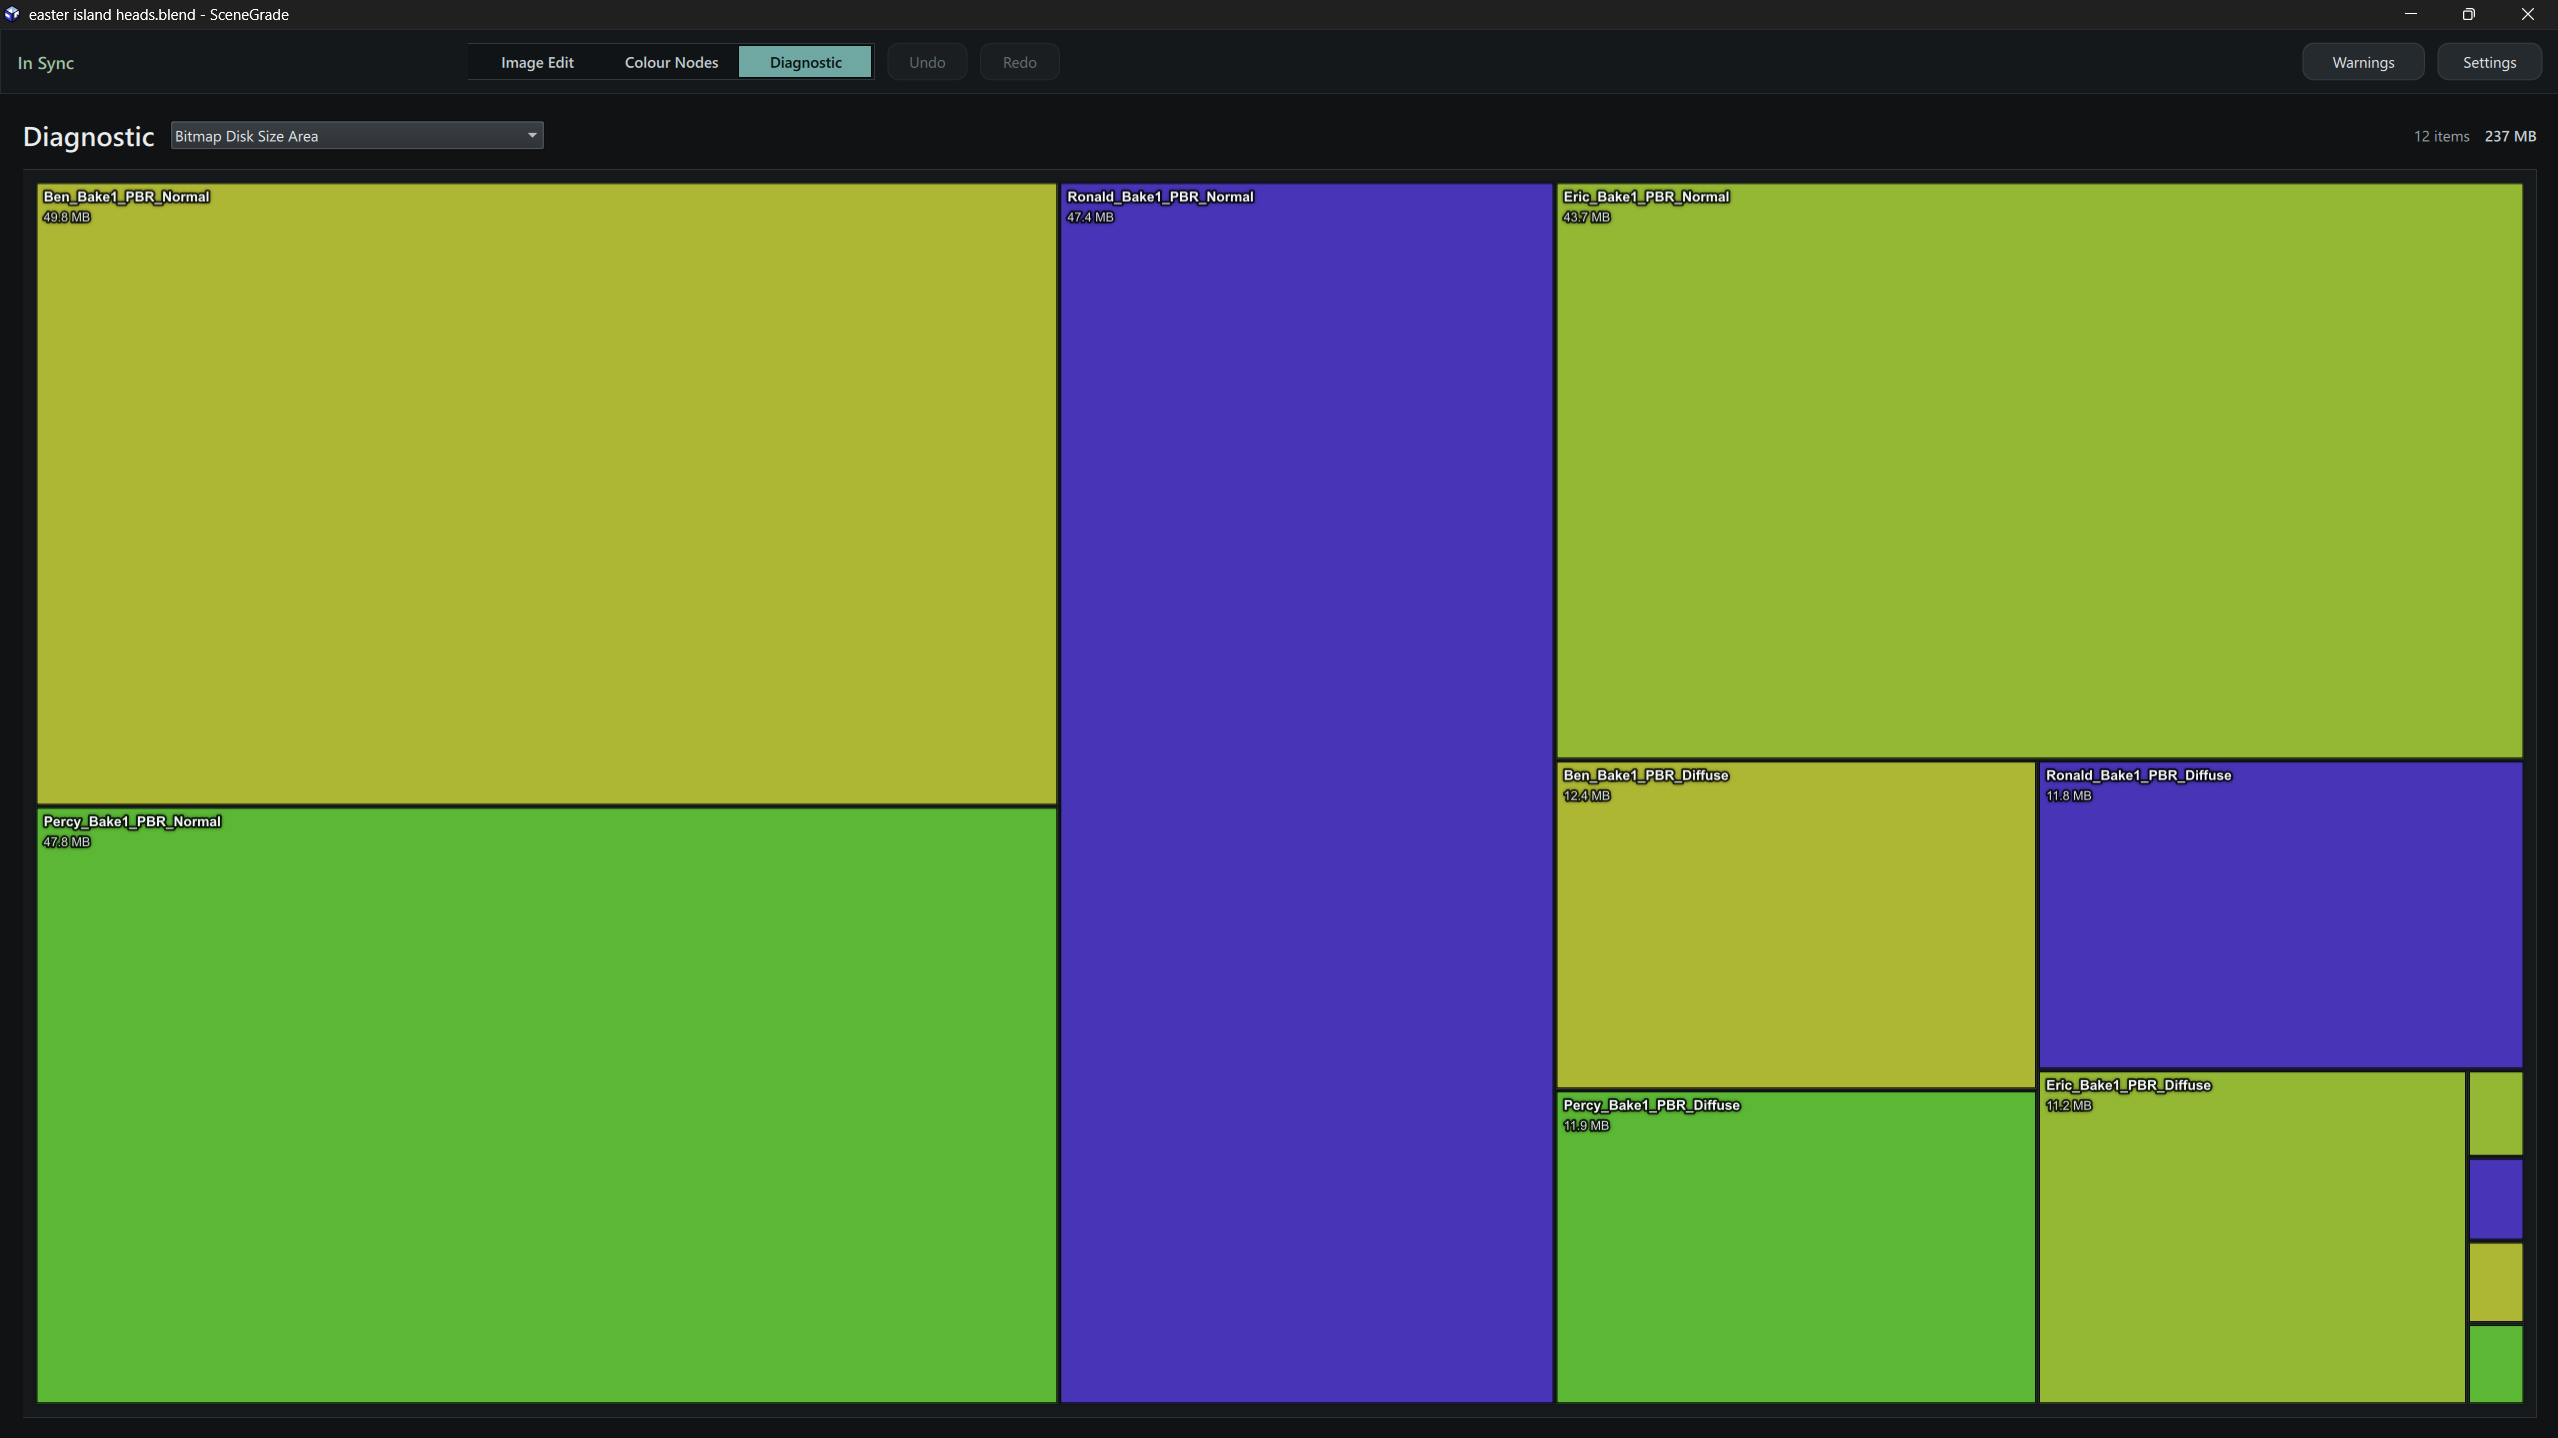
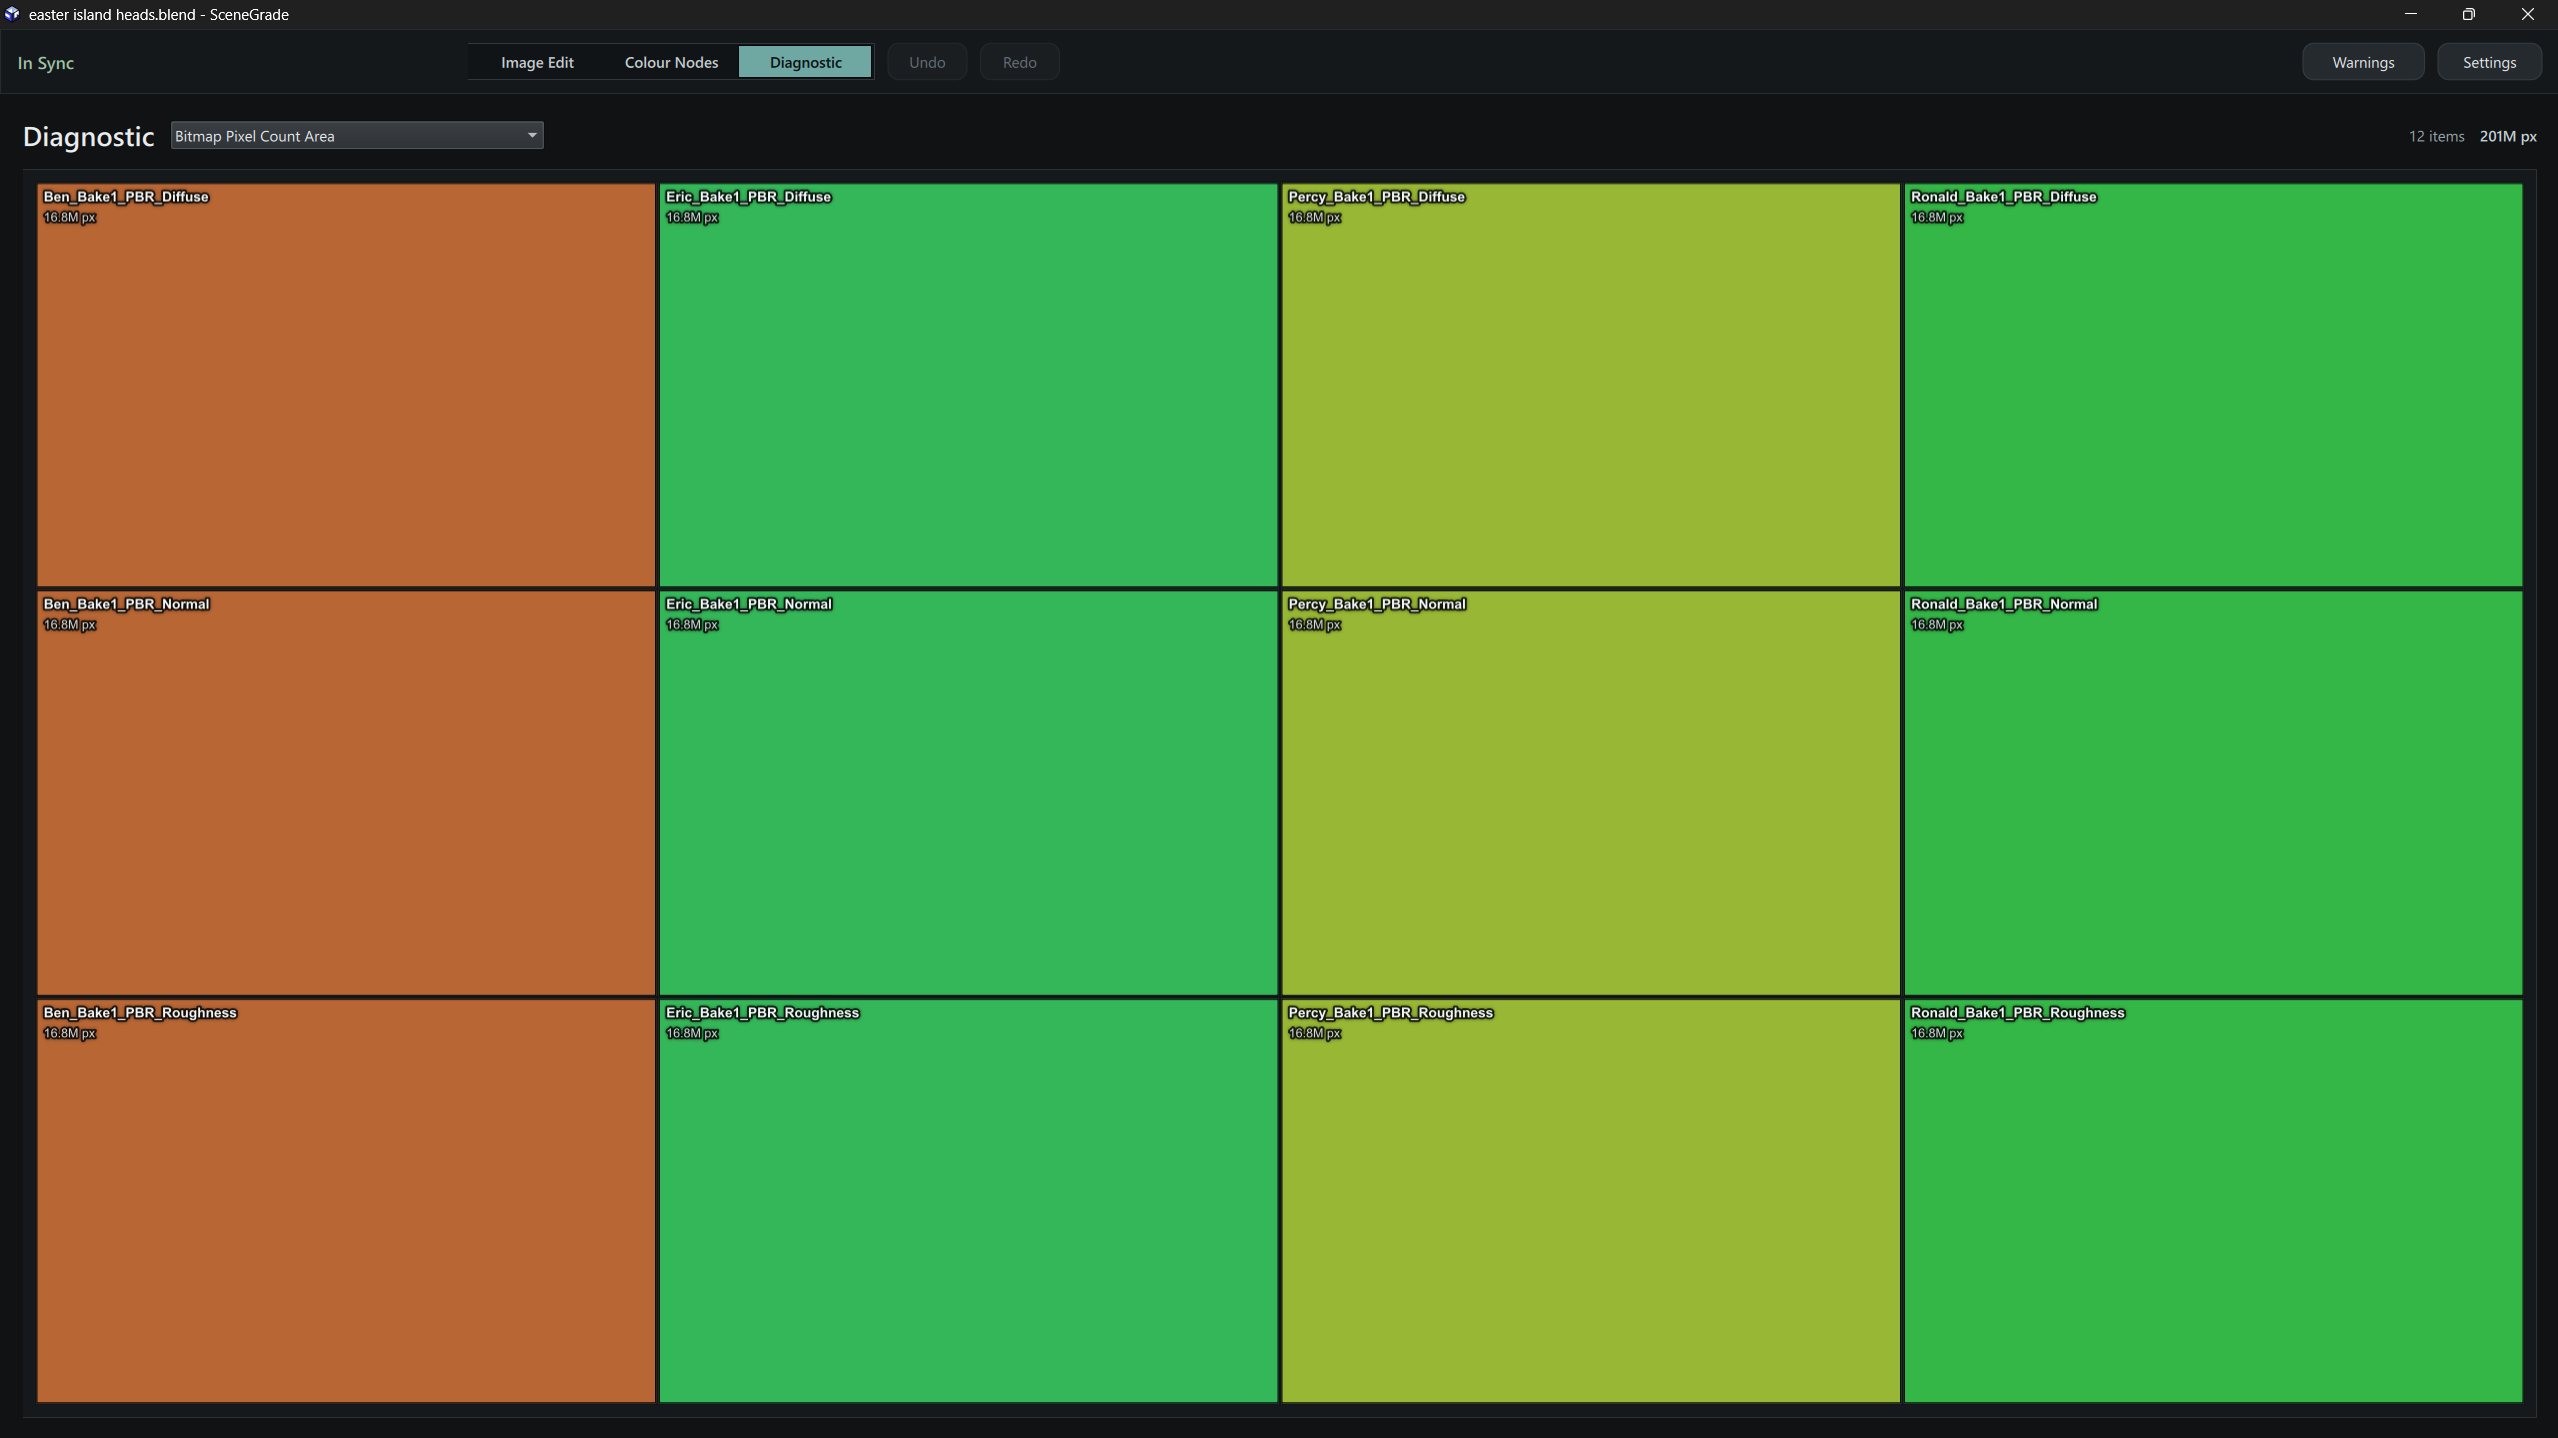
The Diagnostic workspace shows where texture and geometry weight is concentrated across your Blender scene. Select a visual treemap or run Mesh Checker to find potential problems quickly.
Object Face Count Area - Shows which objects contain the most mesh faces.
Bitmap Disk Size Area - Shows which bitmap files use the most disk space.
Bitmap Pixel Count Area - Shows which textures contain the most image pixels.
Mesh Checker - Checks each mesh for geometry problems such as non-manifold edges, incorrect normals, overlapping faces, internal faces, disconnected geometry, unapplied scale, degenerate geometry and duplicate vertices.