Sci-Fi Hud Creator
 Didjelirium


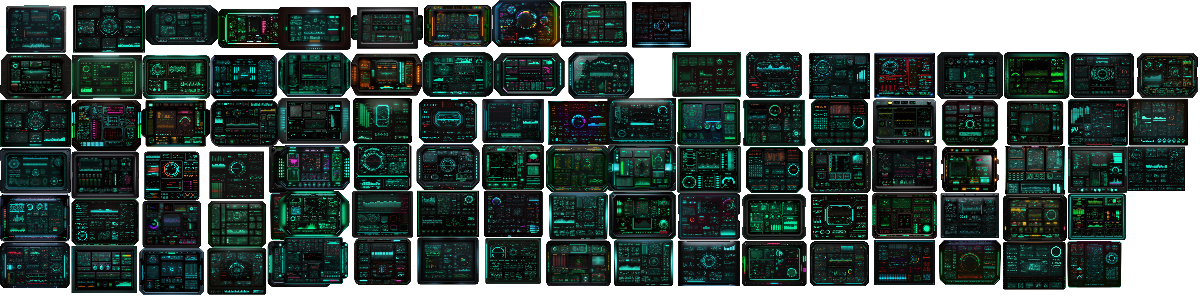

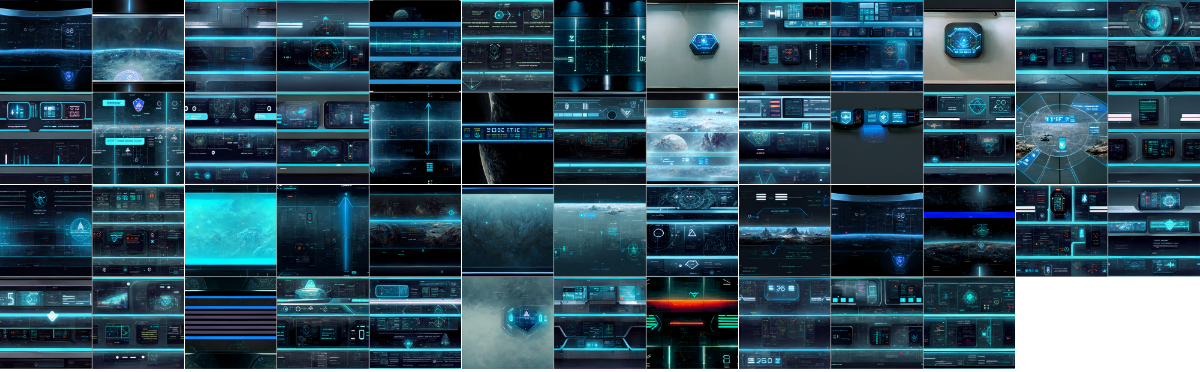
Q- Do I need KitOps or DECALmachine to use Sci-Fi HUD Creator 2.0 ?
Nope !
The pack originally included KitOps and DECALmachine-friendly versions, and they are still included for users who like those workflows.
But with version 2.0, Sci-Fi HUD Creator now comes with its own dedicated Blender add-on, so you can browse HUD visuals, add monitors and apply displays directly inside Blender without needing another add-on.
Q- What Blender version do I need ?
The add-on is built for Blender 4.0+ and should also work with newer Blender versions.
The asset files are designed with modern Blender workflows in mind, especially the Asset Browser and Geometry Nodes.
Q- Where should I install the add-on ?
Install the add-on zip from:
`Edit > Preferences > Add-ons > Install...`
Then enable `DJ Sci-Fi HUD Creator`.
The add-on itself is lightweight and contains the core procedural DJ Monitor.
Q- Where should I put the asset library ?
Anywhere you want.
The big asset files, HUD packs and previews are stored separately from the add-on, so you can keep them on any drive or folder that makes sense for your setup.
After installing the add-on, open the `DJ SFHUD` tab in the 3D View sidebar and set the `Asset Folder` to the unzipped Sci-Fi HUD Creator asset library.
Q- Why are the add-on and asset library separated ?
Because large 2K / 4K HUD assets do not need to live inside Blender’s add-on folder like they own the place.
This keeps the add-on clean and lets you store the heavy content wherever you want.
Q- Can I still use the native Blender Asset Browser ?
Yes.
The asset library includes a `blender_assets.cats.txt` catalog file, so the assets can still be organized in Blender’s native Asset Browser.
That said, the dedicated add-on browser is the recommended workflow for quickly applying HUD visuals to monitors.
Q- How do I apply a HUD visual to a monitor ?
1. Add a DJ Monitor or monitor preset.
2. Pick a HUD category.
3. Choose a HUD visual from the thumbnail browser.
4. Click `Apply HUD`.
Boom. Serious business screen technology.
Q- Can I use my own HUD image ?
Yes.
Use the `Apply Custom Image` button and pick your own image file.
This is useful if you made your own interface, logo screen, animated-looking panel, questionable alien warning symbol, or something even more suspicious.
Q- Can I change the color of the HUD ?
Yes.
The add-on includes controls for:
- Hue
- Saturation
- Value
- Emission
- Scale
- Position
So you can quickly adjust the look of the display without needing to edit the material manually.
Q- What is the DJ Monitor ?
The DJ Monitor is the main procedural monitor included with the add-on.
It uses Geometry Nodes and lets you adjust the monitor shape, details, neon, cables, gribbles, display settings and more directly from the add-on panel.
It is basically the monitor factory.
Q- Can I randomize monitors ?
Yes.
Use `Randomize DJ Monitor` to generate quick variations of the procedural monitor, including shape, details, colors and HUD visuals.
Useful when you want options fast, or when the space factory is feeling creative.
Q- What does Finalize do ?
`Finalize` applies the procedural DJ Monitor into a regular mesh object.
Use it when you are happy with the monitor and want to lock it in, export it, or keep your scene lighter.
Q- Can I add tileable HUD visuals ?
Yes.
Tileable categories can be added as planes with ready-to-use Array modifiers, so you can quickly create repeating screen patterns, control panels, light strips and other sci-fi surface details.
Q- Will future HUD packs work with the add-on ?
Yes.
The add-on is built to detect additional HUD visual packs stored in the asset library. New collections can be added later without replacing the whole add-on.
More screens. More buttons. More unnecessary but extremely important glowing things.
Q- Are updates free ?
Yes.
All updates for this pack are free.
Contact me here on Blender Market if you have any questions or suggestions ! :)
-
$15
This is the main add-on including : customizable DJ Monitor & Simple Monitors + base HUD library (still & animated) + optional KitOps & DECALMachine pack
-
$12
Every Extra Pack available below
-
$5
Extra Pack with 50 HUD's still & animated
-
$5
Extra Pack with 50 HUD's still & animated
-
$5
Extra Pack with 50 HUD's still & animated
Have questions about this product?
Login to message
