 Salman Animator
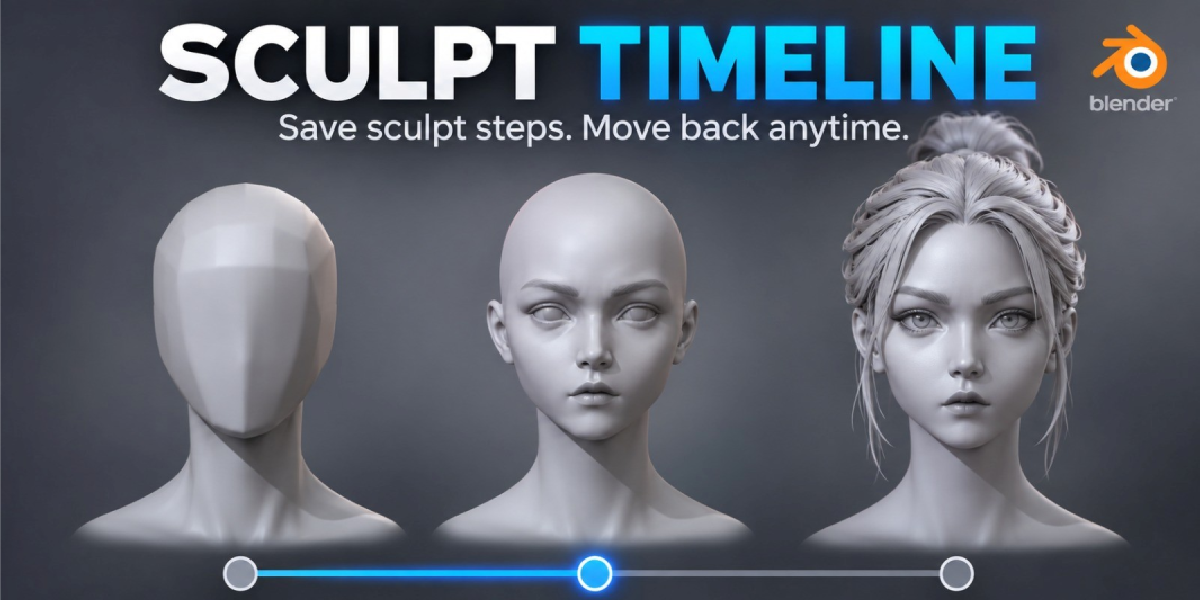
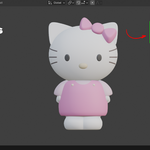
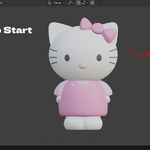
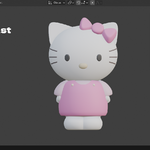
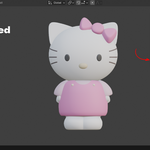
The problem: Ctrl+Z is not a sculpt history
You sculpt for an hour, the face loses its charm, and you want the version from 30 strokes ago. Blender's undo can take you there, but only by throwing away every stroke in between. It also has a step limit, and it forgets everything once you close the file.
So most sculptors save head_01.blend, head_02.blend and so on, or duplicate the mesh before every big change. It works, but it is slow, it clutters the scene, and you only get the versions you remembered to save.
The solution: automatic sculpt history on a slider
Sculpt History Pro records your sculpt for you. Select a mesh, enter Sculpt Mode and work as usual. Each completed stroke becomes one history step. There is no Record button and no snapshot to remember.
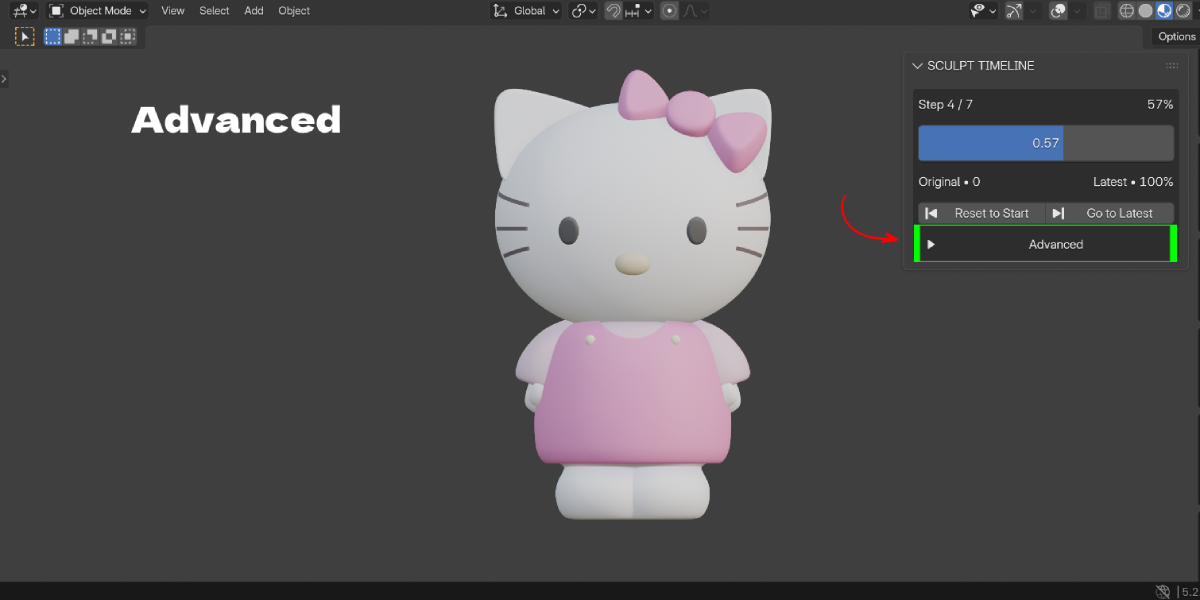
Open 3D View > Sidebar > Sculpt History and drag the History slider. The mesh moves back through your recorded steps. Drag forward to return. If you like an earlier state, start sculpting from it, the same way an undo branch works.
Before and after
Before: Ctrl+Z twenty times, lose the newer work, or hunt through numbered .blend files.
After: Drag one slider, look at Step 12, press Go to Latest to compare, and pick the version you want.
Sculpt history that stays with your file
History belongs to the mesh object and is saved inside the .blend file. Close Blender, open the file tomorrow, and the steps are still there. Each mesh keeps its own history.
Built to stay light
The addon stores only the vertices that changed, plus a full checkpoint every few steps. It does not duplicate your object for every stroke. Dyntopo topology changes use full safety checkpoints, and Multires data is not removed.
Key Features
- Automatic stroke recording: history starts when you enter Sculpt Mode, and each completed stroke becomes one step. Benefit: no buttons to remember, so you never miss a version.
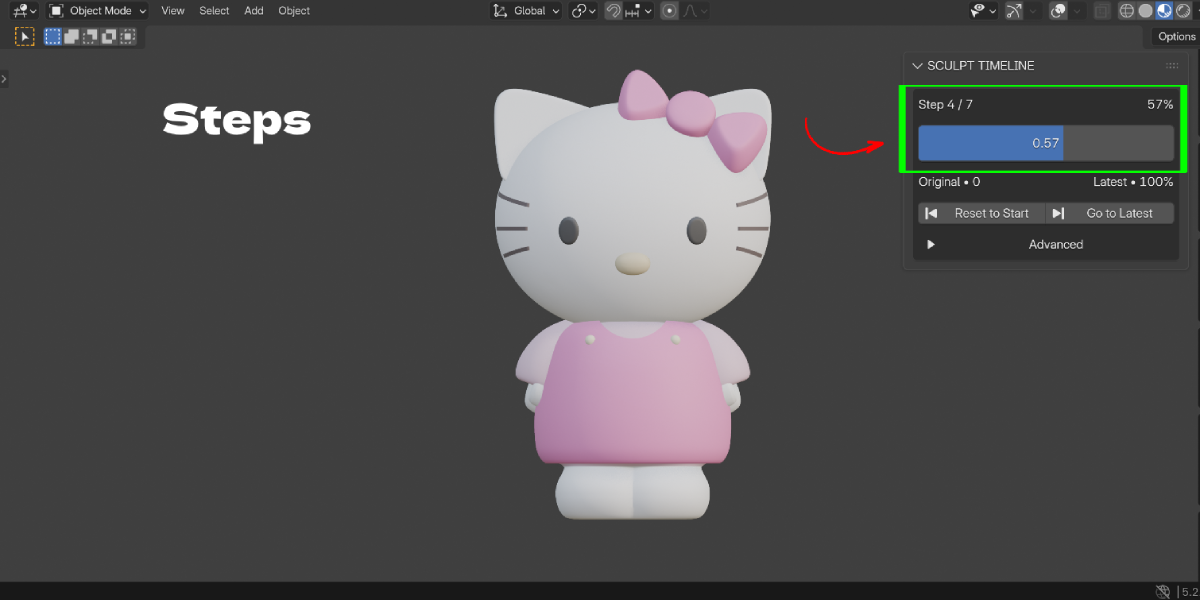
- History slider: drag backward or forward through every recorded step, with "Step X / Y" and a percentage. Benefit: go back to an earlier sculpt version without undoing your newer work.
- Previous and Next buttons: move exactly one step at a time. Benefit: find the precise stroke where the shape went wrong.
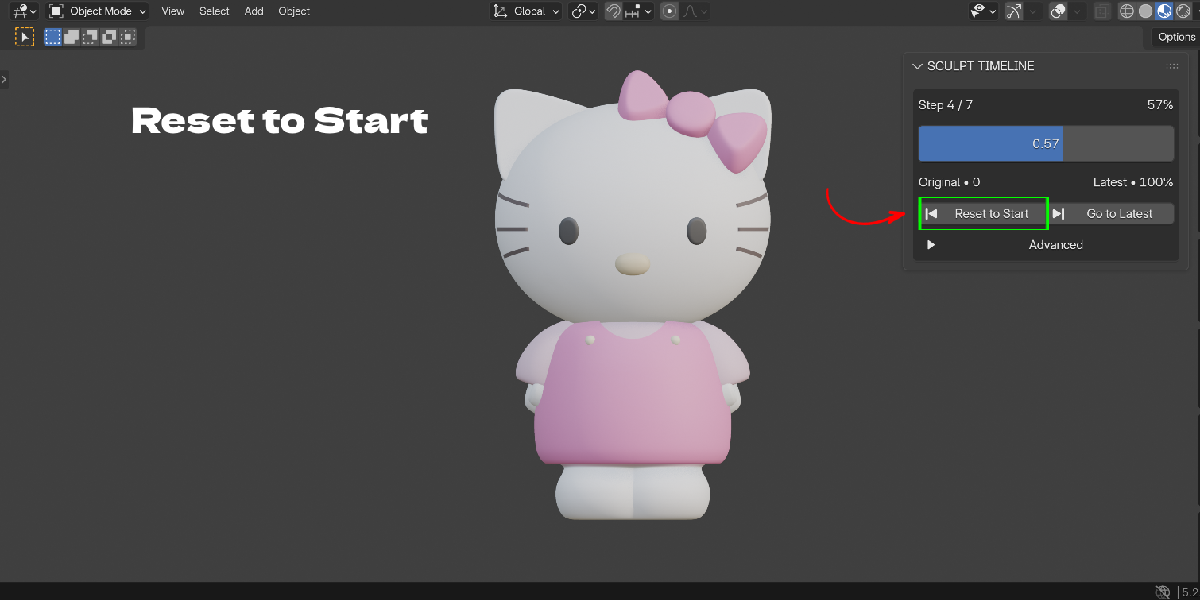
- Reset to Start: restores Step 0, the original mesh. Benefit: instant before and after comparison.
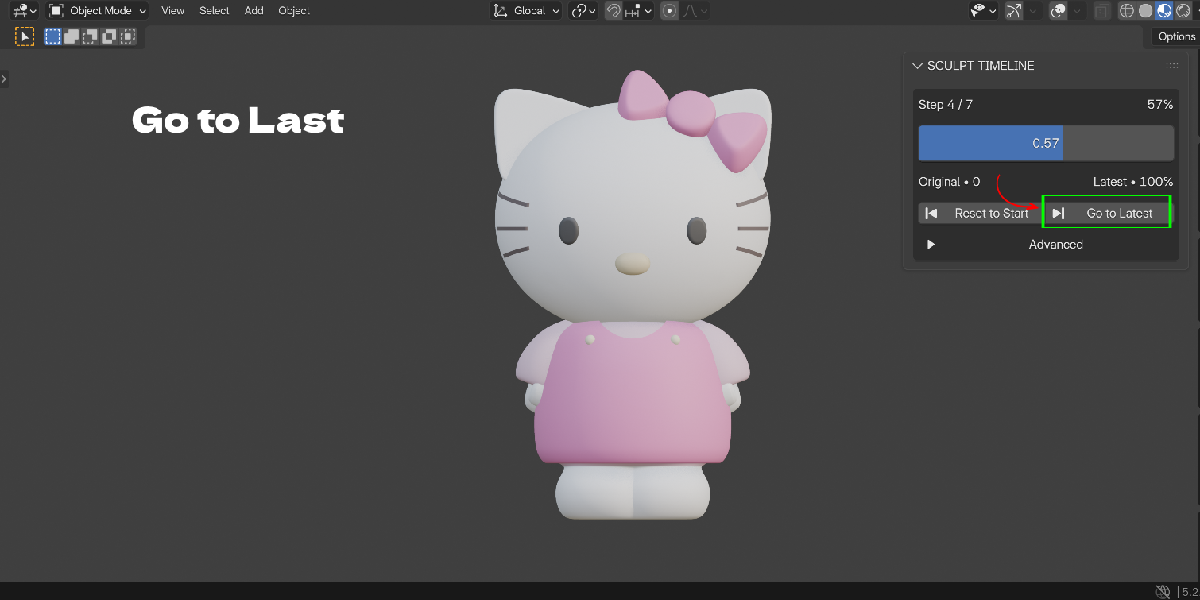
- Go to Latest: jumps back to your newest sculpt state. Benefit: check an old version safely and return in one click.
- Branch from any step: keep sculpting from an older step and the later steps are replaced, like a normal undo branch. Benefit: rescue a good earlier shape without starting over.
- Saved in the .blend file: history is stored with the mesh object. Benefit: your sculpt history survives closing and reopening Blender.
- Per-object history: every mesh has its own history. Benefit: going back on the head does not touch the body.
- Sparse deltas and checkpoints: stores only changed vertices, with a full checkpoint every N steps (2 to 200, default 20). Benefit: long sessions without duplicate objects in the scene.
- Memory Mode: Efficient (sparse deltas, fast capture) or High Accuracy (denser checkpoints). Benefit: choose between lighter files and safer restores.
- Dyntopo, Multires and shape key support: Dyntopo changes use full safety checkpoints, Multires data is preserved, and sculpting on the active shape key is tracked. Benefit: works in the sculpt setups you already use.
- Clear History with a choice: keep the current result or restore the start state, then remove the history. Benefit: free space in the file when a model is finished.
Workflow Benefits
Old way:
- Sculpt for a while.
- Remember to save a numbered copy or duplicate the mesh.
- Later, open old files or hide and unhide duplicates to compare.
- If you want an old shape back, undo and lose newer strokes, or copy between files.
With Sculpt History Pro:
- Sculpt. Every stroke is recorded for you.
- Open the Sculpt History tab and drag the slider to look back.
- Press Reset to Start or Go to Latest to compare.
- If an earlier step is better, enter Sculpt Mode and continue from it.
What changes: no manual saving of versions, no duplicate objects in the scene, history kept inside the file, and Blender's normal Ctrl+Z still works as before.
Who it is for
- Character sculptors who want to compare face proportions from earlier in the session.
- Beginners who are afraid to try bold changes because they might ruin the model.
- Creature and stylized artists exploring several shapes before committing to one.
- Teachers and YouTube creators who want to show how a sculpt developed, step by step.
- Freelancers who need to return to an earlier version when a client changes their mind.
Example: you sculpt a stylized head, push the cheeks too far, and drag the slider back to Step 18 where they looked right. You continue sculpting from there.
