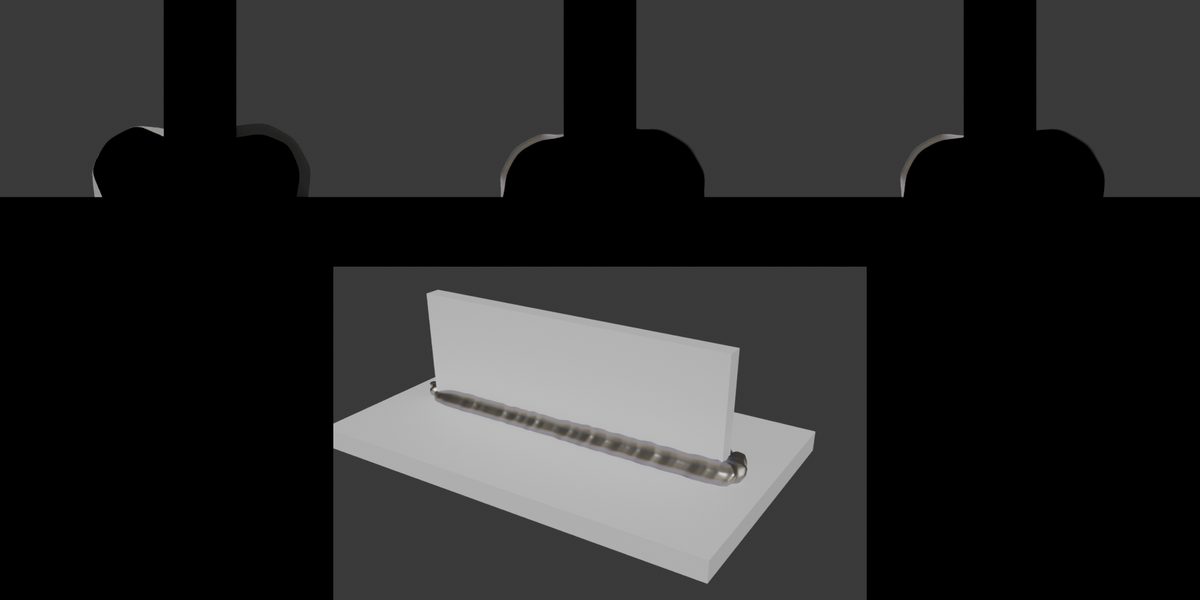
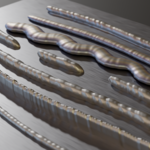
Seam Welder: Documentation
Version 1.7 · Blender 5.0+ (tested on 5.2 and 5.3)
1. Installation
- Edit → Preferences → Add-ons → ⌄ (top right) → Install from Disk…
- Select
SeamWelder_x.x.x.zip.
- Open the 3D Viewport sidebar (N) and go to the Welder tab.
To update, remove the old version first, then install the new zip.
2. Creating welds
All buttons are at the top of the Welder panel and in the pie menu (Ctrl+Shift+W).
| Button |
Mode |
What it does |
| Weld Brush |
Object |
Paint a weld onto any surface with the mouse. |
| Weld Selected Objects |
Object |
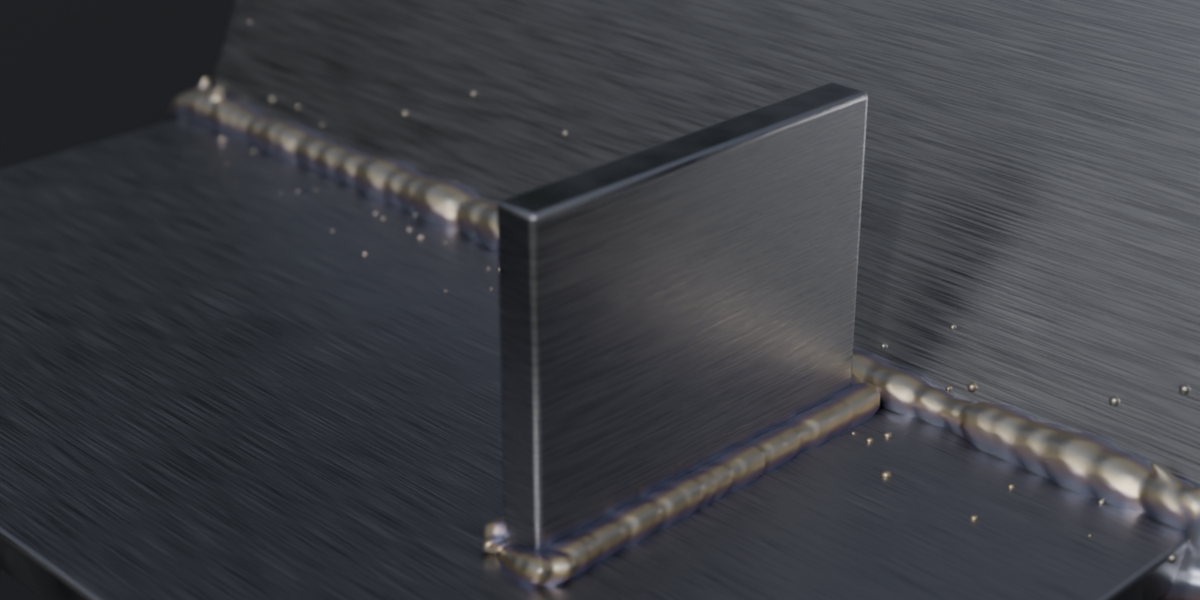
Welds the active object to each other selected object along their intersection. |
| Weld Selected Edges |
Edit |
Welds along the selected edges. |
| Weld Along Curve |
Object |
Welds along the selected curve(s). The active mesh is used as the surface. |
Before you click, pick a Preset and a Radius at the top of the panel. New welds use them.
Weld Brush
-
LMB drag draws a seam.
-
Ctrl + Wheel changes the radius.
-
Wheel / MMB navigate the view as usual.
-
Esc / RMB / Enter exits the brush.
Each stroke becomes its own weld plus a curve named WeldStroke. Edit that curve in Edit Mode and the weld follows it.
If a stroke crosses from one object onto another, the weld settles into the corner between them.
Weld Selected Objects
- Select two or more parts. The active one is welded to each of the others.
- The parts must overlap or touch. If there's a gap, no weld appears (see Contact Gap in section 4).
Weld Selected Edges
- In Edit Mode, select the edges and click the button.
- The weld is built from a copy of those edges, so later changes to the original mesh won't move it.
Weld Along Curve
- Select one or more curves, then make the surface mesh active (click it last).
- The weld snaps onto the surface and follows its normals.
3. Adjusting a weld
Select a weld to see its settings in the panel.
-
Adjust: interactive mode.
-
Mouse left/right changes the radius.
-
Wheel changes the spacing between beads.
-
Ctrl + Wheel changes the Offset.
-
Shift gives finer control.
-
LMB confirms, RMB cancels.
-
Apply Preset: applies the chosen preset to the selected welds. The radius is not changed.
-
+ / − next to the preset list: save the current weld as your own preset, or delete one.
The weld is live: move or edit the parts and it rebuilds.
4. Parameters
All lengths are in weld radii unless noted. For example, Spacing 0.5 means half a radius.
Shape
| Parameter |
Description |
| Radius |
Thickness of the weld, in meters. |
| Beads |
On: rippled beads. Off: smooth tube. |
| Offset |
Pushes the weld out of the corner (or up off the surface). |
| Spacing |
Distance between beads. Smaller means denser ripples. |
| Bead Length |
Length of each bead along the seam. |
| Flatten |
Height of the beads. Lower means flatter. |
| Tilt |
Forward lean of each bead (the "stacked coins" look). |
| Randomness |
Random size variation between beads. |
| Resolution |
Geometry detail of beads or tube. |
Fuse
| Parameter |
Description |
| Fused |
Melts all beads into one solid mesh. Needs Blender 5.0+. |
| Voxel Size |
Detail of the fused mesh. Smaller looks sharper but is heavier. |
| Melt |
How much the gaps between beads fill in. 0 keeps crisp ripples, 3+ gives a smooth weld. |
| Smooth |
Overall surface smoothing. |
Wetting (capillary effect)
| Parameter |
Description |
| Wetting |
How far the liquid metal spreads onto the walls. 0 turns it off. |
| Wet Shape |
Shape of the meniscus. 0 is concave and tangent to the walls, positive values flatten it toward a chamfer. |
| Edge Distortion |
Makes the wetting edge ragged instead of straight. |
| Edge Scale |
Size of the bumps along the wetting edge. |
Weave & Width
| Parameter |
Description |
| Weave |
Side-to-side wiggle of the torch. 0 turns it off. |
| Weave Length |
Length of one wiggle. |
| Width Variation |
Random change of thickness along the seam. |
| Variation Length |
How quickly the thickness changes. |
| Base Fill |
A flat layer under the beads that blends the weld into the metal. |
Ends & Stitch
| Parameter |
Description |
| Trim Start / Trim End |
Welds only part of the seam (0 to 1). |
| Taper |
Length of the thinning at the ends. 0 means blunt ends. |
| Stitch |
Intermittent weld: short segments with gaps between them. |
| Stitch Length |
Length of each segment. |
| Stitch Gap |
Length of each gap. |
Details
| Parameter |
Description |
| Spatter |
Density of small metal droplets around the weld. 0 turns it off. |
| Spatter Spread |
How far the droplets fly. |
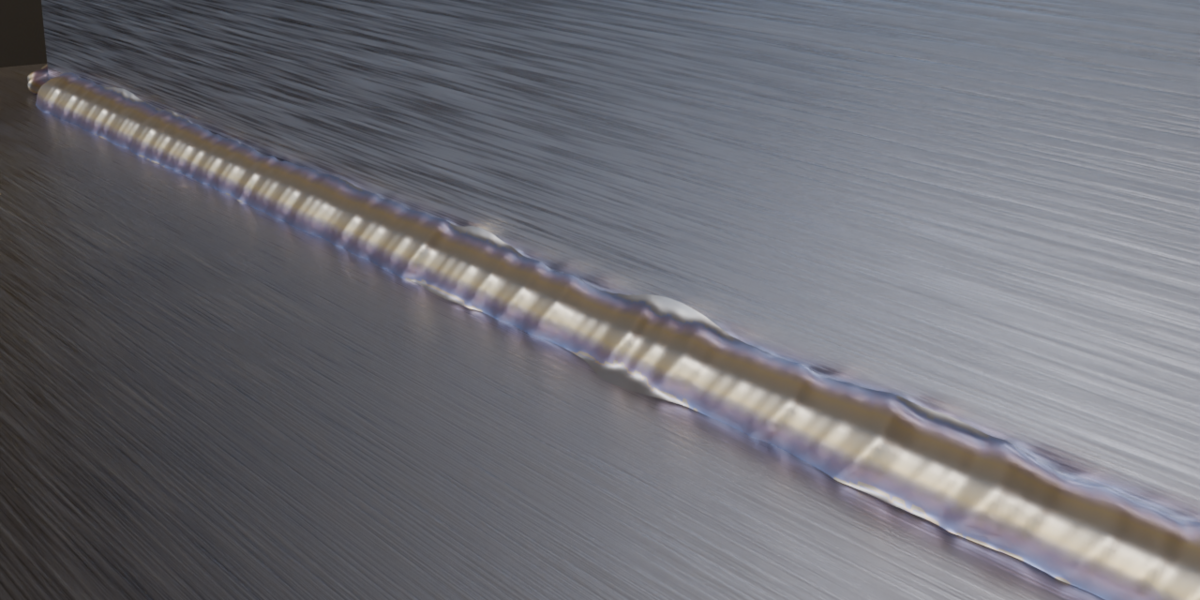
| Heat Tint |
Temper colors (gold, purple, blue) on the weld. |
| Material |
Material of the weld. A metal material is created automatically. |
Advanced
| Parameter |
Description |
| Contact Gap |
Lets parts that only touch (or almost touch) still get welded. In meters. |
| Seed |
Changes the random pattern. |
| Object A / Object B |
The welded parts. You can swap them here. |
| Path Curve |
The curve used for brush and curve welds. |
5. Presets
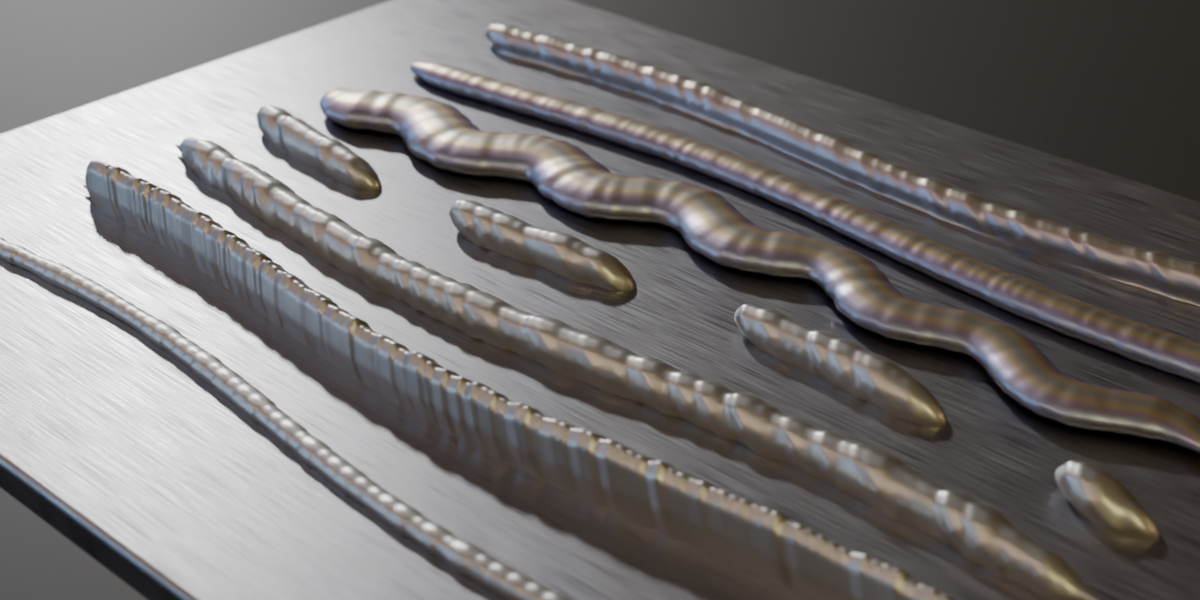
| Preset |
Look |
| MIG |
Classic rippled bead. Good default. |
| TIG |
Fine ripples with heat tint. |
| Stick |
Rough and uneven, with spatter. |
| Stitch |
Intermittent segments. |
| Spot |
Separate spot welds. |
| Stacked dimes |
Dense overlapping coins (TIG). Heavy. |
| Wide weave |
Wide, wavy bead. Heavy. |
| Chain |
Thin, chain-like bead. |
| Rope |
Twisted rope look. |
| Wetted |
Metal wicks into the corner and spreads onto both walls. |
| Smooth bead |
Smooth tube, no ripples. |
| Low poly |
Light tube with a ripple texture, for games. |
6. Finishing
| Button |
What it does |
| Select Welded Parts |
Selects the objects this weld connects. |
| Freeze / Unfreeze |
Caches the weld so it stops recalculating, which keeps the viewport fast. Click again to make it live. |
| Convert to Mesh |
Applies the weld as regular geometry. It stops updating after this. |
7. Game Asset: Low Poly + Bake (work in progress)
- Select a weld and open Game Asset.
- Set Sides (around the tube) and Segment (segment length in radii).
-
Make Low Poly creates
Weld_..._LP: a tube along the weld with automatic UVs.
- Choose the texture Size and the maps to bake: Normal, AO, Color, Roughness.
-
Bake to Low Poly bakes the maps with Cycles and builds the material.
Textures are packed into the .blend file. If the file is saved, PNG copies also go to a textures folder next to it.
Hide High Poly hides the detailed weld after baking.
Known limitations:
- The low-poly tube does not cover a wide Wetting meniscus.
- The UVs are simple strips, so rebake with your own low poly if you need better ones.
- Without Heat Tint, the Color map is nearly flat. That's expected for plain steel.
8. Performance tips
- Fused and Wetted welds are the heaviest. Raise Voxel Size to 0.15–0.2 while working.
- Press Freeze once a weld looks right.
- Lower Resolution for welds that are far from the camera.
-
Stacked dimes and Wide weave generate dense geometry, so use them on short seams or freeze them.
9. Troubleshooting
| Problem |
Solution |
| No weld appears |
The parts don't touch. Overlap them slightly or raise Contact Gap. |
| The weld goes all the way around the part |
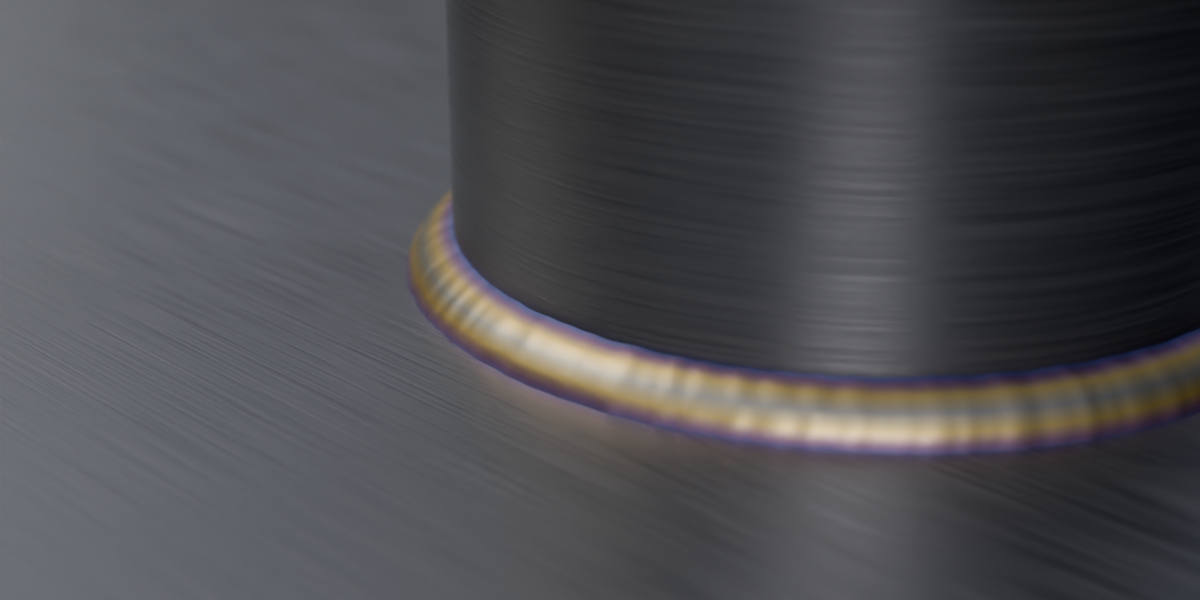
That's the full intersection. Use Trim Start / Trim End to weld just one side. |
| The weld is on the wrong side or floating |
Check that the parts have correct normals (Overlays → Face Orientation should show blue on the outside). |
| Bake error "not enabled for rendering" |
Fixed in 1.6. Update the add-on. |
| Something else |
Discord: https://discord.gg/7UZBkK76AM. Include your Blender version, a screenshot, and the error text. |
 CoffiZ-Addons