Shapeshifter
 Egret Studios LLC
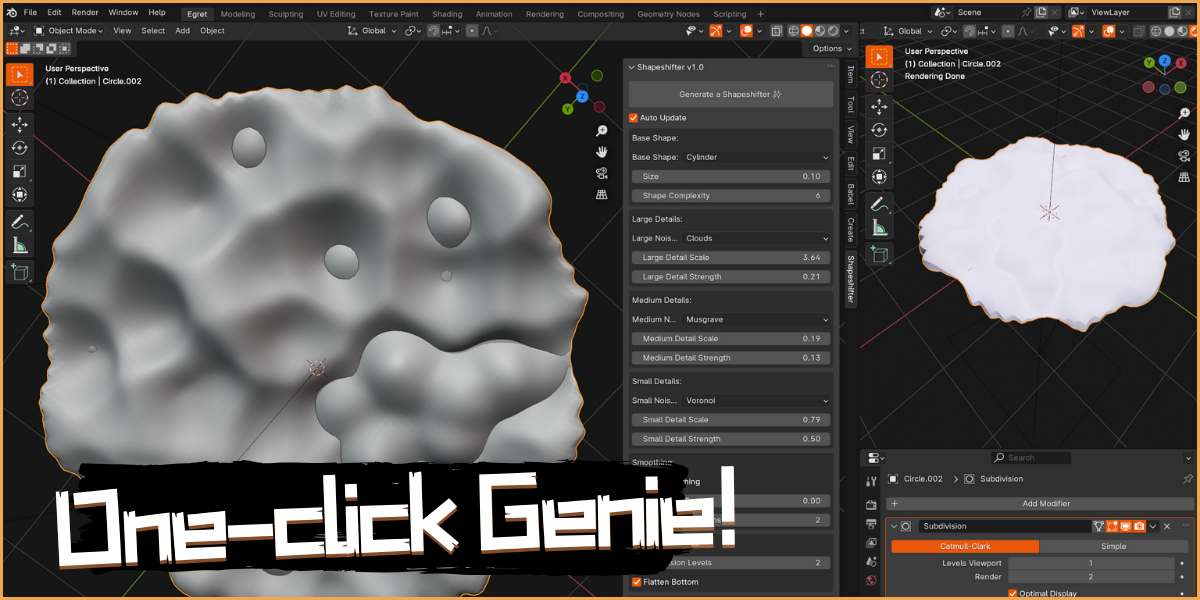
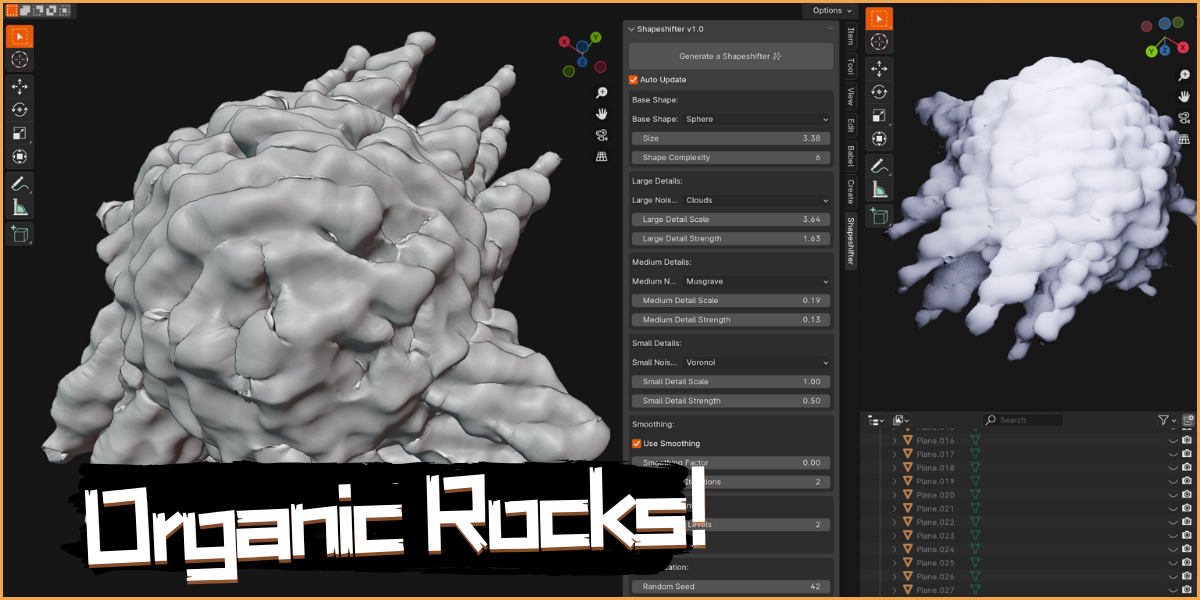
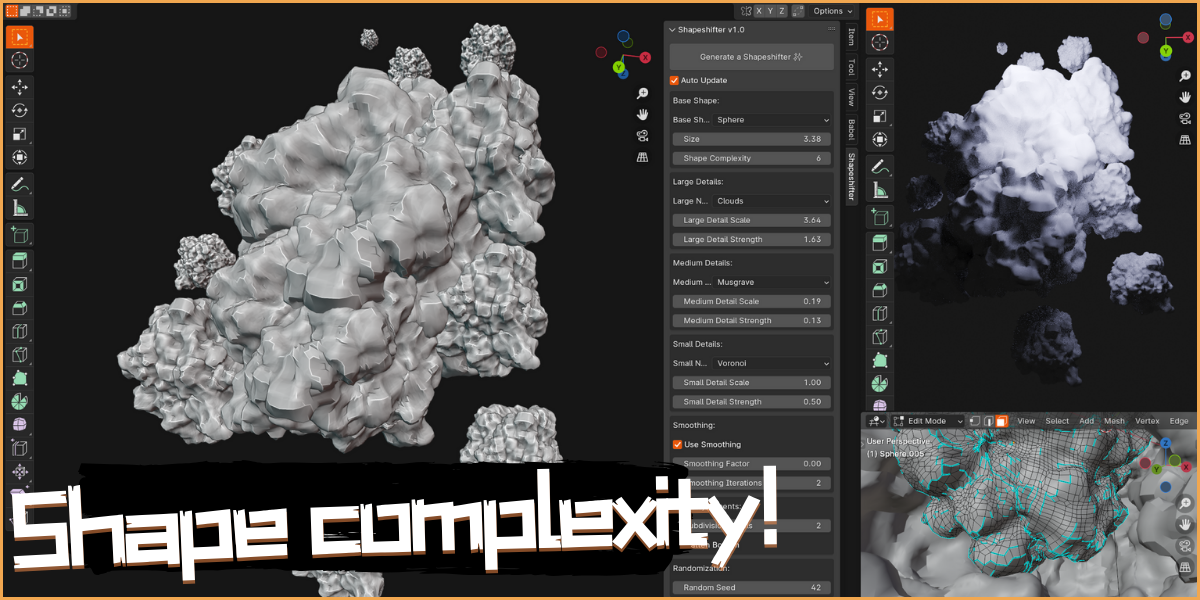
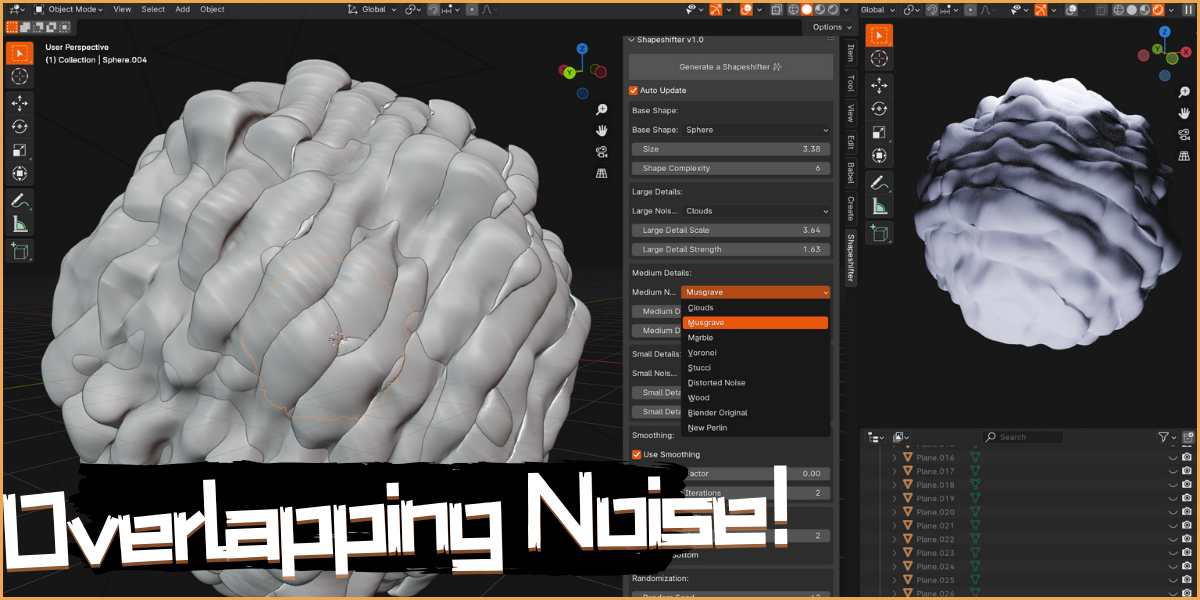
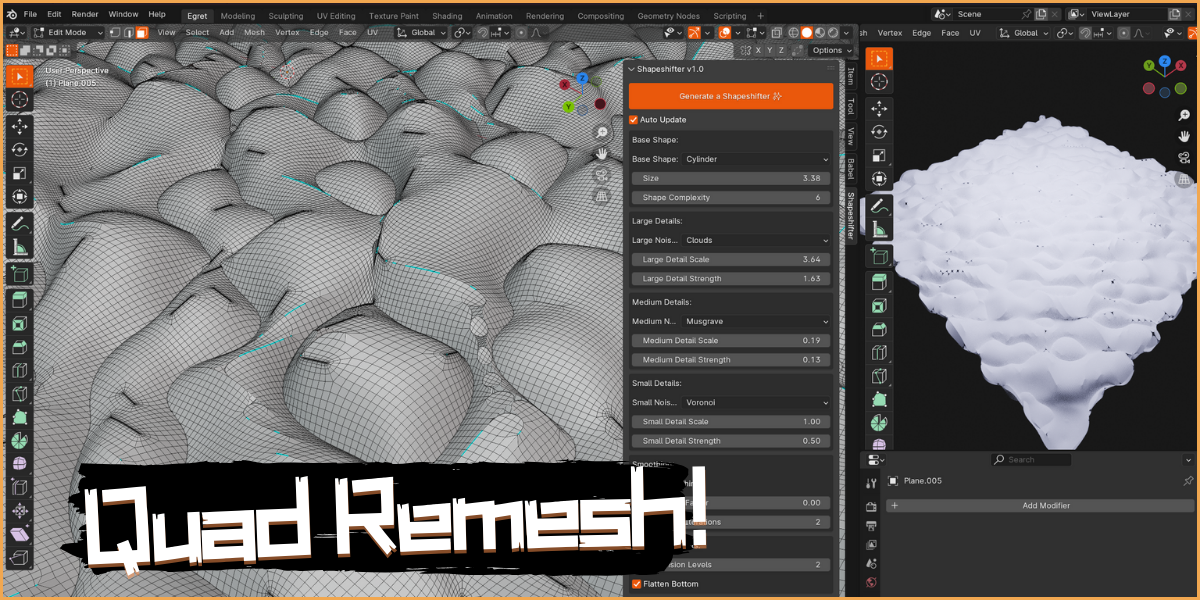
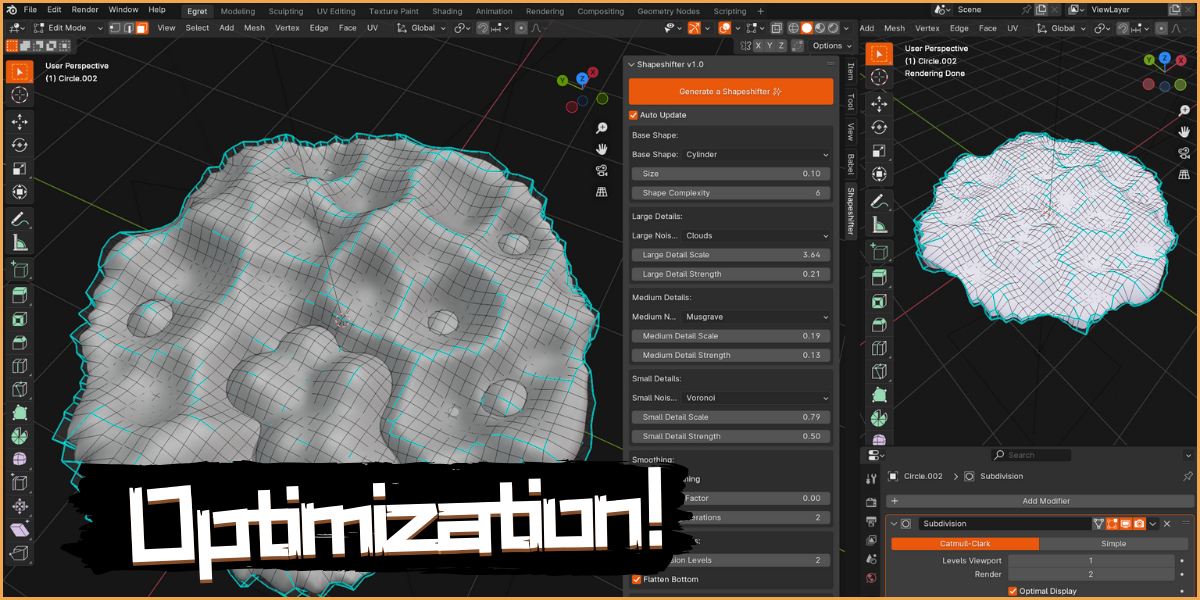
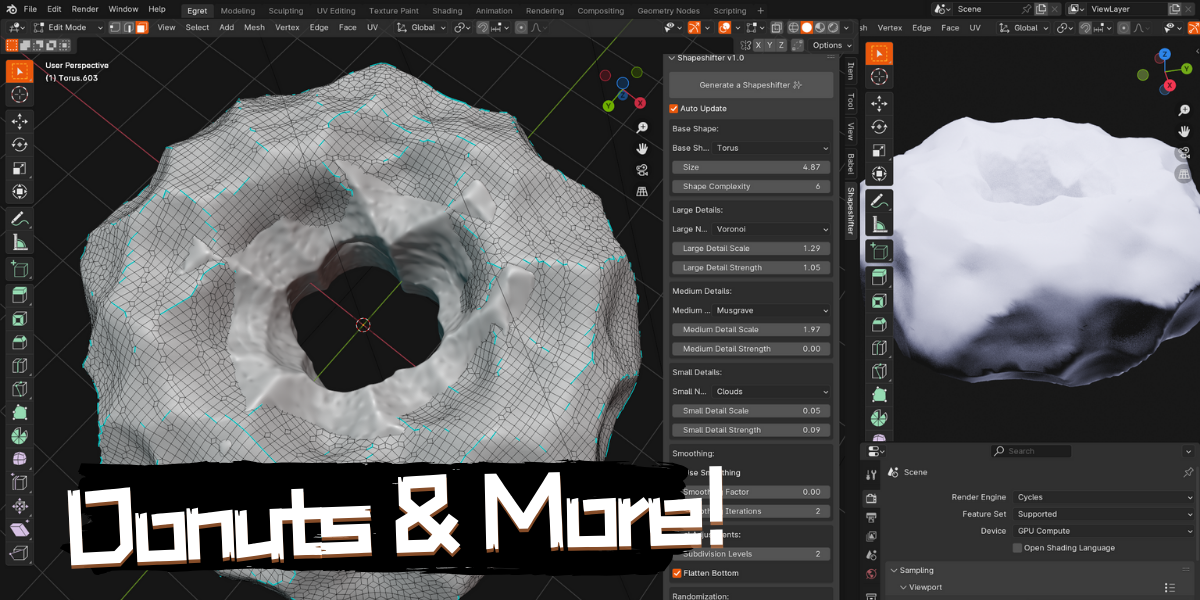

Shapeshifter: Redefined — User Documentation
Version: 1.0.0
Developer: Egret Studios LLC
Blender Compatibility: 4.0 and later (Blender 5.0+)
License: GPL-3.0-or-later
Table of Contents
- Overview
- Installation
- Getting Started
-
Panel Reference
- 4.1 Header — Quick Actions
- 4.2 Presets
- 4.3 Base Shape
- 4.4 Noise Layers
- 4.5 Surface Character
- 4.6 Symmetry
- 4.7 Refinement
- 4.8 Seed & Variation
- 4.9 Finalize
- Built-in Presets
- Shape DNA — Sharing Shapes
- Variation Stack
- Non-Destructive Workflow
- Noise Type Reference
- Tips & Recipes
- Performance Guide
- Troubleshooting
1. Overview
Shapeshifter: Redefined is a procedural shape generator for Blender. It produces organic, geological, and abstract 3D forms using a layered displacement pipeline built entirely on Blender's native modifier stack — no geometry nodes, no external dependencies.
Core capabilities at a glance:
- Three independent noise displacement layers (Large / Medium / Small)
- Voronoi-based erosion and angle-limited edge bevel for weathering
- Eight starting primitives with per-primitive mesh settings
- Full symmetry controls on all three axes
- Surface fracturing via edge-split
- Smoothing, subdivision, and flat-bottom clipping
- Named preset system with five built-ins and unlimited user presets
- Variation Stack — generate up to 9 seeds simultaneously, pick your favourite
- Shape DNA — encode every parameter as a shareable string
- Non-destructive modifier stack — tweak at any time, bake only when ready
2. Installation
- Download the
shapeshifterfolder (or the.zipfile distributed from Blender Market). - In Blender, open Edit → Preferences → Add-ons.
- Click Install… and select the
.zip, or point Blender at the folder if installing manually. - Enable the addon by ticking the checkbox next to Shapeshifter: Redefined.
- The Shapeshifter tab will appear in the N-panel (press
Nin the 3D Viewport to open it).
Note: Blender 4.0 or later is required. The addon will not load correctly on older versions because the legacy
MUSGRAVEtexture type was removed in 4.0.
3. Getting Started
Your first shape in 30 seconds
- Open the Shapeshifter tab in the N-panel (
Nkey in the 3D Viewport). - Click Generate. An icosphere-based procedural shape (
SS_Shape) appears at the world origin. - Click the Randomize button (the circular arrows icon) to cycle through variations.
- Expand Base Shape and pick a different primitive — try Cube for a rock, Cone for a spire.
- Expand Noise Layers and adjust the Large layer's Strength slider to see the primary form change.
- When you are happy with the result, go to Finalize and click Apply & Finalize to bake it to a static mesh.
Scene hygiene
Shapeshifter manages its own named objects internally:
| Object Name | Purpose |
|---|---|
SS_Shape |
The generated mesh |
SS_Seed_Large/Medium/Small |
Hidden empties that drive per-layer noise offsets |
SS_FlattenPlane |
Hidden Boolean plane used by Flatten Bottom |
SS_Var_1 … SS_Var_9
|
Temporary variation meshes |
These objects are recreated from scratch on every Generate or Revert call. Do not rename or parent them to other objects while they are active — the addon relies on these exact names to clean up correctly.
4. Panel Reference
4.1 Header — Quick Actions
Located at the top of every Shapeshifter panel session.
| Control | Description |
|---|---|
| Generate | Build (or rebuild) SS_Shape using all current settings. Safe to press at any time — cleans up the previous shape first. |
| Randomize (refresh icon) | Rolls a new random seed and immediately regenerates. Layers with Lock Seed enabled are unaffected. |
| Reset (loop-back icon) | Restores every setting to its factory default and regenerates. |
| Auto Update toggle | When enabled, the shape regenerates automatically whenever any parameter changes. Disable this when tweaking several settings in sequence to avoid slow repeated rebuilds. |
4.2 Presets
Location: N-panel → Shapeshifter → Presets (collapsed by default)
Loading a preset
Click any preset name in the list to apply its settings and regenerate immediately. Built-in presets (Asteroid, Mossy Rock, Alien Coral, Eroded Cliff, Abstract Gem) cannot be deleted.
Saving a user preset
- Dial in the settings you want to save.
- Expand the Save Current as Preset box at the bottom of the Presets panel.
- Type a name in the text field.
- Click Save Preset (checkmark icon).
Your preset is saved to presets/user.json inside the addon folder and persists across Blender sessions.
Deleting a user preset
Click the X button next to any user preset. Built-in presets show no X button and cannot be removed.
4.3 Base Shape
Location: N-panel → Shapeshifter → Base Shape (collapsed by default)
| Parameter | Range | Description |
|---|---|---|
| Base Shape | Cube / Sphere / Cylinder / Cone / Torus / Icosphere / Plane / Monkey | The starting primitive mesh. Each primitive interacts differently with the same noise settings. See the table below for guidance. |
| Size | 0.1 – 10.0 | Overall scale of the generated shape in Blender units. The default is 2.0. |
| Complexity | 3 – 7 | Controls the octree depth of the Remesh modifier, which establishes a uniform polygon grid before displacement. Higher values capture more surface detail but increase generation time significantly. Values above 6 are very slow on most hardware. |
Base shape selection guide
| Primitive | Best for |
|---|---|
| Cube | Blocky rocks, ruins, architectural fragments |
| Sphere | Rounded boulders, planets, organic blobs |
| Cylinder | Pillars, stalactites, tree stumps |
| Cone | Spires, stalagmites, pointed formations |
| Torus | Ring-shaped forms, sci-fi artifacts |
| Icosphere | Asteroids, gems, faceted fantasy rocks |
| Plane | Terrain patches, cliff faces, flat rocks |
| Monkey | Experimental organic forms |
4.4 Noise Layers
Location: N-panel → Shapeshifter → Noise Layers (collapsed by default)
The noise pipeline uses three independent displacement layers stacked in order: Large → Medium → Small. Each layer is applied via Blender's Displace modifier. Using different noise types across layers creates surface complexity that would be impossible with a single layer.
Each layer has an enable/disable checkbox in its header. Disabled layers are skipped entirely — useful for isolating the effect of a single layer during tweaking.
Per-layer parameters
| Parameter | Description |
|---|---|
| Type | The procedural noise algorithm. See Section 9 for a full comparison. |
| Scale | Spatial frequency of the noise. Smaller = broader, sweeping features. Larger = tighter, more frequent bumps. |
| Strength | Displacement intensity. Controls how much the layer pushes or pulls the mesh surface. |
| Seed Locked / Unlocked toggle | When Locked, this layer's spatial noise position is frozen. Clicking Randomize (or rolling a new seed) will not change this layer's variation. Use this to keep a macro form you like while exploring fine-detail variations. |
Recommended starting points
| Goal | Large | Medium | Small |
|---|---|---|---|
| Natural rock | Clouds | Stucci | Voronoi |
| Alien organic | Marble | Distorted Noise | Stucci |
| Crystalline | Voronoi | Marble | off |
| Eroded cliff | Clouds | Distorted Noise | Voronoi |
4.5 Surface Character
Location: N-panel → Shapeshifter → Surface Character (collapsed by default)
Contains two sub-sections: Weathering and Fracture.
Weathering
| Parameter | Range | Description |
|---|---|---|
| Erosion | 0.0 – 1.0 | Drives a Voronoi-based displacement pass that carves channels and pockets into the surface, simulating natural weathering. At 0.0 the erosion modifier is not added at all. |
| Erosion Scale | 0.1 – 2.0 | Controls the size of the erosion pattern. Smaller values produce fine, intricate channels; larger values produce broad, sweeping weathered patches. |
| Edge Wear | 0.0 – 0.15 | Adds an angle-limited Bevel modifier to round off sharp edges, mimicking the way rocks lose hard edges over time. At 0.0 no bevel is added. |
Fracture
| Parameter | Range | Description |
|---|---|---|
| Angle (0 = off) | 0.0° – 180.0° | Adds an Edge Split modifier that splits faces meeting at less than this angle, creating hard fracture lines. Set to 0 to disable. Works best when Smoothing is off. Try 30–45° for a crystalline, shattered look. |
4.6 Symmetry
Location: N-panel → Shapeshifter → Symmetry (collapsed by default)
Three toggle buttons: X, Y, Z.
Enabling any axis adds a Mirror modifier to the stack before displacement. The mirror is applied first so the noise pattern is symmetrical across the chosen axis. This is useful for:
- Creature design — bilateral X symmetry
- Gemstones — XY or XYZ symmetry for faceted, regular forms
- Columns / pillars — Z symmetry for vertically mirrored formations
Tip: Combine symmetry with a Cylinder or Cone base and low Large Scale for striking architectural shapes.
4.7 Refinement
Location: N-panel → Shapeshifter → Refinement (collapsed by default)
Smoothing
| Parameter | Range | Description |
|---|---|---|
| Smoothing toggle | on / off | Adds a Laplacian Smooth modifier after displacement. Recommended for organic and natural shapes — softens harsh noise artifacts. |
| Factor | 0.0 – 1.0 | Strength of each smoothing pass. Lower values produce a subtle, gradual effect. Very high values can wash out surface detail from the noise layers. |
| Iterations | 1 – 20 | Number of smoothing passes. More passes = smoother result, less surface texture. |
Additional refinement
| Parameter | Range | Description |
|---|---|---|
| Subdivision | 0 – 4 | Adds a Subdivision Surface modifier for additional polygon density and surface smoothness. Level 1–2 is recommended for most uses. Level 4 on a complex mesh is very memory-intensive. |
| Flatten Bottom | on / off | Clips the bottom of the shape flat using a Boolean modifier, so the object sits evenly on a surface. Ideal for rocks, pedestals, and props that rest on the ground. |
4.8 Seed & Variation
Location: N-panel → Shapeshifter → Seed & Variation (collapsed by default)
Master Seed
| Control | Description |
|---|---|
| Seed field | Integer from 0 to 9,999,999. Every unique value produces a completely different shape with identical settings. Type a number directly or drag the field. |
| Roll button (refresh icon next to the field) | Picks a random seed and regenerates. Equivalent to the Randomize button in the header. |
Locked layers are not affected by the master seed — they retain their own frozen seed value.
Variation Stack
Generate multiple seeds at once to compare variations side by side.
| Control | Description |
|---|---|
| Count | Number of variations to generate (2–9). Shapes are arranged in a grid with up to 3 per row. |
| Generate Variations | Builds Count shapes using seeds derived from the current master seed. Each variation is a static baked mesh named SS_Var_1 through SS_Var_N. |
| Pick This Variation | Appears when a SS_Var_* object is selected. Deletes all other variations, renames the selected one to SS_Shape, and moves it to the world origin. |
Note: Variations are fully baked static meshes — the modifier stack is not live on them. If you want to continue tweaking after picking, click Revert to rebuild from current settings.
Shape DNA
Shape DNA encodes every parameter as a compact URL-safe string. Use it to save a shape's exact "recipe" or share it with another Shapeshifter user.
| Control | Description |
|---|---|
| Copy | Encodes all current settings and copies the DNA string to the clipboard. |
| Paste | Reads a DNA string from the clipboard, applies all its settings, and regenerates. |
The current DNA string is displayed (greyed out) below the buttons after copying.
4.9 Finalize
Location: N-panel → Shapeshifter → Finalize (always visible)
| Control | Description |
|---|---|
| Apply & Finalize | Applies all modifiers, converting SS_Shape to a clean static mesh. Also removes the seed empties, flatten plane, and managed textures. Destructive — the modifier stack cannot be recovered after this. A confirmation dialog appears before the operation runs. |
| Revert | Discards any manual mesh edits and regenerates SS_Shape from the current panel settings. Useful for resetting accidental changes in Edit Mode. |
5. Built-in Presets
Five presets are shipped with the addon. They cannot be modified or deleted.
| Preset | Base | Character |
|---|---|---|
| Asteroid | Icosphere | Heavily eroded, rough surface using Distorted Noise + Voronoi + Stucci. High erosion (0.7). |
| Mossy Rock | Cube | Rounded, organic boulder with high smoothing (8 iterations) and flat bottom enabled. Clouds + Stucci layering. |
| Alien Coral | Sphere | Dramatic Marble-driven macro form with organic warping. High subdivision (level 3), low erosion. |
| Eroded Cliff | Cube | Large (size 3.0), angular, no smoothing, strong erosion (0.9) and fracture angle (35°). Flat bottom. |
| Abstract Gem | Icosphere | Clean faceted form using Voronoi + Marble, no erosion or edge wear, fracture angle 45°, no smoothing. |
6. Shape DNA — Sharing Shapes
Shape DNA is a Base64-encoded JSON string that captures every parameter of your shape.
Example DNA string:
eyJwcmltaXRpdmVfc2hhcGUiOiJJQ09TUEhFUkUiLCJzaXplIjoyLjAsInNoYXBlX2NvbXBsZXhpdHkiOjV9...
Workflow
To share a shape:
- Dial in your settings until you are happy with the shape.
- Open Seed & Variation → Shape DNA.
- Click Copy. The DNA string is now in your clipboard.
- Paste it anywhere — a message, a text file, a forum post.
To receive a shared shape:
- Copy the DNA string to your clipboard.
- Open Seed & Variation → Shape DNA.
- Click Paste. The settings are applied and the shape regenerates instantly.
Tip: Shape DNA also works as a manual backup. Copy the DNA of a shape you like before experimenting — you can always paste it back.
7. Variation Stack
The Variation Stack is the fastest way to explore the design space of your current settings.
Step-by-step
- Set up your settings (base shape, noise types, surface character, etc.) until you are roughly happy.
- Open Seed & Variation.
- Set Count to how many variations you want (4 is a good starting point).
- Click Generate Variations. A grid of static meshes (
SS_Var_1throughSS_Var_N) appears in the viewport. - Click to select the one you prefer.
- Click Pick This Variation (the button appears once a variation is selected). The chosen shape becomes
SS_Shape; the others are deleted.
How seeds are derived
The variation seeds are not random — they are computed deterministically from the master seed:
variation_seed[i] = (master_seed + i × 7331) % 9,999,999
This means the same master seed always produces the same set of variations, which is useful for reproducible exploration.
After picking
Picked variations are static baked meshes. To continue adjusting parameters non-destructively, click Revert in the Finalize panel. This rebuilds the live modifier stack from the current settings.
8. Non-Destructive Workflow
By default, Shapeshifter builds a live modifier stack — you can change any parameter and the shape updates (automatically if Auto Update is on, or on the next Generate press if it is off).
Modifier stack order
The following modifiers are stacked in this order on SS_Shape:
- SS_Remesh — uniform topology via smooth remesh
- SS_Mirror — symmetry (if any axis is enabled)
- SS_Large — large-scale Displace
- SS_Medium — medium-scale Displace
- SS_Small — fine-detail Displace
- SS_Erosion — Voronoi-based weathering Displace
- SS_ErosionSmooth — post-erosion gentle Smooth pass
- SS_EdgeWear — angle-limited Bevel
- SS_Smooth — Laplacian smoothing
- SS_Subdiv — Subdivision Surface
- SS_Fracture — Edge Split (if fracture angle > 0)
- SS_FlattenBottom — Boolean difference against hidden plane (if Flatten Bottom is on)
You can inspect and temporarily disable individual modifiers in Blender's Properties → Modifier tab while the stack is live.
Baking (Apply & Finalize)
When you are satisfied, click Apply & Finalize to bake every modifier to a static mesh and clean up all Shapeshifter-managed helper data. This step is irreversible — the modifier stack is permanently removed. Blender's undo (Ctrl+Z) works within the session but cannot restore the live stack once the .blend file is saved after finalizing.
Best practice: Save your
.blendfile before clicking Apply & Finalize, or use File → Incremental Save to keep a backup with the live stack.
9. Noise Type Reference
All six noise types available in Shapeshifter use Blender's legacy procedural texture system, which is fully supported in Blender 4.0+.
| Type | Character | Best used for |
|---|---|---|
| Clouds | Smooth, soft, organic gradients. The most general-purpose type. | General rock shapes, rounded boulders, soft macro forms. Large layer. |
| Marble | Layered sinusoidal bands that twist and repeat. | Stratified rock, sedimentary strata, banded patterns. Large or Medium layer. |
| Voronoi | Hard-edged cell patterns based on point distance. | Cracked surfaces, crystalline structures, cellular alien textures. |
| Stucci | Bumpy, granular, rough texture. | Coarse rocky surfaces, gritty micro-texture. Small or Medium layer. |
| Distorted Noise | Warped procedural noise — fluid, complex, non-repeating. | Organic deformations, abstract flowing forms, alien coral. |
| Wood | Concentric ring patterns. | Bark-like layering, sedimentary rings, stylised sci-fi grooves. |
Combining types
The power of the layered system comes from combining complementary types. Example pairings:
- Clouds (Large) + Distorted Noise (Medium) + Voronoi (Small) — versatile natural rock
- Marble (Large) + Stucci (Medium) — sedimentary cliff face
- Voronoi (Large) + Marble (Medium) + off (Small) — gem or crystal
- Distorted Noise (Large) + Distorted Noise (Medium) + Stucci (Small) — alien organic form
10. Tips & Recipes
Natural rock on a surface
- Base: Cube, Complexity 6
- Large: Clouds, Scale 1.2, Strength 0.5
- Medium: Stucci, Scale 0.4, Strength 0.3
- Small: Voronoi, Scale 0.15, Strength 0.1
- Erosion 0.4, Edge Wear 0.04
- Smoothing on (Factor 0.6, Iterations 6)
- Flatten Bottom: on
Sci-fi crystal / gem
- Base: Icosphere, Complexity 4
- Large: Voronoi, Scale 0.8, Strength 0.6
- Medium: Marble, Scale 0.3, Strength 0.3
- Small: off
- Erosion 0, Edge Wear 0
- Fracture Angle: 45°
- Smoothing: off
- Subdivision: 2
Dramatic eroded cliff
- Base: Cube, Size 3.0, Complexity 7
- Large: Clouds, Scale 2.0, Strength 1.0
- Medium: Distorted Noise, Scale 0.7, Strength 0.6
- Small: Voronoi, Scale 0.25, Strength 0.2
- Erosion 0.9, Erosion Scale 0.8
- Edge Wear 0.06
- Fracture Angle 35°
- Smoothing: off
- Flatten Bottom: on
Using Seed Lock for controlled variation
- Generate a shape you like.
- Expand Noise Layers → Large and enable Seed Locked.
- Now click Randomize repeatedly. The macro form (large layer) stays the same while the medium and small layers vary — great for picking the best surface detail without losing a good silhouette.
Auto Update workflow tip
Turn Auto Update off while doing multi-step edits (e.g. changing base shape, then noise type, then erosion). Turn it back on when you want live feedback for slider tweaking.
11. Performance Guide
Generation time scales primarily with Complexity and Subdivision.
| Complexity | Typical generation time | Use case |
|---|---|---|
| 3 | Very fast (< 0.5 s) | Rough preview, testing settings |
| 4–5 | Fast (0.5–2 s) | General use — good balance |
| 6 | Moderate (2–5 s) | High-quality output |
| 7 | Slow (5–15 s+) | Final hero asset |
Subdivision multiplies polygon count exponentially:
- Level 0: base mesh only
- Level 1: ×4 polygons
- Level 2: ×16 polygons
- Level 3: ×64 polygons — use with caution
- Level 4: ×256 polygons — memory-intensive
Recommended approach:
- Work at Complexity 4–5, Subdivision 0–1 while exploring.
- Increase to Complexity 6–7 and Subdivision 2 only for the final shape.
- Turn Auto Update off at high complexity to avoid slowdowns while adjusting sliders.
12. Troubleshooting
The Shapeshifter tab is not visible in the N-panel. Confirm the addon is enabled in Edit → Preferences → Add-ons. Search for "Shapeshifter". If it does not appear, the .zip may not have been installed correctly — try reinstalling.
Clicking Generate produces no visible mesh. Check that you are in the 3D Viewport and that the viewport is not in a mode that hides objects (e.g. Local View with nothing local). Also verify that the Collections panel is not hiding the layer that SS_Shape was added to.
The shape looks identical after clicking Randomize. If all three noise layers have Seed Locked enabled, no layer's position changes on randomize — the shape will look the same. Unlock at least one layer.
Generation is very slow / Blender freezes briefly. Reduce Complexity (try 4–5) and Subdivision (try 0–1). At Complexity 7 + Subdivision 3, generation can take 30+ seconds on slower hardware.
"Invalid Shape DNA string" error when pasting. The clipboard content is not a valid Shapeshifter DNA string. Make sure you copied it from the Copy button in the Shape DNA section, and that no extra characters (spaces, line breaks) were added.
Flatten Bottom creates a strange cut or leaves a gap. Flatten Bottom uses a Boolean modifier. If the shape is very small or the geometry near the bottom is highly complex (e.g. very high erosion), the Boolean solver may produce artefacts. Try reducing Erosion or increasing the Complexity before enabling Flatten Bottom.
Apply & Finalize does not apply all modifiers. Some modifiers (e.g. Boolean) require the referenced object to be present. If the flatten plane (SS_FlattenPlane) was accidentally deleted before finalizing, the Boolean modifier may fail to apply. In that case, delete the failing modifier manually in the Properties panel, then use Apply & Finalize again, or select SS_Shape and apply modifiers one by one via the modifier stack.
I made edits in Edit Mode and now the shape looks wrong after regenerating. Clicking Generate or Revert always rebuilds SS_Shape from scratch — any manual Edit Mode changes are discarded. This is by design. If you need to combine procedural generation with manual sculpting, finalize first (Apply & Finalize), then sculpt on the baked mesh.
Shapeshifter: Redefined — Copyright © 2025 Egret Studios LLC. Released under GPL-3.0-or-later.
Have questions about this product?
Login to message
| Blender Extension Compatible | Yes |
| Sales | 40+ |
| Published | about 2 years ago |
| Blender Version | 3.0 - 5.0 |
| Extension Type | Add-on |
| Render Engine Used | Cycles, Eevee |
| License | GPL |

Discover more products like this
babel advanced-procedural newaddons bcon24 oneclick blender procedural