 Rekanyx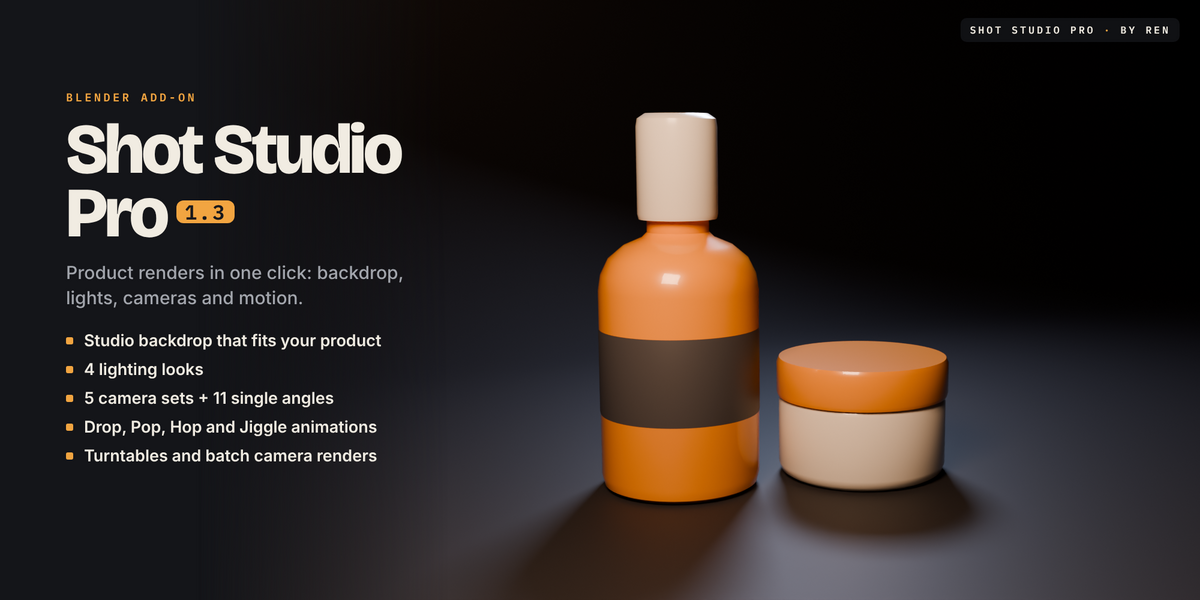
Shot Studio Pro 1.3 — Documentation
Shot Studio Pro sets up a full product photo studio in a few clicks: lights, a seamless backdrop, ready-made camera angles, turntables, product animation and batch rendering. Everything stays editable, so you can change a setting and the scene updates straight away.
Works with: Blender 3.6 and newer (tested up to 5.2) · Cycles and EEVEE Where to find it: 3D Viewport → Sidebar (press N) → Shot Studio Pro tab
Installation
- Download the Shot Studio Pro zip. Don't unzip it.
- In Blender go to Edit → Preferences → Add-ons.
- Click the arrow in the top right and choose Install from Disk…, then pick the zip. (In Blender 3.6–4.1 the button is just called Install….)
- Tick the box next to Shot Studio Pro.
- In the 3D Viewport press N and open the Shot Studio Pro tab.
Updating: remove the old version in Preferences, restart Blender, then install the new zip.
Quick start: a product shoot in 30 seconds
- Select your product.
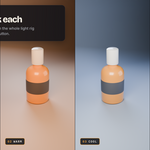
- Click a look at the top of the panel, for example Product or Moody. This builds the lights, backdrop colour and world colour for you.
- In Backdrop & World click Add Backdrop.
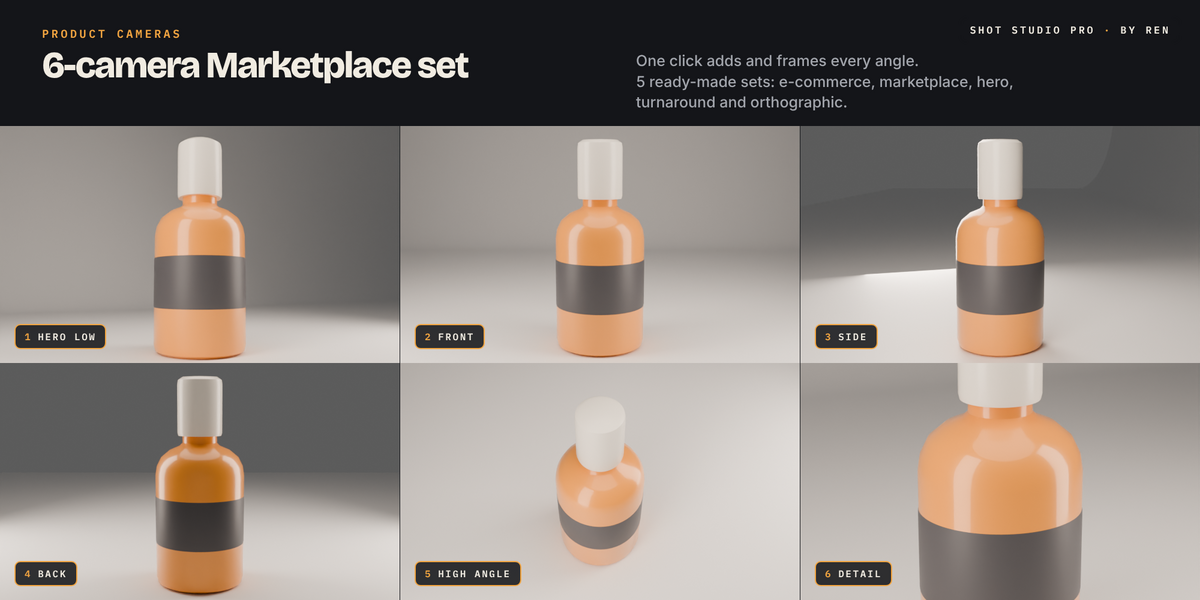
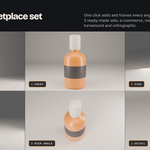
- In Product Cameras pick a set (for example Marketplace Gallery) and click Create Camera Set.
- In Rendering pick a folder and click Render Cameras. You get one image per camera.
One-click looks
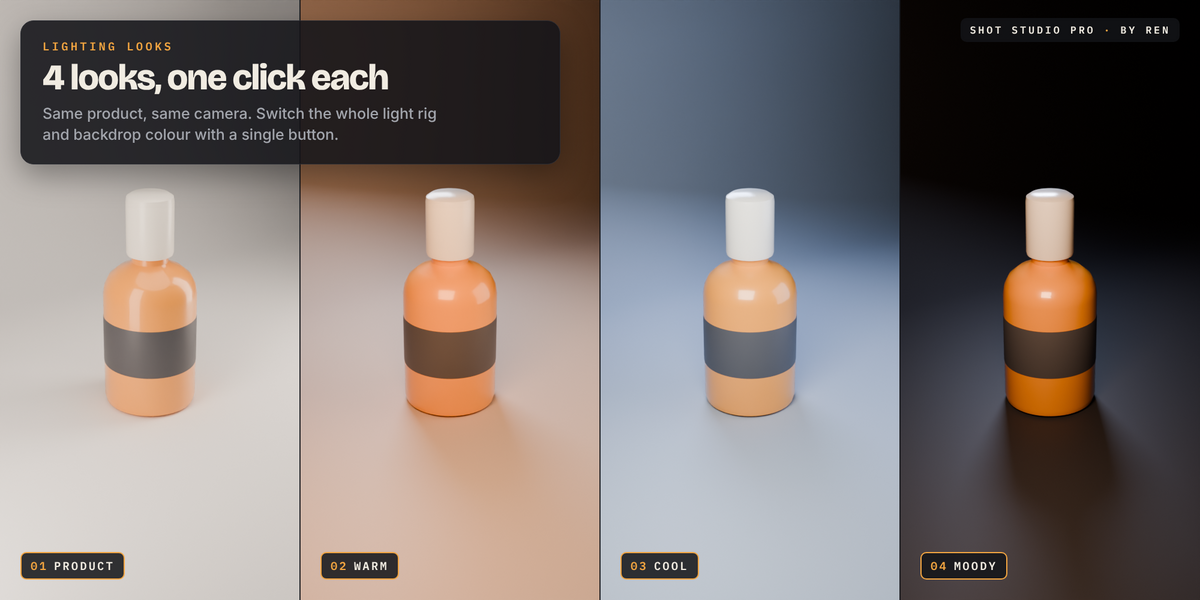
The buttons at the top set lights, world colour and backdrop colour in one go:
Neutral · Warm · Cool · Moody · High-Key · Product
Click another look at any time to switch. You can still fine-tune everything below afterwards.
Turntable
A camera that circles your product, perfect for 360° showcases.
- Frames: how long the spin is. 120 frames = 5 seconds at 24 fps.
- Rotation: how far it travels. 360 makes a seamless loop.
- Clockwise: spin direction.
- Camera Height, Lens, Framing: angle, focal length and how much space is around the product (1 = fills the frame).
- Lights Follow Camera: the lights circle with the camera, so the lighting stays the same and it looks like the product is spinning.
Click Create Turntable. The trash button removes it again.
Lighting
Pick a Layout and click Create Light Rig. The lights are sized and placed around your selection automatically.
Layouts: 1-Point · 2-Point · 3-Point · 4-Point · Product Softboxes · Rim / Silhouette
- Intensity: overall brightness.
- Key : Fill: how much brighter the main light is than the fill. Higher = darker shadows, more contrast.
- Softness: light size. Bigger lights give softer shadows.
- Distance: move the lights closer or further away. Brightness is kept the same.
- Rig Rotation: turn the whole rig around the product.
- Colour: choose Temperature (Key, Fill and Rim in Kelvin) or Custom Colour (pick any colour for each light).
Lights in rig: every light is listed with an on/off switch, its own Power slider and a delete button. Add Light adds an extra accent light; adjust its position in the Redo panel (bottom left of the viewport).
Backdrop & World
- Add Backdrop: a seamless curved studio backdrop under and behind your product.
- Backdrop Colour and Roughness: the colour and shine of the backdrop.
- Distance: how far behind the product the backdrop starts. It's always kept behind your cameras, so back angles and turntables still see the product.
- Shadow Catcher (Cycles only): the backdrop turns invisible but still catches shadows.
- Transparent Background: render with no background. Combine it with Shadow Catcher for cut-out product shots with real shadows.
- Use Studio World: a plain studio background colour. Set World Colour and Strength.
Product Cameras
Camera sets
Pick a set, select your product and click Create Camera Set.
| Set | Cameras |
|---|---|
| E-commerce | 5 |
| Marketplace Gallery | 6 |
| Hero Shots | 4 |
| Turnaround | 8 |
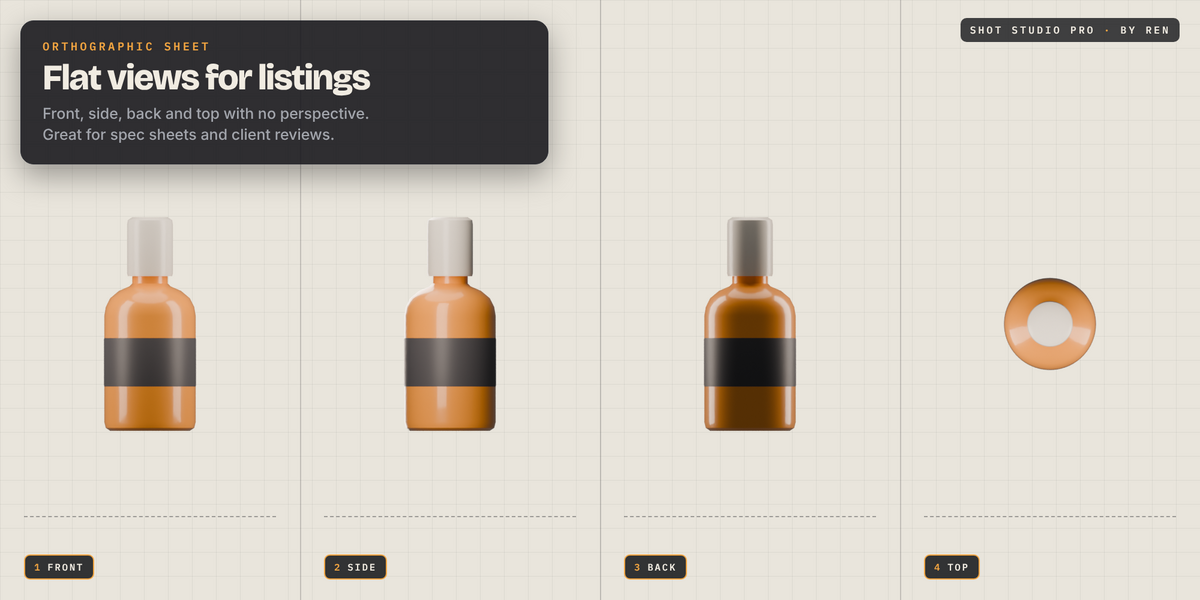
| Orthographic Sheet | 4 (no perspective, great for reference sheets) |
The refresh toggle next to the button is Replace Existing. On: the new set replaces your current cameras. Off: it adds to them.
Single angles
Add Angle adds one camera at a ready-made angle: Front, Three-Quarter, Three-Quarter Right, Side, Left, Back, Back Three-Quarter, Top, High Angle, Hero Low or Detail.
From View adds a camera from exactly where you're looking in the viewport.
Camera list
Every product camera is listed. For each one you can:
- tick it to include it in renders,
- Look Through it,
- render just that camera,
- delete it.
The trash button at the top deletes all product cameras.
Adjusting cameras
Whole set (moves every camera together):
- Turn Set: rotate all cameras around the product.
- Raise / Lower: all cameras higher (looking down) or lower (looking up).
- Framing: space around the product. 1 = fills the frame.
- Lens: focal length.
- Reset: back to the defaults.
One camera only (the selected camera):
- Around: 0 front, 90 right, 180 back, -90 left.
- Height: 0 level, 90 straight down, below 0 looking up.
- Distance: closer (below 1) or further (above 1).
Rendering
-
Resolution: keep the scene setting, or pick a preset:
- 1080 × 1080 Square
- 1080 × 1350 Portrait
- 1920 × 1080 HD
- 3840 × 2160 4K
- 1080 × 1920 Vertical (Stories, Reels, Shorts)
- Folder and Prefix: where the images go and how they're named.
- Stills: PNG (lossless, supports transparency) or JPEG (smaller files).
- Render: which cameras to render: Product cameras, All cameras or Selected cameras.
- Render Cameras: renders one still from each chosen camera.
- Turntable: PNG Frames (most reliable) or MP4 Video. Click Render Turntable.
Motion & Transitions
Animate the camera or the product itself with one click.
Apply To:
- Camera: moves the active scene camera.
- Product: moves the selected objects.
Settings:
- Start Frame: when the move starts. The clock button sets it to the current frame. The next-key button starts right after the previous move, so you can chain moves.
- Duration: length in frames. 48 = 2 seconds at 24 fps.
- Strength: how big the move is.
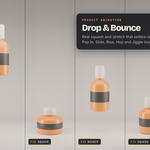
- Easing: Auto, Smooth, Linear, Overshoot, Bounce or Elastic. Auto picks the best one for each effect.
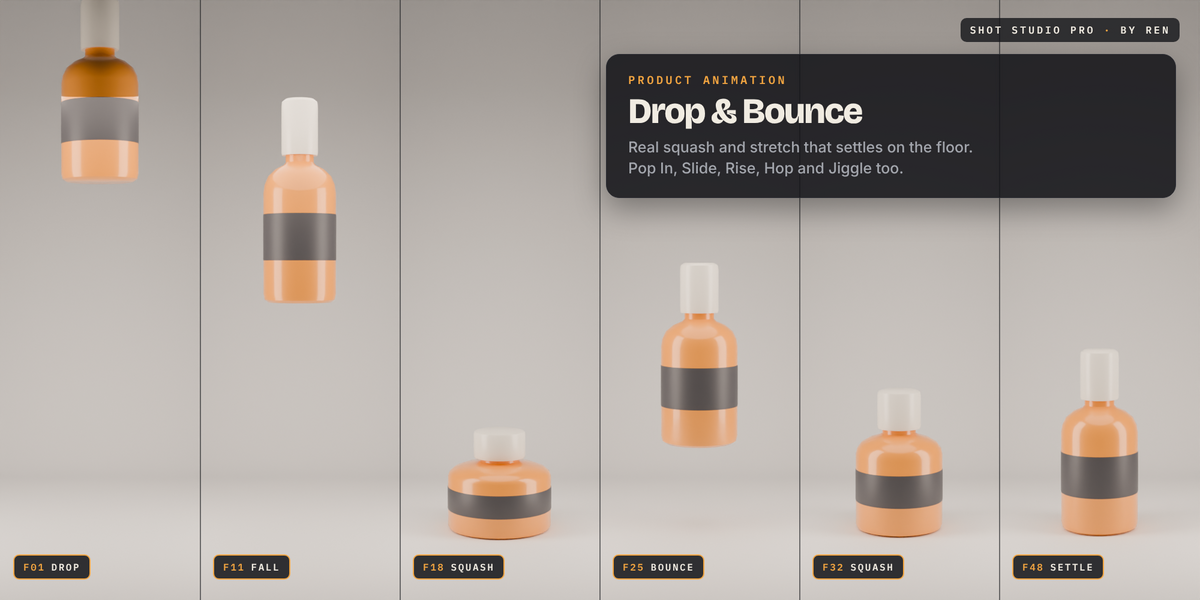
- Squash & Stretch (Product only): how squishy and springy the move is. 0 = rigid.
Effects:
| Camera moves | Product moves |
|---|---|
| Zoom In | Grow In |
| Zoom Out | Shrink Out |
| Push In | Come Forward |
| Pull Out | Move Back |
| Slide | Slide In |
| Crane Up | Rise Up |
| Arc | Spin |
| Shake | Wobble |
| Drift | Float |
| Punch In | Pop In |
| Drop | Drop & Bounce |
| — | Hop |
| — | Jiggle |
Transitions (whole shot): Fade In and Fade Out.
Extend Scene Range: makes the scene longer automatically if a move ends after the last frame.
Clear Motion removes the keyframes from the camera or the selected product. Clear Fades removes the fades.
Tips
- Start with a look, then fine-tune. It's the fastest way to a good result.
- For marketplace thumbnails use Marketplace Gallery and the Square resolution.
- For clean cut-outs: Cycles + Shadow Catcher + Transparent Background + PNG.
- For social media turntables use the Vertical preset and MP4 Video.
- Chain product moves (for example Drop & Bounce, then Spin) using the next-key button next to Start Frame.
Support
Questions or bugs? Send me a message through Superhive. Include your Blender version and a screenshot of the Shot Studio Pro panel if you can.
Have questions about this product?
Login to message
| Blender Extension Compatible | Yes |
| Published | about 18 hours ago |
| Blender Version | 4.2 - 5.2 |
| Extension Type | Add-on |
| Render Engine Used | Cycles, Eevee |
| License | GPL |
Discover more products like this
3d product animation 3D plugin 3d product render 3d blender plugin