 ARLN
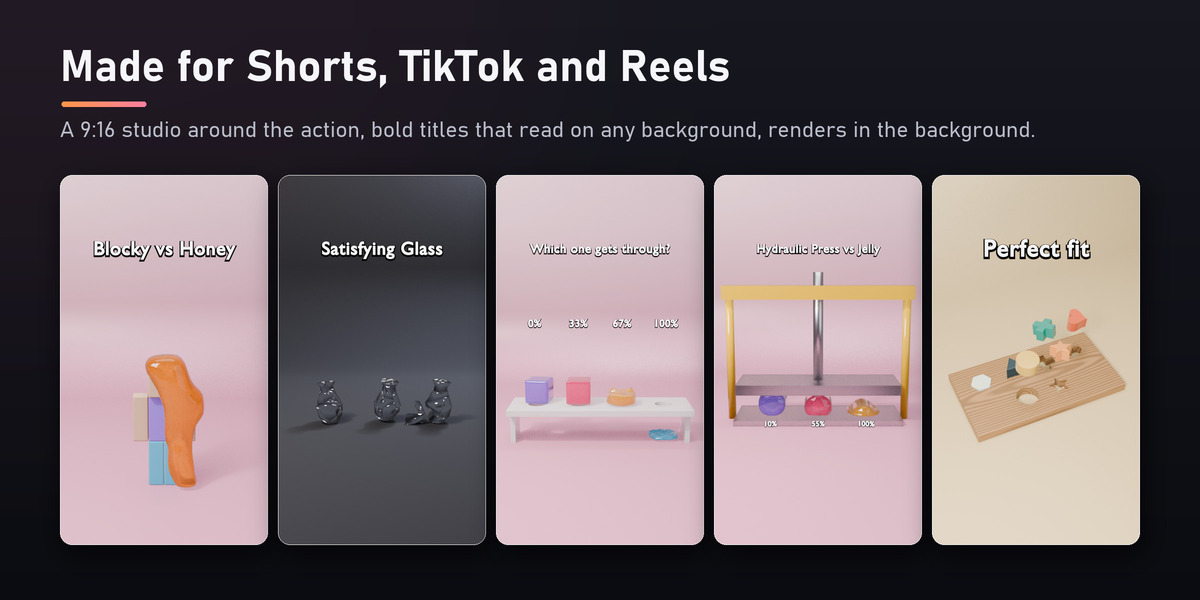
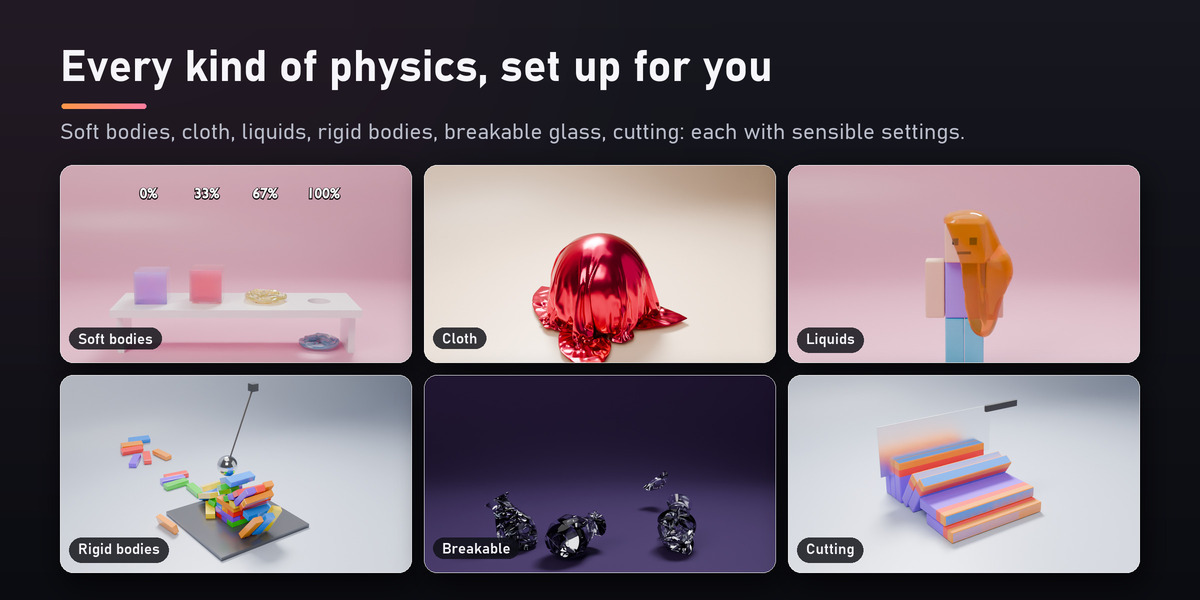
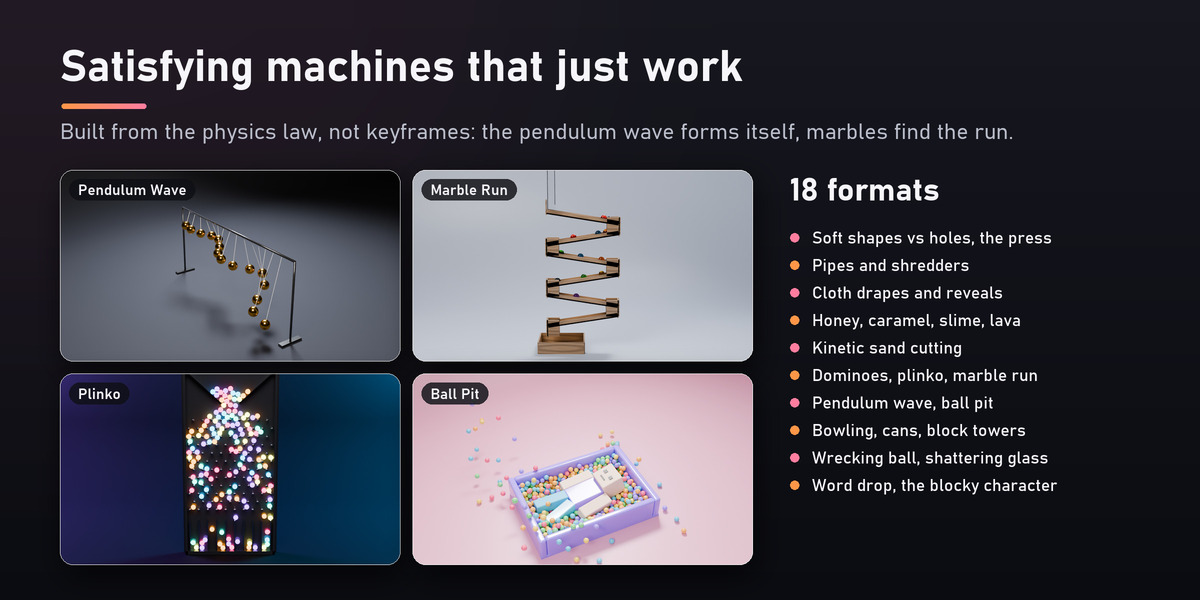
Installation
- Download
simlift-1.0.0.zip(do not unzip it). - In Blender: Edit › Preferences › Get Extensions, the arrow menu at the top right, Install from Disk, and pick the zip.
- Press N in the 3D Viewport and open the SimLift tab. The ? button there opens this guide offline.
SimLift user guide
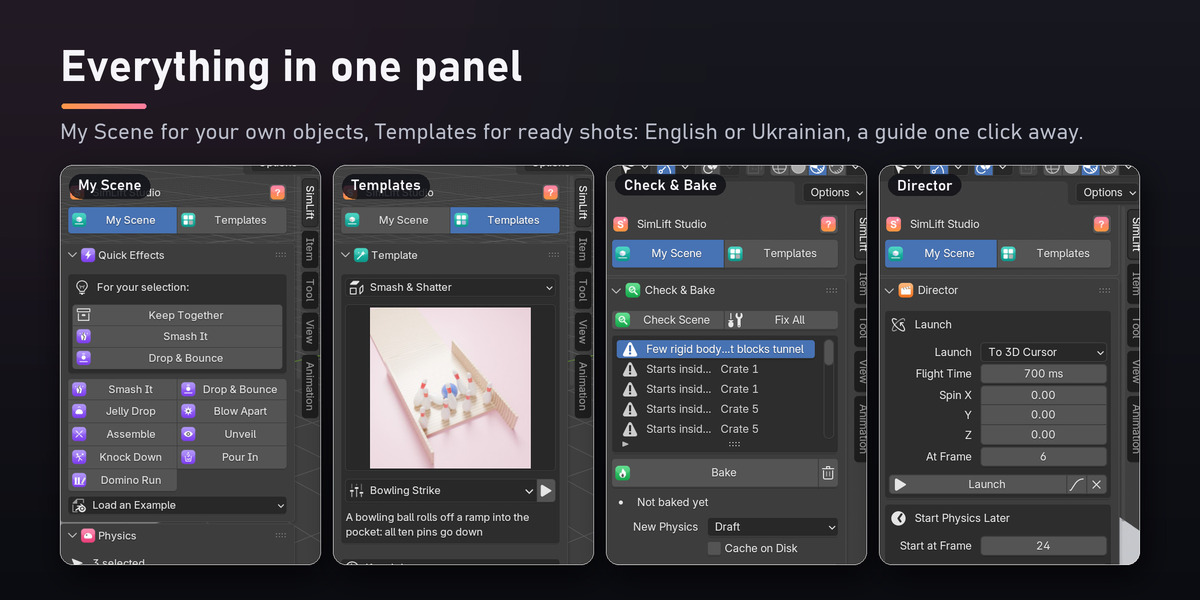
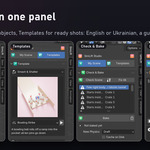
Everything is in the SimLift tab of the 3D Viewport's sidebar (N). The switch at the top picks the workspace:
- My Scene: tools for your own objects: Physics, Selected Object, Director, Check & Bake, Takes, Sound, Look, Camera & Text, Shot, Render & Batch, Compilation.
- Templates: ready-made satisfying shots: Template, Check & Bake, Sound, Look, Camera & Text, Shot, Render & Batch, Compilation, My Presets.
The ? button next to the switch opens this guide in your web browser (it works offline).
Part 1: your own scene
Quick Effects
The first panel of My Scene: whole shots from the selection in one click. For your selection at its top suggests what fits what you selected (an armature, a curve and an object, a model of loose parts, a soft body, a cover...). Each sets up the physics, adds its events to the Timeline (move or change them there and Apply again), adds a floor and a camera when the scene has none, makes the shot long enough, and bakes in the background.
| Effect | Select | What happens |
|---|---|---|
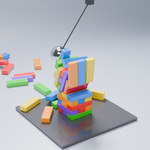
| Smash It | objects | a steel ball flies in from the left of the camera; the objects break (Made Of: ceramic, glass, wood...); slow motion and a shake at the hit |
| Drop & Bounce | objects | they rise, tilt and fall as rubber; slow motion at the first hit |
| Jelly Drop | objects | jelly copies of them drop and squish |
| Blow Apart | objects | they break into pieces (their loose parts, or cut) and a blast throws them apart |
| Assemble | objects | the same blast played backwards: the pieces fly together into the objects |
| Unveil | objects | a cloth covers them and is blown off |
| Knock Down | an armature | a ball hits it at chest height; it falls limp from that moment |
| Pour In | a container, then the object to pour (active) | copies stream into the container |
| Domino Run | a curve, then the object to copy (active) | copies stand along the curve and topple |
Load an Example (under the buttons) builds a small scene for an effect in a new scene of its own (a vase on a table, the word BOOM or LOGO, a stick figure, a jar and a candy, a ring path and a tile, toys) and runs the effect, so you can see what it does; your scenes stay as they are.
Physics
Select objects, press a button; each opens a small dialog with its options.
| Button | What it does |
|---|---|
| Make Soft | A soft body that squishes and wobbles (cloth with inner pressure). Softness 0% is firm, 100% floppy. Works on a copy (the original is hidden, not changed) that is remeshed closed and even, because pressure needs that. |
| Make Cloth | Silk, satin, metallic, velvet, cotton, denim, leather or a rubber sheet. Pin the top edge (curtains, flags) or the top corners (banners). A low-poly sheet gets a Simple subdivision before the cloth so it can fold. |
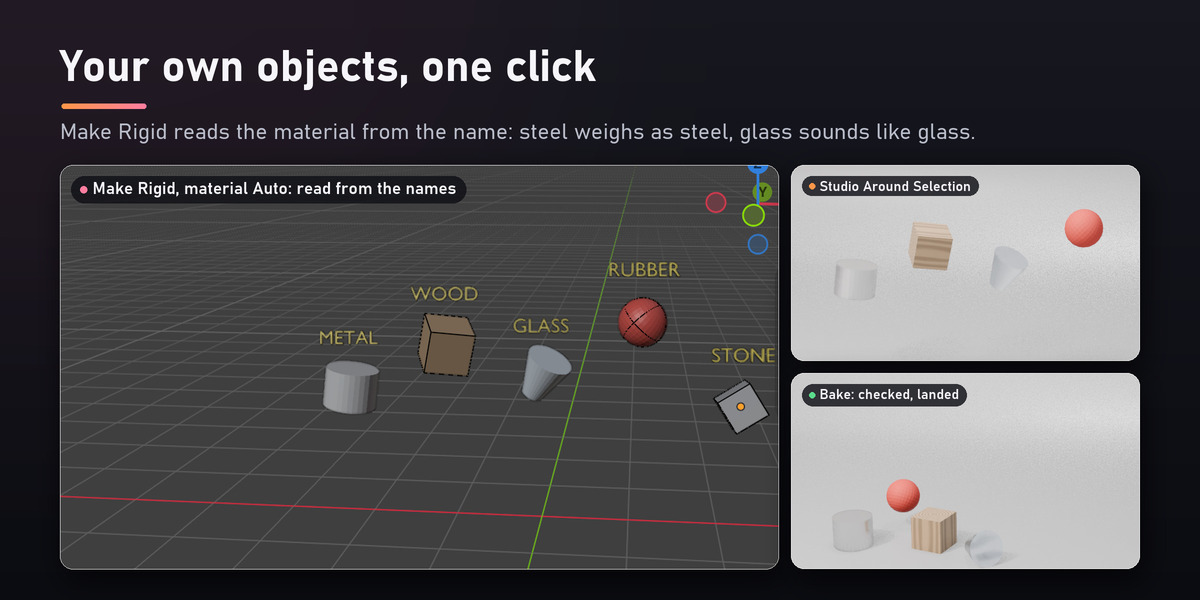
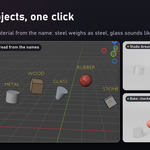
| Make Rigid | A rigid body with a real material's density (mass = density x volume), grip and bounce. Material Auto (the default) reads each object's name and material: a "Steel Ball" gets metal, an "Oak Crate" wood, a "Wine Glass" glass, a "Brick" stone, a cube painted "Gold" metal, anything else plastic (the status bar says what it picked; change it in the operator's panel). Shape Auto picks Box for a mesh that fills its bounding box (a crate, a book, a beveled dice), Sphere for a ball and Convex Hull for the rest, and for any mesh whose origin is off its middle (Blender centers Box and Sphere on the origin). Still Until Hit keeps towers and walls standing until something hits them. Press it again (with another material, say) and the body starts over; its connections stay. |
| Make Collider | A still or animated obstacle for soft bodies, cloth and rigid bodies (Liquids Too for liquids). Its bounce is 1: Bullet multiplies the bounce of both bodies, so things bounce as much as their own material says. Something made rigid by mistake (a floor) stops falling. |
| Make Breakable | Cuts a copy into glued pieces that break apart when a hit is stronger than Strength. |
| Liquid Source | The active object pours water, honey, caramel, slime, chocolate, milk, lava or paint. A liquid domain is made around it and your colliders, which become liquid obstacles. |
| Add Force | Wind, turbulence, vortex, magnet or an explosion at the 3D cursor, from Start for Length (0: to the end). Strength is an acceleration in m/s² for the rigid bodies in reach (an explosion: the speed it gives them, m/s), whatever they weigh: Blender's own field strength pushes every body with the same force, so heavy ones barely move; SimLift scales it by their average mass. With no rigid bodies (cloth only) the strength is used as it is. |
| Remove Physics | Everything above, gone from the selected objects. |
| Restore Originals | Deletes the soft copies, pieces, parts and copies SimLift made from the selected objects (all, when nothing is selected) and shows the originals again. |
| Studio Around Selection | SimLift's backdrop, lights, camera and text around the selection, with the Look, Camera & Text and Shot settings (frame size, engine; your frame range stays). The backdrop is the floor for the physics unless your scene has a floor of its own. |
What the toolkit makes goes into the SimLift Toolkit collection and belongs to you: Build Shot (templates) never removes it.
Selected Object
Every setting that matters for the active object's physics in one place: cloth and soft body (steps, mass, stiffness, bending, pressure, air drag, speed, collision distance, self collision, friction), collider, liquid domain, source and obstacle, rigid body (mass, friction, bounce, shape, damping, Still Until Hit, Animated), connection (objects, breakable, strength), force field, and the material's color, roughness, metallic, transmission and coat.
Director
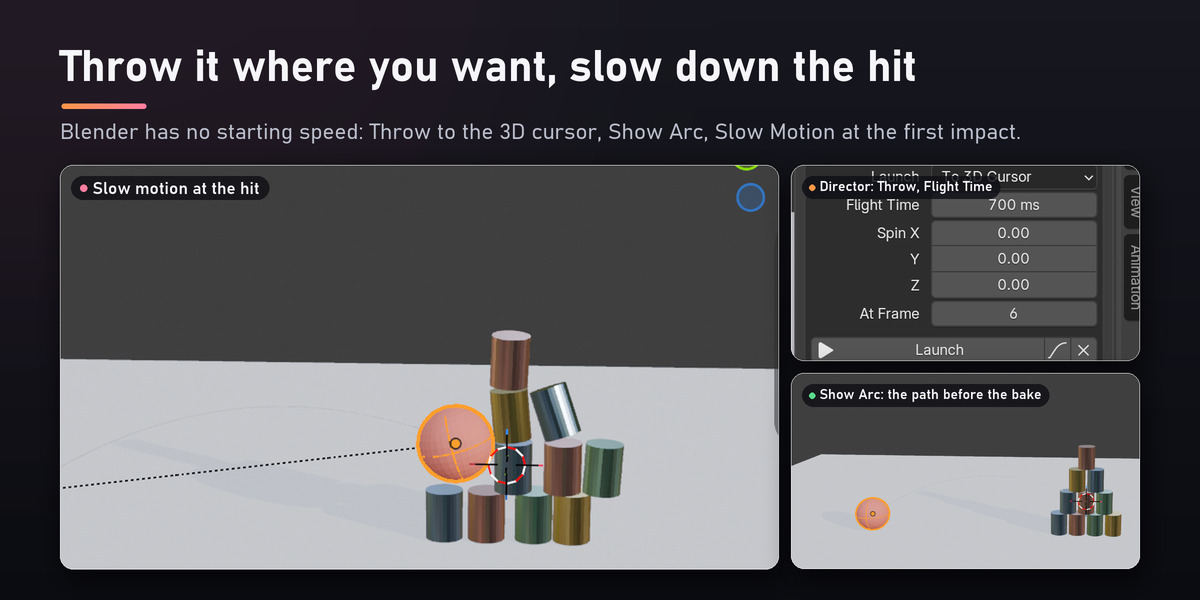
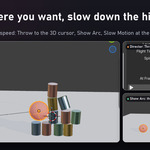
- Launch: Blender gives rigid bodies no starting velocity. SimLift adds a motor that brings the object to the Velocity (m/s) and Spin (turns per second) in one step at At Frame and lets go; before that frame the object is held still. To 3D Cursor works out the throw that brings it to the cursor after Flight Time, with gravity and the object's damping. The motors are empties named "SimLift Launch ..." in the SimLift Toolkit collection; Clear Launch (the X) removes them.
- Start Physics Later: the object is held still (or follows its own keyframes) until Start at Frame, then the physics takes over with the speed it had: an animation-to-physics hand-off.
- Slow Motion: every simulation (rigid bodies, cloth, soft bodies, liquids) runs at Speed between the two frames, easing in and out over Ease; the shot gets longer by the frames the slow part adds. At First Impact bakes, finds the first hard hit, slows down from just before it and bakes again. The X removes the slow motion.
- Connect to Active: select the objects, then the one to connect them to last (active). Glue, Breakable Glue (breaks at Strength), Hinge (around X, Y or Z through the pivot: doors, lids, see-saws), Spring, Rope (a pendulum from the active object, with a visible rope). Pivot: between the objects, at the active object or at the 3D cursor. Objects without physics become rigid bodies (a rope or hinge anchor becomes a still one).
- Show Arc (the curve button next to Launch): a thin curve shows where the active object would fly with the launch set there, before it hits anything. Throws on the Timeline get their arcs when you Apply.
- Bake to Keyframes (in Check & Bake): the moving rigid bodies become ordinary keyframed objects, a key on every frame, for export to other apps and game engines or for editing by hand.
The same file gives the same shot on every bake, in background renders and takes too. Blender on its own does not promise that for animated rigid body settings, so SimLift keys Delta Scale (at its own value) on the objects it holds before a launch or a later start, and slow motion adds a driver on the hidden "SimLift Launch Anchor" that reads the rigid body Time Scale. Leave them in place.
Takes
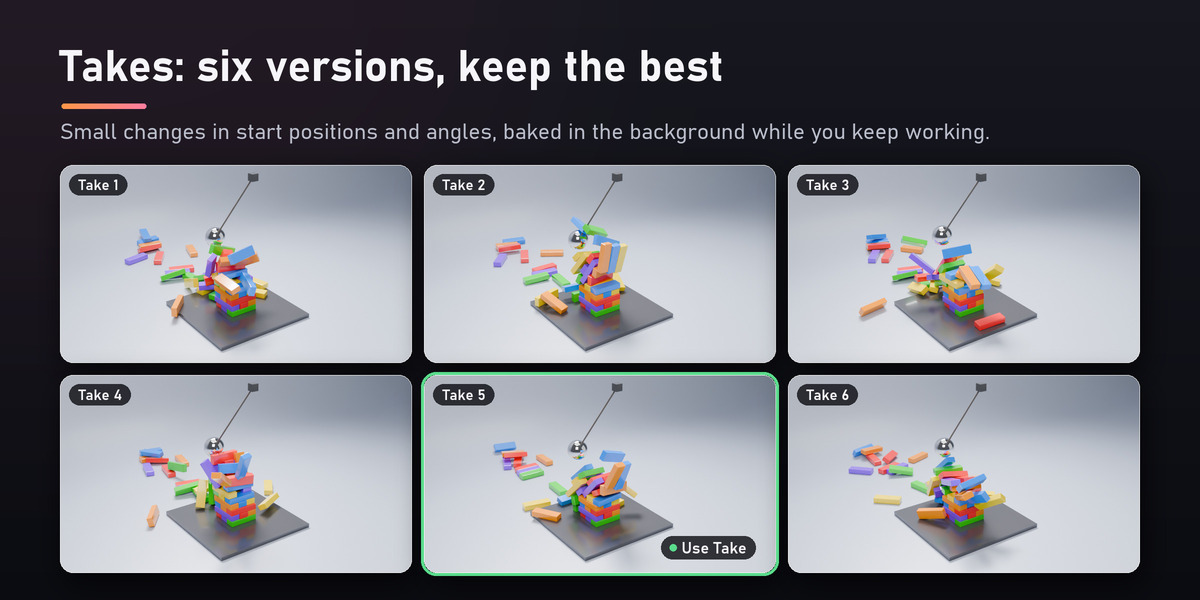
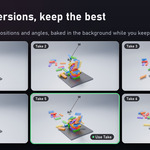
The same simulation with small differences, each baked and previewed by a background Blender while you keep working, so you pick the best take instead of re-baking by hand (Houdini calls it wedging).
- Vary: every moving rigid body, soft body and cloth, or only the selected ones.
- Position (moves each object up to this far, sideways and up, never down), Rotation, Bounce & Friction, Softness (stiffness and pressure), Forces (strength of force fields). A take never starts objects inside each other: in a tower or a pile, a block that would cut into its neighbour keeps less of its change, so the takes differ without bursting apart.
- Previews: Fast (solid-shaded, seconds per take) or Full (your renderer at half size).
-
Make Takes saves each take as a .blend in
/ takes_NN/and queues it; the grid shows each take's picture when it is done. The play button opens its video. Use sets your scene to that take and bakes it; Back to Original restores your scene exactly.
Takes change only the objects' delta transforms and physics settings, never their own location or rotation.
Parts, groups, ragdolls, covers
In the Physics panel, under Effects and rigs:
- Break into Parts: every loose part of the active object (a logo, a text object, a model made of separate pieces) becomes its own rigid body, on a copy (the original is hidden). Glue Together keeps touching parts together until something hits them hard enough. Bake, then Reverse (Time & Camera): the pieces fly together into the logo.
- Keep Together: the selected objects move as one rigid body (a chair made of a seat and legs, a car and its wheels). They become children of a small hidden parent with Blender's Compound shape, so each part keeps its own collision shape; their scale is applied.
- Make Ragdoll: the active armature (Rigify, Mixamo or your own) gets a box body per deforming bone and joints that bend up to Joint Limit degrees (the bone's own axis twists less; knees and elbows bend like hinges, the torso and neck bend less, the torso is thicker, by bone names). Fingers, face, toes and helper bones get no body, nor do very short bones: Rigify's human becomes 21 bodies. Its bones copy the bodies from Limp from Frame on: the character plays its own animation until then and falls limp from the pose it has, so a throw, an explosion or a wrecking ball can knock it over. The X removes the ragdoll.
- Cover with Cloth: a sheet drops over the selected objects (they become colliders) and drapes them. Reveal (on the cover): from the frame set there, a gust lifts the cover off toward Direction while its grip on the product drops: the unveiling.
In Build with Your Objects, Pour Copies: copies of the active object pour from the 3D cursor, Per Second from the current frame, each appearing in one of a few spots across Spread and falling from there.
Timeline
The whole shot as a list of events in time: a choreography you can edit. + adds an event at the current frame for the active object (a Throw goes to the other selected object, or to the 3D cursor); the list shows frame and summary; click one to edit it below; the tick switches it off.
| Event | What happens |
|---|---|
| Throw At | the object flies to the Goal object (or Point) and arrives after Flight Time |
| Launch | it starts moving with Velocity and Spin |
| Start Physics | held still (or animated) until the frame, then physics |
| Appear | hidden and out of the way until the frame, then it drops in from where it stands |
| Explosion | a blast at the Goal object (or Point): Strength is the speed it gives what is near (m/s), Radius its reach |
| Wind Gust, Vortex, Magnet | for Length frames; Strength is an acceleration in m/s² for the bodies in reach |
| Break Joints | the connections (glue, hinges, ropes) of the object let go |
| Slow Motion | everything slows to Speed for Length frames (ramps in and out) |
| Camera Shake | the camera shakes for Length frames |
Applied events show as markers on Blender's timeline (named "SL ..."). Apply & Bake turns the list into the scene from scratch (launch motors, held frames, force fields, speed ramps, visibility, camera noise) and bakes it; the tick button applies without baking; X undoes what the last Apply made (the list stays). Each object starts moving once: at its first Throw, Launch, Start Physics or Appear. Explosions, wind and appearing objects get their own sounds.
Music (the same file as in the Sound panel): Find Beats finds the tempo and every beat and marks them on the timeline (Bar on every fourth); Snap Events to Beats moves the events onto the nearest beats, and a Throw so that it *arrives* on a beat. Then Apply & Bake.
Build with Your Objects
Make the object to copy active (and select a curve, container or surface first where needed). Copies share the original's mesh, keep its modifiers and materials, and get rigid bodies with the chosen material's weight; the original is hidden. They go into the SimLift Generated collection.
- Stack Copies: a tower, a brick wall (rows offset by half) or a pyramid, where the original stands; Still Until Hit keeps it standing until something hits it.
- Copies Along Curve: copies stand along the selected curve (or along X from the 3D cursor) facing along it, their thin side forward, like dominoes; the first one leans over and starts the chain. Spacing is a part of the copy's height (under 0.9 they knock each other over).
- Fill Container: copies fall into the other selected object (a jar, a bowl, a box), which becomes a collider; they start on a grid above its opening so none starts inside another.
- Scatter & Drop: copies scattered over the other selected object (or around the 3D cursor) and dropped on it, kept apart from each other.
- Settle Selected: the selected objects fall into place with physics and stay there, without the physics they did not have (set dressing: rocks, books, fruit in a bowl). Other moving bodies are held still meanwhile; the bake is cleared.
Time & Camera
After baking:
- Reverse: the shot plays backwards (a shattered vase flies back together).
- Boomerang: forward, then backward: a perfect loop, twice as long.
- Freeze & Orbit: at the current frame the action stands still for Hold frames while the camera flies Orbit degrees around it (bullet time); then it goes on.
- Follow the Action: the camera keeps aiming at the middle of what moves, smoothed.
- Frame the Action: the camera moves back along its view so everything that moves stays in frame for the whole shot.
- Shake on Hits: the camera shakes on the hardest hits (noise on its delta rotation, so your camera animation is untouched). Zoom on Biggest Hit: the lens punches in, holds and eases back. Clear Camera Effects removes both.
The time effects turn the moving rigid bodies into keyframes (a key on every frame), so the result is plain animation you can still edit; Ctrl+Z brings the simulation back. Cloth, soft bodies and liquids keep playing forward.
Soft body effects
In the Physics panel: Soft Effect on selected soft bodies, between two frames: Inflate (pressure up and the skin grows: Swell 3 is about one and a half times bigger), Deflate (goes limp and shrinks), Pop (the pressure is gone at once: it crumples like a burst balloon), Melt (stiffness and pressure drain away: it slumps into a puddle). The soft body's inner springs are switched off for the effect (pressure takes over their job); Clear Soft Effect gives everything back.
Make Jiggly: any mesh you animate yourself wobbles like jelly when it moves or stops (a soft body pulled toward your animated shape, no gravity, no other physics). Wobble 0 is stiff, 1 very loose.
Check & Bake
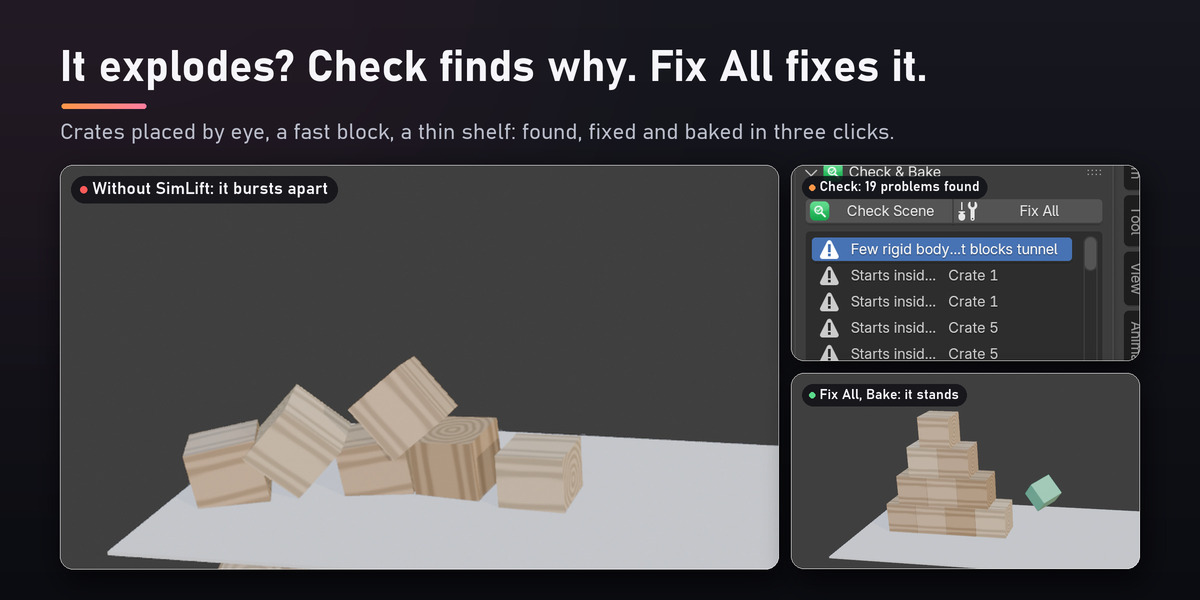
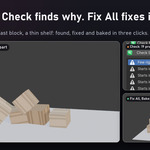
Check looks at the scene on its first frame and lists what makes simulations fail; Fix All applies every fix (and clears the bake first). After a bake (and on Check when the scene is baked) it also looks at what the bake did, and the status bar says how many problems it found:
| In the baked result | Fix |
|---|---|
| Bodies jump on the first frames (they started inside something) | moves one out: up onto the other, or aside |
| Bodies fly off faster than anything in the shot could throw them | a step twice as fine |
| Bodies fall through a floor or a shelf | a step twice as fine |
| Bodies still jitter at the end instead of resting | a step twice as fine |
| A cloth or soft body blew up to several times its size | more cloth steps and collision quality |
| Nothing moved at all | (bodies asleep, gravity off) |
Before the bake:
| Problem | Why it matters | Fix |
|---|---|---|
| Rigid bodies start inside each other | they burst apart on the first frame | moves one out where they overlap least: up onto the other, or aside (a row moves apart) |
| A rigid body has keyframes but is not Animated | physics ignores the keys | switches Animated on |
| Animated keys (held, then physics) with no transform keys | Blender reads them in no fixed order with the step: they take effect a frame early or late at random | a constant Delta Scale key, which the step waits for |
| The rigid body world's Speed (Time Scale) is animated | the same: the slow-down starts a step early or late at random | a driver that makes the step wait for it |
| The rigid body world is off, or an object is not in it | nothing moves | switches it on, adds the object |
| A moving rigid body uses the Mesh shape | it tunnels and jitters | Convex Hull |
| A moving rigid body is mirrored (negative scale) | the simulation flips it back the moment it moves | applies the scale, faces kept outward |
| Small rigid bodies (under 4 cm) with few substeps | they jitter and sink | 40 substeps, 20 iterations |
| Bouncy bodies but colliders with no bounce | bounce is multiplied: nothing bounces | collider bounce 1 |
| Scale not applied on a cloth or soft body | it behaves heavier or softer than it looks | applies the scale |
| Cloth with very few vertices | it cannot fold or squish | a Simple subdivision first in the stack |
| Thin collider (under 2 cm) | fast objects pass through | 5 cm |
| Few cloth steps | fast drops pass through | 10 steps |
| A soft body starts inside a collider | it gets stuck or jumps | (move it) |
| A simulated object is hidden | hidden objects do not simulate | shows it |
| A liquid source outside every domain | no liquid comes out | (move it or the domain) |
| A cache ends before the shot | the motion freezes | extends every cache |
| Pressure on an open mesh, odd sizes, masses 1000x apart, gravity off, very dense cloth | slow or odd results | (explained in the list) |
Bake (from the panel) bakes in the background: Blender stays usable, the progress shows in the status bar, Esc stops it, and the panel shows how long it took and how many sounds were added. Cache on Disk keeps cloth and soft body bakes in a folder next to the saved .blend instead of inside it (smaller files, less memory). From scripts it waits. It bakes every simulation in the right order (rigid bodies, cloth and soft bodies, then liquids) up to the last frame of the shot (simulation caches are set to end with the shot, so nothing bakes past it), then adds the sounds when Auto Sound is on. New Physics quality is used for what the toolkit makes from then on.
Sound
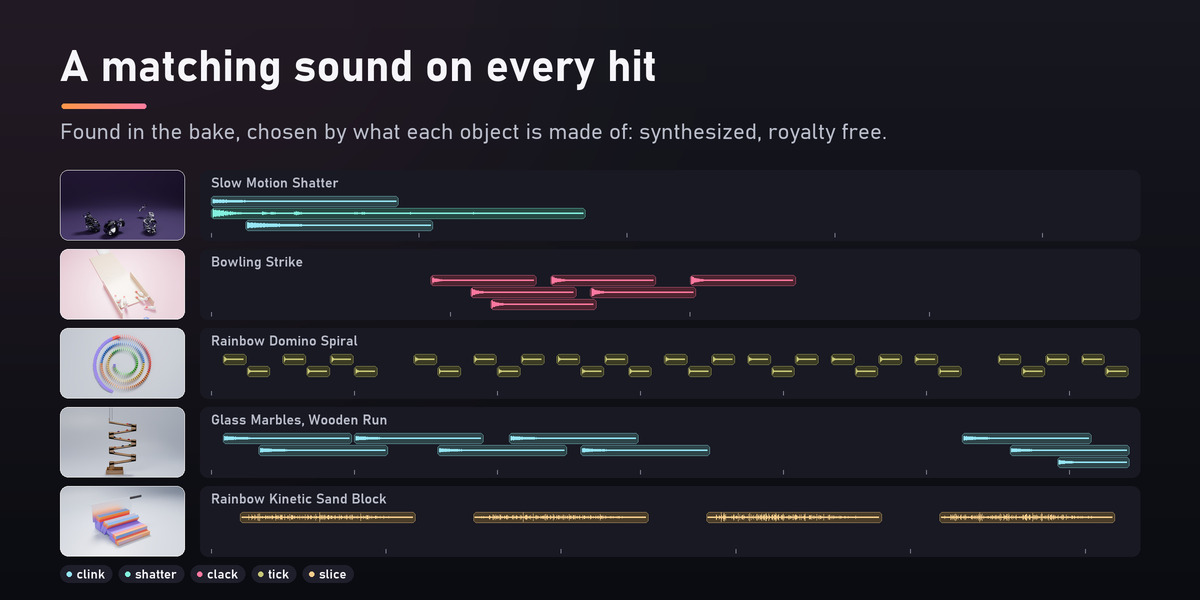
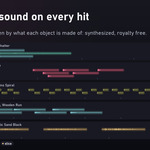
After a bake SimLift steps through the shot: every sudden change of speed of a rigid body, soft body or cloth (a stop, a bounce, a knock aside, a body at rest knocked away) is a hit, and a domino, a pin or a book on end clicks as it starts to fall. A Launch, a Throw or an explosion starting a body is not. What it sounds like comes from what the object is made of: SimLift's material preset, the object's or its materials' names (steel, glass, oak, brick, rubber...), or the material itself (metallic or glass). Metal clangs, glass and ceramic clink, wood knocks, stone thuds, plastic clacks, rubber pops, soft bodies squish, cloth flops; the first hit of a breakable object shatters and its pieces clink; each liquid source splashes where it lands. Harder hits are louder; each sound is panned to where it happens in the camera's frame.
- Sensitivity: higher gives softer hits a sound too. Max per Second keeps the loudest when many happen at once, spread through the second (a domino run keeps its rhythm).
-
My Sounds: a folder of your own WAV, OGG, MP3 or FLAC files. Name a file (or its folder) after the kind:
clang,clink,knock,thud,clack,pop,tick,squish,flop,shatter,splash,boom,slice,click,whoosh,machine, or a material word (metal,glass,wood,stone,plastic,rubber,cloth,soft,water,break).metal/hit_03.wavandclang_heavy.oggboth become clangs. Your files replace SimLift's synthesized sounds of that kind. - Sound in the Selected Object panel: pick what this object sounds like (metal, glass, wood, stone, plastic, rubber, soft, cloth, very heavy, breaking) when the guess from its material is wrong, or Silent.
- Strips are named "SimLift SFX" in the sequencer, where you can move or delete them; renders include the audio.
Part 2: templates
The Template panel
Templates are made in meters with Blender's own gravity. In a scene that counts in other units (Unit Scale 0.01 for a model in centimeters) or has its own gravity, Build Shot builds the template in a scene of its own, "SimLift Shot", with the same settings, and leaves your scene as it is.
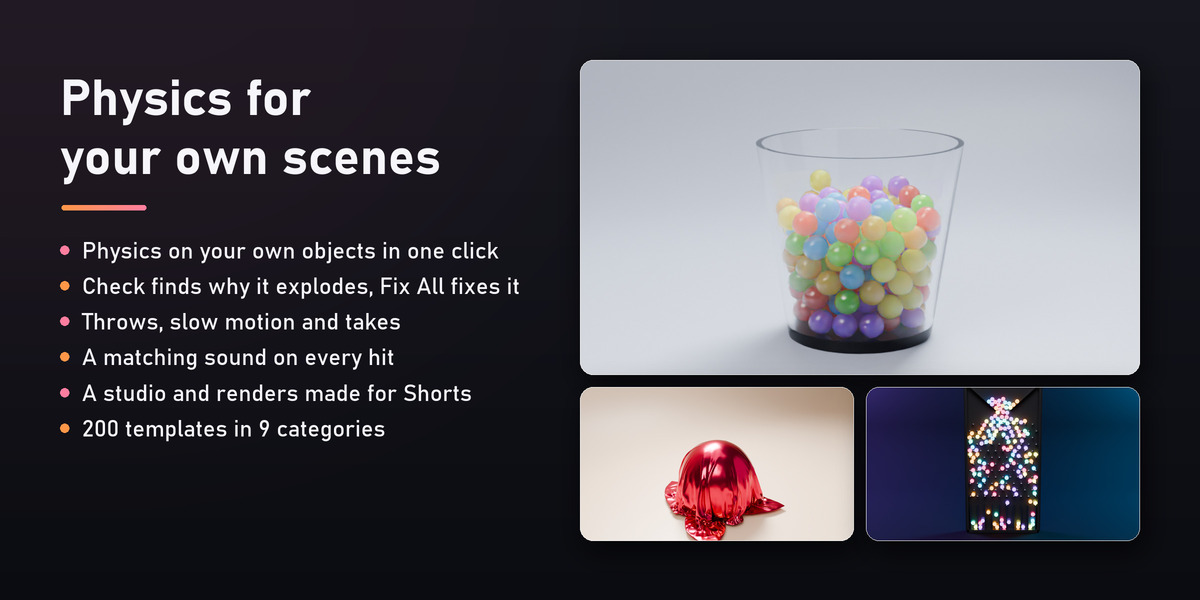
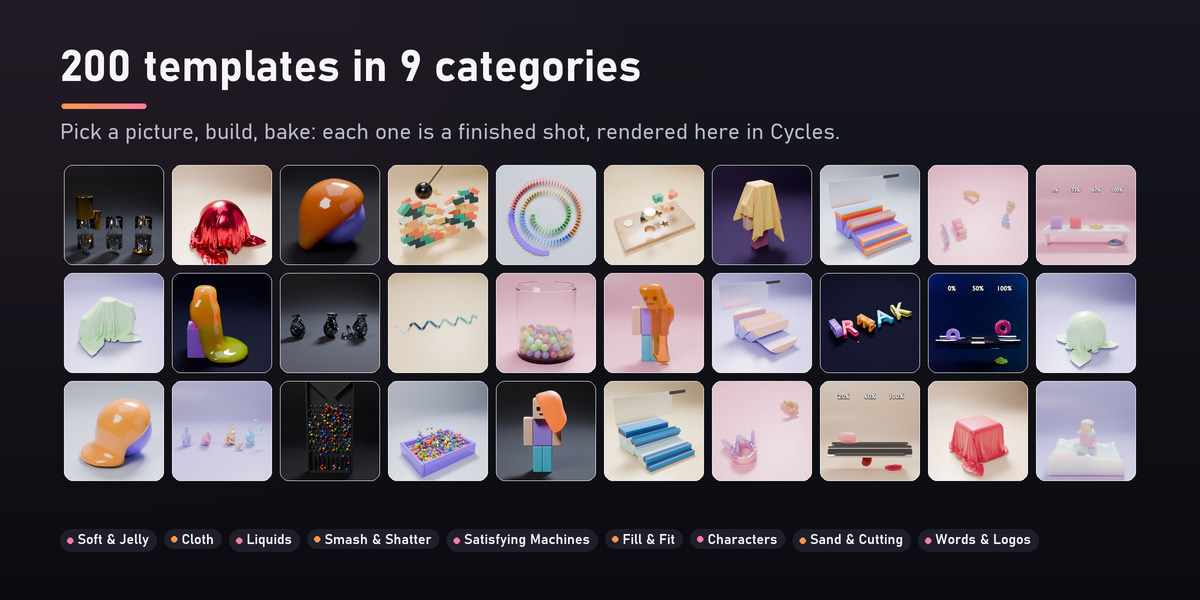
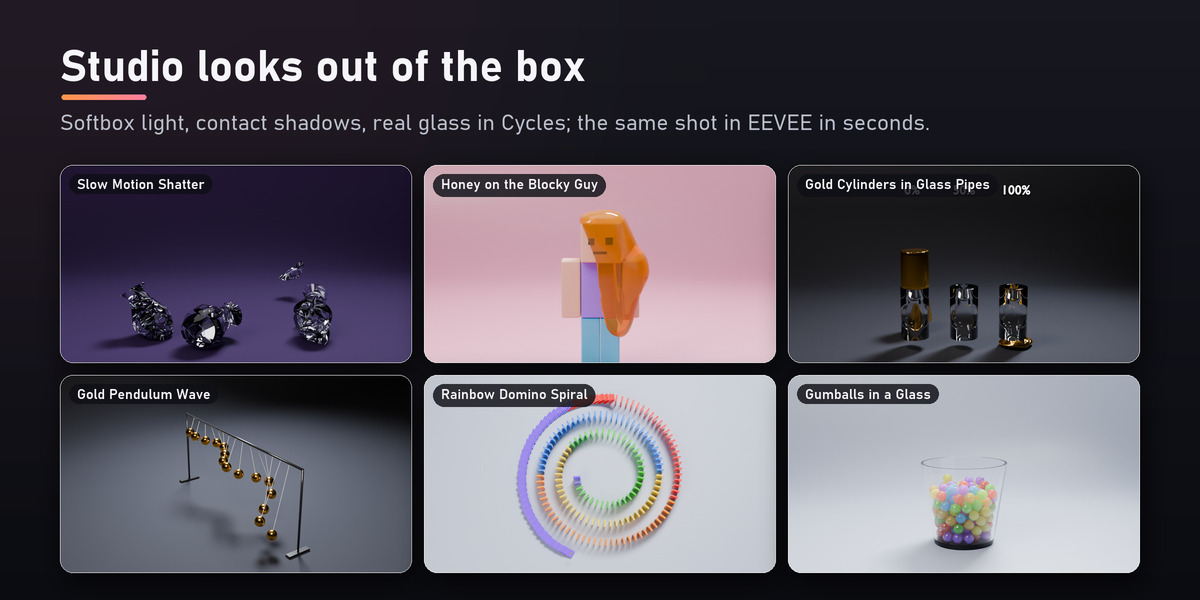
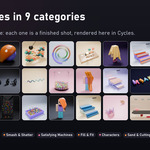
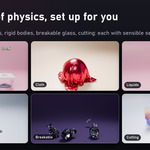
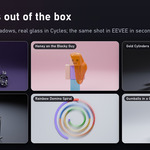
A library of 200 recipes (one-click setups, each a different shot) in nine categories: Soft & Jelly, Cloth, Liquids, Smash & Shatter, Satisfying Machines, Fill & Fit, Characters (the blocky character against honey, lava, cloth, a ball pit...), Sand & Cutting, Words & Logos. Pick a category, click the picture: the category's recipes as pictures (rendered in Cycles from the recipes themselves); the menu under it lists all 200 by name, with search. Picking one sets everything to it; Build Shot builds it. Then the format menu, the format's settings, Build Shot and New Variation (next seed). Build Shot replaces what SimLift built before and never deletes your own objects. Everything a template makes goes into the SimLift collection. Blender's untouched startup scene (the default cube, light and camera) is cleared on the first build. Your other objects are hidden from the shot while Hide My Objects (the eye button next to Seed) is on; switch it off to show them again.
Quality
| Draft | Standard | High | |
|---|---|---|---|
| Soft shapes | coarse | fine | very fine |
| Cloth steps per frame | 10 | 14 | 20 |
| Liquid resolution | 56 | 96 | 150 |
| Samples (EEVEE / Cycles) | 16 / 48 | 48 / 128 | 96 / 256 |
Work in Draft; batches render at Render Quality (Standard by default).
Formats
0% vs 100% Soft
Shapes (cylinder, cube, sphere, capsule, torus or your object) from Firmest to Softest. 0% is a rigid body: it never squeezes through. Soft shapes carry the weight of their own jelly, so they sag into a gap and the softer one always gets through first. Obstacles: Holes (72% as wide as the shapes; with four shapes 0% and 33% rest on top, 67% sags or squeezes through late, 100% drops through right after landing), Glass Pipes and Funnels (narrower than the shapes, clear glass so the squeeze stays in view), Rollers and Shredder (spin inward and pull the shapes through), Spike Bed, Stairs, Floor. Over holes, pipes and funnels every shape drops straight, a fair race. Percent Labels show the softness over each shape.
Hydraulic Press
The press comes down over Press Time, holds and lifts. Shapes are soft bodies only.
Cloth Takeover
Targets: ball, cube, pillars, the blocky character, your object. Cloth: silk, satin, metallic, velvet.
Liquid Pour
Mantaflow liquid from a nozzle above the target for Pour Time. Honey, caramel, chocolate, slime, paint and lava are viscous. Liquids look best in Cycles; liquid bakes are the slowest part of SimLift, so test in Draft.
Blocky vs Physics
A six-box character (SimLift's own design) held by ragdoll joints, still until something hits it. Hazards: blocks, balls or both. Target can also be your object.
Kinetic Sand Cut
A block, a round cake or your object made of layered kinetic sand. The knife cuts slice after slice; each slice is pushed over its edge and falls as a rigid body.
Perfect Fit
Up to seven pieces turn, line up and slide into a wooden board. Pure animation: nothing to bake.
Domino Run
Line, snake, spiral or circle; a small pusher tips the first one.
Pendulum Wave
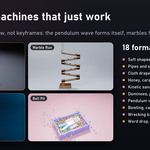
A row of balls on strings of slowly decreasing length, released together (Balls: 3 to 30). Each swings a little faster than its neighbor, so the row turns into a travelling snake, splits into four, three and two rows, and comes back in line after a whole cycle of 30 seconds (a Short that long loops). Real hinged rigid bodies: the string lengths come from the pendulum law, ball inertia included (the periods measure within 1% of it, all off by the same share, so the pattern is exact). Seen from above (Top Down) the snake reads best. Pick an object to swing your own.
Marble Run
Marbles stacked in a glass loading tube roll out one after another onto a zigzag of wooden ramps (Levels), drop through the hole at the end of each ramp, between walls that keep a knocked marble in, and land in a tray.
Knockdown
A bowling ball rolls down a curved ramp, along a lane and into Bowling Pins (white with red stripes, center of mass where a real pin's is; the ball comes into the pocket at a slight angle, as a bowler's hook does: a strike with most seeds), a Can Pyramid, a Cup Pyramid or a Block Pyramid (Rows). Its speed comes from the ramp's height alone.
Ball Pit
Hundreds of plastic balls in a padded pit (Ball Layers), resting until something lands in them: the blocky character falling flat on its back (it weighs as a person does: lighter, it would float on the balls), a 60 kg steel ball, or your object.
Block Tower
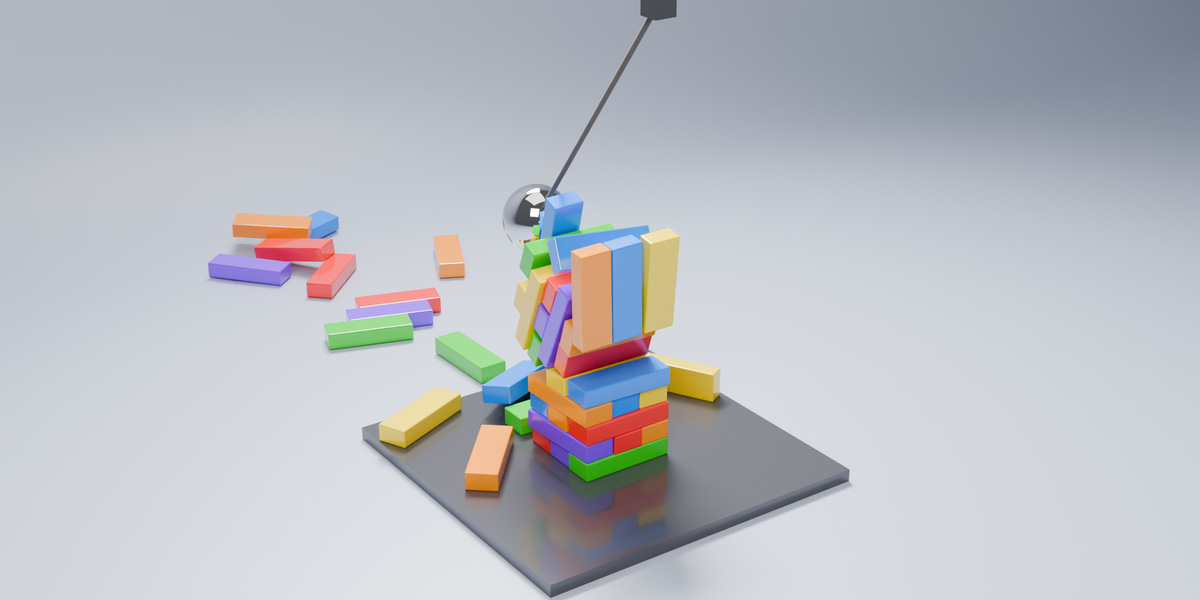
Layers of three crossed blocks (Layers), each a few millimeters and a degree off, as real blocks are. Brought down by a steel ball on a rope swinging into its middle, or by two blocks yanked out of the second layer at once.
Plinko Board
Balls stacked over a hopper drop through rows of pegs into bins.
Candy Pour
Gumballs, cubes and pills (or a mix) rain into a jar, a tumbler or a bowl.
Wrecking Ball
A heavy ball on a rope smashes a brick wall that rests still until it is hit. Pick an object to swing your own "ball".
Glass Shatter
Vases, bottles, balls, cubes or your object, made of glass, ceramic, ice or sugar glass, fall and break into Pieces when they land (Strength: how hard a hit must be). Slow motion x2 by default.
Word Drop
Your Word (up to 24 letters, any .ttf/.otf Font) as thick 3D letters that drop one after another, lying face up and seen from a High Angle so the word reads all the way: Jelly (soft, from Firmest to Softest: they land and wobble), Solid (bounce) or Breakable (shatter on landing), onto any of the obstacles of 0% vs 100% (jelly letters squeeze through the holes). Short words fill a vertical frame best.
Your object
Formats with a Your Object choice use a copy of the picked object (modifiers and transforms applied, scaled to fit). For soft bodies the copy must be closed: if it is not (or is too coarse), SimLift remeshes it, which removes its UVs, so SimLift's material is used. Keep Its Materials keeps your materials when it can.
Look
Every template starts in a Palette Color studio: a soft backdrop picked to go with the palette (pink for Candy, lavender for Pastel, sand for Ocean, cream for Retro, a night studio for Neon, Sunset, Gold and Fire...), rising a little lighter up the wall, with a satin floor that softly reflects the shot. The other backdrops: Light Studio, Dark Studio, Mirror Floor, Color, Gradient (floor to wall color) and Checker.
Around the backdrop SimLift puts a soft sky (the scene's World: it fills the shadows and gives glossy things something to reflect; your own world is kept and can be picked again in the World properties) and a light setup: Softbox Studio (a big warm key, a cool fill, a softbox overhead for the glossy highlights and a rim light), Dramatic, Neon Rims (lit with two colors of the palette) or Sunlight. EEVEE renders with ray tracing and fast GI: contact shadows, light bouncing off the floor, reflections of the shot in glossy things. A light probe sphere above the action (SimLift Reflections) lets chrome, gold, glass and candy coats reflect the lit studio.
Build Shot and Studio Around Selection set the 3D views' Material Preview and Rendered modes to the scene's own lights and world, so the viewport shows the studio as it renders. Brightness makes the studio's lights and sky brighter or darker together (1 is SimLift's setting). Apply Look recolors the template with the current Material and Palette and gives the studio the current Lighting, Brightness and Backdrop, keeping the bake.
Camera and text
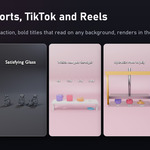
The camera aims at a focus empty and sits on a rig, so moves stay framed: Push In and Pull Out (20%), Orbit (40 degrees), Crane Up, Handheld (a light noise wobble). Views: Front, Three Quarter, Side, Top Down, Close-Up and High Angle (from above at about 45 degrees: boards, piles, anything flat). Lens sets the focal length and the camera is framed for it (85 mm and more flattens the shot like a product photo). Title and caption are children of the camera, sized to fit, in bold letters (Inter, the font of Blender's own interface) with a thick dark outline that drops a little like a shadow, so they read on any backdrop; they sit below the Shorts title bar and above the caption and buttons area. Shorts Safe Zones shades, in the camera view, what the Shorts, TikTok and Reels interface covers in a vertical frame (the title bar, the caption with the channel name and music, the column of like / comment / share buttons). Title Font takes your own .ttf or .otf (your channel's font) for the title, caption and labels. Type \n for a line break. The same studio, camera and text go around your own objects with Studio Around Selection.
Small things
- Ukrainian interface: set Blender to Ukrainian (Preferences > Interface > Translation, Language "Ukrainian", Affect: Interface) and SimLift's panels follow.
- Keep as My Scene (Template panel): the template's objects become your own; Build Shot no longer replaces them and the My Scene tools (timeline, takes, effects) work on them. They move to a "My Shot NN" collection.
- Export Alembic (next to Render in Background): the shot's motion, simulations included, as an .abc file for other apps (selected objects, or every visible mesh).
- Safety net: every SimLift button leaves Edit, Pose or Sculpt Mode first, so the physics use the mesh as you just edited it. If something unexpected goes wrong you get a short message instead of a Python traceback; the details are in the system console (Window > Toggle System Console on Windows).
- Pie menu: Shift+Alt+P in the 3D Viewport: Make Rigid, Make Collider, Bake, Check, Make Soft, Make Cloth, Make Breakable, Launch. Change the key in Preferences > Keymap (search "call_menu_pie").
Renders, batches and the queue
Quick Preview renders the viewport into a video; Render Cover renders a picture at the most dramatic moment (read from the baked motion: where things move fast and far from where they started, pieces flying just after a hit; variants' covers too); Render in Background bakes and renders the shot as a video in a background Blender while you keep working.
Render Variants (templates) builds N variants (seed + the boxes under Vary), saves each as a .blend in /_batch_NN/, then background Blenders bake, add sounds, render an MP4 and a cover PNG. is the panel's Output folder, else the add-on preferences' Default Output Folder, else "SimLift Renders" next to the saved .blend, or in your Videos folder for a file not saved yet (never Blender's temporary folder, which Blender empties when it quits). Parallel Renders (add-on preferences) runs more at once; each one is a whole Blender, so mind the memory. Failed jobs show their error; the log is next to the .blend. Retry Failed queues them again.
Make Compilation joins the videos of the last batch or takes with crossfades (and an intro card) into one video, with their sounds.
Background jobs start a clean Blender: your other add-ons are not loaded there, so they cannot slow a render down or pop up anything. Cycles jobs switch on your GPU by themselves (OptiX, CUDA, HIP, oneAPI or Metal, whichever there is).
Speed
- EEVEE or Cycles: EEVEE is the default and fast; Cycles renders glass and liquids for real (refraction, light bouncing off the studio) and SimLift lights it to match, but it is several times slower (measured on a laptop without an NVIDIA card: about 100 s a frame in EEVEE and 450 s in Cycles at 1080x1920; with an RTX card Cycles takes seconds, and background jobs use the card by themselves).
- EEVEE compiles its shaders before the first frame of every render: on integrated graphics that takes about a minute, on a gaming GPU a few seconds. Ray tracing does not make it longer (measured on Intel UHD graphics), so SimLift always renders with it.
- Draft quality and Resolution 50% are made for checking a shot; batches render at Render Quality.
- Takes with Fast previews take seconds each; liquids bake the longest, so queue them overnight.
- Big scenes: SimLift sets up a thousand objects in about a second (Make Rigid on 1000 cubes: 0.5 s, Remove Physics: 0.3 s). The bake itself is Blender's: 1300 rigid bodies over 48 frames take about 8 s at Draft quality.
Tips
- Shorts work best at 8-15 s; compilations at 8-10 minutes.
- Slow motion at the first impact makes soft bodies, breaking glass and liquids look heavier and more satisfying.
- Dark backdrop + Dramatic or Neon lights makes candy and chrome pop; a Palette Color studio keeps a channel's look consistent from video to video (vary the palette, the studio follows).
- Keep the camera static for comparisons; move it for cloth and liquids.
- Make 6-12 takes of a pile, a throw or a shatter and keep the one that reads best.
Have questions about this product?
Login to message
| Blender Extension Compatible | Yes |
| Published | 1 day ago |
| Blender Version | 5.0 - 5.2 |
| Extension Type | Add-on |
| Render Engine Used | Cycles, Eevee |
| License | GPL |
Discover more products like this
satisfying animation sound effects destruction rigid body soft body motion graphics physics presets cloth simulation Fluid