AV Optics UI Gaming and HUD Assets
 SirCharles.DESIGN








INSTALLATION & SETUP
Quick Start (3 Steps to Get Creating)
1. Download & Extract
- Download your AV OPTICS package from your BlenderMarket library
- Extract the ZIP file to a location you'll remember (we recommend: Documents/3D Assets/AV_OPTICS/)
- Keep all resolution folders and vector files organized together
2. Choose Your Format
- EPS Vectors - Infinite scalability for any project size
- 4K PNG - High-resolution renders, close-ups, hero assets
- 2K PNG - Standard game dev, real-time applications, VR/AR
- 1K PNG - Mobile games, performance-critical projects, UI overlays
3. Import into Your Software
- Navigate to your chosen format/resolution folder
- Import files directly into your project
- Reference the folder structure guide below for easy navigation
You're ready to create!
FILE STRUCTURE & ORGANIZATION
Root Directory Layout
AV_OPTICS/
├── Vector_Files_EPS/
│   ├── 01_Crosshairs_Reticles/
│   ├── 02_Weapons_Ammunition/
│   ├── 03_Measurement_Ranging/
│   ├── 04_Military_Branding/
│   └── 05_Technical_Symbols/
├── 4K_PNG/
│   ├── [Same category structure]
├── 2K_PNG/
│   ├── [Same category structure]
├── 1K_PNG/
│   ├── [Same category structure]
├── License_Agreement.pdf
└── README.txt
Naming Convention
All assets follow a consistent naming pattern:
AVOPTICS_[Category]_[Number]_[Description].[ext]
Examples:
- AVOPTICS_Crosshair_001_MilDot_Scope.png
- AVOPTICS_Weapon_045_Rifle_Silhouette.eps
- AVOPTICS_Ranging_023_5m_Marker.png
This naming system allows you to:
- ✓ Quickly identify asset categories
- ✓ Sort and filter in your file browser
- ✓ Find specific assets across projects
- ✓ Maintain organized asset libraries
THE 5 TACTICAL ASSET CATEGORIES
All assets are provided in neutral grayscale tones, allowing you to customize them to any color palette your project requires using your software's material/shader systems. Vector EPS files provide infinite scalability for any resolution needs.
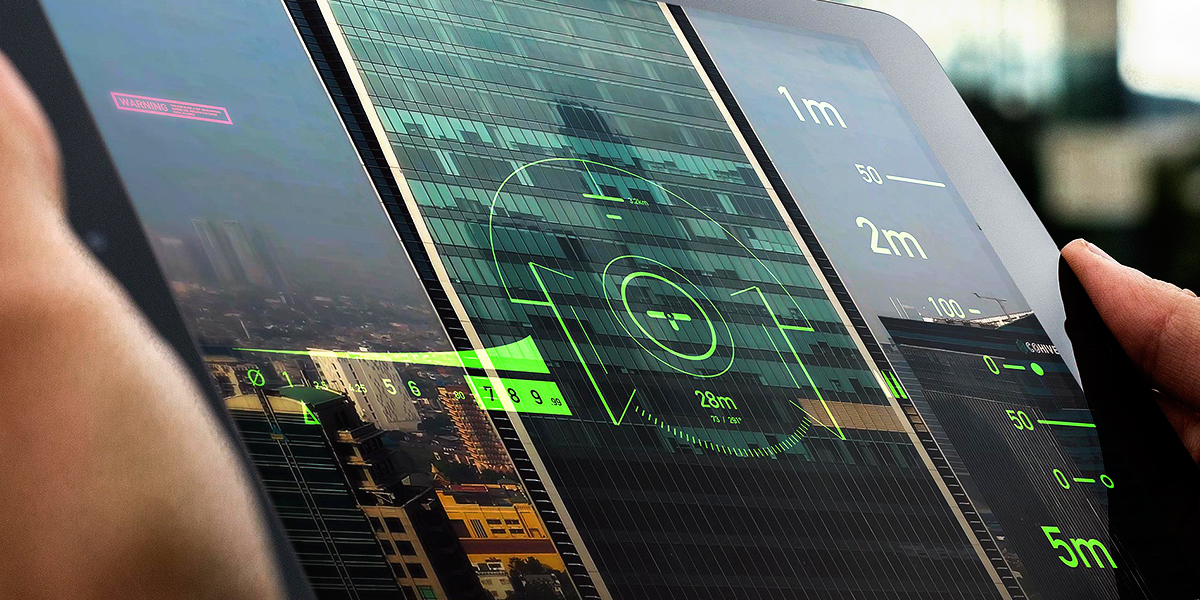
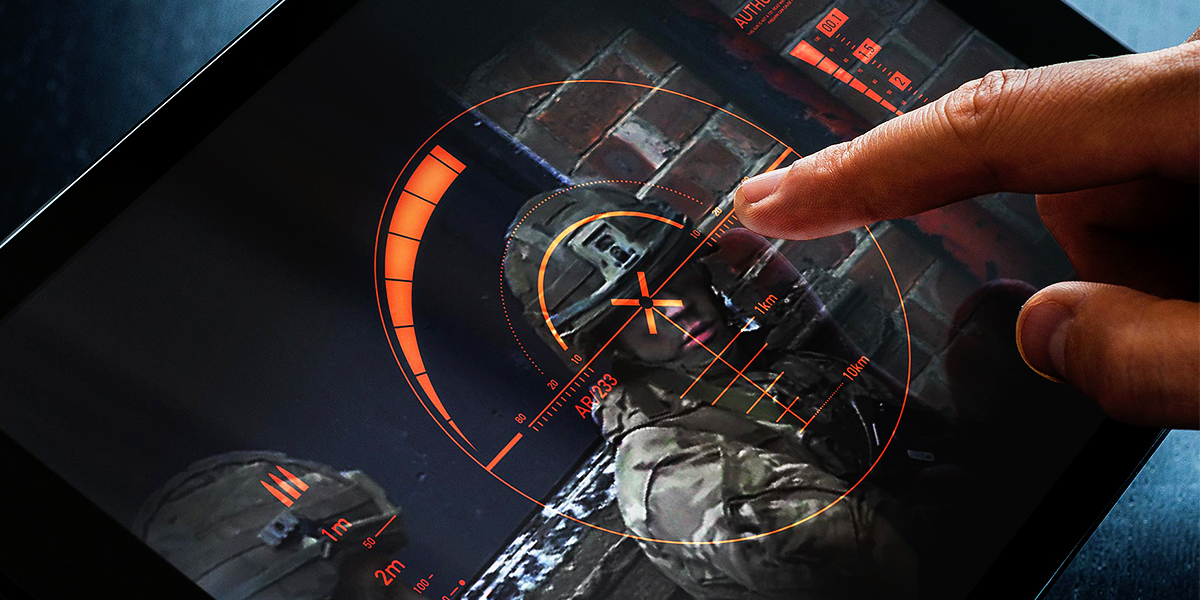
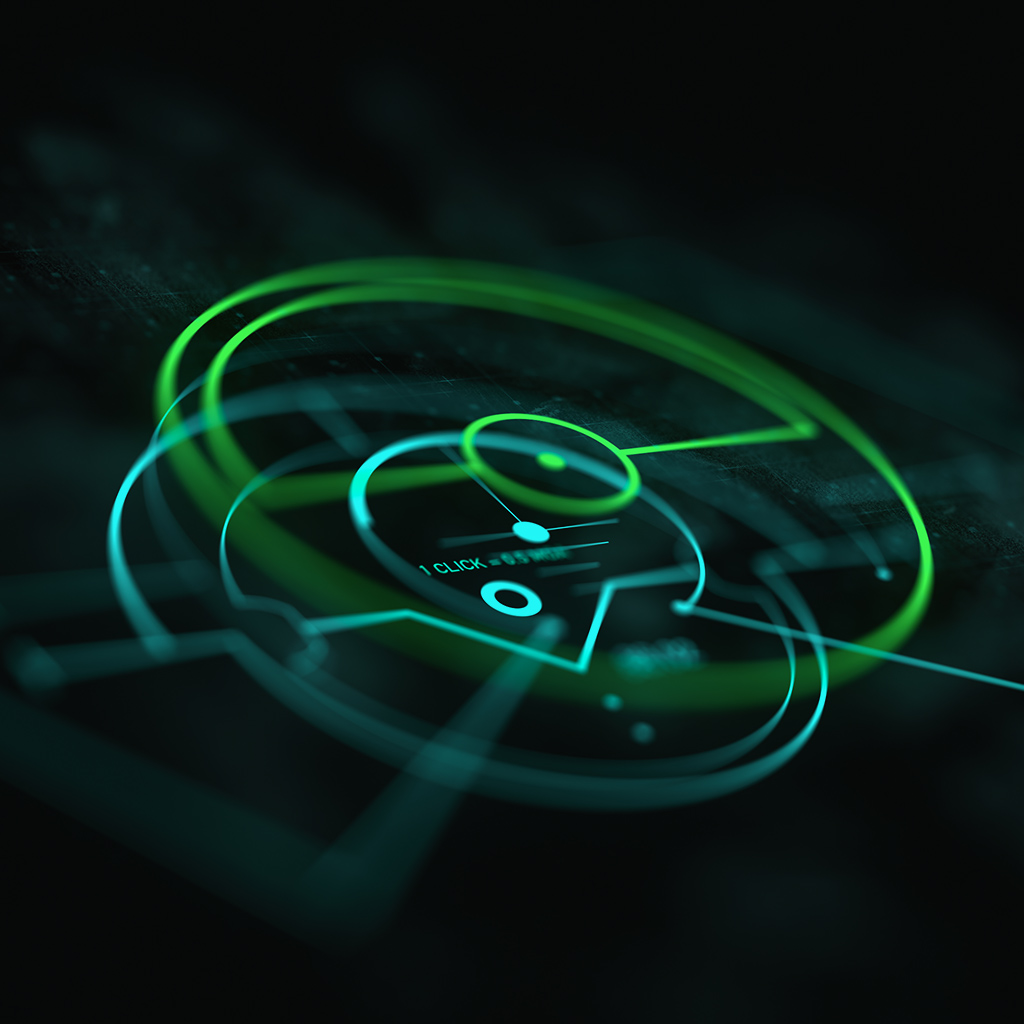
01 - CROSSHAIRS & RETICLES (40+ assets)
Category Focus: Weapon sights and targeting systems
Visual Language:
- Precision crosshair designs (simple to complex)
- Mil-dot and range-finding reticles
- Circular targeting scopes
- Sniper scope overlays with measurement marks
- Red dot and holographic sight patterns
- Range estimation grids
Best For:
- First-person shooter weapon sights
- Sniper scope overlays
- Tactical targeting systems
- Vehicle weapons targeting
- Aiming mechanism UI
Design Philosophy: Each crosshair and reticle reflects authentic military optical sight design, from simple three-post reticles to complex mil-dot ranging systems. These assets capture the functional precision of real-world tactical optics, providing the targeting authenticity required for professional FPS and tactical simulation projects.
Usage Tips:
- Use vector files for perfect scaling across any screen resolution
- Layer multiple reticle elements for advanced scope systems
- Apply subtle glow effects for holographic sight aesthetics
- Combine with measurement elements for realistic ranging
- Adjust line weight for different zoom levels
02 - WEAPONS & AMMUNITION (25+ assets)
Category Focus: Firearm silhouettes and ammunition identification
Visual Language:
- Weapon silhouettes (rifles, pistols, sniper rifles)
- Caliber markings (9mm, 7.62x39mm, etc.)
- Ammunition round graphics
- Bullet count indicators
- Magazine capacity displays
- Firearm profile icons
Best For:
- Weapon selection screens
- Loadout and inventory UI
- Ammunition counters and HUD
- Field manual illustrations
- Arsenal documentation
- Tactical planning interfaces
Design Philosophy: Clean, recognizable weapon silhouettes paired with precise ammunition specifications. These assets provide instant weapon identification in UI systems while maintaining military technical accuracy. From assault rifles to pistols, each silhouette is optimized for quick recognition in gameplay scenarios.
Usage Tips:
- Use weapon silhouettes in loadout selection menus
- Combine caliber markings with ammunition counters
- Scale for mini-map or tactical overview displays
- Pair with numerical displays for ammo management
- Create weapon comparison charts
03 - MEASUREMENT & RANGING SYSTEMS (25+ assets)
Category Focus: Distance indicators and measurement tools
Visual Language:
- Distance markers (1m, 2m, 5m, etc.)
- Measurement scales and rulers
- Range estimation grids
- Circular range indicators
- Angular measurement tools
- Ballistic calculation overlays
Best For:
- Sniper scope ranging systems
- Distance measurement HUD
- Tactical map scales
- Ballistic drop calculators
- Artillery and mortar targeting
- Survey and reconnaissance tools
Design Philosophy: Military precision requires accurate distance and measurement systems. These assets provide the technical measurement elements found in advanced optical systems, artillery computers, and tactical planning tools. Each element emphasizes clarity and functional readability under operational conditions.
Usage Tips:
- Layer with crosshairs for complete ranging scope
- Use in tactical map overlays for scale reference
- Animate for laser rangefinder effects
- Combine with ballistic calculators for sniper gameplay
- Include in vehicle targeting computers
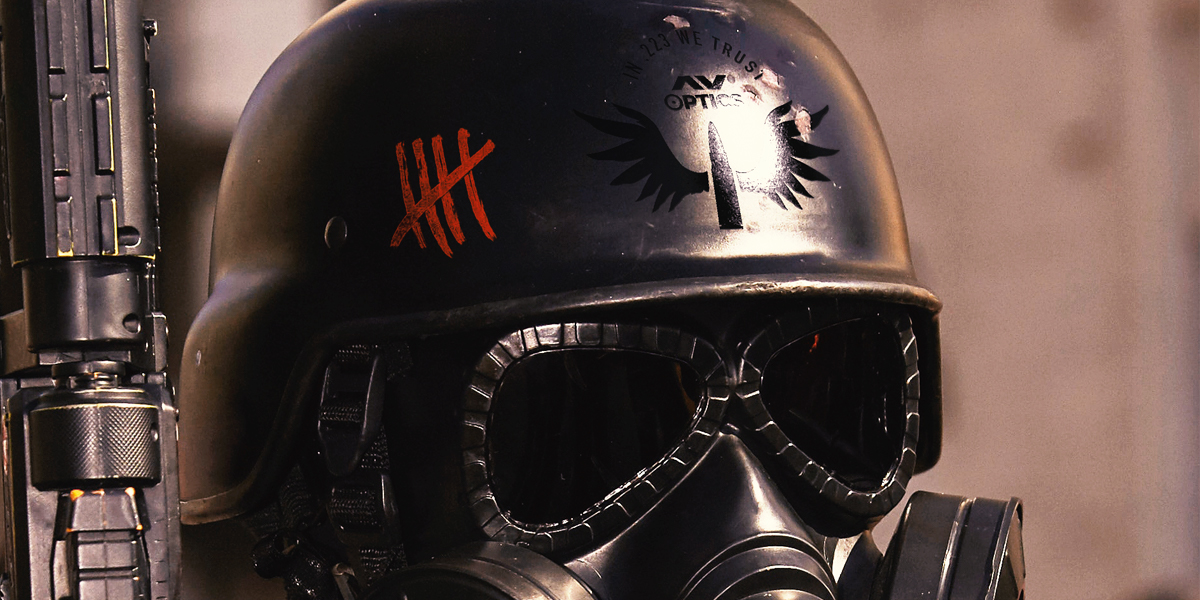
04 - MILITARY BRANDING & COMPLIANCE (20+ assets)
Category Focus: Official markings and authorization labels
Visual Language:
- "MILITARY USE" designations
- AV OPTICS brand logos and variations
- NATO standard markings
- "AUTHORIZED" stamps
- Warning and caution labels
- Law enforcement designations
- Military specification badges
Best For:
- Equipment authentication
- Weapon and gear certification
- Military-grade product identification
- Restricted access indicators
- Official military branding
- Tactical equipment labeling
Design Philosophy: Military equipment carries official designations, compliance markings, and authorization stamps. These assets add layers of authenticity suggesting proper military channels, certified equipment, and regulated tactical systems. They communicate authority, legitimacy, and military-grade standards.
Usage Tips:
- Apply to weapons for "military-spec" authenticity
- Use on equipment screens for certification indicators
- Add to tactical gear for official designation
- Include in menus to indicate restricted/advanced equipment
- Combine with weapon stats for military pedigree
05 - TECHNICAL SYMBOLS & INDICATORS (15+ assets)
Category Focus: Tactical icons and technical markers
Visual Language:
- Directional indicators
- Status symbols
- Technical markers and icons
- Grid reference patterns
- Orientation indicators
- Tactical symbols
Best For:
- HUD status indicators
- Tactical map markers
- Equipment mode displays
- System status icons
- Orientation and navigation aids
- Technical interface elements
Design Philosophy: Military operations rely on standardized symbols for quick information communication. These technical indicators provide at-a-glance status, orientation, and tactical information designed for rapid comprehension in high-stress situations.
Usage Tips:
- Use for weapon fire mode indicators
- Apply as compass and orientation markers
- Include in status display systems
- Combine with other categories for complete HUD
- Animate for active status changes
ASSET COMBINATION STRATEGIES
Creating Authentic Military Interfaces
The Layered Approach: Professional military interfaces combine multiple elements to create functional, information-rich displays. Mix categories strategically:
Example: Advanced Sniper Scope Interface
- Base Layer: Crosshair & Reticle (mil-dot pattern)
- Ranging Layer: Measurement & Ranging (distance markers at 1m, 2m, 5m)
- Information Layer: Technical Symbols (wind direction, elevation)
- Branding: Military Branding (NATO marking, scope manufacturer)
Example: FPS Weapon HUD
- Primary Display: Crosshair & Reticle (center targeting)
- Ammunition Display: Weapons & Ammunition (current caliber, round count)
- Status Layer: Technical Symbols (fire mode selector)
- Authentication: Military Branding (authorized military use badge)
Example: Tactical Loadout Screen
- Weapon Display: Weapons & Ammunition (full weapon silhouettes)
- Specifications: Measurement & Ranging (effective range indicators)
- Certification: Military Branding (military authorization stamps)
- Selection Icons: Technical Symbols (status and selection markers)
Asset Hierarchy in Designs
Establish Visual Priority:
- Primary Elements (60%) - Main targeting or weapon identification graphics
- Secondary Elements (30%) - Supporting measurement and data
- Tertiary Elements (10%) - Branding and compliance marks
This creates authentic complexity while maintaining visual clarity and usability.
SOFTWARE-SPECIFIC WORKFLOWS
BLENDER (Standard Workflow)
Method 1: Direct Image Texture
- Select your object and enter Edit Mode
- Add a new material in the Shading workspace
- Add an Image Texture node
- Load your chosen AV OPTICS PNG asset
- Connect to a Mix Shader to blend with base material
- Adjust placement using UV coordinates or texture mapping nodes
Method 2: Using as Decal with Shrinkwrap
- Add a plane (Shift+A > Mesh > Plane)
- Scale to approximate asset size
- Apply material with asset texture
- Add Shrinkwrap modifier targeting your model
- Position plane over desired surface area
- Adjust Shrinkwrap offset for perfect surface placement
Vector Workflow:
- Import EPS file into vector software (Illustrator, Inkscape)
- Customize colors and scale as needed
- Export as PNG at desired resolution
- Import custom PNG into Blender
Pro Tip: Use vector files when you need to change colors or create custom variations before importing to Blender.
BLENDER WITH KIT OPS
Setup:
- Install KIT OPS addon (https://gum.co/kitops)
- Create a KPACK folder in your KIT OPS library
- For each asset you want quick access to:
- Create a simple plane with the asset material applied
- Export as FBX/OBJ to your KPACK folder
- Refresh KIT OPS library
Usage:
- Select your model
- Open KIT OPS INSERT menu
- Browse to your AV OPTICS KPACK
- Click asset to instantly place on surface
- Adjust using KIT OPS scaling and rotation tools
Installation Tutorial: https://youtu.be/05LkAZBZIn0
Custom PNG Tutorial (For importing your own PNG files): https://youtu.be/eM9MaKLVE2k?si=rBTJMC2OXfuOuXqD&t=230
Advantages:
- Instant placement with mouse click
- Real-time visual feedback
- Non-destructive workflow
- Easy repositioning and scaling
BLENDER WITH DECALMACHINE
Setup:
- Install DECALmachine addon
- Navigate to DECALmachine preferences
- Add AV OPTICS folder as a decal library
- DECALmachine will automatically recognize PNG files
Usage:
- Select your model
- Activate DECALmachine (default: D key)
- Browse your AV OPTICS library
- Click to project asset onto surface
- Asset automatically wraps around geometry
Installation Tutorial: https://youtu.be/iKNtCkGOWvY
Advanced Features:
- Parallax mapping for depth
- Automatic UV handling
- Smart surface wrapping
- Decal stacking and blending
UNITY
Import:
- Create Assets/Textures/AV_OPTICS/ folder structure
- Drag asset folders into Unity project
- Unity automatically imports PNG files as textures
Usage Method 1: UI Elements (Primary Use Case)
- Use directly as UI sprites for HUD
- Perfect for crosshairs, reticles, targeting overlays
- Ideal for menu systems and weapon selection screens
Usage Method 2: Decal Projector (URP/HDRP)
- Create new Decal Projector
- Assign AV OPTICS asset to projector material
- Position projector over surface
- Adjust projection size and angle
Usage Method 3: Standard Shader
- Create new material
- Assign asset to Albedo texture slot
- Enable transparency (Rendering Mode: Transparent)
- Apply to quad/plane positioned over surface
Vector Import:
- Import EPS files into Adobe Illustrator or Inkscape
- Customize and export as PNG at your target resolution
- Import custom PNG into Unity
UNREAL ENGINE
Import:
- Drag PNG files into Content Browser
- Unreal automatically creates Texture assets
- Organize in Content/Textures/AV_OPTICS/ structure
Usage Method 1: Widget/UMG (Primary Use Case)
- Use directly in UI widgets as images
- Perfect for HUD, crosshairs, targeting systems
- Create weapon sight overlays and tactical interfaces
Usage Method 2: Deferred Decals
- Create new Material with Domain set to "Deferred Decal"
- Add Texture Sample node with your AV OPTICS asset
- Connect RGB to Base Color
- Connect Alpha to Opacity
- Place Decal Actor in level
- Assign material and adjust projection
Vector Workflow:
- Process EPS files in vector editor first
- Export at desired resolution for Unreal
- Allows color customization before engine import
Pro Tip: For HUD elements, use Widget/UMG. For world-space markings on weapons/equipment, use Deferred Decals.
SUBSTANCE PAINTER
Import:
- Create custom smart material or drag onto surface
- Add Fill layer with AV OPTICS asset as alpha
Usage:
- Create new Fill layer
- Add AV OPTICS asset to the layer's alpha channel
- Adjust blend mode for desired effect
- Use projection/wrapping tools for complex surfaces
Advanced Workflow:
- Use as stencil for engraved markings
- Combine with metal/roughness for raised details
- Layer multiple assets with different material properties
- Create custom weapon skin variations
Vector Integration:
- Import EPS to Illustrator, customize, export PNG
- Bring customized PNG into Substance Painter
- Allows brand-specific color schemes
ADOBE ILLUSTRATOR (Vector Editing)
Primary Use Case for AV OPTICS:
Opening EPS Files:
- Open EPS file directly in Illustrator
- All elements are fully editable vectors
- Modify colors, scale, and arrangements
- Export as PNG at any resolution needed
Customization Workflow:
- Change colors to match your project palette
- Combine elements from multiple assets
- Add gradients or effects
- Export at 4K, 8K, or higher for future-proofing
Best For:
- Creating custom color variants
- Combining multiple elements
- Adding team/faction-specific colors
- Generating ultra-high-resolution exports
- Creating print materials
PHOTOSHOP/GRAPHIC DESIGN
Direct Usage:
- Open/Place PNG files directly
- Alpha transparency automatically recognized
- Use as layers in compositions
- Resize and color as needed
Best For:
- Concept art and pre-visualization
- HUD mockups and UI design
- Marketing materials and screenshots
- Texture atlas creation
- Custom weapon skin design
BEST PRACTICES & PRO TIPS
Resolution & Format Management
When to Use Vectors (EPS):
- When you need to change colors
- When creating custom variations
- When you need resolution above 4K
- For print materials
- When combining multiple elements
When to Use 4K PNG:
- Close-up weapon details
- Hero asset textures
- High-resolution HUD elements
- Cinematic renders
- VR applications where user can get close
When to Use 2K PNG:
- Standard game development
- Real-time HUD overlays
- Weapon textures for third-person view
- General equipment markings
- Most tactical UI elements
When to Use 1K PNG:
- Mobile game development
- Small UI icons
- Background equipment details
- Performance-critical applications
- Distant or small screen elements
Color Customization Strategy
Faction/Team Color Coding:
- Import EPS into vector editor
- Create variants in team colors (red, blue, green, etc.)
- Export each variant as separate PNG
- Use in-game for team identification
Realism vs. Readability:
- Military hardware often uses subdued colors (gray, black, tan)
- Game HUD elements need high visibility colors (bright red, cyan, green)
- Balance authenticity with gameplay needs
- Consider accessibility (colorblind modes)
Popular Color Schemes:
- Modern Military: Flat Dark Earth, OD Green, Black
- Sci-Fi Tech: Cyan, Orange, Magenta with glows
- Tactical HUD: Red (hostile), Blue (friendly), Green (nav/safe), Yellow (caution)
- Night Vision: Green monochrome
- Thermal Vision: White-hot or rainbow gradient
Layering & Composition for HUD Design
Creating Effective Targeting HUD:
- Foundation: Start with crosshair/reticle (60% opacity)
- Information: Add range/data overlays (70-85% opacity)
- Context: Include tactical symbols (40-60% opacity)
- Details: Subtle technical elements (20-40% opacity)
Depth and Hierarchy:
- Primary targeting elements: Highest contrast, centered
- Data readouts: High visibility, periphery placement
- Status indicators: Moderate visibility, consistent positioning
- Background elements: Low opacity, atmospheric only
Authenticity & Realism for Military Projects
Weapon Detailing:
- Apply manufacturer logos to receiver/slide
- Add caliber markings near chambers
- Include NATO designations for authenticity
- Use military authorization stamps on official weapons
- Weather markings based on weapon age/use
HUD Design Realism:
- Military displays favor function over flash
- Keep information dense but organized
- Use consistent measurement systems (metric for NATO)
- Include battery/power indicators
- Consider environmental factors (glare, vibration)
Scope and Optics:
- Combine crosshairs with ranging markers
- Add mil-dot measurements for precision shooting
- Include distance estimation scales
- Layer multiple reticle elements for complexity
- Reference real-world military optics designs
Common Pitfalls to Avoid
✗ Oversized crosshairs: Blocking too much of the player's view ✓ Solution: Keep crosshairs 5-10% of screen height maximum
✗ Low contrast on HUD: Elements invisible in bright scenes ✓ Solution: Add subtle dark outline or background to all HUD elements
✗ Unrealistic detail density: Too many markings on small weapons ✓ Solution: Use fewer, larger markings that read clearly
✗ Mixing incompatible styles: Modern HUD with historical weapons ✓ Solution: Match technological era across all assets
✗ Static, lifeless interfaces: No animation or feedback ✓ Solution: Animate targeting acquisition, data updates, alerts
✗ Ignoring accessibility: Red-green color reliance ✓ Solution: Use shape/icon differences, not just color coding
PROJECT-SPECIFIC WORKFLOWS
GAME DEVELOPMENT
FPS/Tactical Shooter Implementation:
- Create modular HUD system with swappable elements
- Set up weapon prefabs with appropriate markings
- Build targeting system with progressive complexity
- Implement faction/team color variants
- Test readability across all lighting conditions
Optimization Checklist:
- ✓ Use texture atlases for HUD elements
- ✓ Implement LOD for weapon detail markings
- ✓ Compress textures appropriately for platform
- ✓ Profile UI draw calls and optimize
- ✓ Test crosshair visibility in various environments
Asset Organization:
- Separate HUD assets by function (targeting, info, alerts)
- Organize weapon assets by type (rifles, pistols, etc.)
- Create variant folders for team colors
- Maintain source EPS files for future customization
VR/AR DEVELOPMENT
HUD Placement Considerations:
- Avoid extreme periphery (limited FOV in VR)
- Use 3D-positioned HUD elements for depth
- Keep critical information at comfortable focal distance
- Test for eye strain and readability
- Consider roomscale movement and HUD stability
Weapon Integration:
- Apply markings at actual real-world scale
- Ensure readability when weapon is raised to eye level
- Use higher resolution textures (users get closer in VR)
- Test with different dominant eye orientations
FILM & ANIMATION
Cinematic HUD Design:
- More complex than gameplay HUD (no readability constraints)
- Animated data streams and targeting sequences
- Camera-aware positioning for dramatic framing
- Synchronized with action beats
- Often non-functional/aesthetic
Weapon Hero Props:
- Use 4K or export custom from vectors
- Every marking tells story about weapon authenticity
- Weathering matches character/environment
- Close-ups require maximum detail
- Continuity across shots essential
CONCEPT ART & VISUALIZATION
Mockup Creation:
- Combine multiple assets in Photoshop/Illustrator
- Create custom color schemes for IP branding
- Explore different HUD layouts rapidly
- Present multiple options to clients
- Generate style guides for dev teams
Asset Customization:
- Use vectors to create unlimited variations
- Combine elements from different categories
- Add custom text and branding
- Export reference sheets at high resolution
- Document color codes and specifications
TROUBLESHOOTING
Problem: Vector files won't open in my software
Causes:
- Software doesn't support EPS format
- File association not set correctly
- Corrupted download
Solutions:
- Use Adobe Illustrator (native support)
- Try Inkscape (free, open-source vector editor)
- Use Affinity Designer (affordable alternative)
- Re-download the file if corrupted
- Convert to SVG using online converter if needed
Problem: PNG transparency not working in game engine
Causes:
- Material not set for transparency
- Alpha channel not properly connected
- Texture import settings incorrect
Solutions:
- Unity: Set material to "Transparent" rendering mode
- Unreal: Enable "Blend Mode: Translucent" in material
- Check texture import has "Alpha is Transparency" enabled
- Verify PNG file actually contains alpha channel
Problem: Crosshairs appear pixelated in-game
Causes:
- Using too low resolution for screen size
- Texture filtering settings
- Scaling artifacts
Solutions:
- Use 4K assets for 1080p+ displays
- Use vector EPS to create custom resolution
- Set texture filtering to "Bilinear" or "Trilinear"
- Avoid scaling up lower resolution assets
- Consider rendering UI at native resolution
Problem: HUD elements hard to read in bright/dark scenes
Causes:
- Insufficient contrast with environment
- No background or outline on HUD
- Single color HUD without adaptation
Solutions:
- Add subtle dark vignette behind HUD elements
- Implement adaptive HUD brightness
- Use contrasting outline (dark outline on light elements, vice versa)
- Add slight background blur/darkening
- Provide player option to adjust HUD opacity
Problem: Colors look different after customizing vectors
Causes:
- Color space mismatch (RGB vs CMYK)
- Export settings incorrect
- Monitor calibration differences
Solutions:
- Always work in RGB color space for digital/games
- Export PNG with sRGB color profile
- Use color picker to match exact values
- Test on target display hardware
- Provide gamma adjustment options in-game
TECHNICAL SPECIFICATIONS
File Format Details
PNG Format:
- Bit Depth: 8-bit per channel
- Color Space: sRGB
- Channels: RGBA (Red, Green, Blue, Alpha)
- Compression: Lossless PNG compression
- Provided in: 4K, 2K, 1K resolutions
EPS Vector Format:
- Adobe Illustrator EPS format
- Editable vector paths
- Infinite scalability
- CMYK or RGB color modes
- Compatible with all major vector editors
Alpha Channel:
- Pure transparency workflow
- No pre-multiplied alpha
- Clean edge anti-aliasing
- Perfect for overlay and HUD usage
Resolution Specifications
| Resolution | Dimensions | File Size (avg) | Best Use Cases |
|---|---|---|---|
| EPS Vector | Infinite | 100-500 KB | Custom colors, print, ultra-high res |
| 4K PNG | 4096 x 4096 | 5-12 MB | Close-ups, hero assets, VR |
| 2K PNG | 2048 x 2048 | 1-3 MB | Standard game dev, HUD |
| 1K PNG | 1024 x 1024 | 250 KB - 1 MB | Mobile, small UI, icons |
Total Collection Size:
- Complete package (all formats): ~2.5GB
- Vector files only: ~50MB
- 4K PNG only: ~1.5GB
- 2K PNG only: ~400MB
- 1K PNG only: ~100MB
System Requirements
Minimum:
- 4GB RAM
- 5GB free storage
- Graphics card with 1GB VRAM
- Any software supporting PNG textures
- Vector editor for EPS customization (optional)
Recommended:
- 16GB+ RAM
- 10GB+ free storage
- Modern graphics card with 4GB+ VRAM
- SSD for faster asset loading
- Adobe Illustrator or Inkscape for vector editing
ADDITIONAL RESOURCES
Video Tutorials
KIT OPS Integration:
KPACK Installation: https://youtu.be/05LkAZBZIn0
Custom PNG Tutorial: https://youtu.be/eM9MaKLVE2k?si=rBTJMC2OXfuOuXqD&t=230
DECALmachine Integration: Installation & Usage: https://youtu.be/iKNtCkGOWvY
Recommended Reading:
- Unity UI Design Best Practices
- Unreal Engine UMG Widget Documentation
- HUD Design for FPS Games
- Military Symbology and Marking Standards
- Accessible UI Design Guidelines
SUPPORT & CONTACT
Need Help?
Technical Support: [email protected]
- File/download issues
- Software compatibility questions
- Technical troubleshooting
- Vector editing assistance
License Questions: [email protected]
- Usage rights clarification
- License upgrades
- Commercial use questions
General Inquiries: [email protected]
- Feature requests
- Custom asset requests
- Feedback and suggestions
- Partnership opportunities
Response Time: Typically within 24-48 hours
QUICK REFERENCE CHECKLIST
First-Time Setup
- ☐ Download and extract ZIP file
- ☐ Review the 5 tactical asset categories
- ☐ Identify which formats you'll need (vector vs PNG)
- ☐ Import into your primary software
- ☐ Test a few assets to verify workflow
- ☐ Save your license documentation for reference
Starting a New Project
- ☐ Determine appropriate format (EPS for customization, PNG for direct use)
- ☐ Choose resolution based on target platform
- ☐ Identify which categories fit your project needs
- ☐ Plan asset hierarchy (primary, secondary, detail)
- ☐ Create color palette if customizing vectors
- ☐ Document your asset organization system
Game Development Workflow
- ☐ Set up texture atlas for HUD elements
- ☐ Create material templates for weapon markings
- ☐ Implement team/faction color variants
- ☐ Test visibility across all environments
- ☐ Optimize draw calls and texture memory
- ☐ Verify readability on target display resolution
Customization Workflow
- ☐ Open EPS files in vector editor
- ☐ Adjust colors to match project palette
- ☐ Combine elements as needed
- ☐ Export custom PNGs at target resolution
- ☐ Import to game engine or design software
- ☐ Document custom variants created
LEARNING PATH SUGGESTIONS
Beginner: Start with Crosshairs & Reticles
- Simple to implement as HUD overlays
- Immediate visual impact in games
- Practice asset placement and scaling
- Learn basic transparency workflows
Intermediate: Explore Weapons & Measurement Systems
- More complex UI compositions
- Practice texture projection techniques
- Develop consistent style across assets
- Learn data display integration
Advanced: Create Complete Tactical Systems
- Build modular, data-driven HUD systems
- Integrate all categories cohesively
- Develop custom faction variants from vectors
- Create animated targeting sequences
- Build authentic military environments
FINAL TIPS FOR SUCCESS
The Military Authenticity Approach
These assets aren't just graphics—they're functional military design elements. Each category represents real-world tactical systems with specific purposes and design requirements. When you choose which assets to use, you're making decisions about:
- Technological level (modern optics vs future tech)
- Military realism (authentic markings vs stylized)
- Faction identity (color schemes, equipment branding)
- Gameplay readability (function over form in HUD)
- World-building depth (detailed equipment tells stories)
Remember:
- Less can be more - don't overcrowd HUD or surfaces
- Function drives form in military design
- Consistency in style creates believability
- Real military gear shows manufacturer diversity
- Customization through vectors provides unlimited options
Most Importantly: Experiment and iterate! Use the vector files to create custom variations that perfectly match your project's aesthetic. Test readability extensively. Get feedback from playtesters. These assets are tools—combine them, customize them, and make them your own to create the tactical experience your project demands.
Document Version: 1.0
Last Updated: October 2025
Product: AV OPTICS - Precision Tactical Assets
© 2025 SirCharles.DESIGN. All rights reserved.
-
$35
$35 Total (Base Price) ✅ Personal projects and portfolio work ✅ Educational and skill development ✅ Non-commercial creative exploration ✅ 125+ professional game UI assets ✅ All resolution options + EPS vectors ✅ Cross-platform compatibility
-
$55
$55 Total ($20 additional) ✅ Everything in Personal License plus: ✅ Client projects and commercial design work ✅ Professional asset sales and digital art ✅ Professional game development projects ✅ Unlimited commercial use
-
$75
$75 Total ($40 additional) ✅ Everything in Commercial License plus: ✅ Team and multi-user applications ✅ Large-scale commercial projects and publishing ✅ Enterprise use with full liability protection ✅ AAA game studio deployment
Have questions about this product?
Login to message
| Sales | 80+ |
| Dev Fund Contributor | |
| Published | about 7 years ago |
| Blender Version | 2.6x - 4.5 |
| Render Engine Used | Arnold, Blender-Internal, Blender-Game-Engine, Cycles, Eevee, Freestyle, Luxrender, Mental-Ray, Octane, Vray, Yafaray |
| License | Royalty Free |
Discover more products like this
av-optics weapons kit bash kitops addon hard ops sircharles sircharles.design decalpack crosshairs kit ops reticles 3d decals decalmachine blender