 Enoevol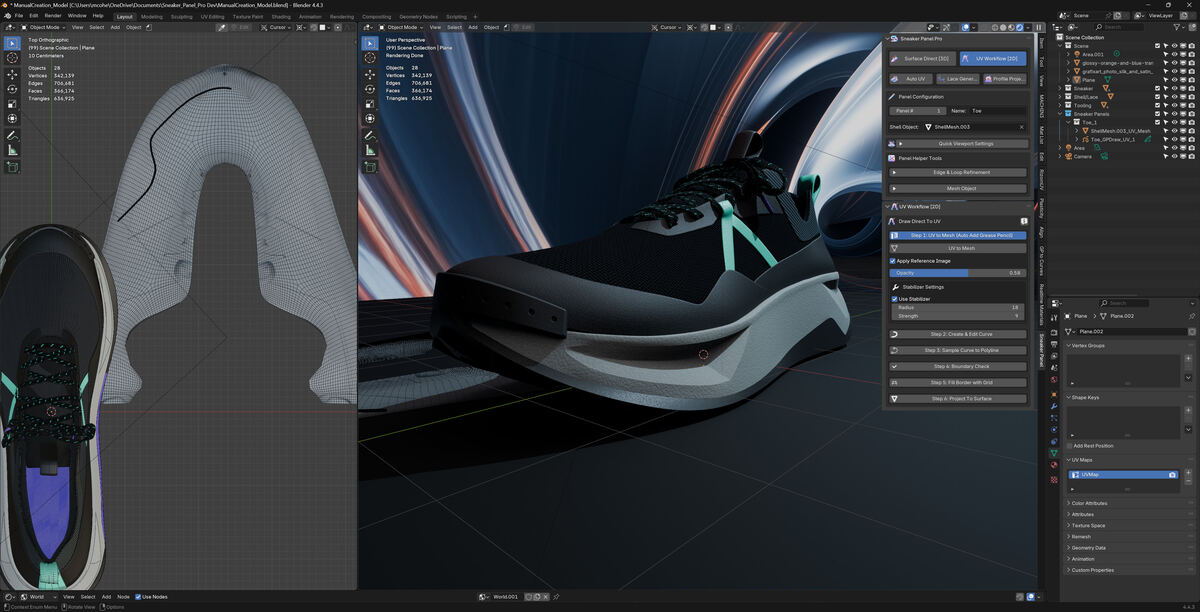
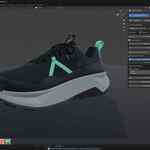
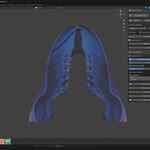
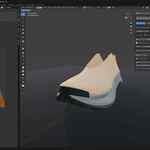
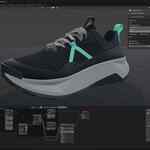
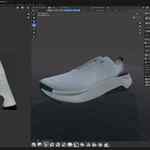
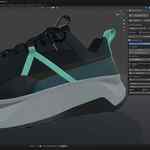
👟 Sneaker Panel Pro – Field Guide
🧭 Overview
Welcome to Sneaker Panel Pro, a professional footwear design plug-in for Blender.
This Field Guide is your day-one primer. It assumes a basic knowledge of Blender and focuses on the plugin’s unique workflows, tools, and concepts.
Learn how to navigate the interface, master the two core panel workflows, and take advantage of the specialized utilities built into the plugin.
⚙️ Surface Workflow [3D] vs. UV Workflow [2D]
Sneaker Panel Pro offers two complementary approaches to panel creation:
🟥 Surface Workflow (3D)
Draw directly on your 3D shell using Grease Pencil, convert strokes to curves, and project your overlays back onto the surface for fast ideation and high-fidelity results.
🟦 UV Workflow (2D)
Generate a UV mesh from your shoe shell, sketch your design in 2D, then re-project clean topology back onto the 3D surface for precision and consistency.
Both workflows share common helper tools for sampling, grid filling, and smoothing.
Choose the one that fits your process — or use both together.
1. Installation & Activation
- In Blender, go to Edit → Preferences → Add-ons → Install…
- Select the
SneakerPanelPro.zipfile. - Enable the add-on in the list.
- In the Sneaker Panel Pro preferences, enter your license key to activate.
- Once validated, the UI appears under the Sneaker Panel Pro tab in the N-panel (right sidebar).
🛑Requirements: Blender 3.3 LTS or newer. GPU acceleration is strongly recommended.
2. Interface Overview
Sneaker Panel Pro’s UI is located in the N-panel under its own tab, organized by workflow and tool type:
- Surface Workflow [3D] – Draw directly on the 3D shell. Convert curves → fill geometry → project to surface.
- UV Workflow [2D] – Draw on a flattened UV mesh, fill with quads, and re-project for the cleanest topology.
- Auto UV – Unwrap, orient, and align your shell’s UVs.
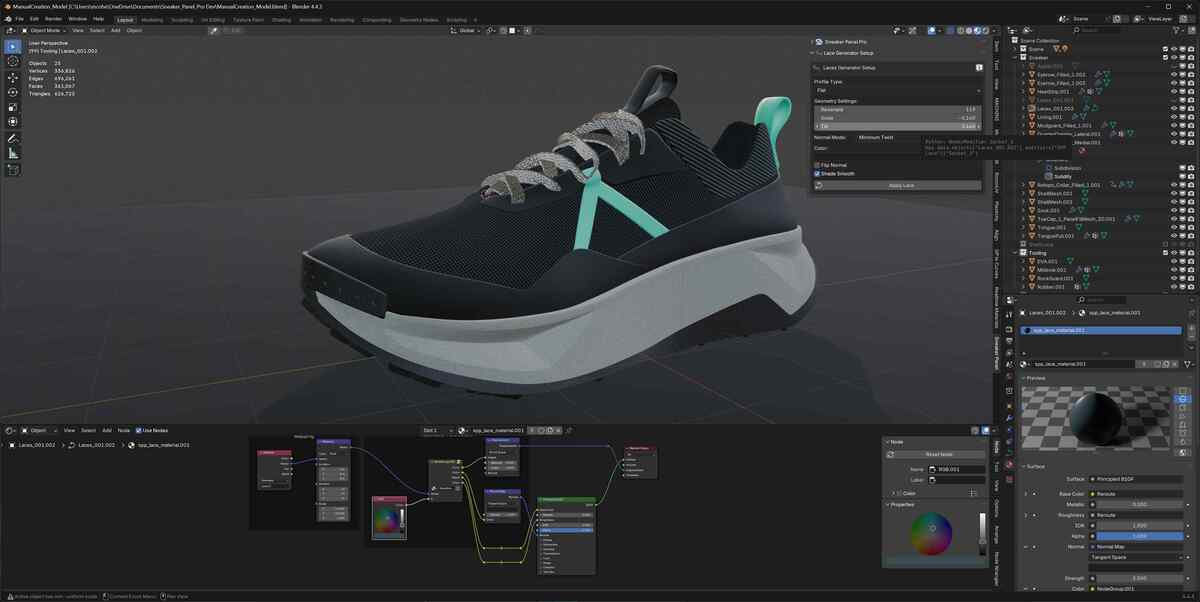
- Lace Generator – Generate procedural laces from any curve.
- Reference Projection – Project 2D sketches or artwork directly onto your 3D shell.
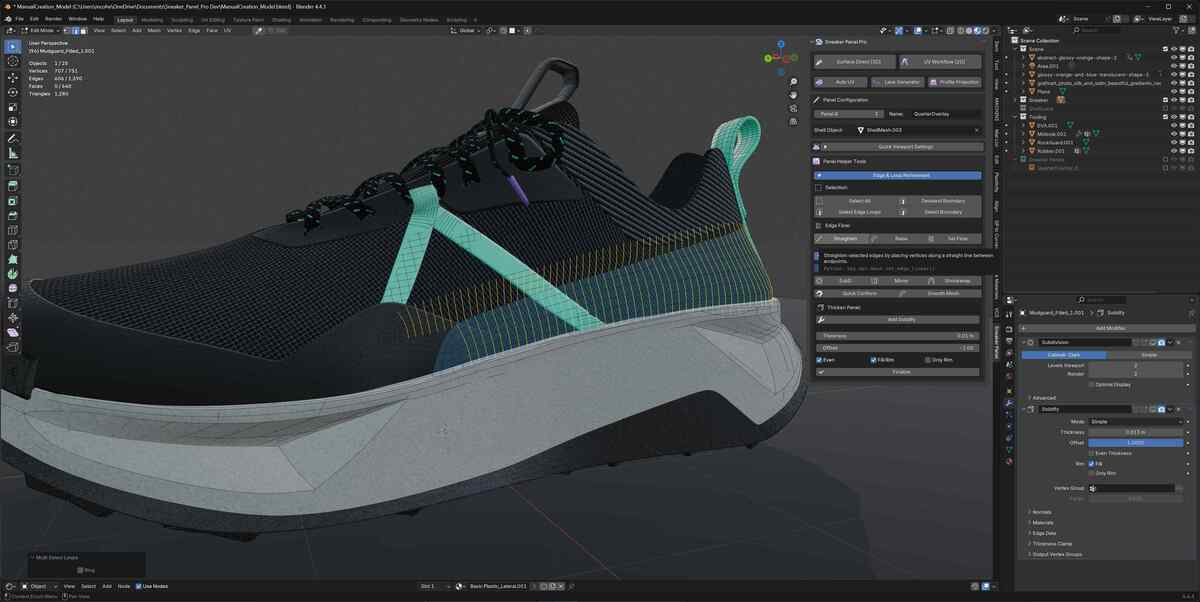
- Panel Helpers – Utilities for smoothing, mirroring, and refining topology.
🎯Use the workflow toggle icons (2D / 3D) to switch modes — only relevant tools will be shown.
3. Auto UV – Preparing the Shell
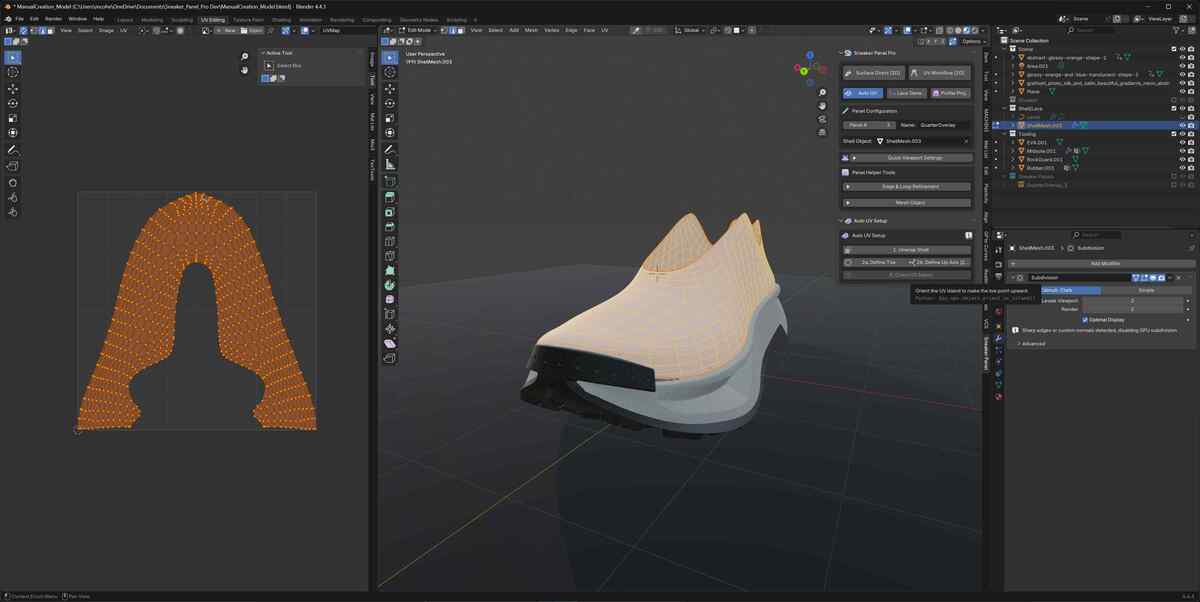
Before designing, your shell must be properly unwrapped and oriented in UV space.
Steps:
- Unwrap Shell – Mark boundary seams and at the Heel of the Shell mesh and run Unwrap Shell (OBJECT_OT_UnwrapShell).
- Define Toe / Up Direction – Use markers to guide orientation.
- Orient UV Island – Automatically aligns the UV layout using your markers.
✅ Once complete, your shell is UV-ready for either workflow.
4. Surface Direct Workflow [3D]
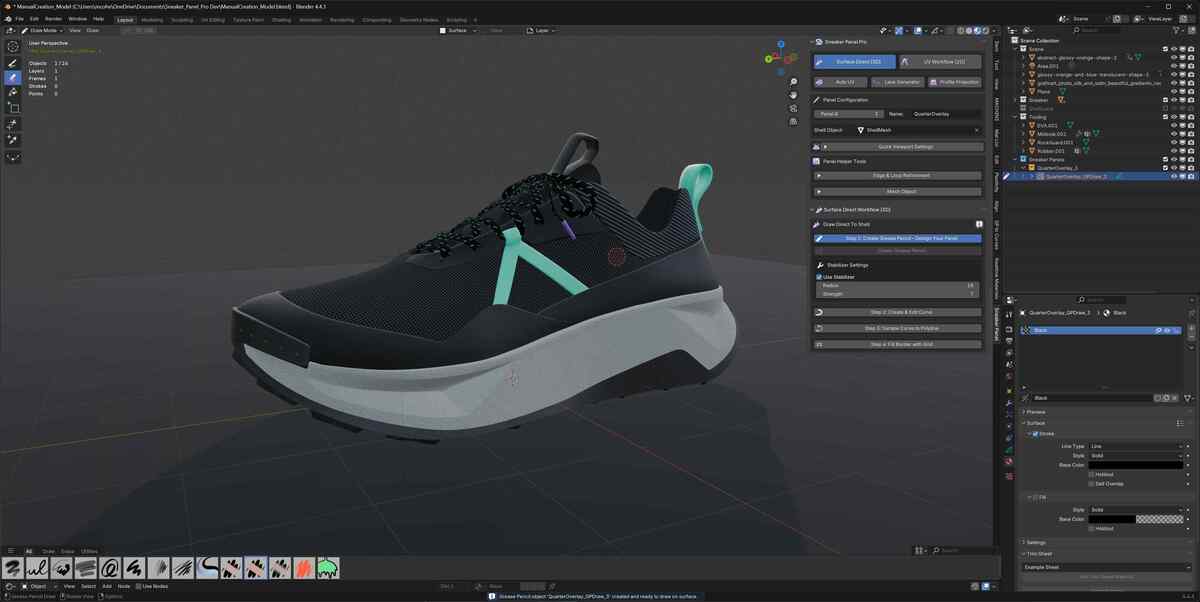
Design panels directly on your 3D shell.
- Step 1 – Create Grease Pencil Panel
- Sketch directly on the shell using Grease Pencil. Use stabilizer if needed.
- Step 2 – Convert to Curve
- Convert strokes to a Curve. Refine shape, simplify, or mirror for symmetrical designs.
- Step 3 – Generate Polyline Boundary
- Create a Polyline boundary from your curve. Keep geometry simple for better projection.
- Step 4 – Grid Fill & Projection
- Fill the boundary to create your panel mesh and project it to the shell surface.
💡Use Auto Pave Align for algorithmic smoothing or QuadriFlow Retopology for production-ready topology.
5. UV Workflow [2D]
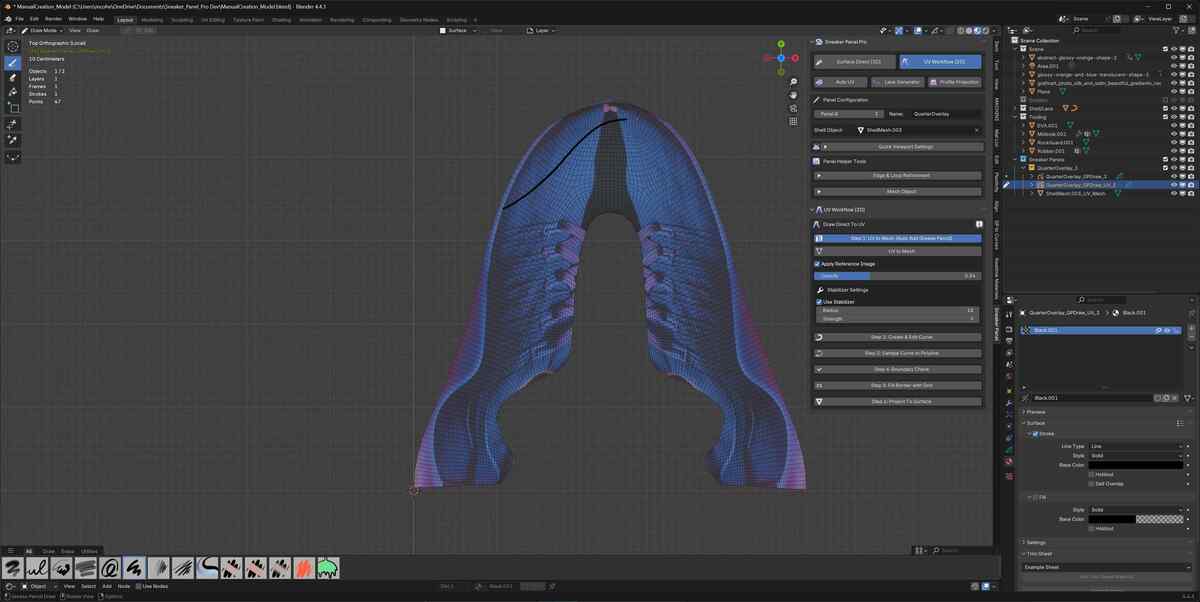
Design panels on a flattened version of your shoe shell.
- Step 1 – Generate UV Mesh
-Run UV to Mesh to create a 2D canvas. Work within the UV bounds for accurate projection.
- Step 2 – Convert to Curve
-Convert strokes to curves for precise control and cleanup.
- Step 3 – Boundary Check
- Run Boundary Check to find and fix intersecting or misaligned vertices.
- Adjust Padding for proper spacing between UV panel and shell edge.
- Step 4 – Grid Fill & Projection
- Use Fill Border with Grid to create a quad mesh, then Project Back to Surface for accurate curvature.
📍Advanced users can enable Geometry Node Setup for algorithmic pave filling.
6. Lace Generator
Automates lace creation along curves.
Settings:
- Lace Type: Round, Oval, Flat, or Custom (requires a profile curve).
- Parameters: Resample, Scale, Tilt, and Normal Mode.
- Toggles: Flip V / Flip Normal for UV orientation.
- Finish: Apply Shade Smooth and choose materials (default or custom).
Press Apply Lace (spp.apply_lace) to generate the geometry.
Laces remain procedural — you can adjust properties anytime.
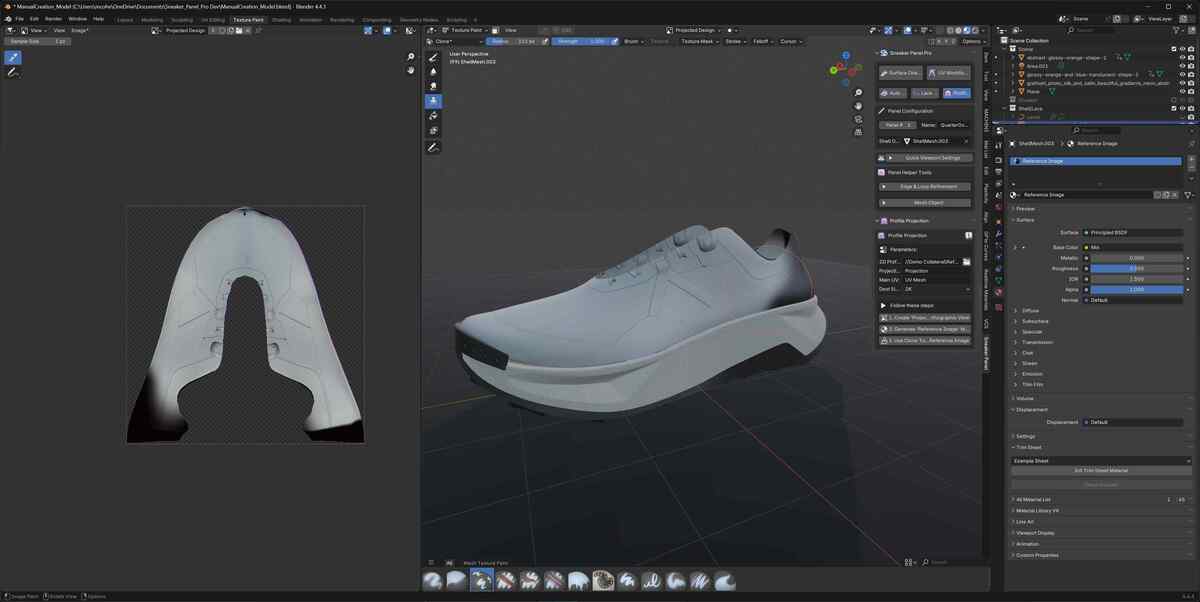
7. Profile Projection
Projects 2D reference imagery directly onto your 3D shoe shell — perfect for tracing design sketches or side-view photos.
Steps:
- Switch to Orthographic View (Left or Right).
- Create Projection UV – unwraps a projection-specific UV layer.
- Generate Reference Image Material – applies your 2D image to 3D space.
- Clone to Shell Surface – use Texture Paint → Clone Tool to transfer the projected image.
💾 Remember to save your texture after cloning.
8. Panel Helper Tools
Small but powerful refinements available across workflows.
|
Tool |
Purpose |
Panel # Slider / Naming Convention |
Helps to organize by using these settings to define mesh names/collections |
Shell Object |
Use the picker to select your shoes base surface (last) |
Set Edge Linear |
Straighten selected edge loops into a straight line; optional even spacing; blend ends. |
Set Edge Flow |
Reposition vertices along edge loops using Hermite interpolation for smoother curves. |
Edge Relax |
Invoke Blender's LoopTools Relax operator to relax loops. |
Smooth Mesh / Smooth Vertices |
Smooth interior vertices while preserving boundaries and optionally snapping back to the shell. |
Mirror Curve Points |
Duplicate and mirror selected Bezier points about the 3D cursor along X/Y/Z. |
Mirror Panel |
Add and (optionally) apply a Mirror modifier to a panel across X/Y/Z. Can auto‑shrinkwrap to the shell. |
Add Subdivision |
Adds a non‑destructive Subdivision Surface modifier. |
Apply Shrinkwrap |
Adds or applies a Shrinkwrap modifier to conform panels to the shell. |
Quick Conform |
Instantly shrinkwrap and apply selected panels to the shell in one step. |
Solidify Panel |
Adds thickness to your panel via a Solidify modifier; a companion operator applies it. |
Shade Smooth / Shade Flat |
Define normal shader |
Quick Viewport Settings |
A selection of useful viewport settings |
9. Export & Integration
Panels are standard Blender meshes — easy to integrate anywhere.
- Apply modifiers (Solidify, Shrinkwrap, etc.).
- Rename objects for clarity (
Panel_#,Upper,Heel, etc.). - Export as
.fbx,.obj, or.glb. - UVs stay attached for use in Substance Painter, Marmoset, or similar tools.
🍞Bake normals or color maps from the high-res shell for photoreal details.
10. Troubleshooting & Tips
Common issues🚨:
- Grease Pencil not snapping: Enable Face Nearest snapping; re-run Apply Surface Snap.
- Grid Fill errors: Ensure polyline has an even vertex count and forms a loop.
- UV boundary issues: Always run Check UV Boundary before projection.
- Performance slowdowns: Use Reduce Verts or smaller fill samples.
- Missing lace assets: Run Apply Lace once to auto-load node groups.
11. Credits & Acknowledgements
Sneaker Panel Pro was created by [Matthew Cohen / Enoevol , LLC ] to bring professional patternmaking workflows into Blender.
Built on Blender’s geometry nodes, grease pencil, and modifier stack, it’s designed for designers, by designers.
🙏 Thanks to the Blender community for continual feedback and inspiration.
📘 For tutorials, updates, and support: sneakerpanel.com
Have questions about this product?
Login to message
| Published | 11 months ago |
| Blender Version | 4.3 - 5.2 |
| Extension Type | N/A |
| Render Engine Used | Cycles, Eevee, Mental-Ray, Octane, Vray |
| License | GPL |

Discover more products like this
quad based automatic uv unwrap boundary edges curves to mesh sneakers clean retopology mesh projection edgeflow 3d-modelling 3D fashion 3d modeling workflow 3D Footwear Design